Tutorial: Homemade Rainstick
We are in desperate need of rain here in California. We basically haven’t had a winter at all. Most days are in the 60s, sunny, and completely pleasant. It means that we’re out and about and active, which is nice. But our lakes and reservoirs are woefully low. When the high temps (100+) come this summer, we’ll be very sad about having had so little winter rain.
The sky is currently cloudy and we’re hoping that the “storm door” will open with a rain in a couple of days. We thought it would be fun to do a quick craft project to make a rainstick. Maybe it will help the rains come?
Materials
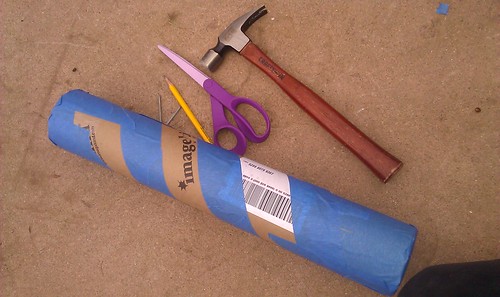
- poster tube, or paper towel or wrapping paper tube
- nails that aren’t quite as wide as the diameter of your tube
- hammer
- cardboard
- scissors
- pencil
- dry beans or peas
- masking tape
- decorating supplies such as mod podge and tissue paper, or paints
Tutorial
The nails you use should be not quite as wide as the diameter of your tube. Nail them straight into the tube in a helical pattern all the way down the length of the tube.
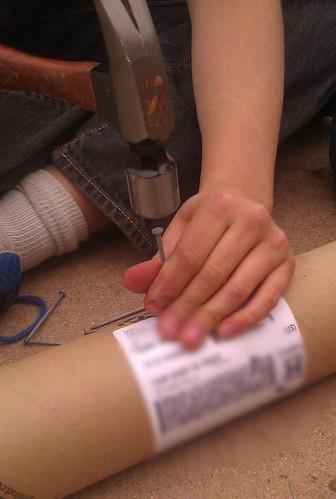
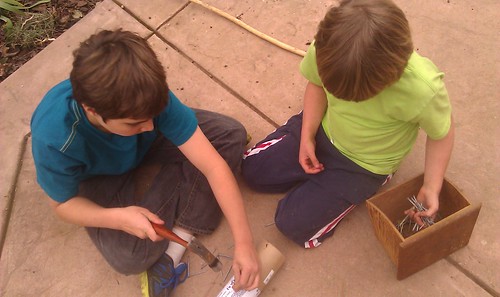
Watch those fingers! Hammering is such a good time. Kids should hammer often, I think. Make sure everyone gets a turn!
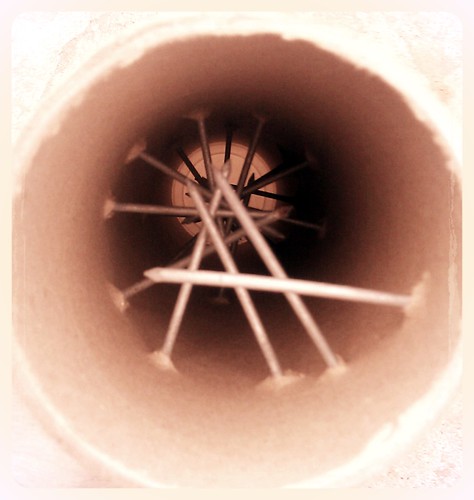
You can kind of see the spiral pattern of the nails in this photo.
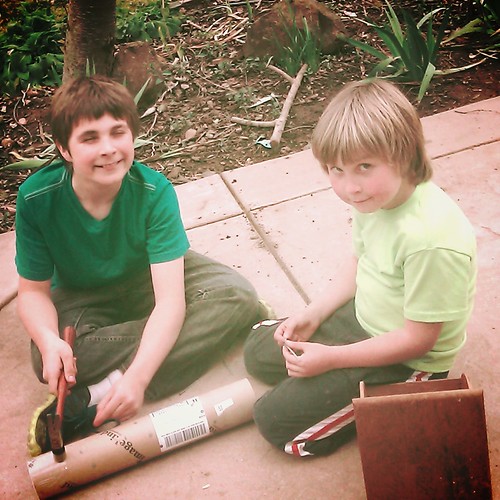
(My boys jumped at this project. I think it was the chance to use the hammer.)

Insert your dry beans (or peas or rice or pebbles—use whatever you like). We used dry chick peas because that’s what we had on hand. Once the beans are inside, place your hand over the open end of the tube, turn it, and listen to how they sound when they run through the gauntlet of your nails. Experiment with using more or less beans until it sounds like rainfall.

If your tube came with end caps, great. Ours had one, but we had to make the other. Using a pencil, we traced the tube end onto a piece of cardboard and cut out the circle. We trimmed it until it fit neatly on the end of our tube. When we were sure we had the right rain sound, we put on the end piece and taped it down with masking tape. Make sure both tube ends are completely secure.
Then we taped over all the nail heads all the way along the tube. We didn’t want any nails working their way out of the cardboard later.
That’s it. The rainstick is done and functional now. The rest is decoration! Asher enjoyed this next part a lot; 11-year-old Lucas was happy to let Asher finish it.

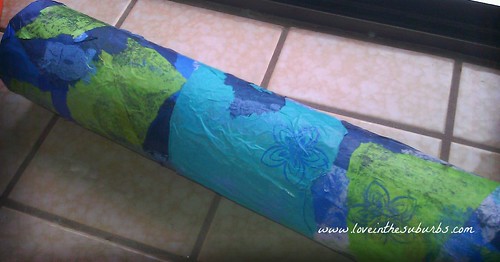
We used tissue paper in watery colors and mod podge to decoupage the outside of our rainstick.

After it dried completely, we added stamped designs, which you can see in the top photo. Alternatively, you can paint your tube with acrylic or tempera paints to decorate it, or draw on it with sharpie markers.
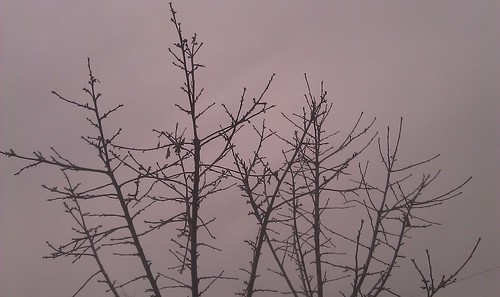
We hope this gray sky will open up and produce several weeks of decent rains. As much as we enjoy these short-sleeve temperatures and sunny days, we need to splash in some puddles! I asked my kids if they thought our rainstick would have any magical effect and bring the rains. They chuckled and said, “No. But it was fun, Mom.” Still, I’m hoping …


