Spring Wreath Tutorial

We all enjoy watching the signs of spring emerge out of the season of winter. The ground warms, birds return, and bulbs begin coming up. Some plants seem to feel the coming spring before others, like these flowering quince blossoms that were my inspiration for this project. I spot these everywhere I go these days because they are among the first bushes to bloom.
This wreath makes a perfect way to count down to the spring equinox, with small blossoms added day by day (perhaps one added by each child in the family) until March 20, the first day of spring. As you observe the days lengthening, you can make your wintery wreath bloom in your home. Or, if you prefer, do it all at once and enjoy the promise of spring it brings.
Materials
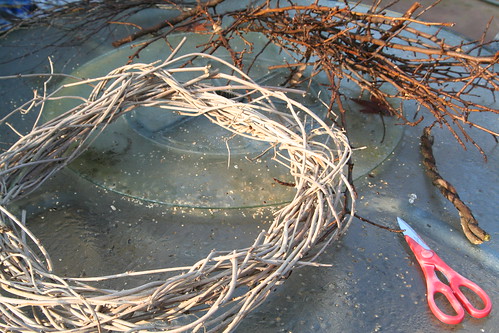
- garden clippers or sturdy scissors
- grapevine or other bare vine wreath base (can be made by weaving vines together or purchased at a craft store)
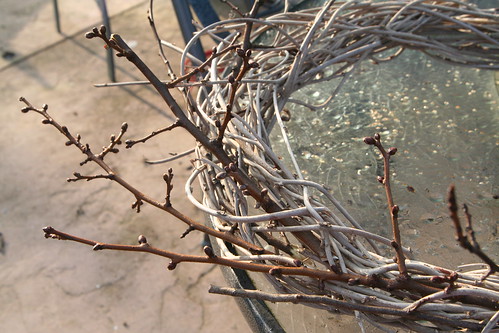
- branch tips, preferably found (and used with permission) or recently pruned from your yard (If you find any with small buds, that’s wonderful.)
- several sheets of tissue paper in a spring color (pink, yellow, or white, all one color or a mix)
- glue gun and glue sticks
Children of all ages can help with this project. Even the littlest ones can help you gather twigs, tear tissue paper, crumple the paper into buds and blossoms, and even glue (if you‘re using craft or tacky glue). Older children can use a low temperature glue gun with supervision.
Choose small pruned twigs and insert them into your vine wreath base, one at a time, with the tips ―pointing‖ around the wreath in a clockwise (conjuring, waxing) direction. Keep inserting the twigs, and endeavor to anchor their thick ends deep into your wreath.
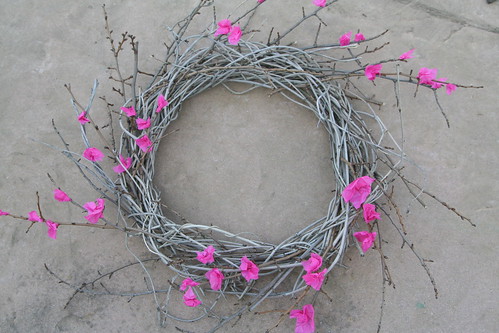
Your wreath should start to look something like this. Keep adding twigs until your wreath base has twig ―rays‖ running all around the circle.

Here is a wintery, bare wreath. Doesn‘t it seem to ache for spring?
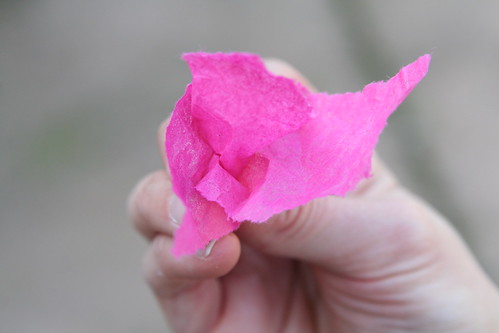
To decorate your wintery wreath and make it bloom, tear your tissue paper into small pieces, no larger than about 2 inches square. Your tears don‘t have to be precise, and you need not waste any tissue. Even the smallest pieces can be used in this project. Grasp the center of the back side of your torn tissue piece, pinch, and with your other hand to help, twist the center. The edges of your tissue piece should flare out a bit like the petals of a blossom. Crumple or twist until you‘re happy with the way your blossom looks.
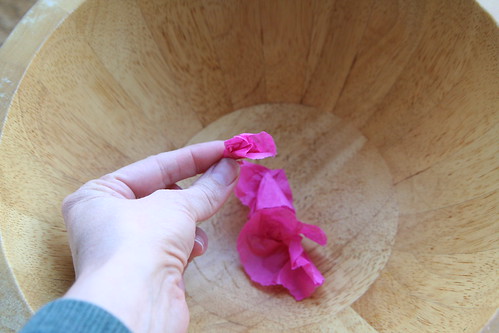
Now make lots of these! Make as many as you like, or make 20 per child, or 20 per person in your home, if you plan to add one blossom per day to count down to the spring equinox. Even the tiniest pieces of paper can be crushed and rolled tightly into buds for your wreath.
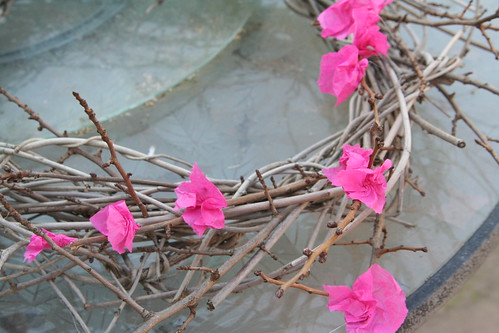
Now begin gluing your buds and blossoms onto your twig ―rays. Often, flowering bushes and trees bloom from the base of the branch to the tip, so if you‘re going for realism, glue your largest blossoms close to the vine wreath, and your smaller blossoms and buds nearer to the tips of your twigs.
Add blossoms day by day and watch your wreath bloom! Add as many or as few as you like.
How cheerful it will be hanging in your home, perhaps above your spring nature table, or on your front door!

* This article was originally published in the Little Acorn Learning March Enrichment Guide.


March 2, 2012 at 1:00 pm
Hi Sara, Thanks so much for linking on the Living Crafts blog- this is a lovely project!
Warm wishes,
Fiona
March 25, 2012 at 5:10 am
What a beautiful and inexpensive wreath! I am making this soon for my door.
March 27, 2012 at 1:51 pm
Thanks, Shannon. Let me know if you make one. I’d love to see it. ~Sara