Star of David Window Star Tutorial
Today is the first day of Hanukkah, and although I am not Jewish, I found myself wondering about Hanukkah crafts and thought I might create something to share. I am very, very fond of (read “obsessed with”) window stars and I wondered if I could come up with a way of making one in the shape of the six-sided Magen David, or Star (or Shield) of David in celebration of Hanukkah.
Well, I have done so. I’ve never seen this window Star of David anywhere in Waldorf circles, so I believe I’ve invented this folding design. Here goes, humbly submitted with love:
Materials
- 2 sheets of 6 x 6 inch kite paper
- glue stick
- ruler
- tape
Tutorial
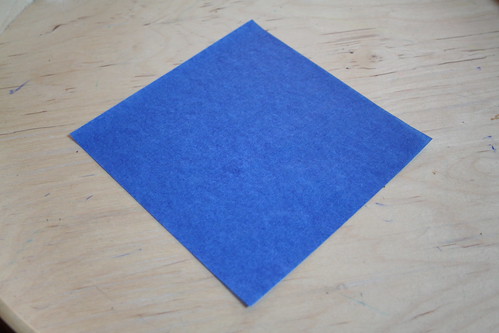
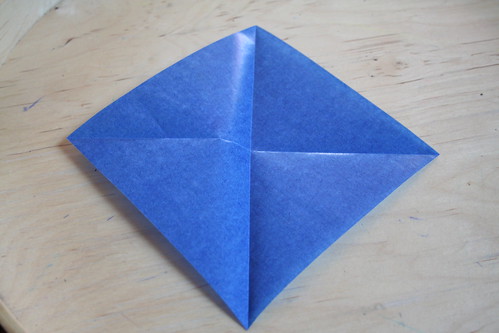
The aim here is to create two equilateral triangles without cutting your kite paper. Start by folding your first sheet diagonally, corner to corner. Open the paper into a square and fold it diagonally the other way, corner to corner. Your paper now has folds that make an X, or a cross when a corner is at the top.
Hold the paper with one corner at the top, in a diamond shape. Fold the top corner down to the middle, where the two diagonal folds you made meet. Crease the paper there, but do not firmly press the fold down all the way. You want a little crease mark halfway in between the top corner and the middle of the square. Unfold the sheet into a diamond shape again.
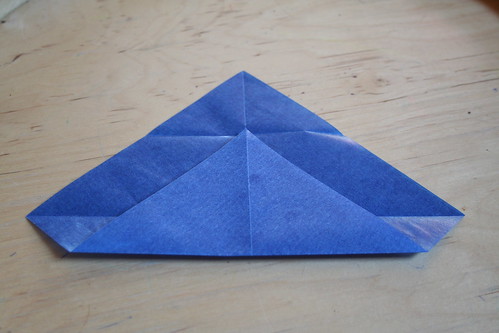
Now fold the bottom corner up to the crease you just made. Firmly press the fold; this one is permanent. You now have a fold on the bottom. This bottom fold is one side of your equilateral triangle.
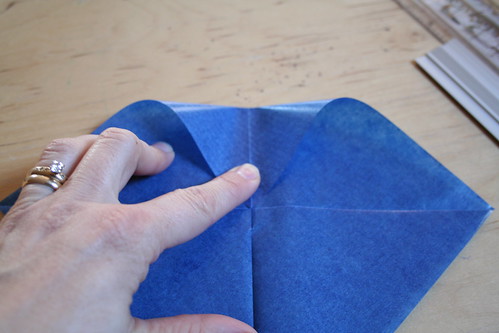
Hold the top point and fold the left side of the kite paper toward the center fold line. The bottom left corner will be where the bottom of the triangle begins. The top of this fold will be very narrow and the bottom will be pretty wide.
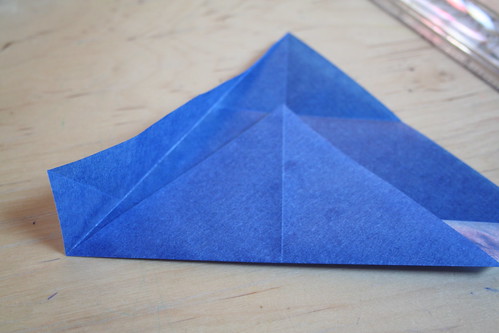
Now do the same thing on the other side.
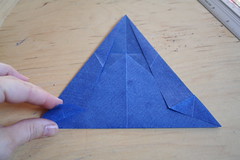

You have two little corners that extend down beyond the bottom edge of your triangle. Fold the left corner up until it meets the left edge of the triangle. Do the same on the right side.
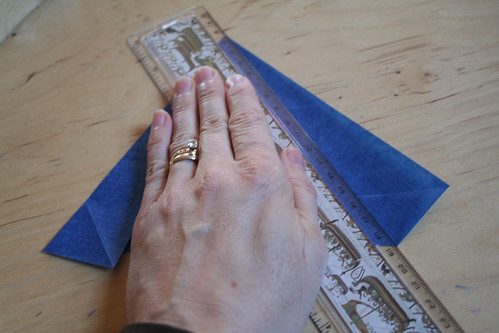
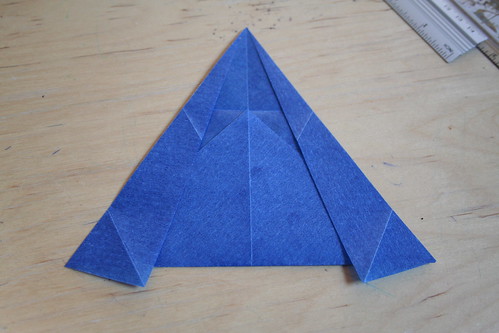
Get out your ruler and let’s see how we did. The bottom of your triangle should be 17 cm long. The left and right sides should be 16.5 cm. That’s not a perfect equilateral triangle but it’s really close. It will do.
Repeat all of the above with your second piece of kite paper.
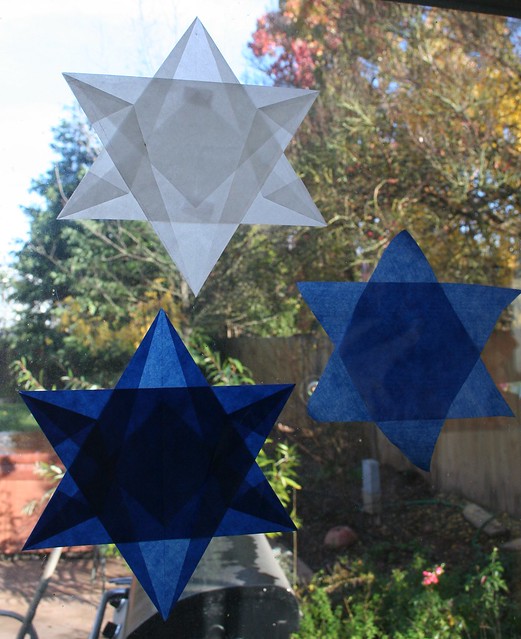
To assemble your Star of David window star, you want one triangle pointing up and one pointing down. They will overlap such that six points of equal size are visible. It doesn’t matter which triangle is on layered on top of the other. Be sure to align the center fold lines of both triangles.

When you layer them together and hold them up to a light source, you should see a hexagram in the center, as well as other details created by your folding pattern. You want the distance from the bottom of each triangle to the tip of the point of the other triangle to be 4.5 cm. If you’ve got that measurement right, then the other four side points of the star should also be 4.5 cm from their tips to the sides of the other triangles.
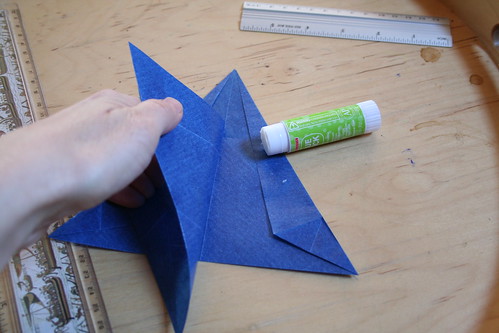
Use your glue stick to dab a very small amount of glue to fix the two triangles in place.
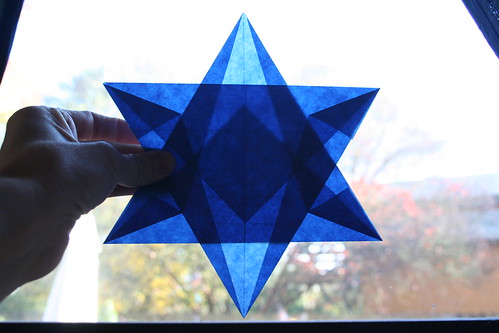
Tape or glue your Star of David to the window. Voilà! (c) Sara E. Wilson
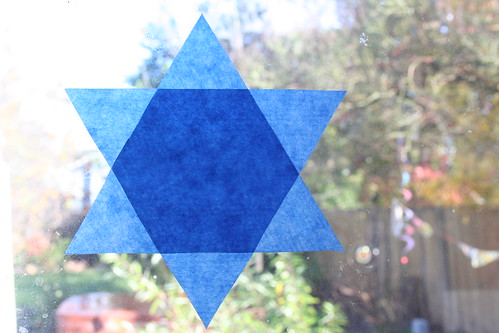
If you don’t mind cutting your kite paper, you can make a very simple Star of David that also looks beautiful with the light shining through it. This one is good for kids in older grades to make on their own because they can practice measurements and angles. Use one side of the kite paper to be a side of your equilateral triangle. With a protractor, measure a 60 degree angle, make a pencil mark near the center of the opposite side of the square. Then draw the line. Measure 15 cm. That’s your side length. Make another 60 degree angle and draw another line to intersect the first line you drew. All sides must be the same length: 15 cm. Now that you’ve got your equilateral triangle drawn, cut it out. Repeat these steps to cut a second triangle and then layer one over the other to make the six-pointed Star of David. In this version, the center hexagon is very visible. Simple and lovely. (And the truth is, even if your triangles aren’t perfect equilateral triangles, this star will still look terrific!)
There are other nifty Hanukkah crafts in the Winter Festivals E-Book, created by myself and Eileen Straiton and published by Little Acorn Learning. In it you can find poems, crafts, songs, caregiver meditations for celebrating a number of festivals of light, including Santa Lucia, Hanukkah, Solstice, Yule, and Christmas. We’d be very happy if you checked out our e-book and help us spread the word.
Happy Hanukkah! May we all enjoy the love and light of true friendship during this beautiful season.


