Valentine Stones Tutorial

I made these fun valentine stones for my guys last year. They’re better than sweets, in my opinion (my kids might disagree). They are very simple to make, but require a little time for drying, so give yourself a day or two.
Materials
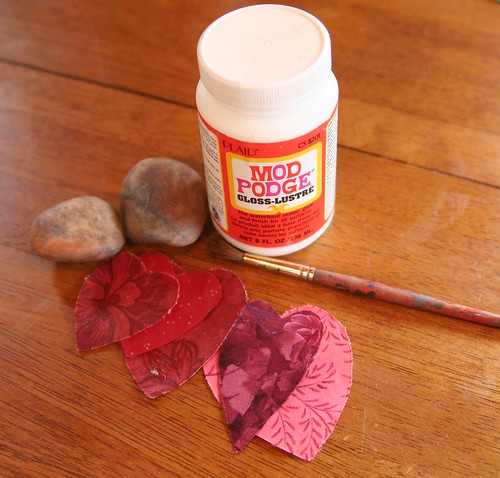
* flat stones from your yard or the craft store (any color)
* tiny fabric scraps in valentine colors (you decide)
* mod podge glue and a paint brush
* sharpie pen
Tutorial
Wash your stones and let them dry completely. Cut out small hearts from tiny fabric scraps. I admit that if you’re a quilter, you have advantage in the scraps department. Cut hearts that will fit on your stones; you may be surprised at how small they need to be—of course, this depends on your stones. For myself, I had stones of varying sizes and I like the variation.
Dab some mod podge on your stone, then place your fabric heart on it. With your paintbrush, coat the entire top of the stone with more mod podge. Smooth out any wrinkles in the fabric heart. Set it aside to dry for several hours or overnight.
Repeat as many times as you like! Frankly, I think these valentine stones make a big impact when you have lots of them.
When the tops of your hearts are dry and shiny from the mod podge varnish, turn them over. Write a word or brief message on the other side of the stone with your sharpie pen. Remember the chalky valentine heart candies? What are those called? Conversation hearts?
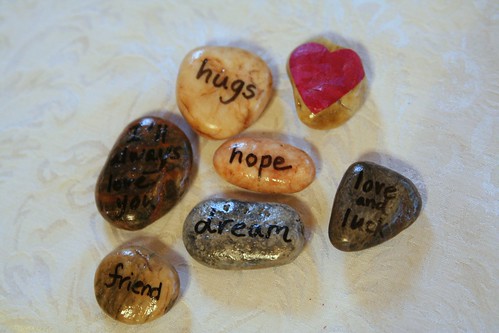
If you or your child is giving these stone valentines as special gifts to friends or teachers, stock messages like “Be mine” work great. If you are making these for your family, you can get more personal. For example, I also used phrases like “I’ll always love you,” and “I’m so proud of you,” and “All we need is love.” Make a special valentine stone for each member of your family, with a message just for them. You know what they need to hear!
Do you have a meaningful family joke? A lyric to your family’s favorite song? A family motto or mission statement? Any of these would be perfect for your custom valentine stones.
Finally, paint the writing side of each stone with mod podge, too. This will give the stone a finished appearance when it dries.
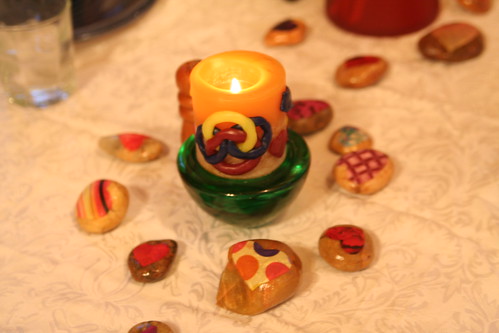
Now arrange the valentine stones artfully for Valentine’s Day, or wrap them as a Valentine’s gift. Your family will have fun holding the stones and turning them over to read all the messages. Mine did!
Happy Valentine’s Day!


February 10, 2012 at 7:02 am
Our friends made Valentine stones last year! 🙂 Ours are still on our nature table, and are stamped with “friend”. 🙂 I love them.