Felt Halloween Banner Tutorial
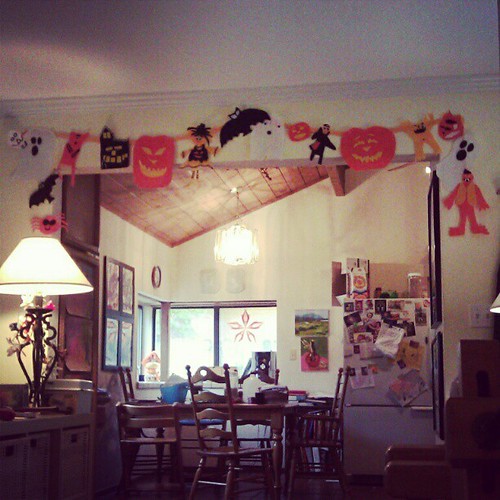
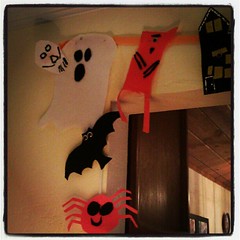
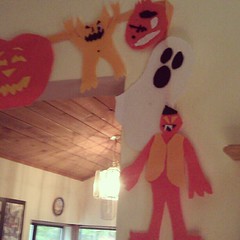
This is a post about turning something we made a couple of years ago into something new. We made these terrific homemade felt Halloween decorations in 2009. I love them, and every year since then, we’ve hung them up on the walls of our home and in windows for the holiday. This year, we made a few more and turned them into a banner. (I love banners because the decorations don’t have to sit on flat surfaces of our home. We have plenty of things sitting on tabletops and shelves as it is.)
I admit it’s kinda wacky to break out the crafting stuff at 7 p.m. on a school night, but that’s what we did. Daddy was out and I wanted something fun to do with my kids, rather than just wrangle them into bed. So I pulled out the felt and we got to work!
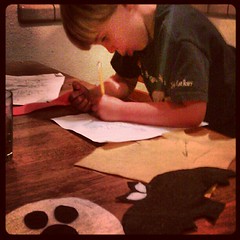
Asher (5) designed a monster by drawing it on paper. He had a bit of trouble cutting the felt with our crummy scissors, so I cut out the pieces for him. He had total artistic control. I just executed it for him.
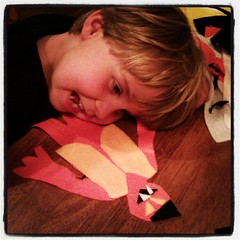
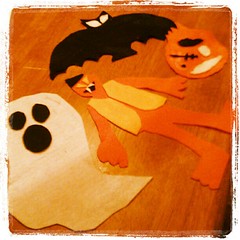
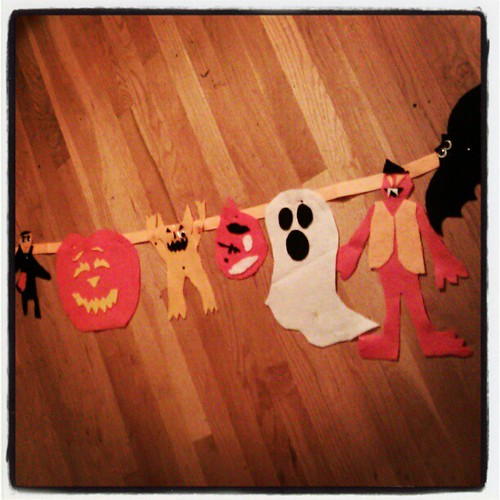
This is what we made in one 40-minute session. Lucas (10) was engrossed (ha!) in making a zombie head. It’s missing an eye and its skull is showing through. “It’s got to hang upside-down, Mom!” OK!
So, anyway, here’s how to do this fun craft, if you’re so inclined.
Materials
- felt in Halloween colors (orange, gold, yellow, white, black)
- scissors
- white glue
- bias binding tape (1 inch wide, about 3 yards)
- straight pins and push pins/thumb tack
- needle and thread (optional)
- googly eyes and fabric paint (optional)
Tutorial
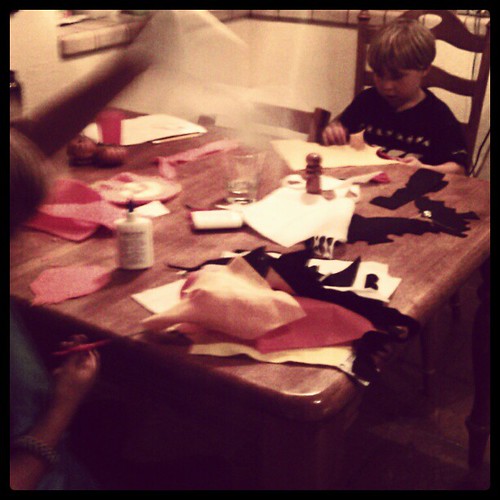
Your project starts out looking something like this: kitchen table, kids, piles of felt bits. Working with felt for this project is a whole lot like making things out of construction paper, so if you can channel your inner grade school student, you’ll be fine.
Ask yourself and your kids, what means Halloween to you? What kind of creatures would you like to make? Older children might like just a touch of creepiness in their creations. Younger children might prefer to stick with jolly jack-o’-lanterns and friendly ghosts. Here are some ideas to get you thinking: ghosts, jack-‘o-lanterns, witches, spiders, bats, monsters, dracula, skulls, skeletons, coffins, gravestones, haunted mansions, creepy hands, zombies, owls, scary dogs, etc. Just be sure to gear your creations to the ages of the children in your household. (Nobody wants to feel afraid at home.) Remember, googly eyes make anything—ANYTHING—cute. A felt Dracula with a smile—also cute.
Felt has got to be the most forgiving fabric in the world. You can cut it and layer it and you never have to seam anything or make it perfect. It sticks to itself beautifully, so you can place a piece, see how you like it there, and then move it elsewhere if you don’t, until you have a design you’re happy with. Furthermore, the synthetic felt is cheap at $0.20–$0.29 per sheet, which means you don’t have to worry about turning it over to kids with scissors.
So, decide what you’re making. Draw the creature first, or just start cutting. It’s your choice. Cut out the main shape of your creature first. Then cut other, smaller pieces for eyes, mouth, clothing, hair, teeth, etc. out of a contrasting color. Arrange them on top of the main shape until you’re satisfied, then apply some white glue to the topmost piece and lay it onto the felt creature. Add googly eyes or fabric paint for details if you wish. Let it dry. That’s it. Repeat for as many creatures as you’d like to make.
You can now hang your creatures in windows or on walls, or even suspend them from trees if you like. But if you want to make a banner, lay out your bias binding tape on the floor. Place your Halloween creatures along the tape in a pleasing way. Maybe your kids have an opinion about which ghoulish guy goes next to what creepy critter?
You can either sew each creation in place, or if you’re in a hurry like me—or if you might want to use these critters again in a different way another year—just pin them to the bias binding tape using straight pins! If you pin from the back, you won’t see the head of the pin on the front of the banner, and chances are you won’t see the pin shaft at all.
Now find the center of the banner and the center of the wall where you want to hang it. Using a push pin/thumb tack, hang the center of the banner. Stretch out one side at a time, make sure the bias binding tape is flat against the wall without any twists, and then tack the ends. If you only pinned rather than sewed your creatures onto the bias binding tape, you can even adjust their positions at this point.
You can also make corners by pinning or sewing critters to each other.
Happy crafting!
[Shared on Natural Suburbia’s Creative Friday, 10/26/2012]


October 25, 2012 at 2:01 pm
that is super fun. we did something similar for christmas. it was alot of fun. 🙂