Felt Halloween Banner Tutorial

upload

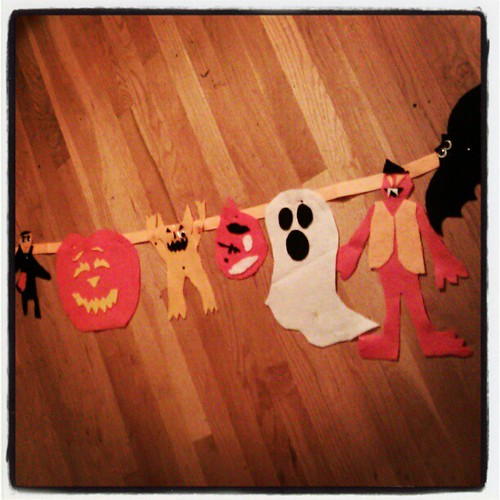
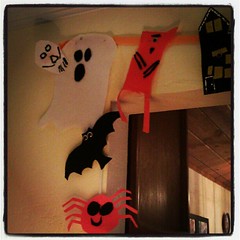
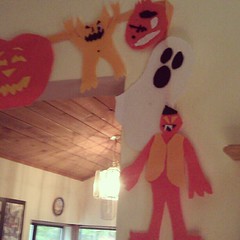
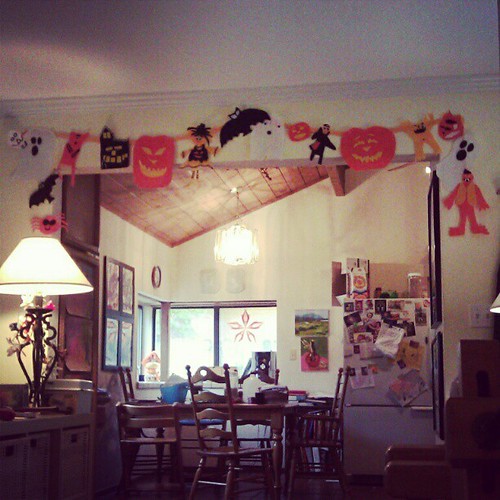
This is a post about turning something we made a couple of years ago into something new. We made these terrific homemade felt Halloween decorations in 2009. I love them, and every year since then, we’ve hung them up on the walls of our home and in windows for the holiday. This year, we made a few more and turned them into a banner. (I love banners because the decorations don’t have to sit on flat surfaces of our home. We have plenty of things sitting on tabletops and shelves as it is.)

I admit it’s kinda wacky to break out the crafting stuff at 7 p.m. on a school night, but that’s what we did. Daddy was out and I wanted something fun to do with my kids, rather than just wrangle them into bed. So I pulled out the felt and we got to work!

upload upload

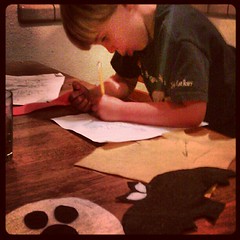
Asher (5) designed a monster by drawing it on paper. He had a bit of trouble cutting the felt with our crummy scissors, so I cut out the pieces for him. He had total artistic control. I just executed it for him.

upload

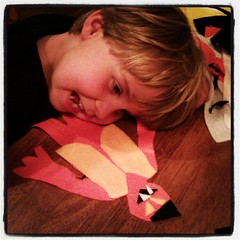
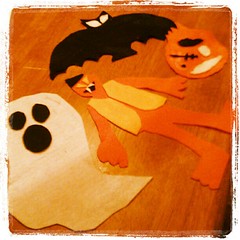
This is what we made in one 40-minute session. Lucas (10) was engrossed (ha!) in making a zombie head. It’s missing an eye and its skull is showing through. “It’s got to hang upside-down, Mom!” OK!

So, anyway, here’s how to do this fun craft, if you’re so inclined.

Materials

  • felt in Halloween colors (orange, gold, yellow, white, black)
  • scissors
  • white glue
  • bias binding tape (1 inch wide, about 3 yards)
  • straight pins and push pins/thumb tack
  • needle and thread (optional)
  • googly eyes and fabric paint (optional)

Tutorial

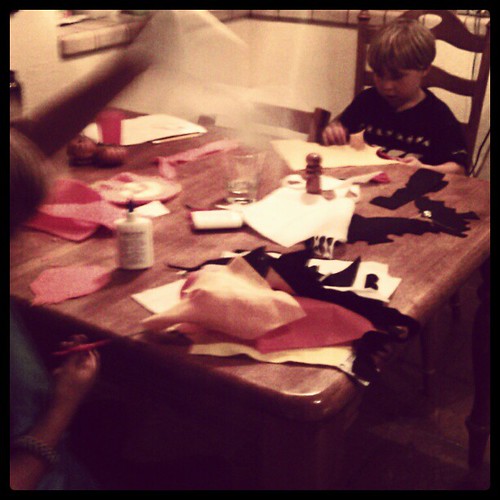
Your project starts out looking something like this: kitchen table, kids, piles of felt bits. Working with felt for this project is a whole lot like making things out of construction paper, so if you can channel your inner grade school student, you’ll be fine.

upload

Ask yourself and your kids, what means Halloween to you? What kind of creatures would you like to make? Older children might like just a touch of creepiness in their creations. Younger children might prefer to stick with jolly jack-o’-lanterns and friendly ghosts. Here are some ideas to get you thinking: ghosts, jack-‘o-lanterns, witches, spiders, bats, monsters, dracula, skulls, skeletons, coffins, gravestones, haunted mansions, creepy hands, zombies, owls, scary dogs, etc. Just be sure to gear your creations to the ages of the children in your household. (Nobody wants to feel afraid at home.) Remember, googly eyes make anything—ANYTHING—cute. A felt Dracula with a smile—also cute.

Felt has got to be the most forgiving fabric in the world. You can cut it and layer it and you never have to seam anything or make it perfect. It sticks to itself beautifully, so you can place a piece, see how you like it there, and then move it elsewhere if you don’t, until you have a design you’re happy with. Furthermore, the synthetic felt is cheap at $0.20–$0.29 per sheet, which means you don’t have to worry about turning it over to kids with scissors.

So, decide what you’re making. Draw the creature first, or just start cutting. It’s your choice. Cut out the main shape of your creature first. Then cut other, smaller pieces for eyes, mouth, clothing, hair, teeth, etc. out of a contrasting color. Arrange them on top of the main shape until you’re satisfied, then apply some white glue to the topmost piece and lay it onto the felt creature. Add googly eyes or fabric paint for details if you wish. Let it dry. That’s it. Repeat for as many creatures as you’d like to make.

You can now hang your creatures in windows or on walls, or even suspend them from trees if you like. But if you want to make a banner, lay out your bias binding tape on the floor. Place your Halloween creatures along the tape in a pleasing way. Maybe your kids have an opinion about which ghoulish guy goes next to what creepy critter?

You can either sew each creation in place, or if you’re in a hurry like me—or if you might want to use these critters again in a different way another year—just pin them to the bias binding tape using straight pins! If you pin from the back, you won’t see the head of the pin on the front of the banner, and chances are you won’t see the pin shaft at all.

upload

Now find the center of the banner and the center of the wall where you want to hang it. Using a push pin/thumb tack, hang the center of the banner. Stretch out one side at a time, make sure the bias binding tape is flat against the wall without any twists, and then tack the ends. If you only pinned rather than sewed your creatures onto the bias binding tape, you can even adjust their positions at this point.

upload upload

You can also make corners by pinning or sewing critters to each other.

Happy crafting!

[Shared on Natural Suburbia’s Creative Friday, 10/26/2012]
 

Waldorf School Harvest Faire

IMG_1718

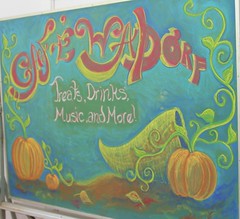
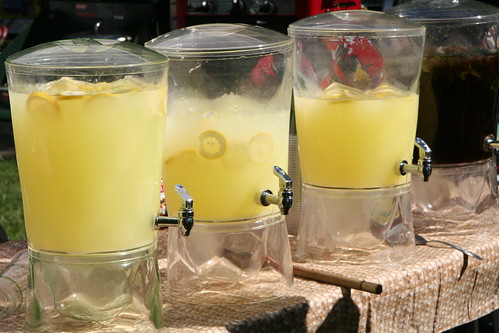
This is what the Sacramento Waldorf School Harvest Faire (held October 13) looked like to me. In all of these photos I’ve tried to capture a small glimpse into the tremendous effort and creativity required to bring off this wonderful school fundraiser festival. Each year I am inspired by the depth of commitment and strength of community that this event represents.

IMG_1744 IMG_1728

Many families cooked and baked goodies to be sold at Cafe Waldorf.

IMG_1790

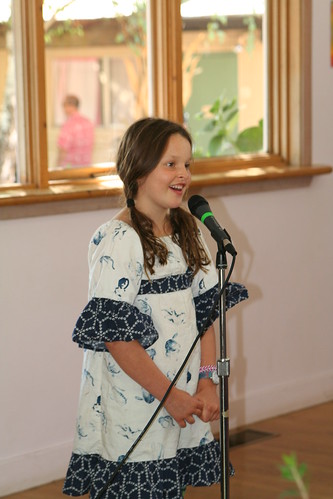
Each class sang the songs they’ve been working on in music class, and some brave performers took to the stage for fun and to entertain the diners. Many other performers took to the main stage. We heard a terrific young man playing violin.

IMG_1739

IMG_1741

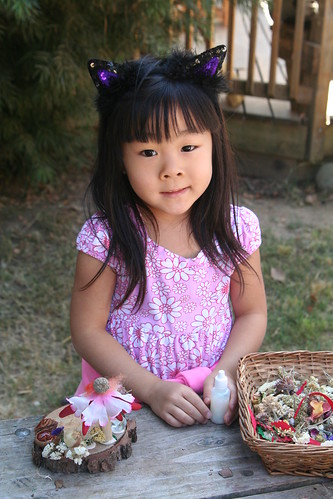
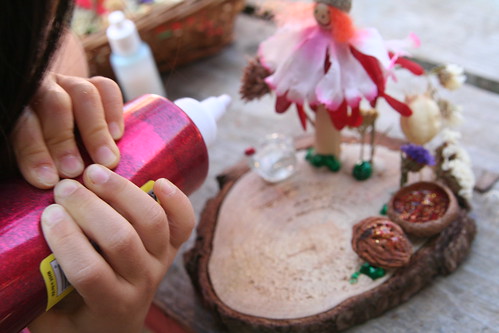
Kids (and kittens) made fairy gardens with clothespin fairies and gems. And plenty of glitter glue.

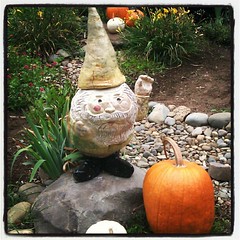
Scarecrow Gnome at Sacramento #waldorf #School #gnome #studentart #art #ceramics

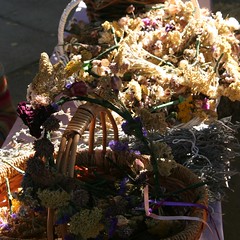
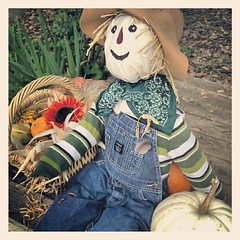
The campus was decorated beautifully with fall pumpkins, cornstalks, flowers, scarecrows, and more.

IMG_1707

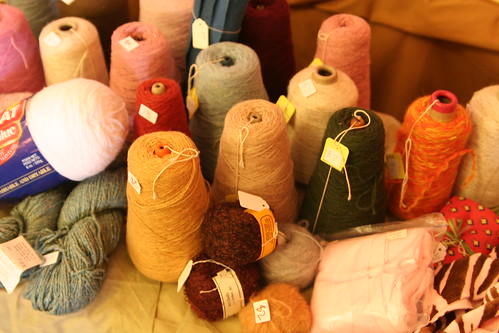
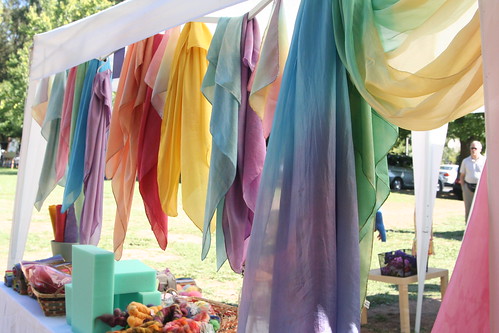
The Country Store sold handmade items and housewares, children’s toys, edibles, bath and body items, holiday items, and lots of crafting and handwork supplies. I’m a little sorry I didn’t buy a bag of raw wool, but I knew I’d have difficulty finding time to use it.

IMG_1698

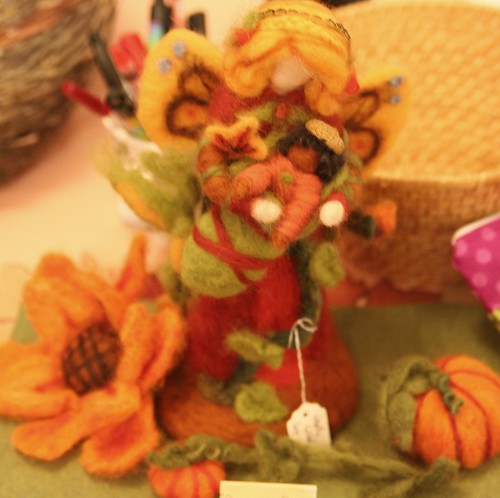
This gorgeous Autumn Fairy Mother was handmade. I’m sorry I never got the name of the artist. I thought she was just beautiful.

IMG_1694

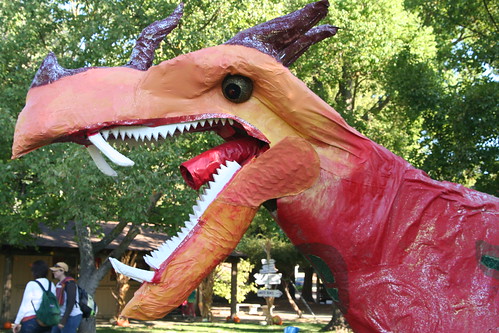
The sixth grade’s Michaelmas dragon was on hand and perfectly tame. He posed with knights and ladies for photographs.

IMG_1827

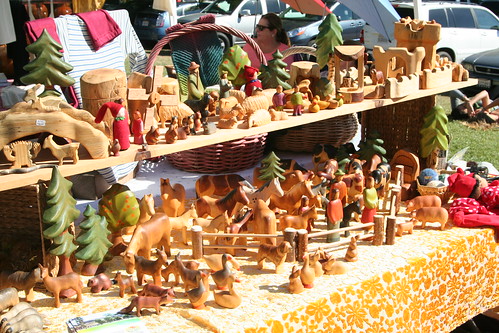
Amazing vendors were present, like The Puppenstube‘s own Christine Schreier. We had a lovely chat about mermaids and heavy baby dolls and I took her photo as she sewed on a doll, but she’s shy. Here is her collection of Buntsprecht wooden figures for sale.

IMG_1820

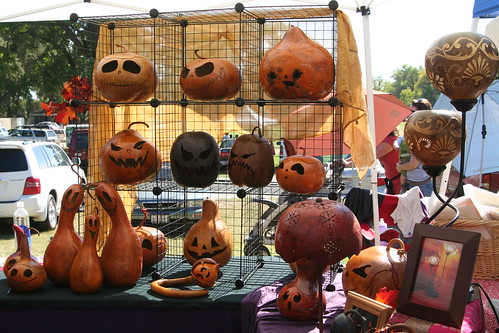
And here is the spooky and charming work of our own Mrs. Passie. She carves these beautiful gourds and makes amazing gourd lamps that cast lovely stars and patterns on the walls of a dark room. My son tells me that he’s been making a gourd lamp at school with Mrs. Passie’s instruction.

IMG_1819

IMG_1801

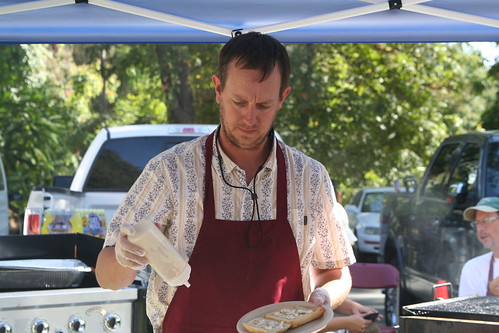
Food vendors were terrific, and our class did a wildly successful tri-tip and mushrooms sandwiches booth. I’m told that the line was long and constant. Many thanks to our parent volunteers who manned the booth, but especially to Sean and Heather for spearheading this effort and procuring all the supplies. I even heard Sean say, “next year when we do this, we’ll …” so I guess he feels pretty great about it, too.

Lucas shooting #harvestfaire #waldorf #archery #son Asher, my lefty #harvestfaire #son #skills #waldorf #archery

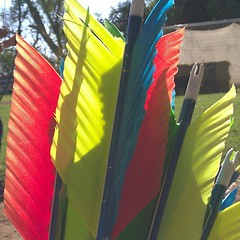
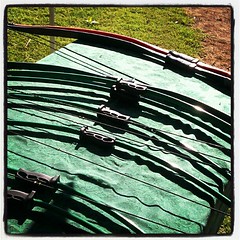
#archery #arrows #harvestfaire #waldorf upload

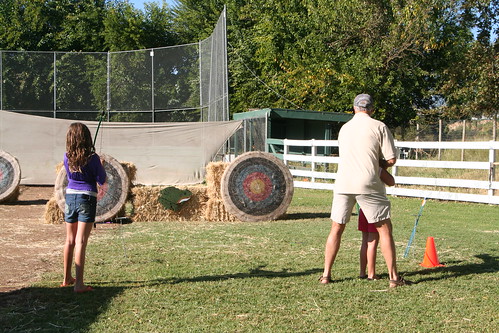
This year Katie and I worked on the Archery booth. We both expressed a strong opinion at a meeting last spring that archery just had to be at the faire. Thus, it became our problem to make it so. Katie did absolutely all the legwork and communications before the faire. I showed up the day before to set up, and then Ian and I worked most of the day of to make sure the booth ran smoothly, safely, and had happy customers.  We had great parent volunteers from our fifth grade class, thank goodness. And even the fifth graders played a huge part in setting everything up. Did you know a small group of 10s and 11s can move 15 hay bales? They can! One of the grandpas donated new arrows and six children’s bows to the Harvest Faire, which means that the archery booth can appear at Harvest Faire year after year. Which is great because it did a very brisk business all day long and we had archers ranging from 3 to 75 shooting that day!

Asher and Lucas loved archery and spent most of our faire money on arrows for another chance to shoot.

IMG_1797

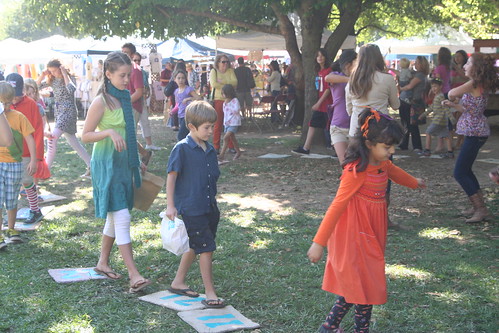
The cake walk was popular as always.

IMG_1836

Beautiful colors, beautiful children, beautiful families were everywhere. The weather was warm and lovely. I think the whole thing was a huge success.

IMG_1847 IMG_1803 IMG_1776 IMG_1727

My kids loved having their parents busy and committed all day. It meant that they could run around campus with their friends! They love having the opportunity to be independent, to go where they like and not have to ask. Although this event was open to the public, I feel safe knowing our community is there and everyone is watching out.

IMG_1866

And then, at the very end of a long, tiring, and happy day, we all flopped out. It was worth it!

Lately

upload

I’m not going to get anything done today until I write a bit. I am all pent up and my feelings on all subjects are all over the place. They’re mixed up because I haven’t been writing, which is my process for sorting things out, for determining what matters, what to hang on to and work on, and what to let go of. I’ll try not to make this too complainy because there’s really tons of good stuff.

Lately:

I am very busy with work; I have three projects going full speed ahead. Well, the truth is two of the three projects are taking up so much time that the third is languishing and I hope to get back to it ASAP. I don’t know when that will happen and it’s worrying me. I hope it goes without saying that I’m very glad to have the work. I am. Really.

Pretty computer. So new, there is no dust!

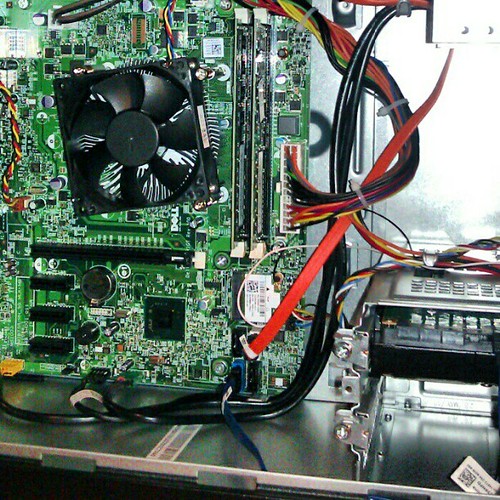
My computer died last Wednesday. My main, desktop, do-everything-on-it computer. I will spare you the emotional trauma of this and just say that I have a new one now. It’s a great new machine and my old data is fine. “Hard drive is robust like ox,” said my tech support queen. This is a VERY HAPPY thing. I am still tweaking and finding workarounds to this happy thing, however, as the happy thing is far from optimized at this moment and I don’t have time to optimize it … yet. Nevertheless, all of this will be better soon. In the meantime, I’ve struggled to keep those three projects moving forward.

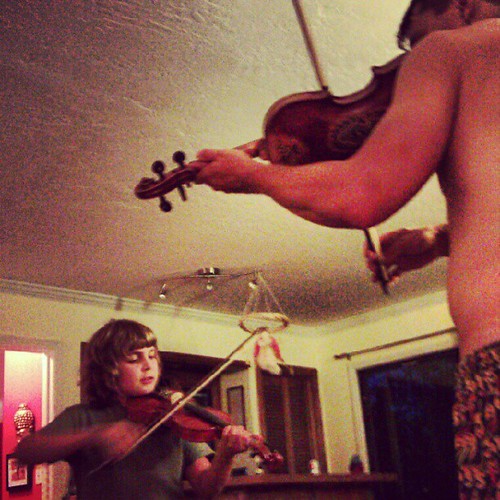
I just fell in love all over again. #violin #waldorf #home #son

The boys are doing great. Lucas is adapting gradually to the greater expectations of fifth grade. (I have a whole post on this topic brewing in my head.) Lucas is really enjoying both soccer skills practice and his twice weekly karate class. Asher is zany and clownish and enjoying the hell out of life, it seems. Both boys are healthy and happy. Managing them is like herding cats, or monkeys, um—good-natured, sometimes-disdainful-or-obstinate, constantly forgetful catmonkeys who are generally too busy singing or shouting or bickering or spilling or bouncing through the house to listen to you. Or me.

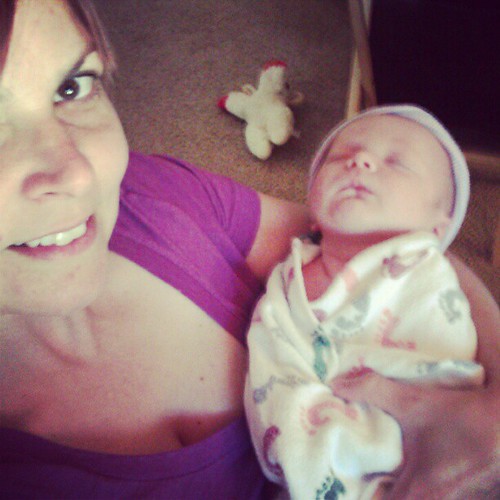
I’ve gone over to my sister-in-law Kellie’s house a couple of times to help out a little with baby Jack, her newborn son. He is beautiful in every way—utterly perfect—and is finally seeming to get a handle on this breastfeeding thing. Some babies are stubborn like that. Holding a teeny baby has got to be one of the best joys of life. I only have to hold him a moment before he has cast a dreamy spell on me and I find that everything else fades away. Still, I did that so-familiar thing of holding baby and editing one-handed. It brought back so many memories and feelings from when my babies were small. Anita Martin, the charming and talented photographer who took Matt and Kellie’s wedding photos has taken some gorgeous shots of them with new baby Jack. They are truly spectacular. Our love goes out to Matt, Kellie, and Jack during this difficult and wonderful newborn time.

Harvest Faire  and the Walk Now for Autism Speaks events both happened last weekend. (I’m planning to write more about this.) It was community service weekend, to be sure. Consequently, it felt rather like no weekend at all. Today, Friday of the following week, I am running on fumes. (Return to the first paragraph under “Lately.”)

I’m also supposed to be writing a book. I hope to get back to that ASAP before my coauthor disowns me.

I love the fall. Can’t wait to hit the pumpkin patch and start work on those Halloween costumes.

I miss painting sooooo bad. It’s been too long and I now feel fear when I think about picking up a brush. Isn’t that the way of it? I’ve lost my momentum and with it some confidence. It’s a thing I have to correct at the soonest possibly opportunity. Must buy that fancy light so I can paint in my house at night. Must get back to class. Mustn’t forget what I’ve learned so far.


Pumpkin Globe Lantern Tutorial

IMG_5700

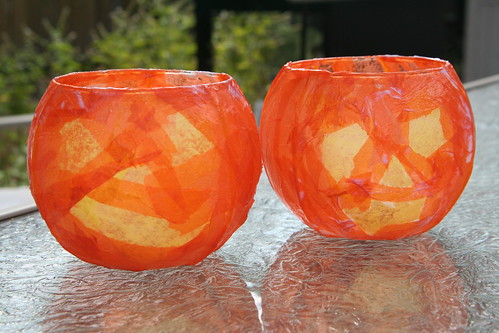
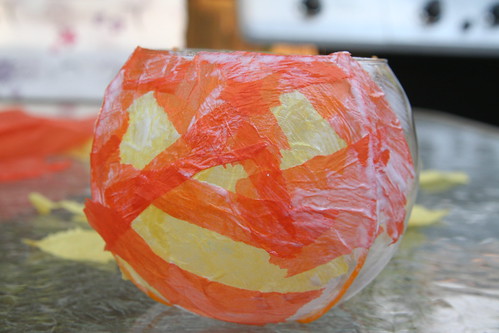
Candlelight is favorite way to illuminate October evenings, and what says October more than jaunty, glowing pumpkin faces? These pumpkin globe lanterns can be made by children of all ages with your supervision. The process is simple and the materials are inexpensive. Why not create a jack-o-lantern that you can enjoy year after year?

IMG_5662

Materials

  • tissue paper in yellow and orange
  • wax-coated strings in yellow or orange (brand names are Wikki Sticks and Bendaroos)
  • globe glass candle holder
  • mod podge and a paintbrush or foam applicator

IMG_5689

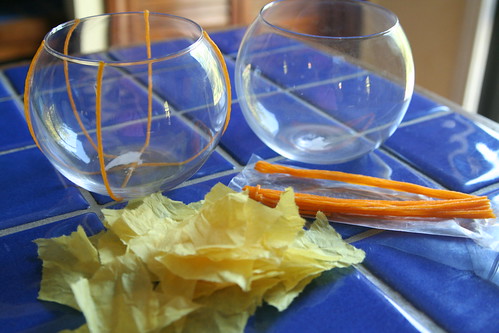
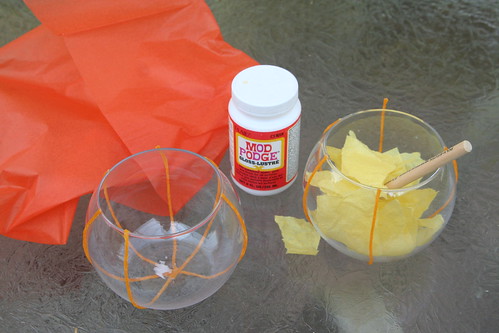
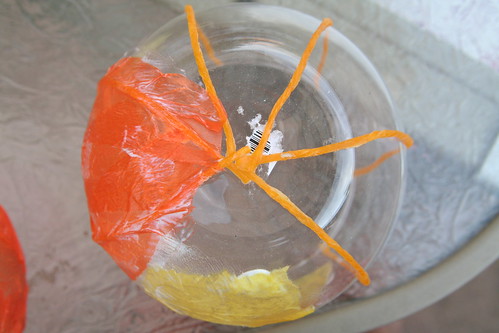
Begin by gathering your materials. The first step in the project is optional. If you want your pumpkin globe lantern to have the iconic vertical rib lines of a real pumpkin, gently squish the end of a wax string to the top edge of the globe. Guide it down the side and squish the other end to the bottom of the globe. Repeat this for as many lines as you like, placing the wax stings equidistant to each other. You might want to omit one line that would naturally appear at the pumpkin’s face. These lines will be visible when the candle is lighted in the finished pumpkin.

IMG_5690

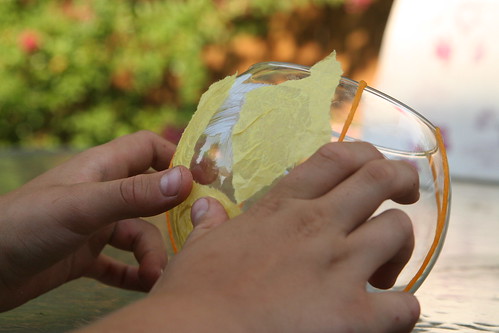
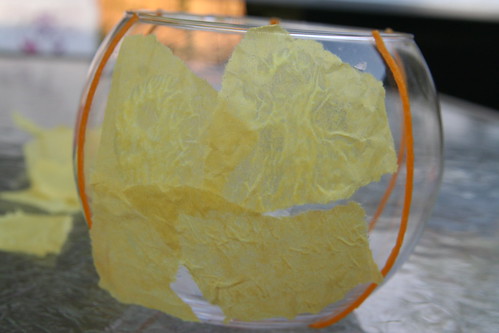
Rip your yellow tissue paper into small pieces. You won’t need much. Now apply a small amount of mod podge to your glass and apply a small piece of yellow paper. This is your first eye. Smooth the paper with more mod podge and the applicator or paintbrush. Add a second eye, a nose, and a long mouth. The shapes of these pieces of tissue don’t matter all that much. Smooth them all down.

IMG_5692

At this point, your face might not look much like a face. You’ll use your orange tissue paper to define your pumpkin’s features next. Rip your orange tissue paper into small pieces. (Alternatively, rip some small pieces and then rip some into strips about 6 inches long.)

IMG_5693

Using your small pieces of orange tissue paper, apply them around your pumpkin’s eyes, nose, and mouth. Now is your opportunity to define your pumpkin globe lantern’s personality. Small children may prefer smiling, happy pumpkins. Older children might enjoy figuring out how to make theirs spooky. Does the pumpkin have squinty, frowning eyes or a snaggletoothed grin?

IMG_5695

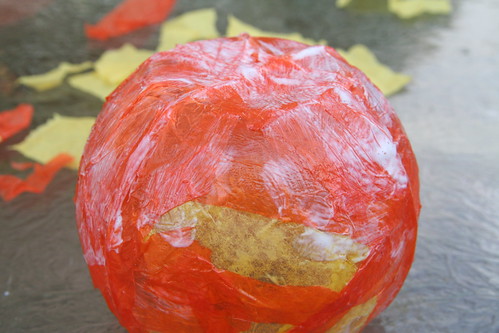
When your pumpkin is mostly découpaged with tissue, turn it over and cover the bottom of the glass globe. You’ll have to let it dry in this position, setting on its top rim.

IMG_5696

If you wish to use long strips of paper, your in-progress pumpkin lantern will look like this photo above. You’ll add adjoining strips, working your way around until the whole globe is covered.

IMG_5701

Now you have to wait patiently while the mod podge dries. Examine your pumpkin for any thin spots or places uncovered by tissue. Add or patch as needed. The more layers of paper you add, the better defined the pumpkin’s features will be.

IMG_5706

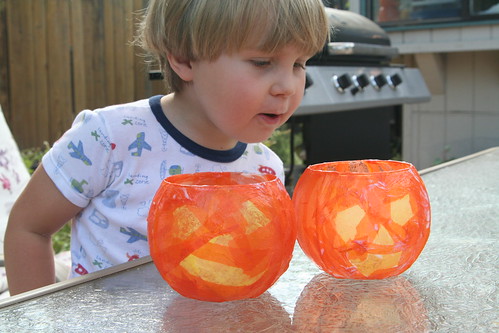
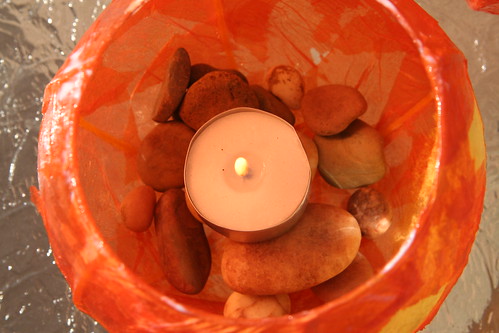
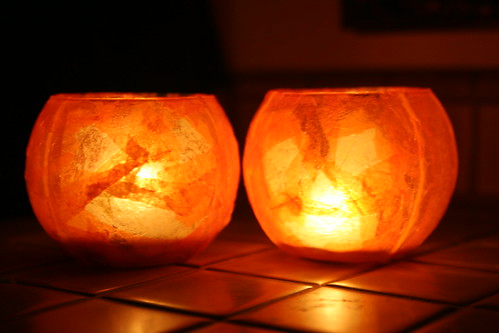
Fill your pumpkin globe lantern with some rocks, gems, or sand, add a tea light or votive, and wait for nightfall to meet your pumpkin friend in all his glowing glory. It will happily share its light during chilly autumn nights.

IMG_5720

It’s nice to have a friend in the darkness.

Autumn Equinox and Michaelmas Festival E-Book

E-Book Cover

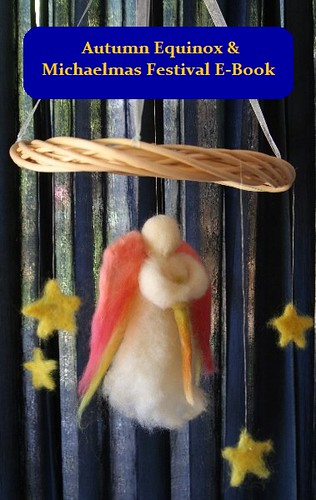
I’ve been a bit quiet in this space lately. We’ve been adjusting to a new school year and working through some projects. I am delighted to announce that my dear friend Eileen Straiton (of Little Acorn Learning) and I have finished another big e-book. This one is our Autumn Equinox & Michaelmas Festival E-Book and I’d be honored if you’d check it out and spread the word a little. It was a pleasure to work with Eileen on this and I’m really proud of it. We have such a great rapport and similar values, and I think this comfort and compatibility reflects in our e-book. So here’s to healthy, joyful, creative collaboration!

Here is a little teaser: a mosaic of just some of the images from the projects and activities we offer in our e-book.

Taste of the Contents of Our Autumn Equinox & Michaelmas Festival E-Book

133 PAGES of verses, fingerplays, poems, song, crafts, meditations, book recommendations, circle times, recipes, and much more to guide you in celebrating the Autumn Equinox and Michaelmas
in your home or school!

  • Needle Felt a Beautiful Apple Mother Doll
  • Go on an Apple Picking Field Trip and Learn
    About Different Varieties of Apples
  • Design a Breathtaking Early Autumn Nature Table
  • Read Books with the Children Celebrating
    Autumn and Michaelmas
  • Make Your Own Apple Stamps
  • Enjoy Homemade Applesauce Together
  • Crochet an Apple for Your Nature Table or Play Kitchen
  • Create a Beautiful Autumn Candle Holder Centerpiece
  • Make an Archangel Michael Mobile
  • Harvest Natural Dye Materials from Outdoors and
    Make Capes of Light Playsilks
  • Hold a Michaelmas Family Feast
  • Create Dragons out of Nature Items
  • Bake Dragon Bread with the Children
  • Make a Dragon Tree Block Checker Set
  • Sculpt Dragons out of Modeling Material
  • Cut Out Paper Flying Dragons to Display on Your Wall
  • Make a Michaelmas Felt Play Set
  • Paint an Autumn Leaf Stencil Painting with Watercolors
  • Crochet Beautiful Autumn Leaves for Your Nature Table
  • Paint Your Own Interpretation of Michael and the Dragon
  • Look Inward and Face Your Own Dragons with our Caregiver Meditation
  • Share Verses and Songs About Autumn and Michaelmas
  • Meditate on Quotes from Steiner and Other Inspirational Individuals
  • Enjoy Pinecone Weaving
  • Share Circle Time Together
  • Make Michael Sword Napkin Holders
  • Sculpt Michaelmas Worry Beads
  • Craft an Autumn Equinox Wreath
  • And more!

So, if you’re wondering how to make this time of year feel magical, this e-book may be just what you need. Thanks for peeking!

Only $24.99

Authors:
~ Eileen Straiton,
Little Acorn Learning

~ Sara Wilson, Love in the Suburbs

With Guest Contribution from Jennifer Tan, Syrendell

Review: Naturally Fun Parties for Kids

Review: Naturally Fun Parties for Kids

I was tickled to be asked to review Anni Daulter and Heather Fontenot’s new book, Naturally Fun Parties for Kids. Alas, I should have done so in a more timely fashion, as the book released earlier this year. But hopefully late is better than never. I’ve paged through this book dozens of times and I think it’s marvelous. Every time I pick it up I light upon a brilliant idea that hadn’t ever occurred to me before.

Daulter’s and Fontenot’s book is all about throwing parties with kid-friendly themes. As a huge fan of parties in general and, really, ANY excuse to dress up, I can totally relate. We all need celebrations and we all need to exercise our creativity muscles. This book is just the ticket to show what’s possible, with a little ingenuity, patience, and planning. A party for children doesn’t have to glorify a licensed media character! The book is organized into seasons and the authors provides three awesome party ideas per season. My favorites are the Summer Solstice Beach party, the Winter Solstice Party, the Forest Fairy Dress-up Party (Oh, to have girls!), and the Knights and Dragon Quest party.

The book offers “tips and tricks for making the parties green, natural, simple, and organic in style and content.” I like the emphasis on taking inspiration from nature and keeping it simple. The authors suggest thrifting, upcycling, borrowing, and making items from scratch to make the parties doable and special.

Review: Naturally Fun Parties for Kids

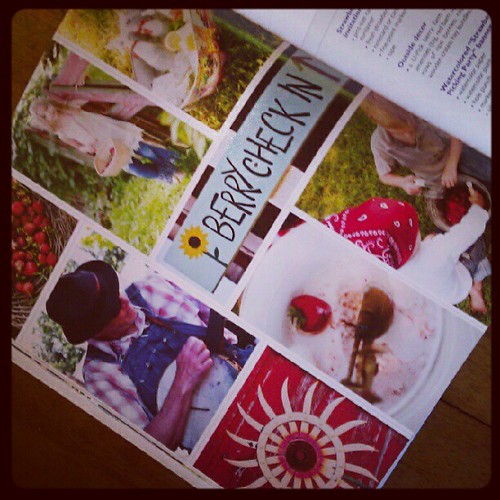
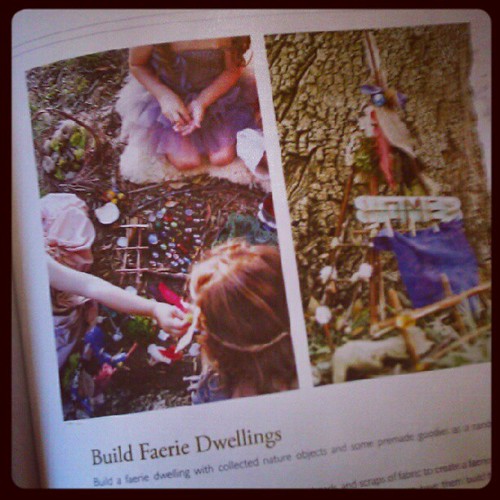
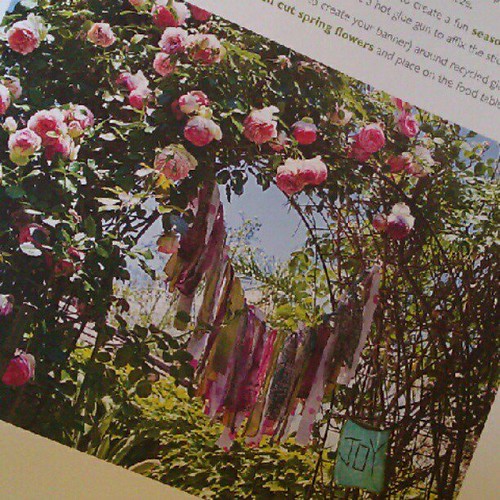
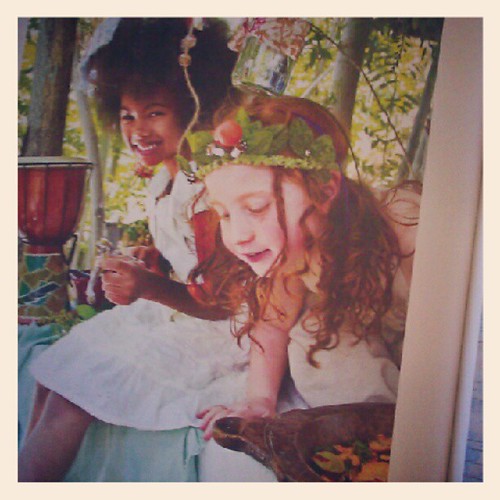
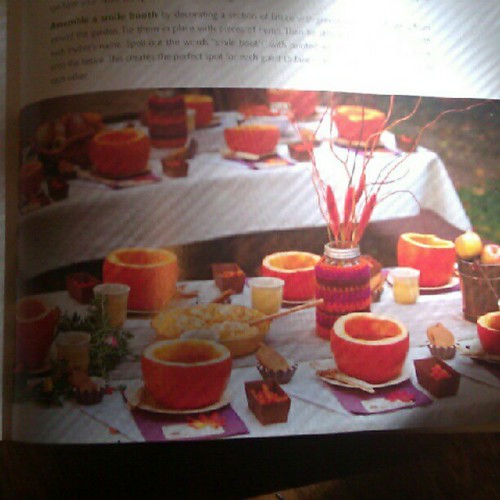
The book’s photography, by Tnah and Mario Di Donato, is simply gorgeous. Do NOT take my silly snapshots as an indication of the book’s beauty. I just wanted to give a little teaser. Their photos are vivid and inspiring.

Review: Naturally Fun Parties for Kids

What is kind of fun is how much the authors’ esthetic matches my own. Several of the projects in this book are ones we have done in the past, or ones that I’ve always wanted to do with my kids. I’m particularly intrigued by the beeswax ornaments (Winter Solstice Party), the upcycled sweater aprons (Community Cooking Party), and the grapefruit sugar scrub (Natural Spa Party). But there is much more.

Review: Naturally Fun Parties for Kids

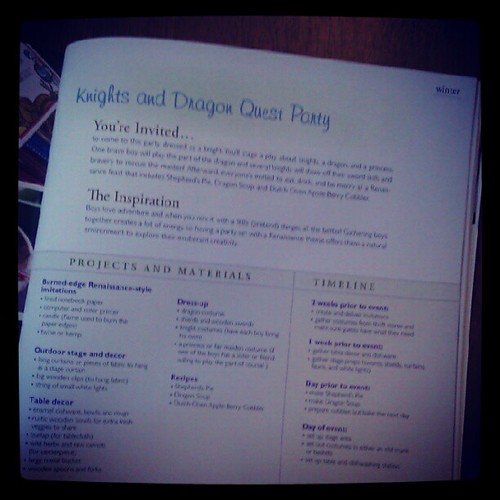
Each party comes with a project and materials list, and a timeline for getting things put together in advance of the big party day. That’s just the sort of thing people like me need! I’m often full of ideas at the too-late last minute and don’t have time to execute them. These handy lists fix that deficiency.

Review: Naturally Fun Parties for Kids

Activities are provided for each party, too: games and crafts, and even a play! And the party themes are well chosen to appeal to kids, such as pajama parties, berry picking, art, egg-dying in spring.

Review: Naturally Fun Parties for Kids

The authors also provide plenty of delicious-looking recipes and, frankly, you don’t need to throw the party to make them. Herbal tea spice cake and mushroom and onion mini crustless quiches both sound like they’ll be visiting my kitchen soon. Furthermore, the recipes are geared toward kid palates. Nothing too fussy and plenty of fun: Italian ices; black bean, corn, and cheese quesadillas; grilled flatbread pizzas; Dutch oven apple-berry cobbler, etc. Now, where the heck does one find a donut pan for baking donuts? (The Internet, I suppose.)

Those who like to do paper crafts will love all the invitation making in this book. That’s mostly not my thing, to be honest. So I’d probably skip some of that stuff. Anyone with a flare for scrapbooking and stamps and stuff will dig it.

So, if you’re looking for inspiration for celebrating with children, check out Naturally Fun Parties for Kids by Anni Daulter with Heather Fontenot.  I wonder if I could con my boys into a Forest Fairy Party? Well, maybe not that one, but definitely the Pancake P.J. Party. They’ll go for that!

Nature Therapy

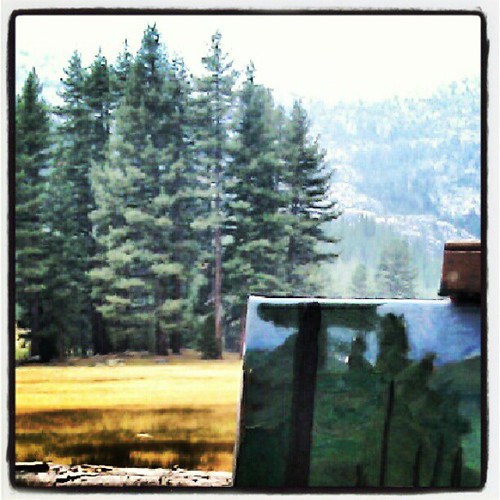
I love this meadow

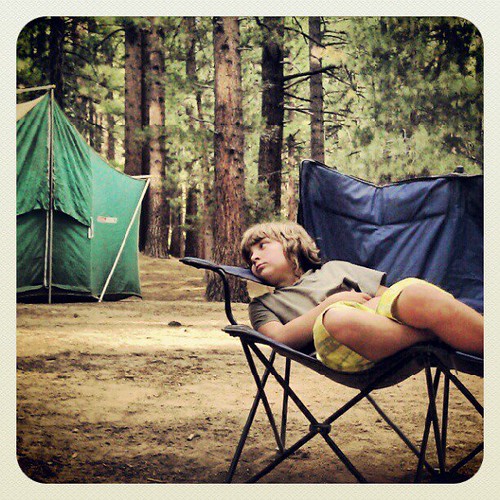
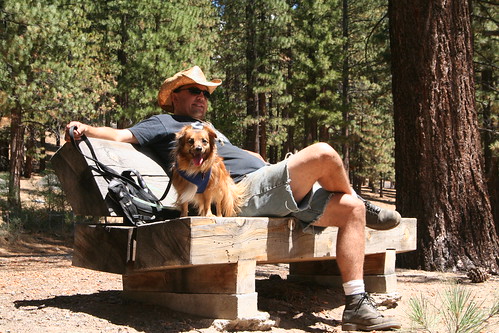
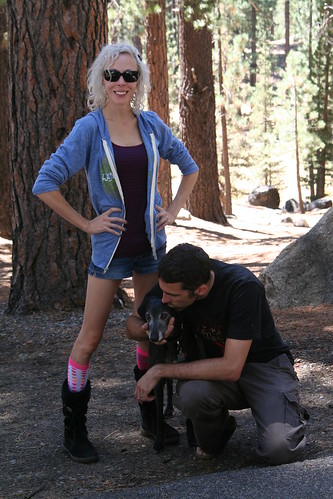
A couple of weekends ago, we joined 30 of our best friends for camping in the mountains south of Lake Tahoe at Grover Hot Springs State Park. I got to visit my favorite meadow for some much needed nature therapy. After four solid weeks of difficult work, I was ready for an escape.

Lucas Holding Baby J

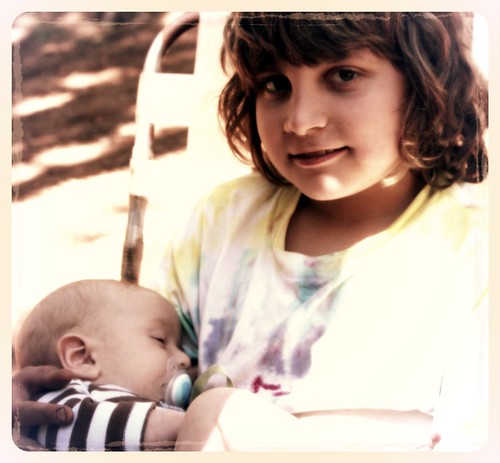
It was just the ticket for me, really. We got to be outside in a beautiful alpine forest. We got to hold a wee three-month-old baby (sublime!), and play with friends.

530000_3592621218953_835353086_n

I got to watch this, and watch my competent 10-year-old son light the campfire.

418404_3592634419283_959146268_n

The only hard part came on Friday afternoon, when my boys were stung by wasps after moving too close to their hive near the creek. They each received five or six stings, which were very painful. D, a brave 12-year-old girl, ran for help and trundled through the forest to find some, eventually making her way to the road and the ranger station. She brought a ranger who was prepared to give us medical help. Meanwhile, Lucas bore his brother away from the wasps and helped him back to camp. I am very proud of my son for helping his little brother! Honestly, my heart is full to bursting about this. When they arrived at camp, traumatized and sore, there was still a wasp in Asher’s armpit, stinging him. Fortunately, friends had Benadryl on hand and that, with some ice, did the trick. Within 2o minutes or so of resting, they were up and playing again. They are brave, irrepressible boys.

Holding Hands

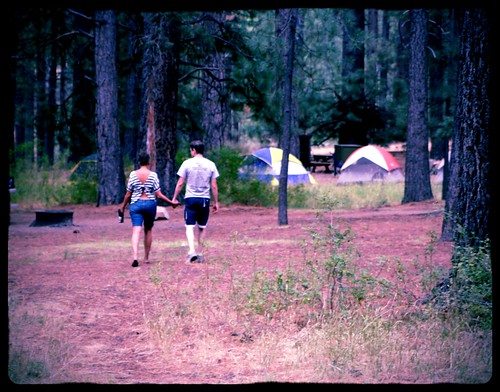
Everything after that was sweetness and light.

Daddy and Solstice

Our little dog Solstice surprised us with his desire to confront forest creatures in the dead of night, and “boof” at every nighttime sound. Hmm… He is braver than he is smart, I think. Apparently, bravado is just a part of our family.

E, T, and Suki

T and J

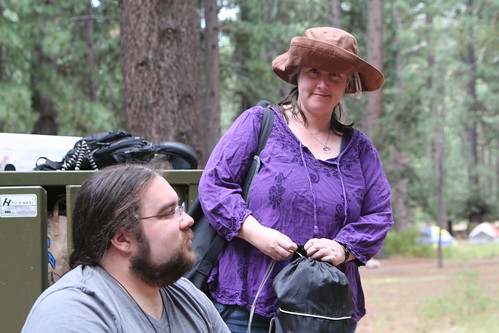
It was gooooooood to see some friends out there. Quite a few of us have been having a rough time this summer. I’m so grateful to have these amazing, inspiring people in my life. And I’m grateful that they continue to put one foot in front of the other.

575947_3592627339106_878551287_n

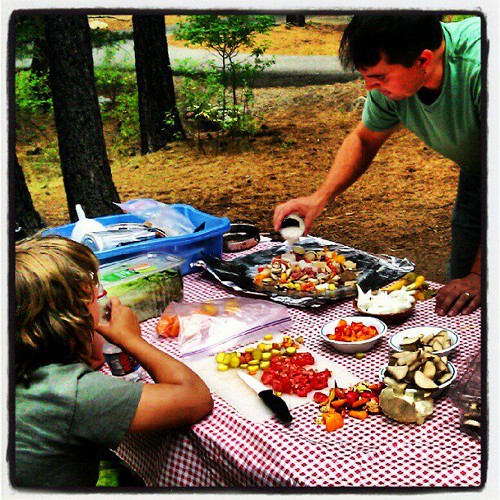
Ian made us hobo stew (custom dinner for each of us!), which we cooked over the campfire. It was yummy, and I have some notes to make it even better next time.

Potluck Barbarians Party

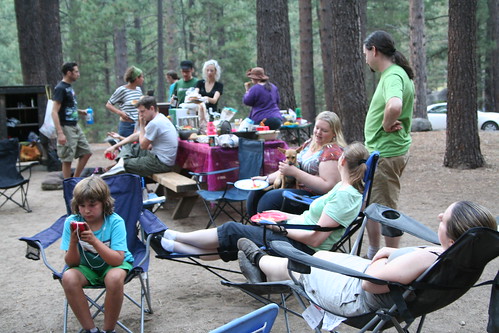
The second night we had a huge group potluck with TONS of veggies. I totally failed to get photos of everyone. Sorry, darlings. I was determined to relax and didn’t cart my camera around everywhere.

428786_3593311596212_679365485_n

On Saturday night we had a thunderstorm and it rained and rained. We were cozy and dry in our ancient Coleman 1970s tent. The rain sounded wonderful on the canvas of our tent!

Ivan the Terrified and Luna

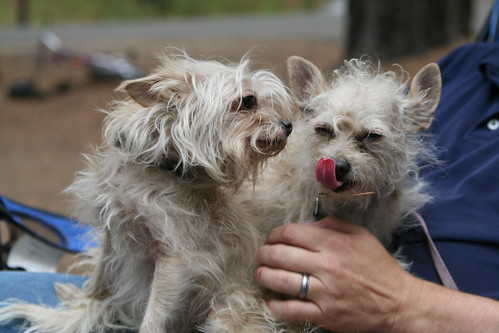
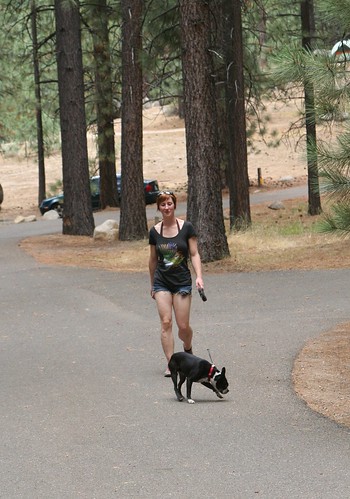
We had eight dogs of varying sizes and shapes in attendance. Amazing! These were particularly kooky.

J and L

Some of us traveled six or more hours to join us. I am grateful to them for all the extra effort they expended to share this weekend with us.

J and Oscar

551895_3593329636663_198126526_n

I got to spend a little time with my easel and oil paints in my beloved meadow, which is what I wanted to do from the moment I first saw it last summer. Plein air painting is hard and delightful. The only thing missing from my painting experience was a tall glass of cold white wine. Next time!

Family Clay Camp

Family Clay Camp

Right at the beginning of summer vacation, my boys and I participated in Family Clay Camp, which was offered through our local Parks and Rec. Michelle Leuth was our wonderful teacher. Lucas and I had taken a clay/pottery class from her a few years ago. Now that Asher is 5, he can start doing some of these fun activities, too!

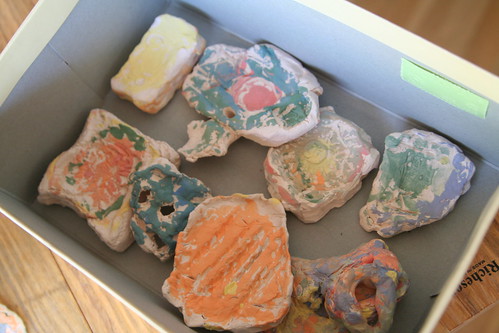
We had a blast. Camp was four days, for two hours each day. Some friends from the boys’ school were also enrolled, so that made it extra fun. We had unlimited clay to play with for three days. On the fourth day, we painted everything. Then our pieces dried and were fired, and we picked them up a couple weeks later.

IMG_7426

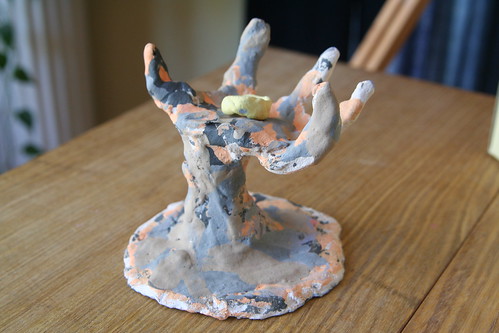
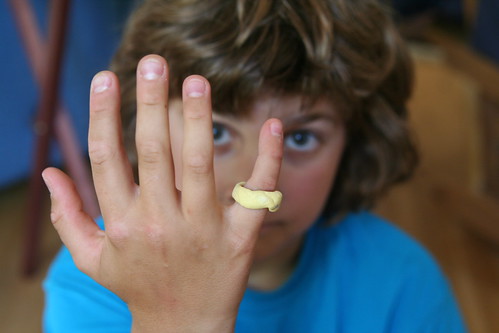
This is Lucas’s piece de resistance: A hand reaches up out of the ooze to clasp a golden ring. The ring is separate from the hand.

IMG_7446

(It’s been a good, long season of reading The Lord of the Rings books in our home and these stories have clearly  fired up my children’s imaginations.)

IMG_7429

Asher thoroughly enjoyed this class, and got really into the feel of the clay and the fact that it took impressions. He spent a lot of time pressing textures of all kinds into his clay objects.

IMG_7427

This is Asher’s “design collection”—a series of clay objects with many textures. They are right in keeping with Asher’s appreciation for treasures.

IMG_7431

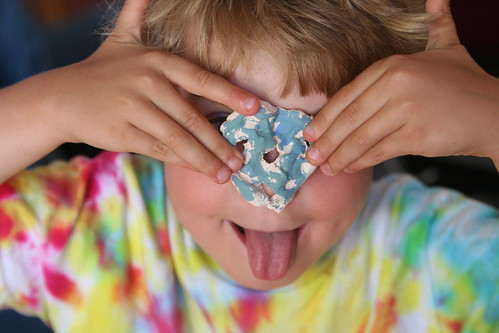
This is a small mask he made. I noticed that Asher had little interest in painting his creations—for him it was all about the forming of the objects.

IMG_7436 IMG_7433

This is a kind of creature sculpture that Lucas made for his father as a Father’s Day present. The back view is on the left, front view is on the right. Asher made a lovely, lumpy candle-holder for his daddy for Father’s Day.

IMG_7439

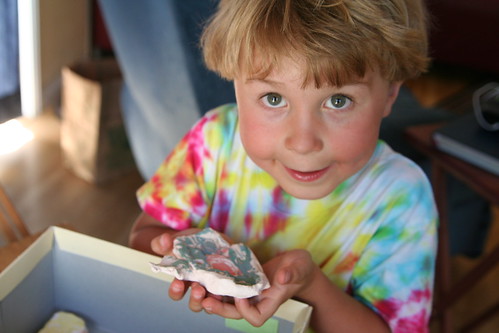
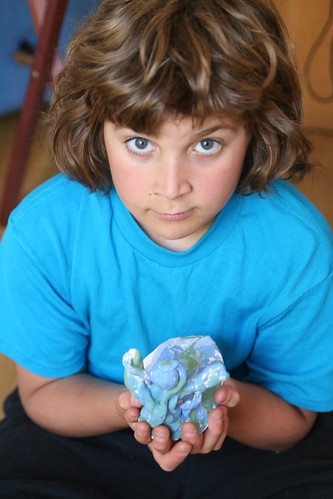
The expressive artist holding his sculpture.

IMG_7451

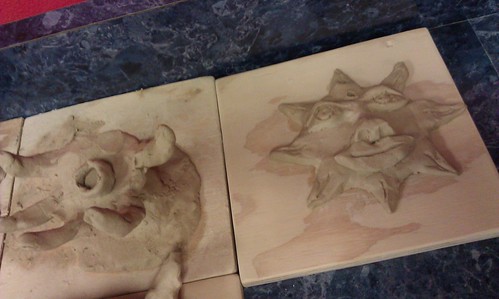
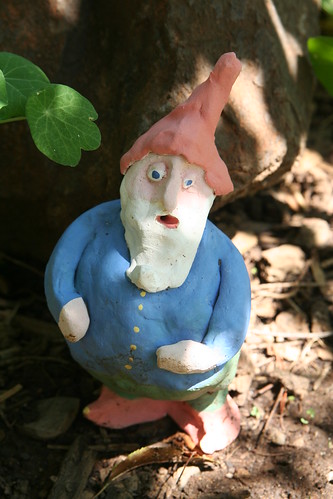
I made this little gnome, using the coil method. I started at his feet and worked up, taking care to avoid having any air spaces inside the figure without a means for the air to escape during the firing process. My gnome now stands in my garden and I am rather fond of him. I also made a sunshine face and a pinch-pot style bowl. It catches my earrings on my bedside table at night.

I like making art with my boys!

Lucas’s Recent Artwork

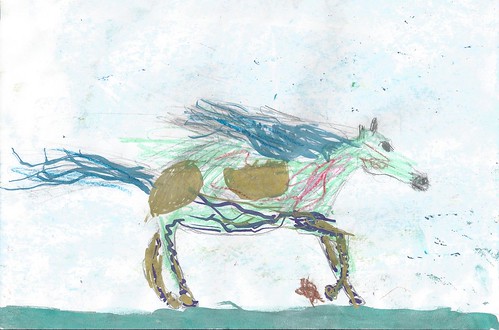
The Spirit of the Wind June 2012

My 10-year-old recently created these beautiful artworks. The one above is called “The Spirit of the Wind.” Colored pencils and metallic ink on paper.

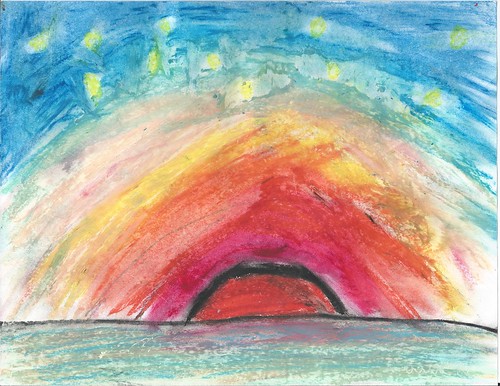
The Sun Sets Over the Water June 2012

This is “The Sun Sets Over the Water.” I believe it’s pastels on paper.

Usually he draws knights and ninjas and soldiers of fortune with all kinds of bad-ass weaponry and explosions. Those are awesome, too.

“Everything you can imagine is real.”  —Pablo Picasso


Summer Solstice Celebrating and Feasting

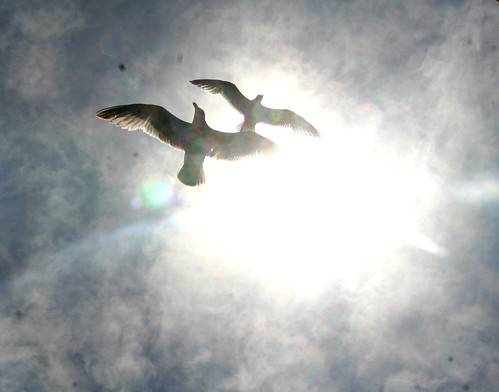
Seagulls

Sunlight is flooding
The widths of space
The son of the birds echoes
Through the realms of the air
The blessing of plants sprouts
From the being of the earth
And human souls lift themselves
In feelings of thankfulness
To the Spirits of the World.

—Rudolf Steiner

IMG_7106

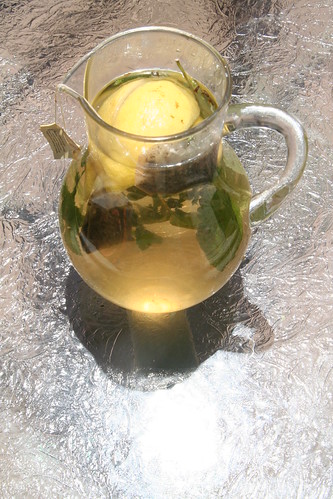
Happy Summer Solstice! Here is a little tea concoction I made and it was so yummy, we’ll definitely do this again:

  • two green tea bags
  • lemon slices, squeezed into the water
  • lemon balm leaves
  • sweetener of your choice

(Steep all day, strain, and then chill before drinking.)

We have had a marvelous day and I hope you have, too.

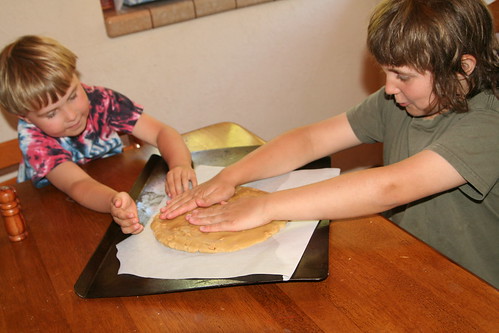
Forming the Giant Cookie

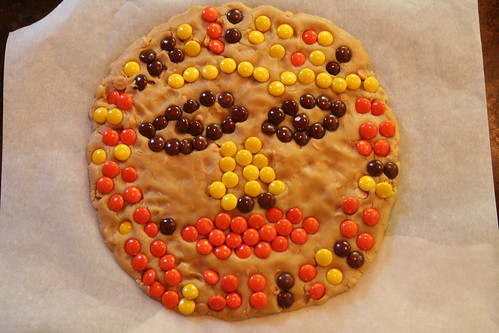
Summer Sun Mosaic Cookie Before Baking

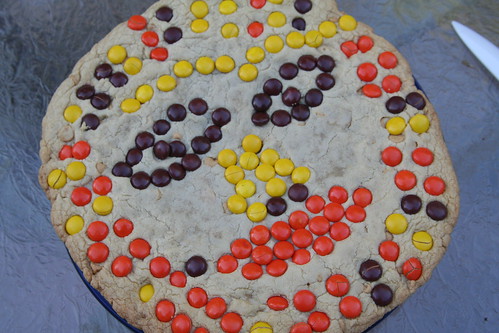
We made a giant summer sun mosaic cookie together. Here it is before baking. And here is the basic giant cookie recipe from Mel’s Kitchen Cafe. This kind of thing goes over really big with my children. Lucas made the face; Asher did the eyebrows and the sun rays around the outside. Since the boys got soooo excited about putting the Reese’s candies on top, I realize now that I didn’t need to put peanut butter chips into the dough.

IMG_7131

IMG_7141

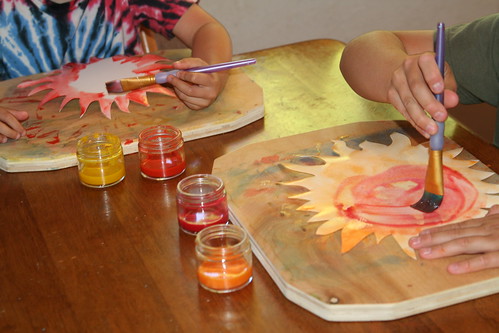
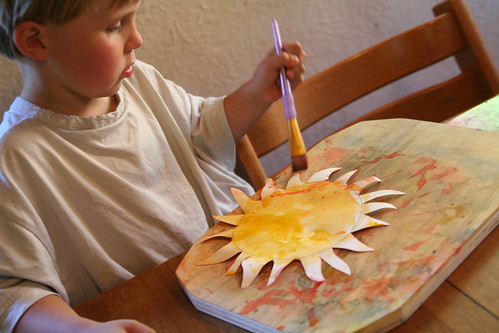
We painted suns, inspired by my co-author and friend Eileen Straiton’s project in our Midsummer Festival E-Book. I think once they’re dry we’ll hang them.

IMG_7149

IMG_7147

IMG_7148

IMG_7157

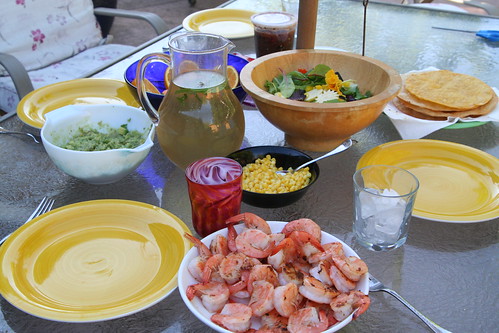
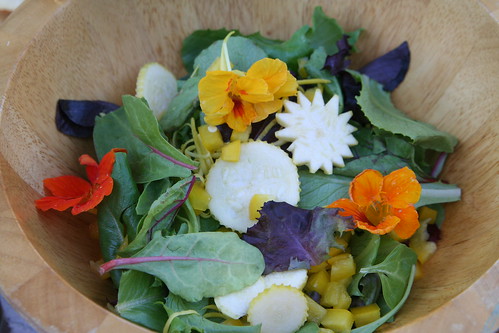
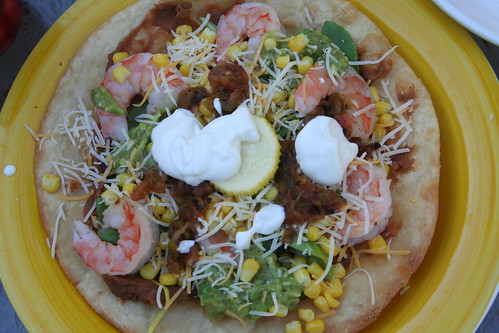
Then we had a beautiful Solstice feast of shrimp tostadas and several fresh salads. I needed lots of circles and colors and fresh veggies in this meal. We even added in some nasturtiums from our garden. We had so much gorgeous food, I wished we had guests to share it with! This is one of my favorite things: Eating amazing California food outside in summertime, when the day has been hot but the evening delta breezes pick up just in time.

IMG_7158

“Give me the splendid silent sun with all his beams full-dazzling.” —Walt Whitman

Solstice in a Sunbeam

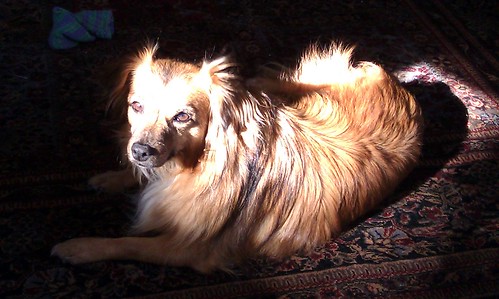
Also, today marks six months since our little dog Solstice came to our family. He followed our boys home on December 21 and hasn’t left our side since then. We love him so much, and we’re all grateful to have him.

Here’s to unexpected blessings that follow you home and take up residence in your heart.

Here’s to abundance of joy, nourishment, learning, and opportunity.

Here’s to family traditions carefully conceived and simply crafted.

Here’s to courage, doing good, and generosity.

Blessed Be.

  • About Sara

    Thanks for visiting! I’m Sara, editor and writer, wife to Ian, and mother of two precious boys. I am living each day to the fullest and with as much grace, creativity, and patience as I can muster. This is where I write about living, loving, and engaging fully in family life and the world around me. I let my hair down here. I learn new skills here. I strive to be a better human being here. And I tell the truth.

    Our children attend Waldorf school and we are enriching our home and family life with plenty of Waldorf-inspired festivals, crafts, and stories.

    © 2003–2018 Please do not use my photographs or text without my permission.

    “Love doesn’t just sit there like a stone; it has to be made, like bread, remade all the time, made new.” —Ursula K. LeGuinn

  • Buy Our Festivals E-Books


  • Archives

  • Tags

  • Categories

  •  

  • Meta