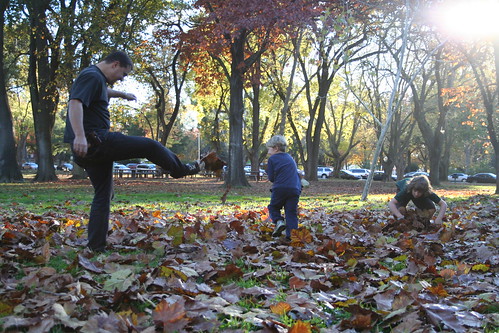
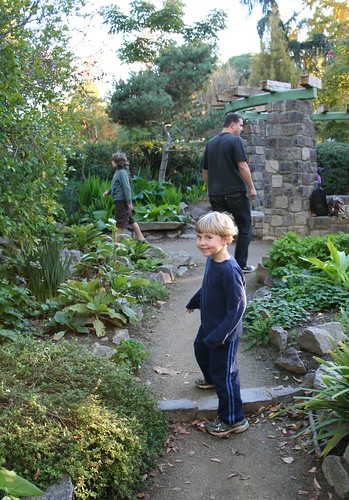
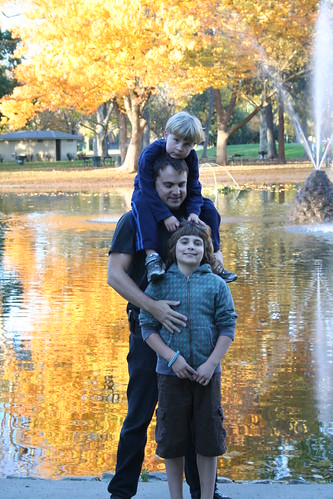
Boys and Cans

May I present to you the thoughtful and funny writing of my dear husband, Ian, who describes a fairly typical activity in our home. This is only the second time I’ve talked Ian into letting me publish his writing on Love in the Suburbs. I hope you enjoy it as much as I did and welcome him as a guest blogger.

Note: I’m the one with the nasty Diet Coke habit. Sometimes I add whiskey.

~~~~~~~~~~~~~~~~~~

At our house, like at many houses, recycling aluminum cans is a way for our boys to get a little pocket money. Of course, cans have to be stored, and it’s best to flatten them in order to store them.

How would an adult handle this problem? Take the cans, put them on the patio, smash them with your foot, put them in a bag, be done. 5 minutes, maximum.

But how do boys handle this?

The smaller brother stands in the wet-bar where the empty cans have piled up. He opens the back door wide and hurls the cans outside. His brother stands outside with a stick, whacking the cans out of the air like Babe Ruth. The cans fly erratically, dripping bits of flat, sticky Diet Coke. Some bounce off the house, some fly into the garden, one came straight back into the house, over the little brother, and careened off the TV hutch.

I could, at this point, interject some paternal guidance into this operation. However, that would take all of the fun out of it. Adult methods, I have come to realize, are quick, efficient, effective, but altogether too much of a drag.

Once the cans are outside they need to be gathered into one place for crushing. This is accomplished by taking whatever tool is handy and hitting the cans with maximum force a la ice hockey. Since the cans have been distributed a great distance an argument is necessary to determine who is responsible for gathering the most distant cans.

While the big brother continues to herd cans, the little brother comes in to find a bag into which the cans may be put. The bags are on top of the clothes dryer, but he can’t find them. They are on top of the clothes dryer, but he doesn’t see them. The clothes dryer! The laundry, they are on the—oh, he found them, good.

The presence of the bag necessitates another argument about who has to pick up the cans. While one can see both points of view, one really doesn’t care, just pick them up.

Finally, the bag of cans is stored in the middle of the walkway in the overcrowded garage, but at least the task is done. Or is it? Stray cans can be found under the rhododendrons, behind the hot tub, and on the lawn. Asking the boys to pick up these cans as well elicits a complaint: “But Dad, we’ve already done the cans!” as if these cans were not part of the original project.
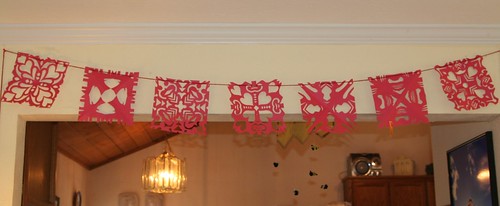
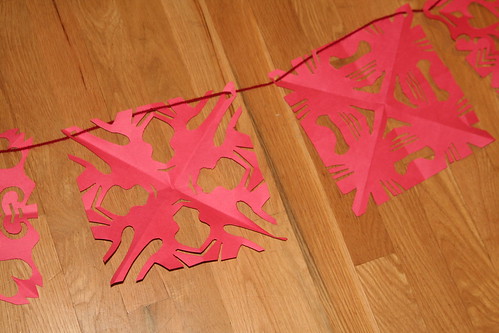
Papercut Banner for Chinese New Year Tutorial

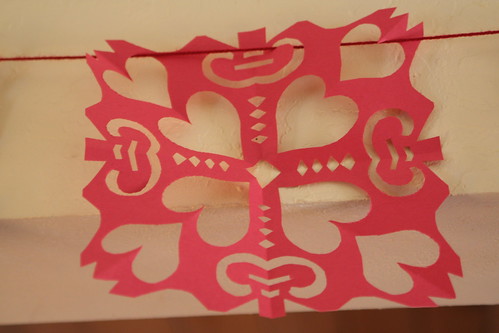
Completed Red Paper Banner

Does your family celebrate Chinese New Year? We have just begun the Year of the Snake. “This 2013 year of Snake is meant for steady progress and attention to detail. Focus and discipline will be necessary for you to achieve what you set out to create.” In the spirit of the Chinese art of paper-cutting, I offer this simple papercut garland craft tutorial for you to decorate your home. If you and the kids can cut a paper snowflake, you can make this.

Materials

  • red square kite paper, red Japanese silk paper, or squared red construction paper
  • scissors
  • yarn

Making

Tutorial

If your paper isn’t already square, make it so.

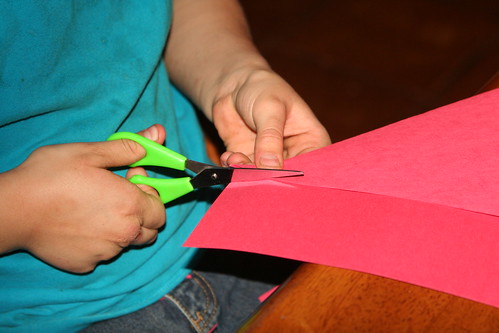
Fold each square into fourths (in half and then in half again). Cut an interesting pattern into the square, in the same way that you would cut a paper snowflake. Chevrons, stripes, triangle, curls, “snakes,” and hearts are all good shapes to cut. Be sure that you are cutting through all four layers of paper. Although you can cut off the “middle” corner to make a center hole, try to preserve each of the other three corners. This will keep your paper flags square.

Red Paper Banner

If you cut five or seven or more of these, you can string them onto a piece of red yarn to make a festive banner to hang in your home or school. Each flag can be unique.

My Paper Flag

Your banner will do double duty as a Valentine’s Day decoration, if you cut a few hearts.

See more wonderful festival craft projects in our Festival E-Books, by Eileen Foley Straiton of Little Acorn Learning and myself. The Spring Festival E-Book is coming soon! We are hard at work on this e-book now. Stay tuned!


Ice Medallion

IMG_0010

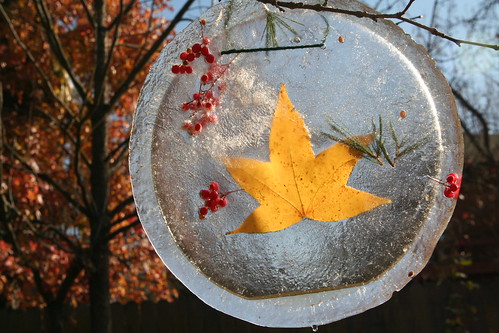
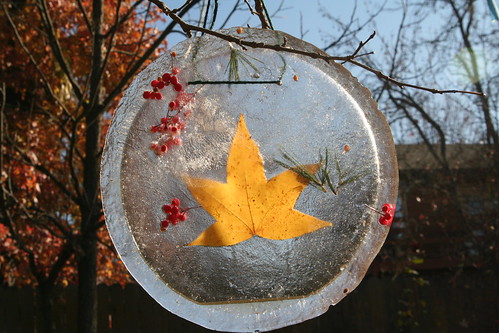
If you live in a warm area like mine, winters are less about snow and snow play and more about crisp days, rain, fog, and overnight freezes. Back in December, we observed that nights of below-freezing temps were causing our birdbath to freeze over. We decided to do an experiment to see if we could remove the sheet of ice from the birdbath without breaking it. When that proved possible, we wondered if we could maybe decorate the ice and freeze pretty bits of nature into the ice.

IMG_9835

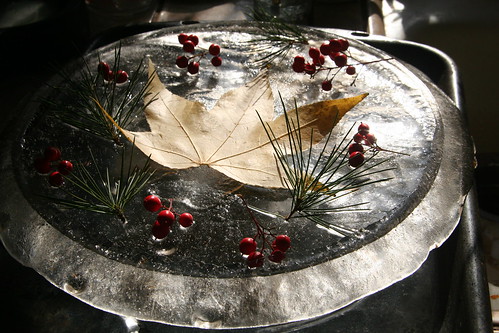
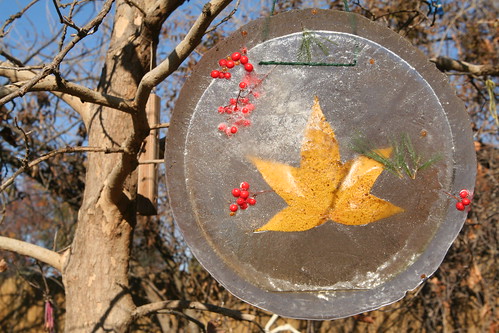
We put some winter bird berries and bits of evergreen needles on the large disk of ice, then laid the ice disk back into the birdbath (with nature bits on top of the ice). We added a little very cold water from the garden hose and waited for the next overnight freeze. We didn’t know if our experiment would work!

In the morning, we found the birdbath iced over again, and our leaves and berries embedded in the ice (but moved from our original placement). We had to wait a few hours for the day to warm enough for us to lift the ice out of the birdbath. While we waited, we brought a bowl of warm water from the house and warmed a metal kebab skewer in the water. We carefully bored two holes in the ice disk while it was still seated safely in the birdbath.

IMG_0005

We lifted out the disk and poked a piece of twine through the two holes to make a wide hanger. Then we hung the ice medallion in a tree and watched the winter sunlight sparkle through it.

I think we’ll try this again sometime with pretty yarn in a coil.

IMG_0016

Of course, this pretty piece of nature art didn’t last long. Perhaps if you live in a colder climate the ice medallion will stay longer?

Snowflake Fairies Tutorial

Snowflake Fairy with Face

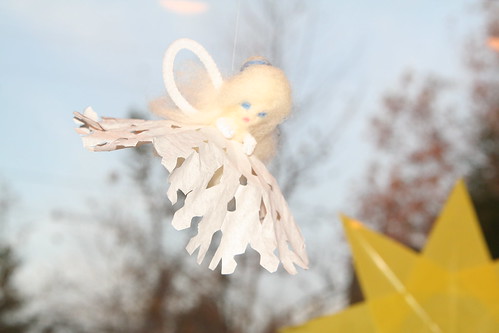
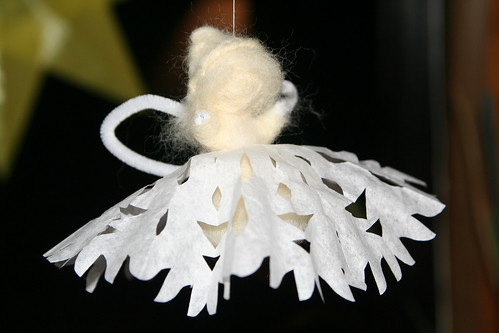
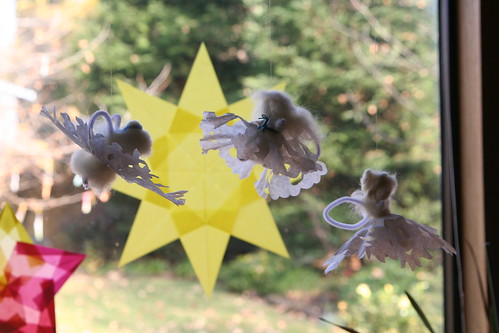
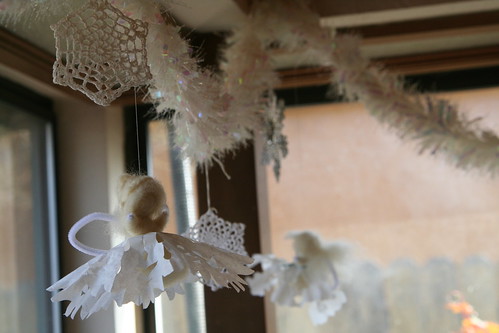
In between chilly outings, when we’re inside warming up, is a wonderful time to appreciate the beauty of winter. Paper snowflakes are festive and look lovely decorating windows and our family cuts beautiful snowflakes every year.  Here is a project for making lovely snowflake fairies to flutter and dance in the air. Hang them over a heating vent to see them blow about, just like a real, falling snowflake.

Note: Some Waldorf educators recommend that you not make needle-felted figures and animals in the presence of young children, who may find the action of repeatedly needling the woolen bodies to shape them somewhat disturbing.

Materials

Materials

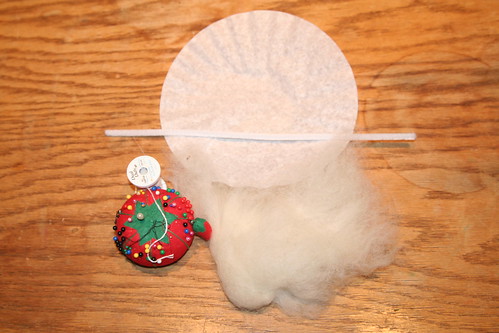
  • coffee filter
  • chenille stems
  • needle and thread
  • scissors
  • wool batting
  • needle-felting needle and pad

IMG_9664 IMG_9665

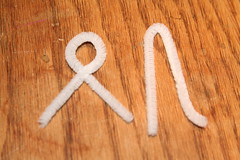
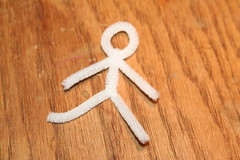
Start by forming the skeleton of your fairy. Cut your chenille stem in half. Twist a loop into the center of one half; this is your fairy’s head with arms attached. Fold the other half over (body and legs). Then put one leg of the folded chenille stem through the loop. The two pieces are now interlocked. About an inch farther down, where the pelvis of the figure would be, twist again to make two legs. You should now have a wire “stick figure” like you see in the right photo above. Fold the smallest possible bit of wire over at the end of each limb, to form tiny hands and feet and keep the cut wire from poking anyone.

IMG_9666

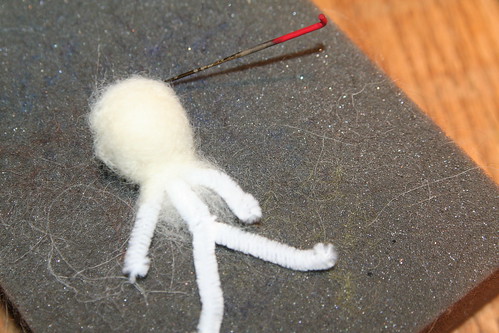
Take a small bit of wool roving, roll it into a ball, and insert it into the loop of the figure’s head. Then wrap a bit more roving around the head and begin to needle it in place into an attractive head shape.

IMG_9668

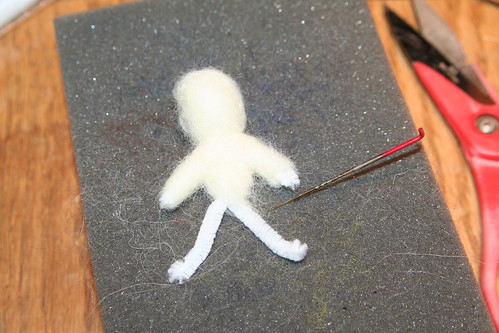
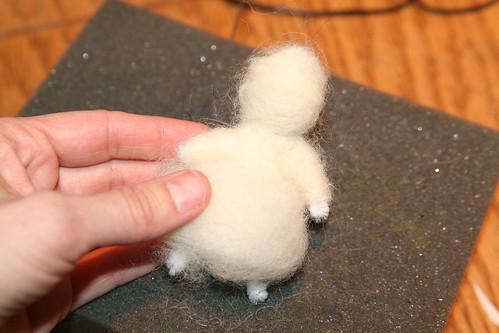
Using very small bits of wool, wrap around the figure’s body and arms. I find making a crisscross of wool that goes from shoulder to waist in both directions to be a good method. Needle this wool until it’s firm and stationary. The fairy’s arms may need more needling than the body to make them graceful and slender.

IMG_9677

Now add a bigger fluff of wool to create a woolen petticoat. You can either allow the fairy’s feet to show below the fluffy skirt, or make the skirt extend below the feet.

Cut

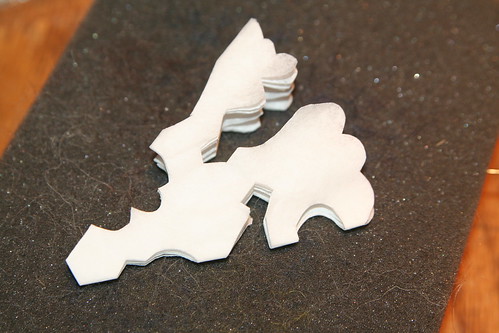
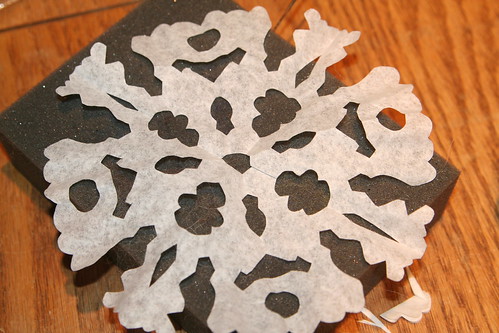
Fold a white, circular coffee filter into quarters or eighths and cut a snowflake. Cut a very small tip off the snowflake and unfold it.

Snowflake

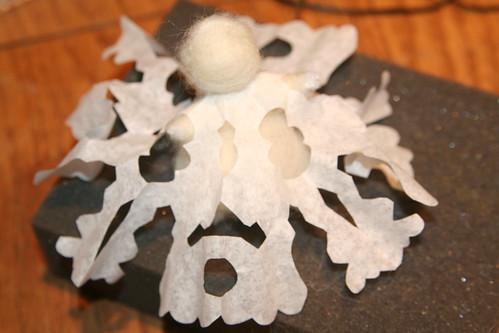
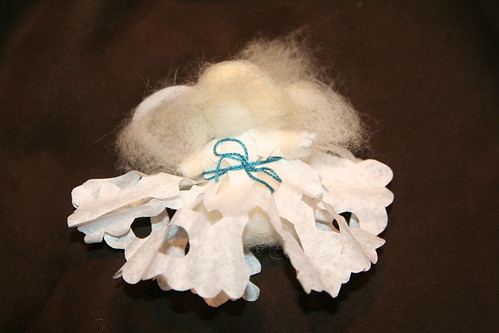
This is the only tricky part: Gently guide your fairy’s head through the center hole in your snowflake. Go slowly to avoid tearing the paper. If the head won’t fit through the hole, refold the snowflake and cut the tip just a tiny bit more to widen the hole and fit the head through.

Snowflake Fairy in Progress

You have a choice now. You can either put the fairy’s arms through holes in your snowflake (if you have such holes) to make a dress (see above), or you can gently move one arm at a time up through the neck hole of the snowflake to make it a skirt instead of a dress. This part is not unlike carefully dressing a small child, except your fairy will wiggle less.

IMG_9680

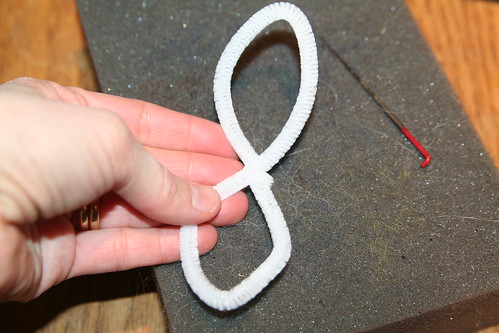
Next, use another chenille stem and form a circle. Twist the two ends together to seal the circle. Then twist the circle into a figure eight. These are your fairy’s wings. Use a bit of wool to tack the wings onto the fairy’s back. Now give your fairy some white hair, and allow it to flow over the center of her back where the wings meet the back.

Snowflake Fairy with Belt

If you made a dress, you might wish to belt it with a ribbon, bit of string, or a braid of wool roving.

Snowflake Fairy with Up-do

Here is a fairy with a skirt. You can give your fairy a fancy hairdo, if you like, by coiling wool into a bun and needling it onto her head. You can also add a face using tiny bits of color needled in for eyes and a mouth (as seen in the top photo). The fairies are adorable either way.

Snowflake Fairies

Now, you can make more snowflake fairies and hang them near each other to dance in the air, or display them with other snowflakes.

 Snowy Garland wih Snowflake Fairies

Please vote for Love in the Suburbs at the Circle of Moms Top 25 Creative Moms blog list. You can vote once per 24 hours until Jan 30, and you can vote for more than one blog on the list! Thank you!

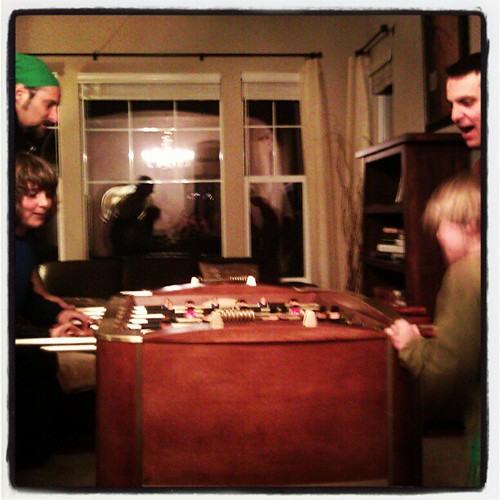
This Moment: Foosball

Foosball

I haven’t done a This Moment in a long time. 😉

Inspired by SouleMama {this moment} – A Friday ritual. A single photo – no words – capturing a moment from the week. A simple, special, extraordinary moment. A moment I want to pause, savor and remember.

Nomination and Other News

I was recently nominated for an award of sorts at Circle of Moms. Some kind soul (I don’t know who) nominated my blog for the Top 25 Creative Moms list there and folks can vote for their favorite blogs. The voting continues until the end of January and you can vote for more than one blog, once each 24 hours. I’d be honored if you’d vote for me, and keep voting for me. It would be very nifty to get into that Top 25 list.

This button takes you to the voting site. Vote for me!

I’ve never been involved in one of these things before, but there’s always a (typically awkward) first time, right? It’s neat because I’m planning to ramp up and improve my attention, involvement, and content here. So please check back often for new, more useful material. A girl with a writer’s soul just has to write. And a girl with an artist’s eye just has to share her visions.

IMG_3928

In other news, my little guy turns six years old in two weeks. I’ve finally figured out the outline of his birthday party and sent invitations. Usually I’m more on top of things like this, but I’ve been working quite a lot lately. Well, we’re getting RSVPs back now, so that’s great. Crisis averted!

I’ve got a few homemade gifts in mind for him, and must carve away some time to work on them. I am making Asher an Earthbending costume, inspired by Avatar the Last Airbender, which is a show that my whole family adores. Great story-telling, good characters, plenty of heart, and featuring themes of friendship, commitment, duty, forgiveness, family, courage, peace, and finding one’s own way, Avatar is good TV. Asher has always liked the Earth Kingdom in the show the best. He has started dressing up for play in recent months, finally using the King’s costume I made for him two years ago. I think this Earthbending outfit idea is a winner.

Yesterday we scouted the location of his “Fantasy Wizards in a Forest” party.

IMG_3930

IMG_3932

IMG_3947

IMG_3953

IMG_3900

IMG_3923

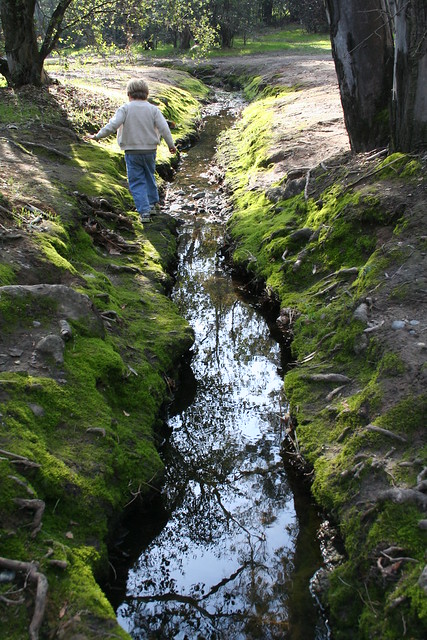
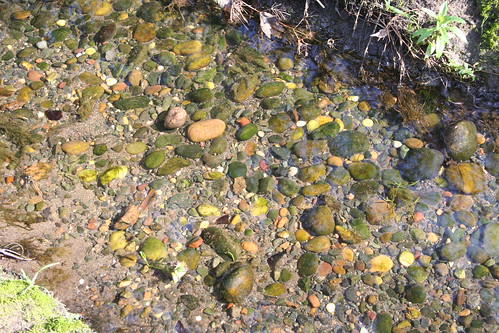
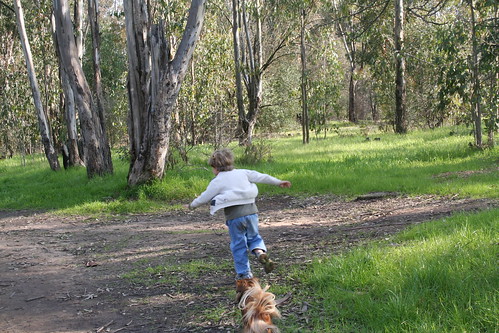
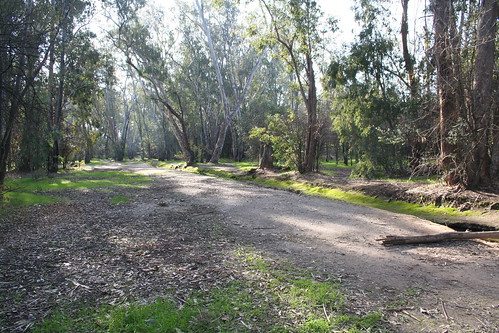
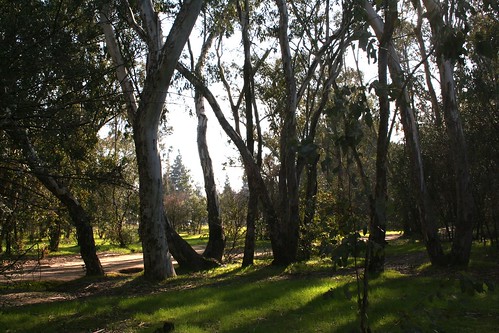
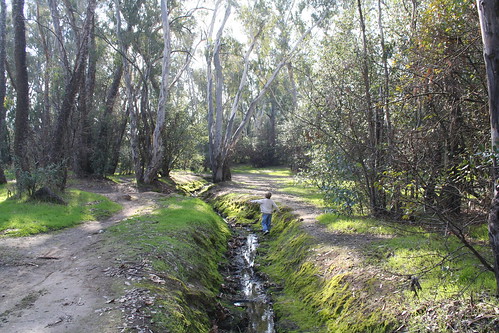
This place will fit the bill nicely, I think! This is a is 17 acre undeveloped park right here in Fair Oaks, just five minutes from our home. It features tall, beautiful eucalyptus trees, a tiny creek with mossy banks, green meadows, fallen logs, wild mushrooms, and plenty of crisscrossing paths that you might call “trails.” Our plan for the party is to allow the children as much space to roam and explore as is safe. The park is big enough that it feels wild, but not really big enough to get lost in, and I expect a small gaggle of 6- and 7-year-olds to make plenty of noise.

Wishing you a bright and happy day!

Autumn Farewell

Tree stars

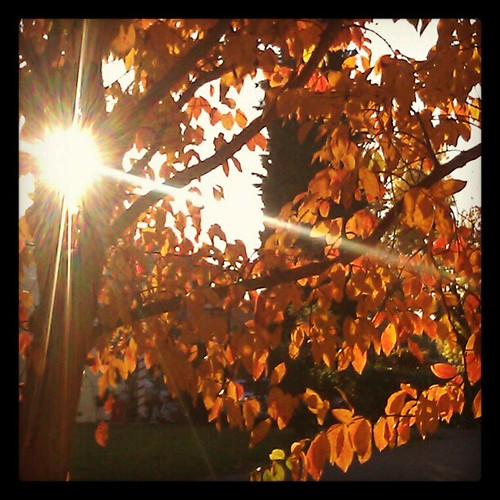
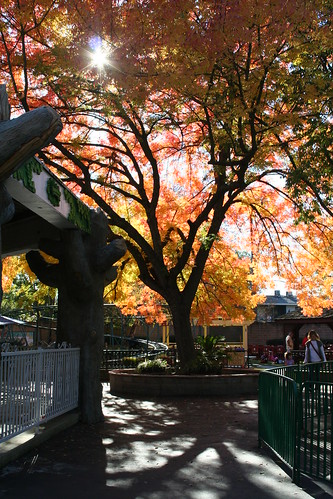
We’ve had buckets of rain in the past week. Our jacuzzi has stopped working again, due to flooding. The chicken run is a soupy, smelly mess. The pretty leaves have largely fallen from the deciduous trees in the neighborhood, but my liquidambar is still full of golden stars.

My tree

upload

The palette of my surroundings is fading. Bright oranges, golds, russets, and crimsons are vanishing, giving way to more muted tones. Browns and grays, straw, and dusty greens—punctuated by lurid, store-bought red and green for Christmas—are the colors of December in Northern California’s central valley. The transformation is gradual and a few flowers seem to have missed the memo. I’ve seen marguerites shouting “yellow!” at the top of their voices, and a few purple irises are confused enough to bloom even in the heavy rain.

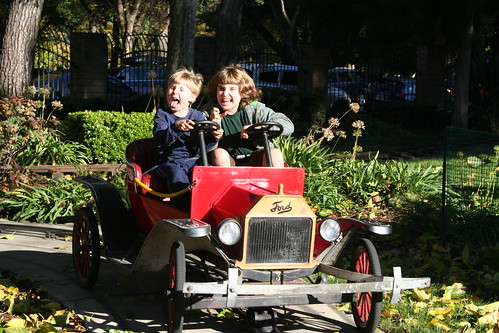
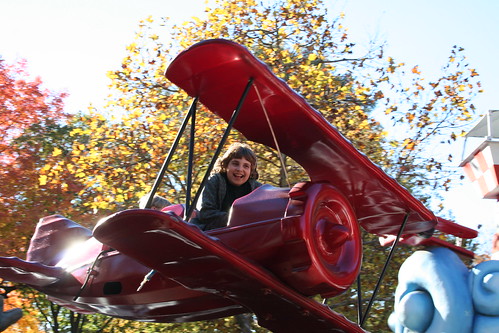
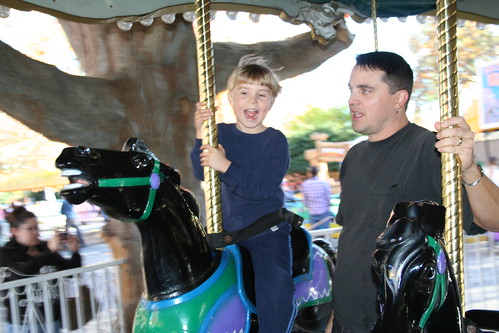
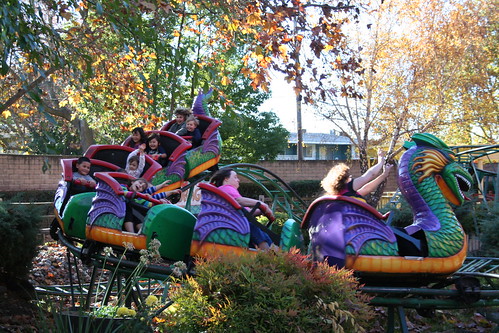
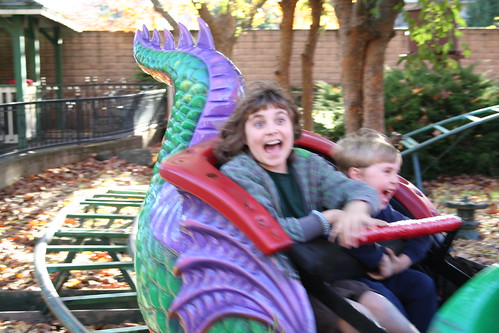
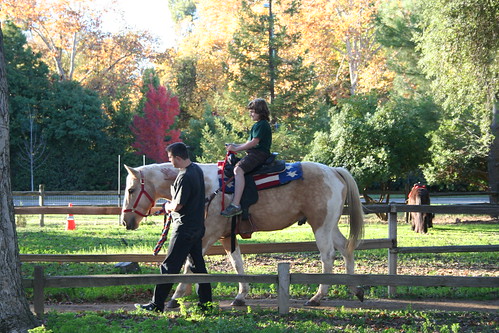
A couple of weeks ago, we took the boys to a local amusement park called Funderland, which has been in operation in Land Park as long as I can remember. The day was perfectly glorious, the kind of day November hopes to achieve—with sparkling, flaming trees and crystalline skies.

IMG_2763

IMG_2782

IMG_2792

IMG_2809

IMG_2833

IMG_2857

IMG_2878

IMG_2884

IMG_2926

IMG_2949

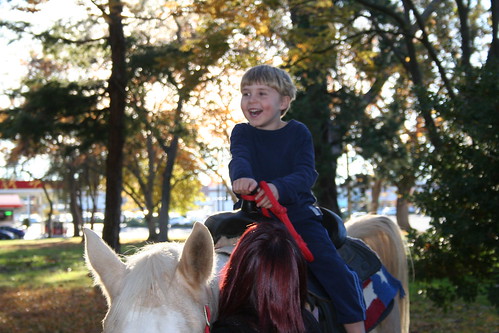
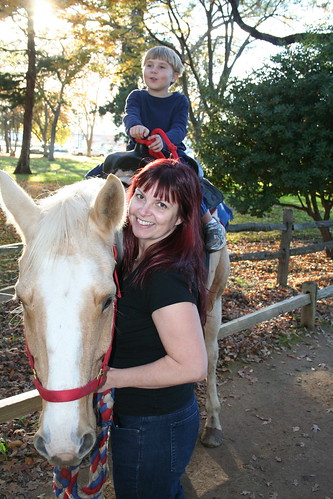
The rides, horseback riding, and pretty slanting afternoon sunbeams inspired many shining smiles.

IMG_2951

IMG_2998

IMG_2965

IMG_2988

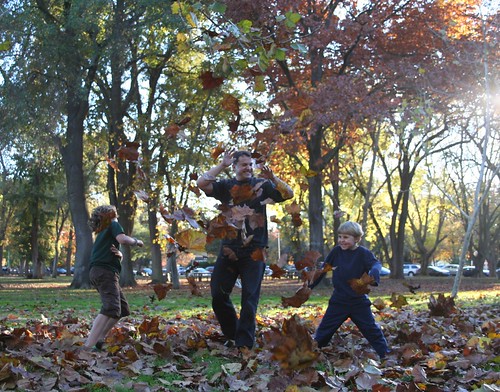
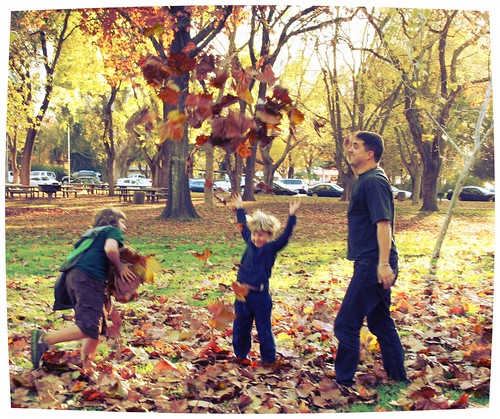
And plenty of autumn frolicking.

IMG_3007

IMG_3013

IMG_3039

It was a wonderful day. Land Park had lots of finery to show off while we were there.

Thank you, November. Your brilliance is fortifying.

Halloween: Flygon

IMG_2043

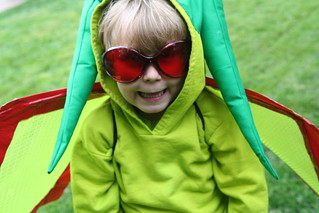
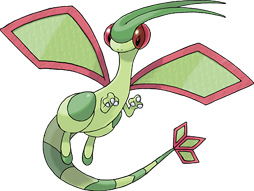
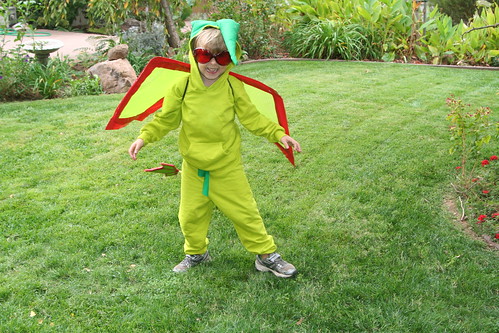
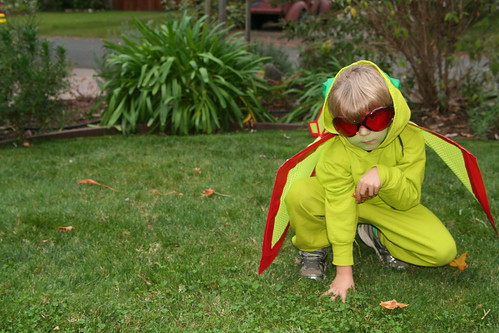
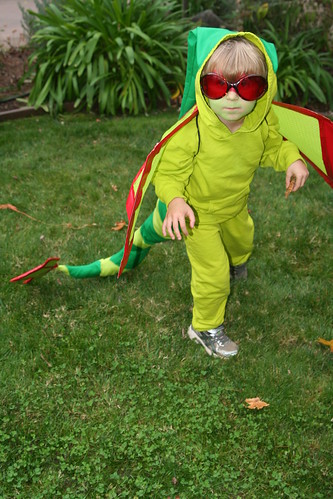
This, my friends, is Flygon. Flygon is a Pokémon, a Ground and Dragon type, to be exact. Asher loves dragons, loves this chartreuse color, and loves coming up with challenging Halloween costumes. At first he was talking about being the Grim Reaper. I think he got it into his head that big kids go for scary costumes and wanted to do the same, but I drew the line. I think five-year-olds aren’t really ready for scary costumes. So when Asher picked Flygon out of an old Pokédex book, I said yes and kept my doubts private.

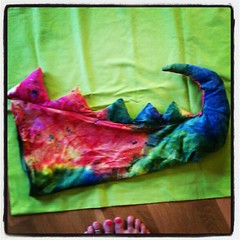
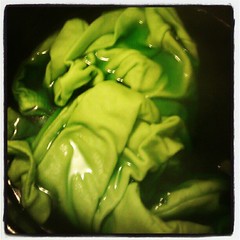
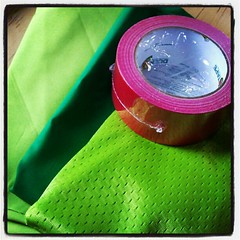
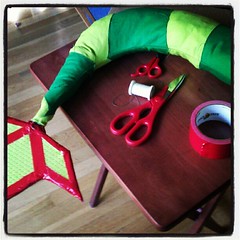
Last Year's Rainbow Dragon Tail with this Year's Future Flygon Tail. Hmmm... #pokemon #halloween #costume #dragon Chartreuse Beginning of costume Making Flygon Wings Flygon tail in progress Tail almost finished

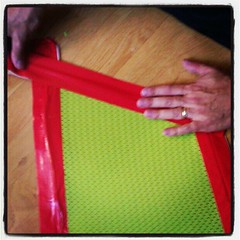
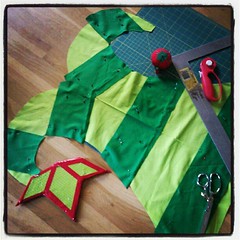
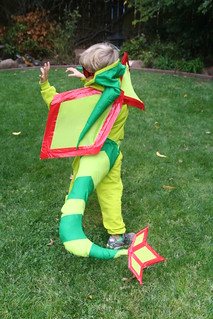
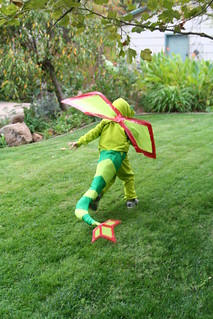
This costume is more involved than anything I’ve made to date. It started with some green fabric and some red duct tape. I had no pattern, but I did have the experience of making the rainbow dragon tail last year. Figuring out how to make the stipes on the tail concentric was a bit tricky for me. I consulted with my pro costumer friend Nicole to get her advice before I did any cutting. I bought a white cotton sweatsuit from Dharma Trading Company and some chartreuse dye. That was great because I’m not much of a seamstress. But just dyeing the outfit took half a day. I worked on this costume little by little over about a week. The wings were bumble bee wings until I pulled off the yellow fabric and bent them into diamond shapes. Ian helped me recover the wing wire with fabric and hot glue; we needed several hands. Then we added the red tape to the edges. The tail piece is made of cardboard, covered in the same wing fabric, and then outlined with red tape.

This is what we were going for. Super cute, right?

IMG_2032

I think it turned out pretty well! I sewed the tail and stuffed it with a little wool and then some bubble wrap. There’s a coat hanger inside that made it stand up and wobble around nicely when he walked. It tied around his middle and was also supported by suspenders that he wore underneath his hoodie.

IMG_2054 IMG_2037

IMG_2099

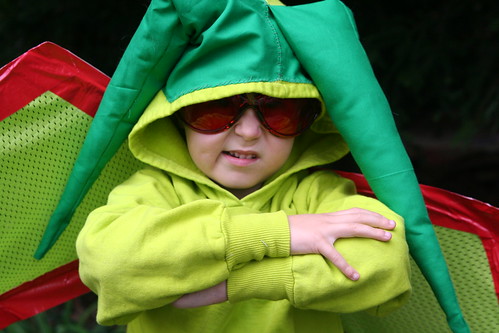
I had just enough dark green to make the head spikes. They are stuffed with wool and hand-sewn to the hood of the shirt. He liked when they flopped over his face.

IMG_2107

The glasses we bought years ago for Burning Man. I think they made the costume. I really feel that I sneaked up on this costume. I pondered and plotted a lot before I did anything, and I took it on one bite at a time.

IMG_2125

At the last minute, Asher decided he had to have green and red makeup too. No problem. I’ve got that!

IMG_2119

I love the way he got into character!

IMG_2198

I am kind of amazed he was able to keep up with all the big kids that night. He enjoyed trick-or-treating immensely.

And now it’s time to remove the head spikes so he can wear the hoodie.

Halloween: The Wood Elf

I realize November 10 is a bit late to write about Halloween, but I’m just getting to it now. We worked way too hard on these costumes to not show them here.

Lucas's Halloween Costume Design: Wood Elf

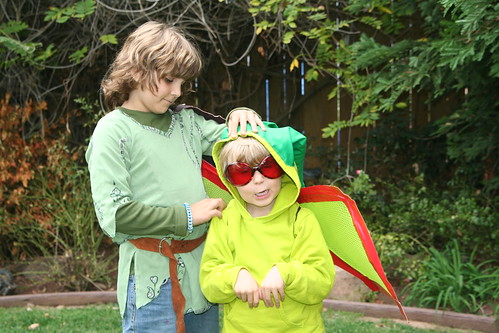
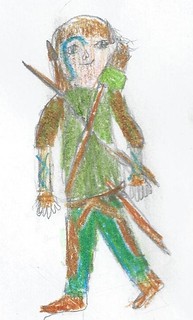
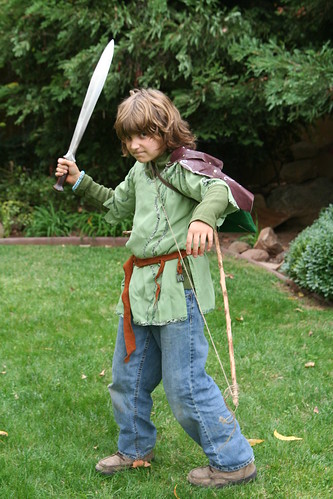
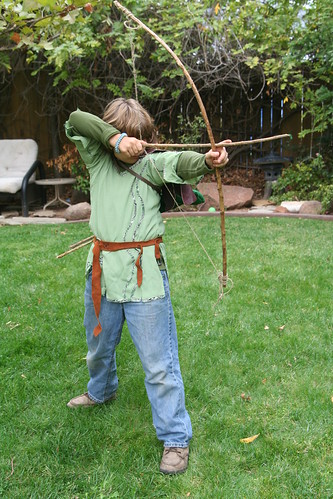
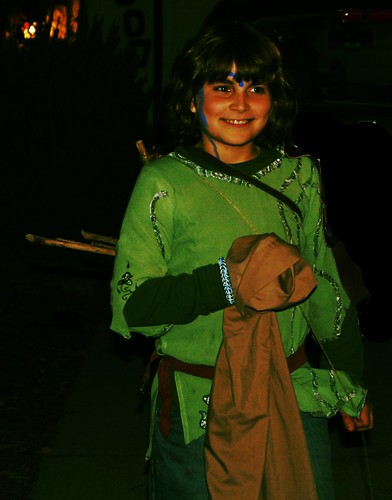
Lucas decided to be a Wood Elf. This year Ian read all three books of The Lord of the Rings to our boys, and the stories have really taken root in Lucas’s and Asher’s minds. Lucas didn’t want to be Legolas or any specific elf, or a fancy High Elf. He drew this picture of himself as a Wood Elf, so this is what we had to work toward.

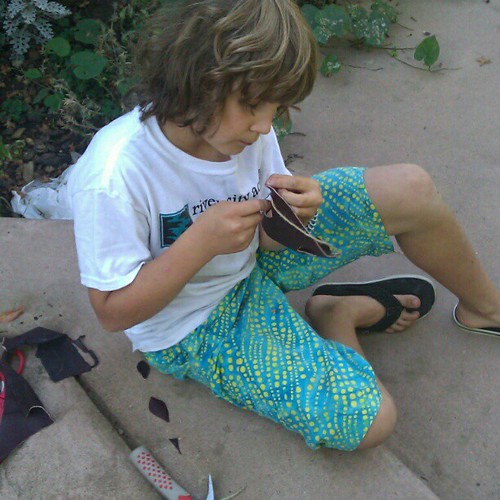
Making leather armor for his wood elf costume.

We brought our cow hide out and allowed Lucas to use some leather to make himself some armor. The hide was purchased back in 1991 when I wanted to make a medicine bundle for Ian—back when there was no Michael’s-type craft store in town. I had to buy a whole hide to get the little bit of leather I needed, and for my college-age self it cost a lot of money. I never dreamed in 1991 that this purchase would help us create a Halloween costume for our 10-year-old son!

IMG_2063

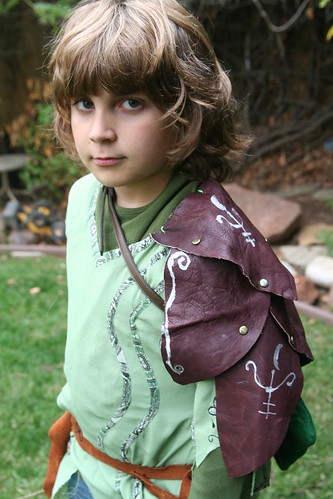
We lucked out at the thrift store this year and found a green tunic-like shirt. It had vine-like details and some beautiful leaf and vine embroidery on it. At first Lucas was nervous about the few flower details on it. He didn’t want to wear flowers. We had to argue for a moment or two, then I pulled out my shears and made some cuts to remove the flowers. I ripped and distressed the tunic just enough to make it look like he had spent several weeks traveling in the woods. That seemed to satisfy him. I also removed a seam to make the arms wider and more comfortable.

IMG_2076

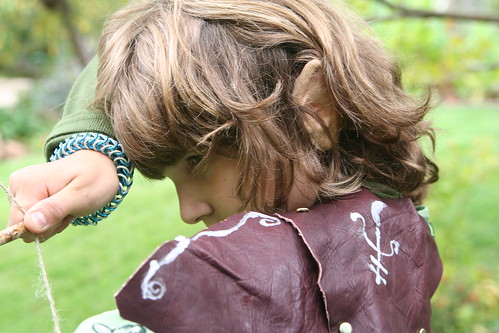
For the shoulder armor, we cut “scales” of leather to look a bit like leaves. We fitted this onto his body, piece by piece, and marked where we needed the scales to connect to each other with a Sharpie. Lucas made all the holes in the leather himself. We used brass-colored paper fasteners to quickly fasten the scales together, and we did the whole piece on the afternoon of the 31st. He decorated the armor with a silver paint pen. “They are runes of protection, Mom.” We sewed the leather to the shirt. The whole thing looks awesome!

IMG_2090

If we had had more time, we would have made a piece of armor to cover his his thigh, too. We pressed into service a leather belt from Ian’s old Renaissance Faire stuff. Lucas sewed a quiver out of green felt using the sewing machine. His first time on the machine! We used a small thrift-store belt to hold the quiver on his back; he used hot glue and stitches to attach the quiver to the belt.He made his own bow from a stick and string, and his quiver held five or six stick arrows.

IMG_2072

I’m not sure why he wanted to wear jeans, but he did. The last piece was a set of pointy elf ears held on by spirit gum. They had to be subtle ears! He added a blue tattoo to his face.

IMG_2159

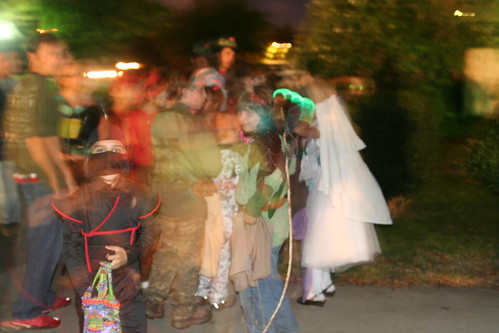
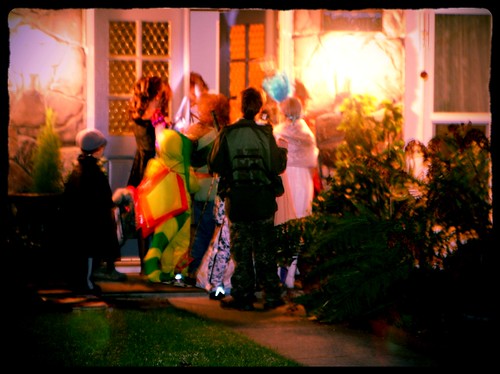
And then, with no time to spare, we went to an awesome party with a few other families from school. We ate yummy soup and went trick-or-treating in a big group.

IMG_2154

IMG_2201

The kids got loads of candy and had a blast running door to door at night. They all looked amazing!

I’m so proud of Lucas. He knew what he wanted. He worked hard to create it, doing many of the tasks on his own. He was a terrific Wood Elf!

Asher’s costume is up next.

Felt Halloween Banner Tutorial

upload

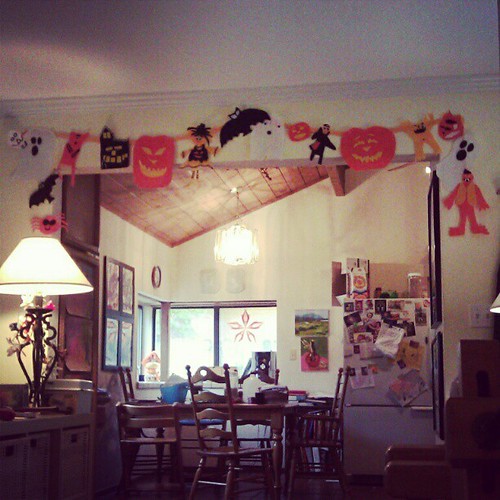
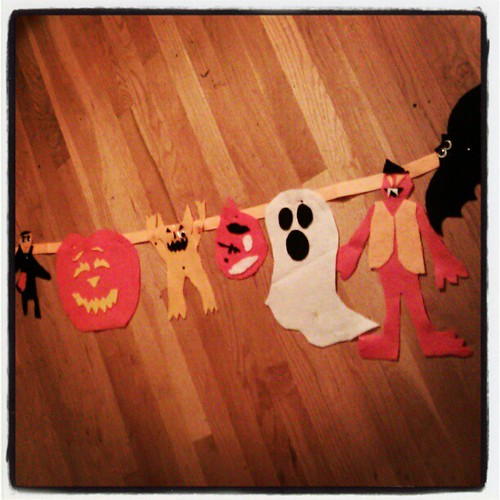
This is a post about turning something we made a couple of years ago into something new. We made these terrific homemade felt Halloween decorations in 2009. I love them, and every year since then, we’ve hung them up on the walls of our home and in windows for the holiday. This year, we made a few more and turned them into a banner. (I love banners because the decorations don’t have to sit on flat surfaces of our home. We have plenty of things sitting on tabletops and shelves as it is.)

I admit it’s kinda wacky to break out the crafting stuff at 7 p.m. on a school night, but that’s what we did. Daddy was out and I wanted something fun to do with my kids, rather than just wrangle them into bed. So I pulled out the felt and we got to work!

upload upload

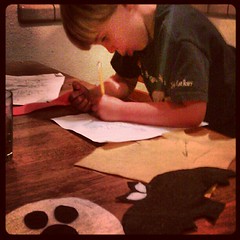
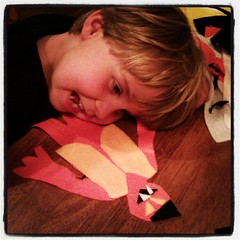
Asher (5) designed a monster by drawing it on paper. He had a bit of trouble cutting the felt with our crummy scissors, so I cut out the pieces for him. He had total artistic control. I just executed it for him.

upload

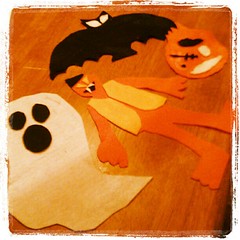
This is what we made in one 40-minute session. Lucas (10) was engrossed (ha!) in making a zombie head. It’s missing an eye and its skull is showing through. “It’s got to hang upside-down, Mom!” OK!

So, anyway, here’s how to do this fun craft, if you’re so inclined.

Materials

  • felt in Halloween colors (orange, gold, yellow, white, black)
  • scissors
  • white glue
  • bias binding tape (1 inch wide, about 3 yards)
  • straight pins and push pins/thumb tack
  • needle and thread (optional)
  • googly eyes and fabric paint (optional)

Tutorial

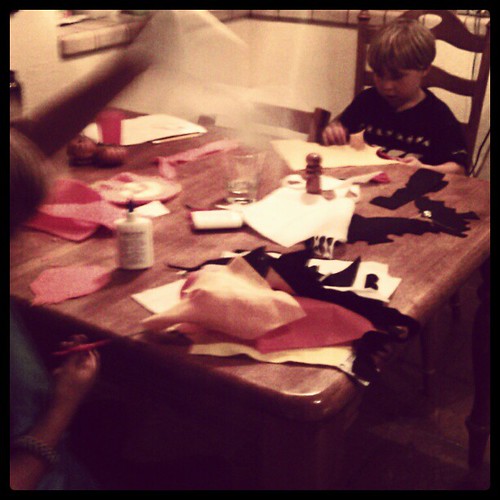
Your project starts out looking something like this: kitchen table, kids, piles of felt bits. Working with felt for this project is a whole lot like making things out of construction paper, so if you can channel your inner grade school student, you’ll be fine.

upload

Ask yourself and your kids, what means Halloween to you? What kind of creatures would you like to make? Older children might like just a touch of creepiness in their creations. Younger children might prefer to stick with jolly jack-o’-lanterns and friendly ghosts. Here are some ideas to get you thinking: ghosts, jack-‘o-lanterns, witches, spiders, bats, monsters, dracula, skulls, skeletons, coffins, gravestones, haunted mansions, creepy hands, zombies, owls, scary dogs, etc. Just be sure to gear your creations to the ages of the children in your household. (Nobody wants to feel afraid at home.) Remember, googly eyes make anything—ANYTHING—cute. A felt Dracula with a smile—also cute.

Felt has got to be the most forgiving fabric in the world. You can cut it and layer it and you never have to seam anything or make it perfect. It sticks to itself beautifully, so you can place a piece, see how you like it there, and then move it elsewhere if you don’t, until you have a design you’re happy with. Furthermore, the synthetic felt is cheap at $0.20–$0.29 per sheet, which means you don’t have to worry about turning it over to kids with scissors.
So, decide what you’re making. Draw the creature first, or just start cutting. It’s your choice. Cut out the main shape of your creature first. Then cut other, smaller pieces for eyes, mouth, clothing, hair, teeth, etc. out of a contrasting color. Arrange them on top of the main shape until you’re satisfied, then apply some white glue to the topmost piece and lay it onto the felt creature. Add googly eyes or fabric paint for details if you wish. Let it dry. That’s it. Repeat for as many creatures as you’d like to make.
You can now hang your creatures in windows or on walls, or even suspend them from trees if you like. But if you want to make a banner, lay out your bias binding tape on the floor. Place your Halloween creatures along the tape in a pleasing way. Maybe your kids have an opinion about which ghoulish guy goes next to what creepy critter?

You can either sew each creation in place, or if you’re in a hurry like me—or if you might want to use these critters again in a different way another year—just pin them to the bias binding tape using straight pins! If you pin from the back, you won’t see the head of the pin on the front of the banner, and chances are you won’t see the pin shaft at all.

upload

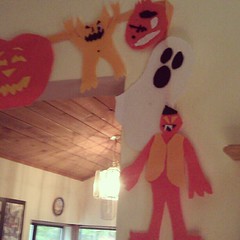
Now find the center of the banner and the center of the wall where you want to hang it. Using a push pin/thumb tack, hang the center of the banner. Stretch out one side at a time, make sure the bias binding tape is flat against the wall without any twists, and then tack the ends. If you only pinned rather than sewed your creatures onto the bias binding tape, you can even adjust their positions at this point.

upload upload

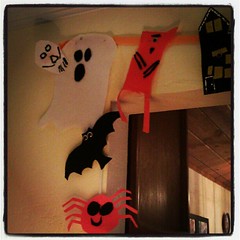
You can also make corners by pinning or sewing critters to each other.

Happy crafting!

[Shared on Natural Suburbia’s Creative Friday, 10/26/2012]


  • About Sara

    Thanks for visiting! I’m Sara, editor and writer, wife to Ian, and mother of two precious boys. I am living each day to the fullest and with as much grace, creativity, and patience as I can muster. This is where I write about living, loving, and engaging fully in family life and the world around me. I let my hair down here. I learn new skills here. I strive to be a better human being here. And I tell the truth.

    Our children attend Waldorf school and we are enriching our home and family life with plenty of Waldorf-inspired festivals, crafts, and stories.

    © 2003–2018 Please do not use my photographs or text without my permission.

    “Love doesn’t just sit there like a stone; it has to be made, like bread, remade all the time, made new.” —Ursula K. LeGuinn

  • Buy Our Festivals E-Books


  • Archives

  • Tags

  • Categories

  •  

  • Meta