Thanksgiving in Nature

IMG_2531

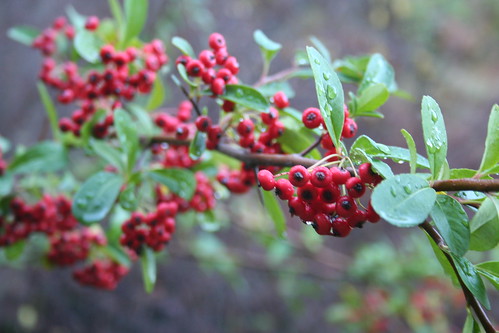
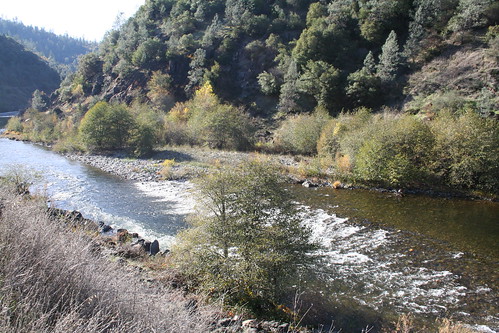
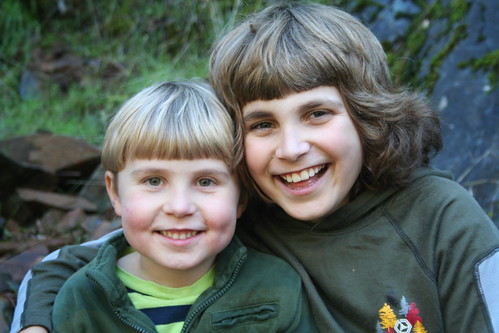
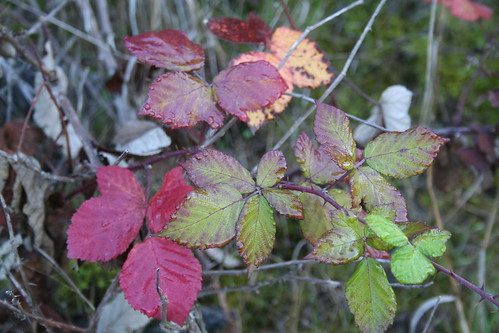
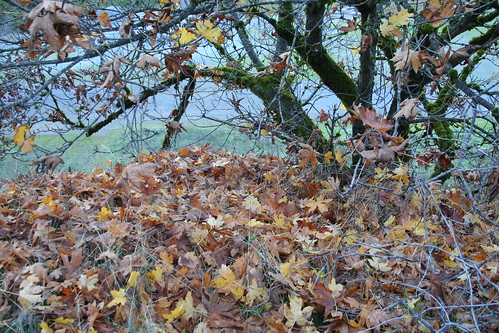
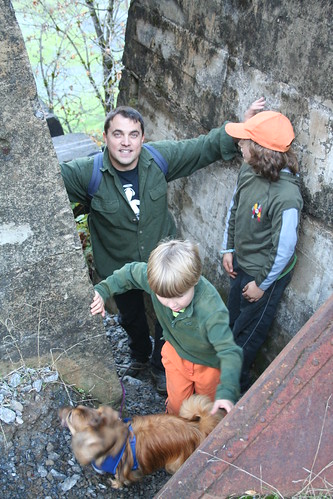
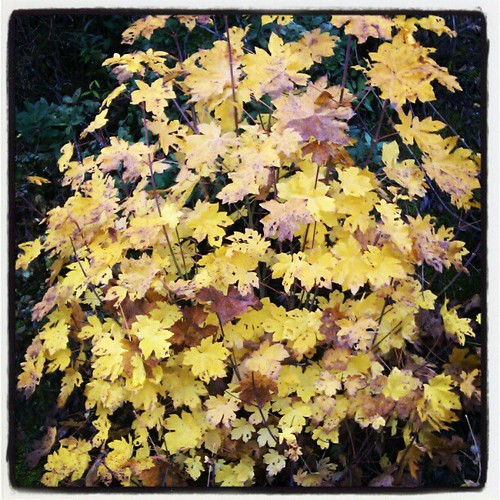
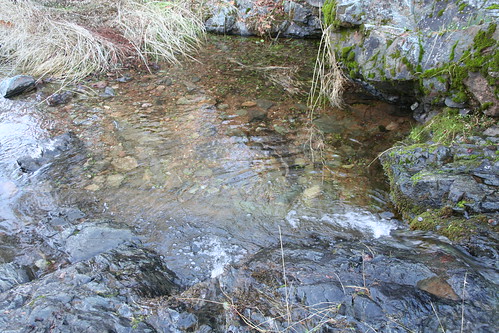
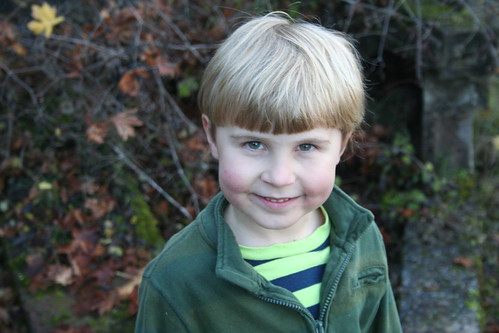
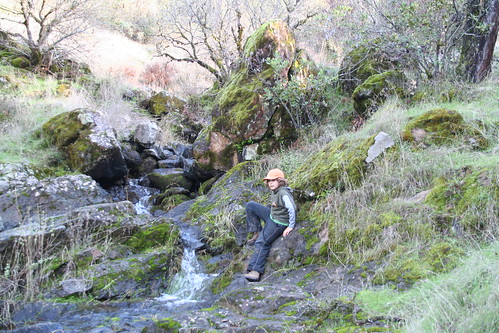
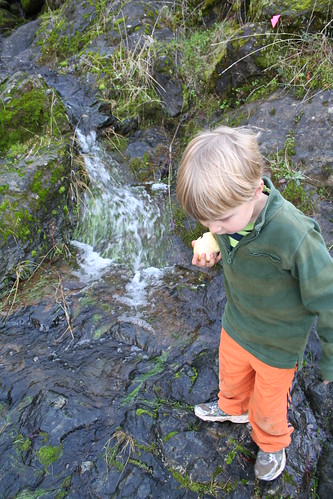
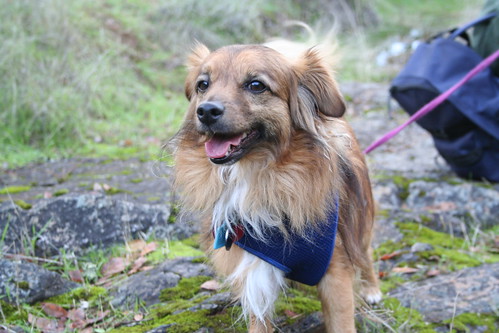
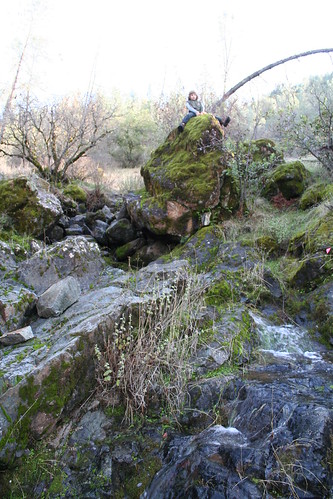
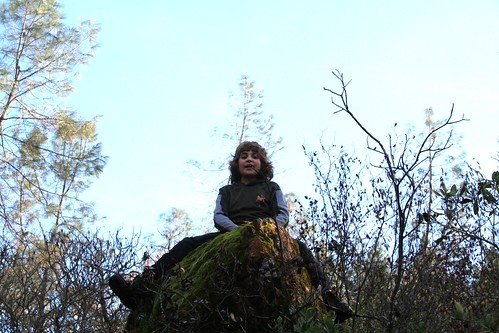
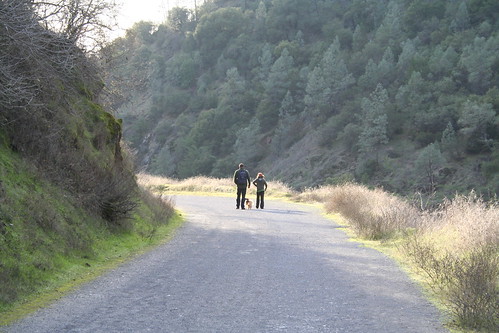
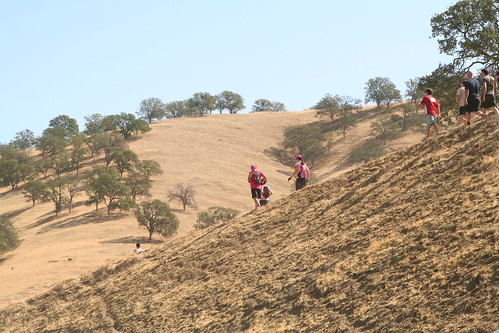
We had been planning a family vacation in Eureka, but it didn’t work out. As a consolation prize we took the boys and the dog hiking in Auburn on Thanksgiving Day. We hiked about 5 miles and ate chicken sandwiches at a picnic table. It was absolutely perfect and exactly what we needed.

IMG_2539

IMG_2542

IMG_2571

upload

IMG_2588

IMG_2623

IMG_2626

IMG_2635

upload

IMG_2699

IMG_2645

IMG_2657

IMG_2682

IMG_2692

IMG_2708

IMG_2727

IMG_2711

IMG_2701

IMG_2736

Halloween: Flygon

IMG_2043

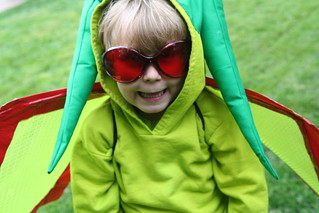
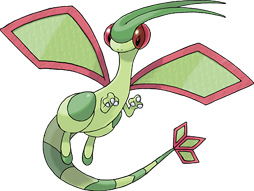
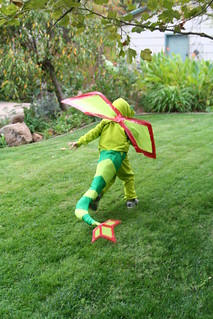
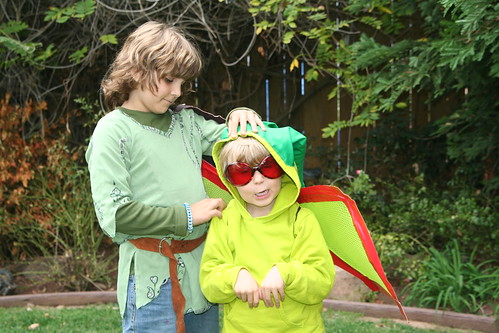
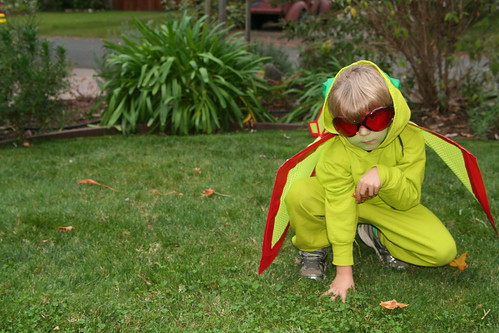
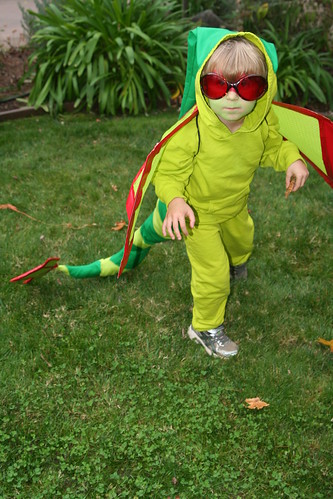
This, my friends, is Flygon. Flygon is a Pokémon, a Ground and Dragon type, to be exact. Asher loves dragons, loves this chartreuse color, and loves coming up with challenging Halloween costumes. At first he was talking about being the Grim Reaper. I think he got it into his head that big kids go for scary costumes and wanted to do the same, but I drew the line. I think five-year-olds aren’t really ready for scary costumes. So when Asher picked Flygon out of an old Pokédex book, I said yes and kept my doubts private.

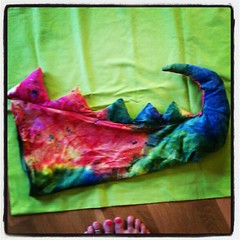
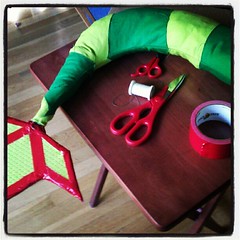
Last Year's Rainbow Dragon Tail with this Year's Future Flygon Tail. Hmmm... #pokemon #halloween #costume #dragon Chartreuse Beginning of costume Making Flygon Wings Flygon tail in progress Tail almost finished

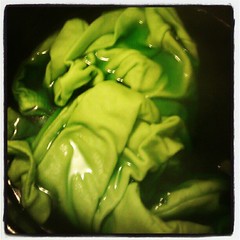
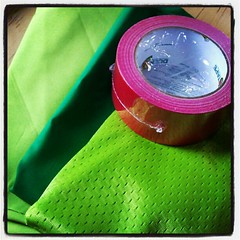
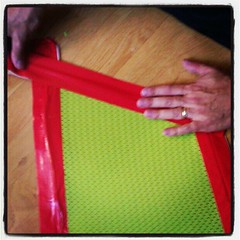
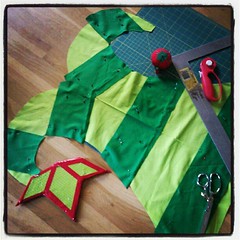
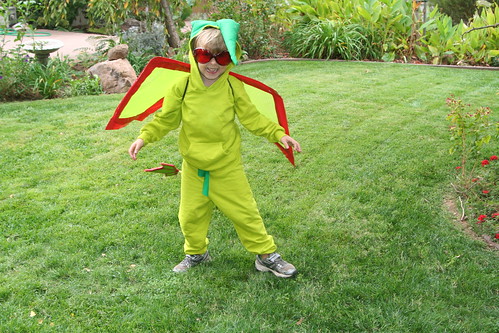
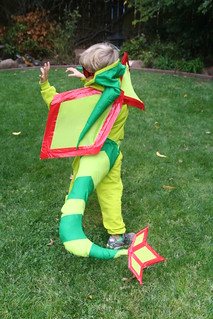
This costume is more involved than anything I’ve made to date. It started with some green fabric and some red duct tape. I had no pattern, but I did have the experience of making the rainbow dragon tail last year. Figuring out how to make the stipes on the tail concentric was a bit tricky for me. I consulted with my pro costumer friend Nicole to get her advice before I did any cutting. I bought a white cotton sweatsuit from Dharma Trading Company and some chartreuse dye. That was great because I’m not much of a seamstress. But just dyeing the outfit took half a day. I worked on this costume little by little over about a week. The wings were bumble bee wings until I pulled off the yellow fabric and bent them into diamond shapes. Ian helped me recover the wing wire with fabric and hot glue; we needed several hands. Then we added the red tape to the edges. The tail piece is made of cardboard, covered in the same wing fabric, and then outlined with red tape.

This is what we were going for. Super cute, right?

IMG_2032

I think it turned out pretty well! I sewed the tail and stuffed it with a little wool and then some bubble wrap. There’s a coat hanger inside that made it stand up and wobble around nicely when he walked. It tied around his middle and was also supported by suspenders that he wore underneath his hoodie.

IMG_2054 IMG_2037

IMG_2099

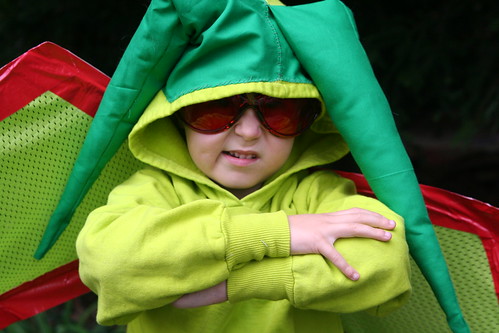
I had just enough dark green to make the head spikes. They are stuffed with wool and hand-sewn to the hood of the shirt. He liked when they flopped over his face.

IMG_2107

The glasses we bought years ago for Burning Man. I think they made the costume. I really feel that I sneaked up on this costume. I pondered and plotted a lot before I did anything, and I took it on one bite at a time.

IMG_2125

At the last minute, Asher decided he had to have green and red makeup too. No problem. I’ve got that!

IMG_2119

I love the way he got into character!

IMG_2198

I am kind of amazed he was able to keep up with all the big kids that night. He enjoyed trick-or-treating immensely.

And now it’s time to remove the head spikes so he can wear the hoodie.

Growth and Change

IMG_2245

I try not to get too sentimental about my children growing up. They grow. They are made to. They strive and learn and change and discover and grow every day, with or without my consent. And I approve. Most of the time I am too busy being astounded and amazed by their leaps of intelligence, judgement, compassion, and understanding, and feats of strength and skill to be the least bit sad about their not being babies anymore.

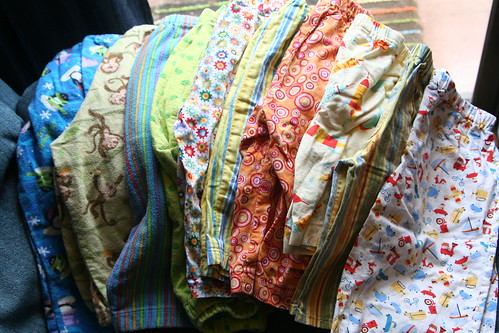
These are pants and shorts and pajamas that my mother and I have for Asher to wear. They were sewn for him and made with love (and in my case, with mistakes and a fair amount of learning frustration). They are all too small for Asher now, and I have sent them on their merry way to another sweet boy (and his baby sister) who may get some further use out of them. They are not the first set of handmades to be passed along, and they certainly won’t be the last. Growth and change are guaranteed.

Nevertheless, I was sentimental enough to take a photo before passing them on. These clothes are loved, soft and colorful, and unique in the world. They are special not only because they once covered my sweet son’s soft skin, but because they were created with loving hands and clever tools and eyes for detail. They are special because they were made first in our hearts before they came to be objects in the world.

May they be useful in the years to come, until they are once again outgrown.


Almond Shortbread Calderas Cookies

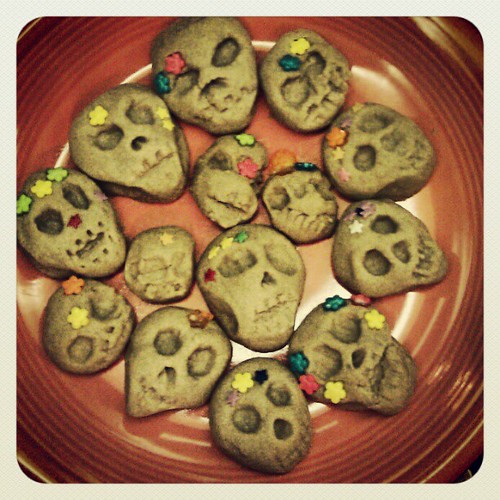
Almond shortbread calderas cookies. I kind of made them up.

Halloween was a big deal for us this year. Big projects, big fun. Today I’ve been so tired that I just felt like trying to put our home back together again, creating some order out of the costuming chaos, and getting back to normal (chaos). More about Halloween later, but …

I meant to make these groovy witch finger cookies on Halloween, but there wasn’t time to do it. I wondered if I could use a similar recipe to create something fun for Dia de los Muertos. Honestly I didn’t know if these would work.

1 cup butter softened (which to me means microwaved for 35–40 seconds after being in the fridge; is that what it really means?)
3/4 cup confectioner’s sugar
1 teaspoon vanilla extract
1 teaspoon almond extract
2 cups whole wheat flour
flowery sprinkles or stars (optional)

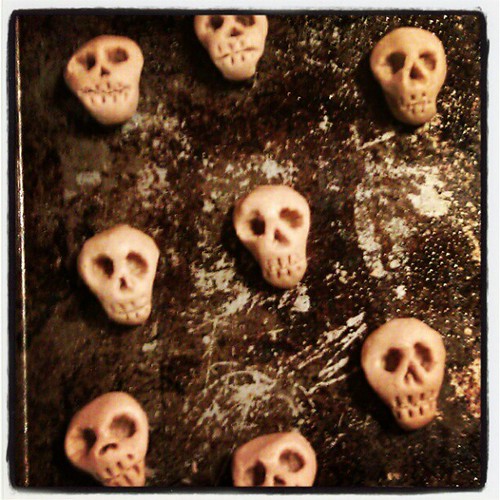
Butter sugar almond cookies. I have no idea how these will turn out when they are baked.

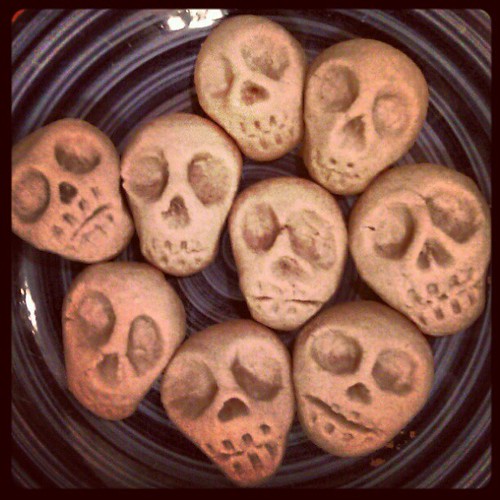
Cream together butter and sugar, add vanilla and almond flavorings, and then add in flour, a half cup at a time. Roll about a tablespoon of dough into a ball. With the end of a big spoon, chopstick, or other poky object, poke two eye holes. With a knife, draw a mouth line. With the tines of a fork, make a quick stroke up from the mouth line to make upper teeth, and another stroke down to make lower teeth. With a narrow skewer or similar object, make a little triangle nose hole. Now with your thumb and forefinger pinch the jaw of your face a little to make it narrower than the cranium. Place the skull on a greased cookie sheet. The most important feature of your caldera is the eye holes, so if they’ve become too squished while making the other features, use the same eye-hole making object to poke the eye holes again to make them nice and round and dominate the skull shape. Do this a bunch of times till you use up all the dough. Asher (5 years old) enjoyed making skulls too, and his are pretty great.

Now, if you want your calderas skulls to be flowery, push some flower sprinkles or stars, or whatever into the skulls. Personally, I think a few flowers go a long way toward creating the Dia de los Muertos look. I didn’t put flowers on all of my cookies and the plain ones look pretty cool too.

upload

Here they are baked—simultaneously cheerful and spooky—and ready to eat. They got a bit bigger in the baking, but kept their basic shape beautifully. By the way, I used whole wheat flour because that’s what I had. Because of the whole wheat flour, I upped the sugar to 3/4 cup. Your skulls will look whiter if you use all purpose flour, and you might not need as much sugar.

How’s that for a recipe post created late on the night of the holiday for which it is appropriate? OK, night-night. I hope you’ve had a lovely day and that you were were able to take a moment to remember those you love who have passed out of this world. Remember them fondly.

Climb

upload

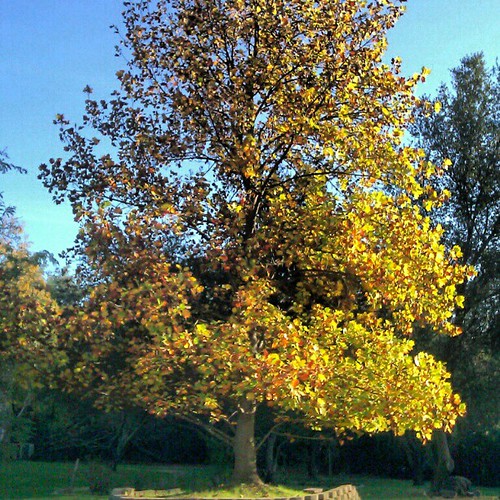
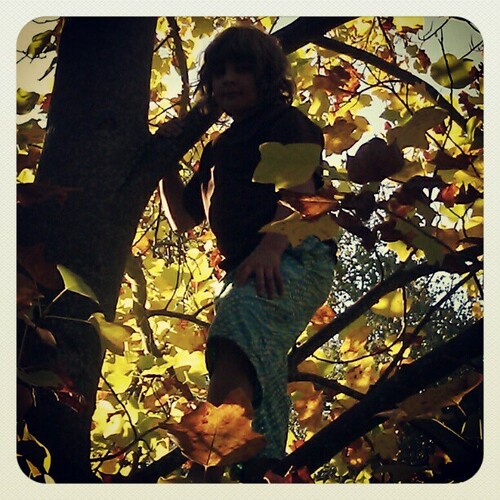
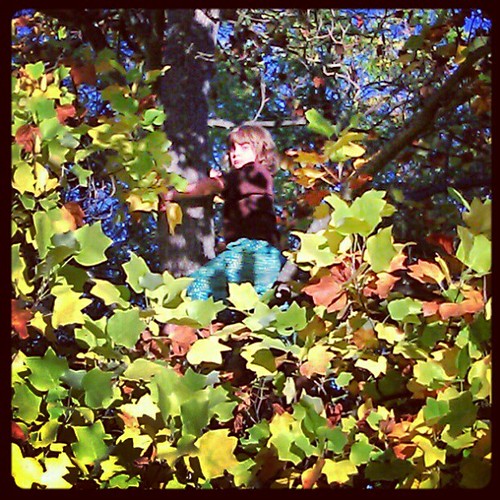
So inviting, this golden tree, shining in the setting sun.

upload

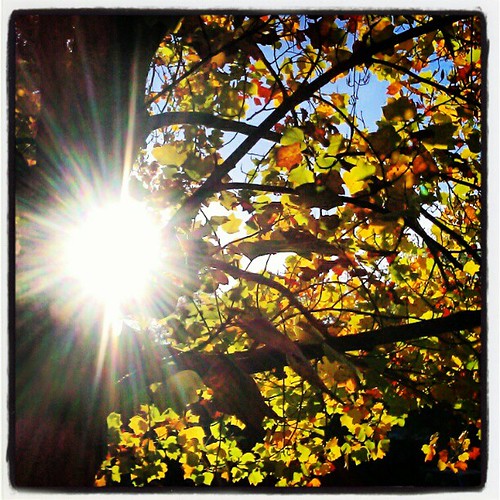
Impossible to resist, with its rustling leaves like stained glass of every warm hue.

upload

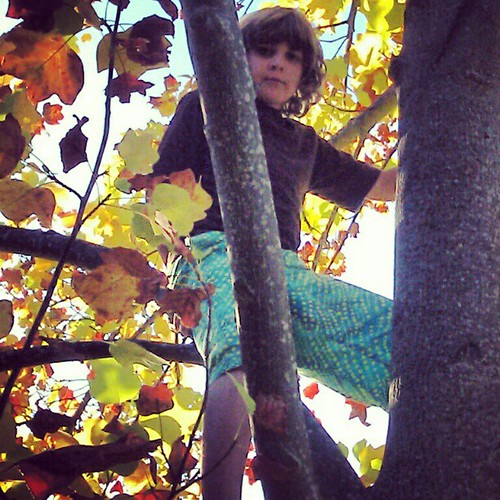
It doesn’t take long for a boy to find his way up.

upload

Stretching and climbing, gilded by light,

upload

into the heights, where no one can reach and he is best and bravest.

Felt Halloween Banner Tutorial

upload

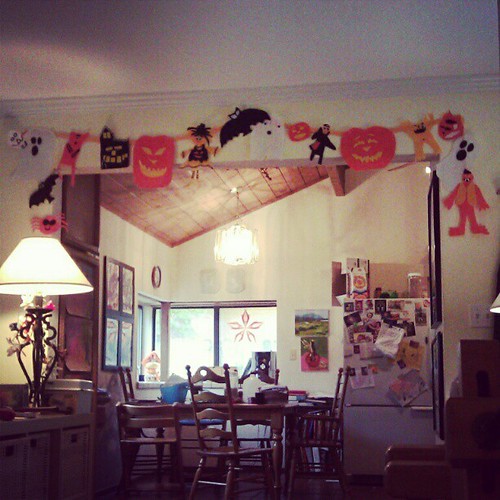
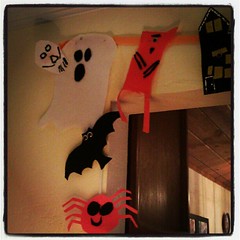
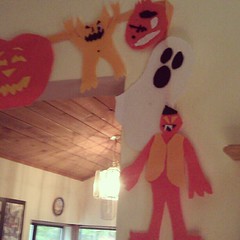
This is a post about turning something we made a couple of years ago into something new. We made these terrific homemade felt Halloween decorations in 2009. I love them, and every year since then, we’ve hung them up on the walls of our home and in windows for the holiday. This year, we made a few more and turned them into a banner. (I love banners because the decorations don’t have to sit on flat surfaces of our home. We have plenty of things sitting on tabletops and shelves as it is.)

I admit it’s kinda wacky to break out the crafting stuff at 7 p.m. on a school night, but that’s what we did. Daddy was out and I wanted something fun to do with my kids, rather than just wrangle them into bed. So I pulled out the felt and we got to work!
upload upload

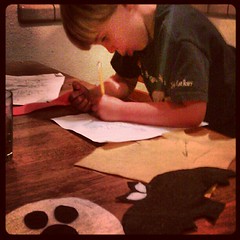
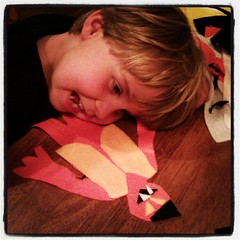
Asher (5) designed a monster by drawing it on paper. He had a bit of trouble cutting the felt with our crummy scissors, so I cut out the pieces for him. He had total artistic control. I just executed it for him.
upload

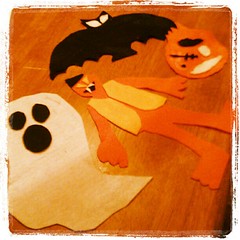
This is what we made in one 40-minute session. Lucas (10) was engrossed (ha!) in making a zombie head. It’s missing an eye and its skull is showing through. “It’s got to hang upside-down, Mom!” OK!

So, anyway, here’s how to do this fun craft, if you’re so inclined.

Materials

  • felt in Halloween colors (orange, gold, yellow, white, black)
  • scissors
  • white glue
  • bias binding tape (1 inch wide, about 3 yards)
  • straight pins and push pins/thumb tack
  • needle and thread (optional)
  • googly eyes and fabric paint (optional)

Tutorial

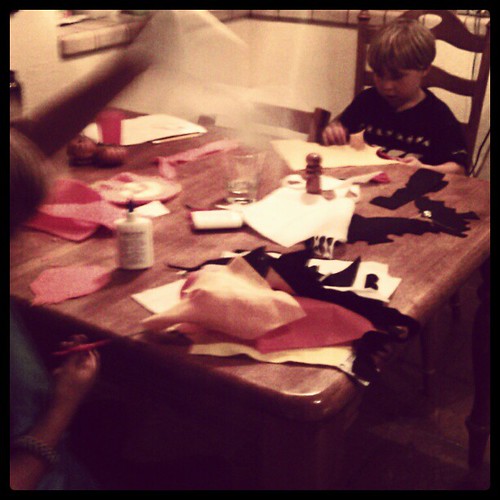
Your project starts out looking something like this: kitchen table, kids, piles of felt bits. Working with felt for this project is a whole lot like making things out of construction paper, so if you can channel your inner grade school student, you’ll be fine.
upload

Ask yourself and your kids, what means Halloween to you? What kind of creatures would you like to make? Older children might like just a touch of creepiness in their creations. Younger children might prefer to stick with jolly jack-o’-lanterns and friendly ghosts. Here are some ideas to get you thinking: ghosts, jack-‘o-lanterns, witches, spiders, bats, monsters, dracula, skulls, skeletons, coffins, gravestones, haunted mansions, creepy hands, zombies, owls, scary dogs, etc. Just be sure to gear your creations to the ages of the children in your household. (Nobody wants to feel afraid at home.) Remember, googly eyes make anything—ANYTHING—cute. A felt Dracula with a smile—also cute.

Felt has got to be the most forgiving fabric in the world. You can cut it and layer it and you never have to seam anything or make it perfect. It sticks to itself beautifully, so you can place a piece, see how you like it there, and then move it elsewhere if you don’t, until you have a design you’re happy with. Furthermore, the synthetic felt is cheap at $0.20–$0.29 per sheet, which means you don’t have to worry about turning it over to kids with scissors.

So, decide what you’re making. Draw the creature first, or just start cutting. It’s your choice. Cut out the main shape of your creature first. Then cut other, smaller pieces for eyes, mouth, clothing, hair, teeth, etc. out of a contrasting color. Arrange them on top of the main shape until you’re satisfied, then apply some white glue to the topmost piece and lay it onto the felt creature. Add googly eyes or fabric paint for details if you wish. Let it dry. That’s it. Repeat for as many creatures as you’d like to make.

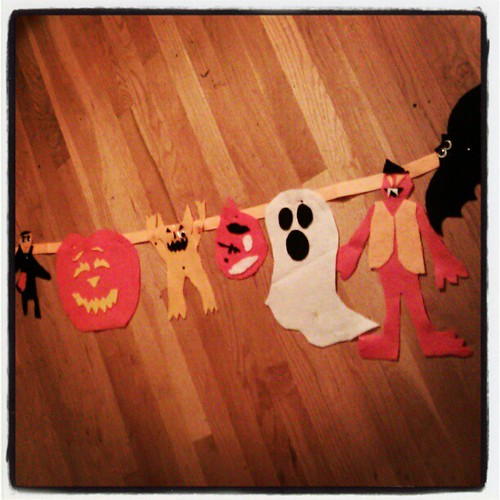
You can now hang your creatures in windows or on walls, or even suspend them from trees if you like. But if you want to make a banner, lay out your bias binding tape on the floor. Place your Halloween creatures along the tape in a pleasing way. Maybe your kids have an opinion about which ghoulish guy goes next to what creepy critter?

You can either sew each creation in place, or if you’re in a hurry like me—or if you might want to use these critters again in a different way another year—just pin them to the bias binding tape using straight pins! If you pin from the back, you won’t see the head of the pin on the front of the banner, and chances are you won’t see the pin shaft at all.
upload

Now find the center of the banner and the center of the wall where you want to hang it. Using a push pin/thumb tack, hang the center of the banner. Stretch out one side at a time, make sure the bias binding tape is flat against the wall without any twists, and then tack the ends. If you only pinned rather than sewed your creatures onto the bias binding tape, you can even adjust their positions at this point.
upload upload

You can also make corners by pinning or sewing critters to each other.

Happy crafting!

[Shared on Natural Suburbia’s Creative Friday, 10/26/2012]
 

Halloween Fairy Goodies

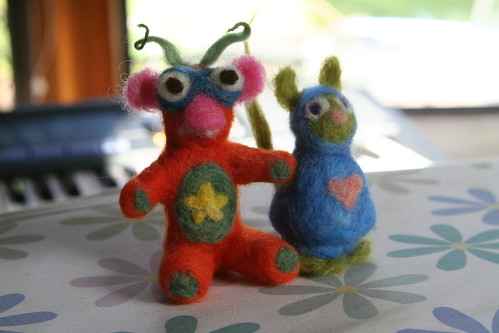
Needle-Felted Monster Friends

We have a tradition in our home, and I know we’re not the only ones who do this. After Halloween every year, my children set a good portion of the candy they have collected trick-or-treating in our backyard. We shout into the night, “Halloween Fairy! Halloween Fairy! Come and get our candy sweet. Trade us for a little treat!” And then we go to bed.

The next morning we usually find that the candy has been whisked away, and in its place are small goodies or treasures that our children can play with and enjoy much longer than they could enjoy a sweet.

Some years the Halloween Fairy brings books, sometimes toys. Sometimes the toys are handmade—perhaps the Halloween Fairy has a little workshop where she and some Halloween Sprites make treasures for children? You might be wondering, What happens to the candy? Well, the Halloween fairy left us a note once that explained that she gives all the candy to the Sugar Sprite, who needs help to feed her family. She finds it pretty difficult to gather sweet nectar from flowers at this time of year, so she instead feeds candy to her Sugar Babies to keep up their strength in the cold months. In exchange for your child’s generosity, the Halloween Fairy will leave a small gift for your child to play with.

I’ve done a bit of looking, on the Fairy’s behalf, and I’ve discovered all of these wonderful treasures to be purchased at A Toy Garden. I thought I’d share them with you, in case you can help the Halloween Fairy choose a special treasure for your child. *

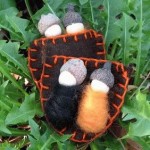
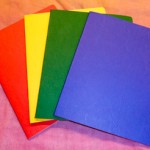
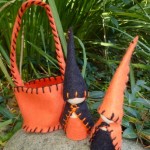
Mushroom Knitting Spool  /  Peekaboo Pixies – Orange and Black  /  Blank Book – Set of 4 – Red, Yellow, Green, Blue  

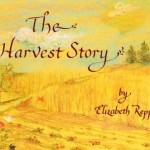
 The Harvest Story  /  Autumn Gnome Set  /  Autumn: A Collection of Poems, Songs and Stories for Young Children

Forest Spirit Wand  /  Treasure Pumpkin Wet Felting Kit  /  Felted Pumpkin Pair

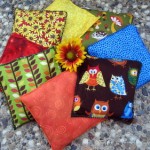
Forest Gnome Family Kit  /  Autumn Garden Gnome Pair  /  Forest Friends Herbal Beanbags

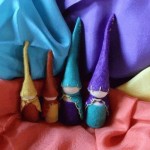
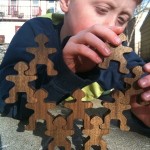
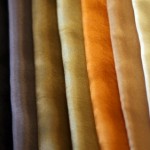
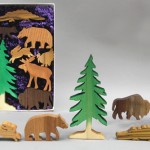
Stacking Gnomes  /  Earthtone Silks  /  Forest Animal Box Set

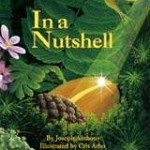
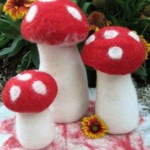
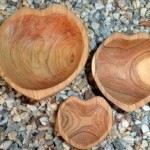
In a Nutshell  /  Felt Mushrooms  /  Carved Wooden Heart Nesting Bowls

There is something for everyone in this collection (open-ended playsilks, dolls, crafting kits, nature table finds, toys), and far more at A Toy Garden’s beautiful website. I know the folks from A Toy Garden personally and I can assure you they take great pride in sourcing toys, craft supplies, clothing, books, seasonal decorations, dolls and much more from the very finest makers and suppliers around. Many of their products are Fair Trade or made in the U.S.

* Now, here’s a little note from me, the Reluctant and Often Confused Webmistress of Love in the Suburbs: I’ve done the best I can with this technology stuff. If you click a photo, you unfortunately won’t go to the website where you can buy the item. (Trust me, I tried!) To be whisked off to the AToyGarden.com website item page, you have to click the text link below the pretty pictures. Thanks!

Lately

upload

I’m not going to get anything done today until I write a bit. I am all pent up and my feelings on all subjects are all over the place. They’re mixed up because I haven’t been writing, which is my process for sorting things out, for determining what matters, what to hang on to and work on, and what to let go of. I’ll try not to make this too complainy because there’s really tons of good stuff.

Lately:

I am very busy with work; I have three projects going full speed ahead. Well, the truth is two of the three projects are taking up so much time that the third is languishing and I hope to get back to it ASAP. I don’t know when that will happen and it’s worrying me. I hope it goes without saying that I’m very glad to have the work. I am. Really.

Pretty computer. So new, there is no dust!

My computer died last Wednesday. My main, desktop, do-everything-on-it computer. I will spare you the emotional trauma of this and just say that I have a new one now. It’s a great new machine and my old data is fine. “Hard drive is robust like ox,” said my tech support queen. This is a VERY HAPPY thing. I am still tweaking and finding workarounds to this happy thing, however, as the happy thing is far from optimized at this moment and I don’t have time to optimize it … yet. Nevertheless, all of this will be better soon. In the meantime, I’ve struggled to keep those three projects moving forward.

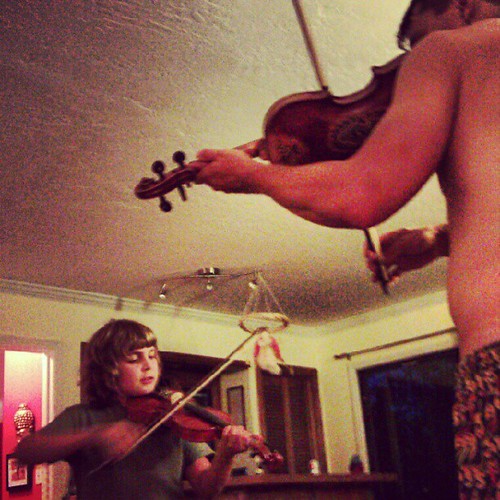
I just fell in love all over again. #violin #waldorf #home #son

The boys are doing great. Lucas is adapting gradually to the greater expectations of fifth grade. (I have a whole post on this topic brewing in my head.) Lucas is really enjoying both soccer skills practice and his twice weekly karate class. Asher is zany and clownish and enjoying the hell out of life, it seems. Both boys are healthy and happy. Managing them is like herding cats, or monkeys, um—good-natured, sometimes-disdainful-or-obstinate, constantly forgetful catmonkeys who are generally too busy singing or shouting or bickering or spilling or bouncing through the house to listen to you. Or me.

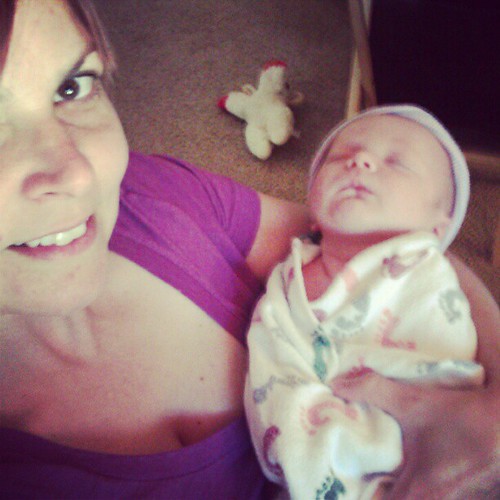
I’ve gone over to my sister-in-law Kellie’s house a couple of times to help out a little with baby Jack, her newborn son. He is beautiful in every way—utterly perfect—and is finally seeming to get a handle on this breastfeeding thing. Some babies are stubborn like that. Holding a teeny baby has got to be one of the best joys of life. I only have to hold him a moment before he has cast a dreamy spell on me and I find that everything else fades away. Still, I did that so-familiar thing of holding baby and editing one-handed. It brought back so many memories and feelings from when my babies were small. Anita Martin, the charming and talented photographer who took Matt and Kellie’s wedding photos has taken some gorgeous shots of them with new baby Jack. They are truly spectacular. Our love goes out to Matt, Kellie, and Jack during this difficult and wonderful newborn time.

Harvest Faire  and the Walk Now for Autism Speaks events both happened last weekend. (I’m planning to write more about this.) It was community service weekend, to be sure. Consequently, it felt rather like no weekend at all. Today, Friday of the following week, I am running on fumes. (Return to the first paragraph under “Lately.”)

I’m also supposed to be writing a book. I hope to get back to that ASAP before my coauthor disowns me.

I love the fall. Can’t wait to hit the pumpkin patch and start work on those Halloween costumes.

I miss painting sooooo bad. It’s been too long and I now feel fear when I think about picking up a brush. Isn’t that the way of it? I’ve lost my momentum and with it some confidence. It’s a thing I have to correct at the soonest possibly opportunity. Must buy that fancy light so I can paint in my house at night. Must get back to class. Mustn’t forget what I’ve learned so far.


Tough Mudder 2012

IMG_0630

IMG_0631 IMG_0925

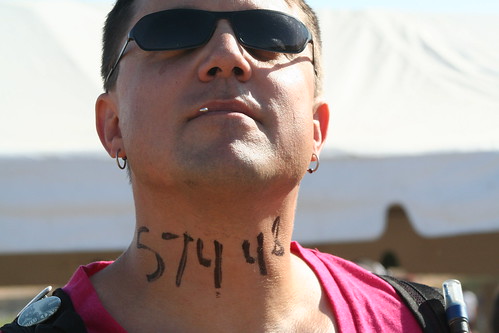
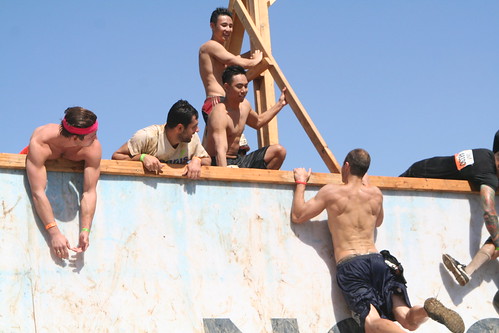
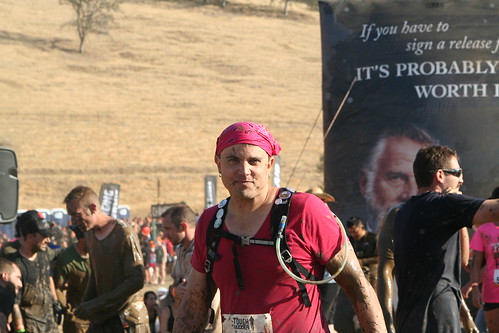
Once again, my dear husband tackled a huge dragon and completed the Tough Mudder in Patterson, California. He trained hard for it and had a great time. Somehow this was a kind of birthday celebration for him. I don’t know. He’s kind of weird. (That is a safety pin in his mouth, not a piercing. He was pinning his number onto his shirt when I snapped the photo above.)

IMG_0792

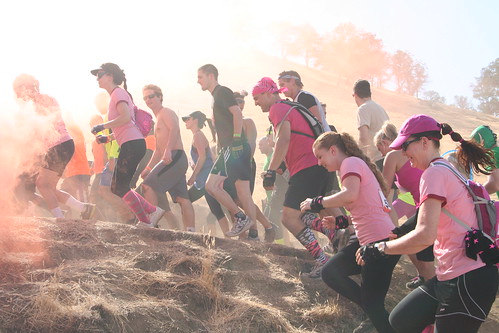
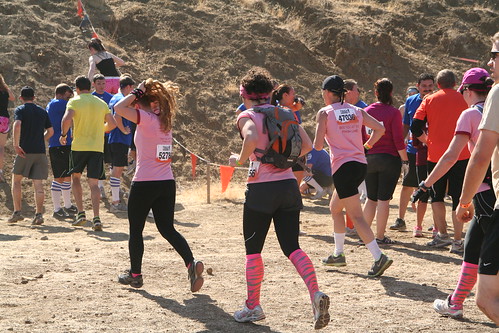
Ian joined our friend Cherylyn and her family’s team, the Jog-or-Naughts. They were all in pink, and Ian gamely donned their color for the event. I was able to follow them from the start and to the first couple of obstacles.

IMG_0901

We mistakenly thought it would be relatively flat terrain. Wrong. Tons of climbing through hot, dusty hills.

IMG_0879

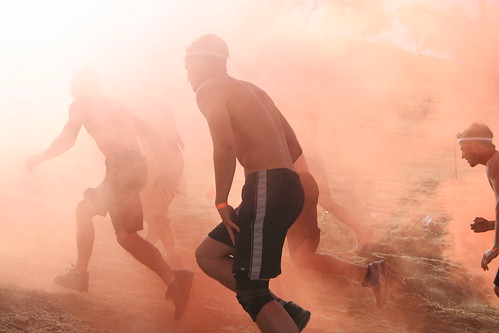
I soon lost track of Ian and the team because I couldn’t follow. I spent my time eating a hot dog, drinking a beer, and taking photos of hunky hot athletes. That was just fine. The mud spatters on my clothes were worth it. I got some terrific photos.

IMG_0715

IMG_1005

IMG_1315

IMG_1209

IMG_1437

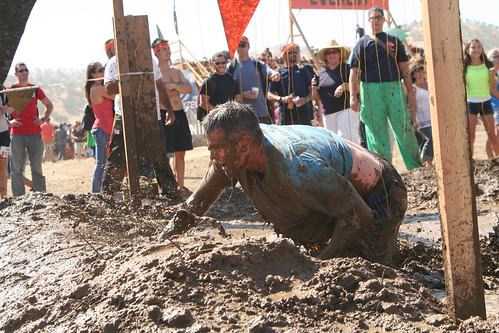
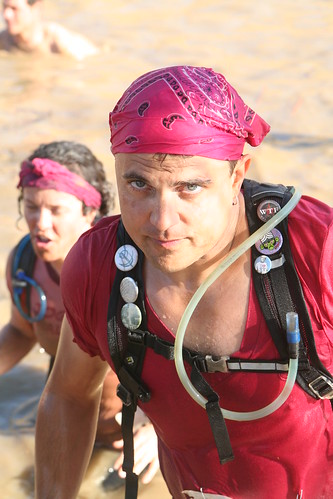
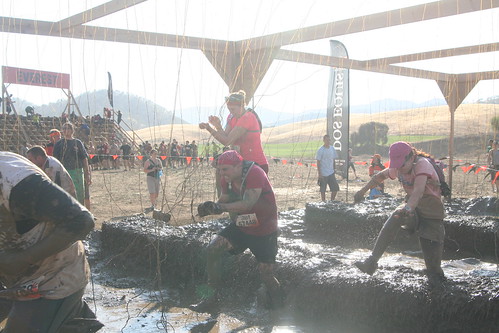
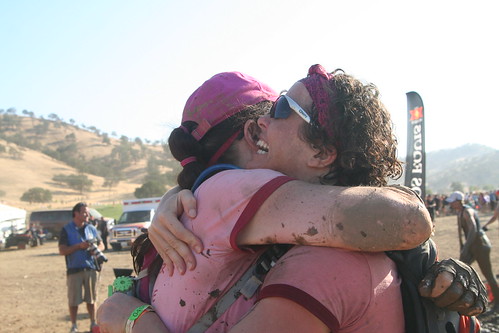
It was a very hot day, 95 degrees or more. I never really could check because I had no Internet connection. Unlike the previous Tough Mudder he did in Squaw Valley up on Tahoe, in Patterson the water/mud events were actually a little refreshing, and not freezing cold. I sat a very long time by this muddy pond to wait for my Mudders to swim and wade through here and to get this one close-up photo of Ian. I also got a stinky, muddy kiss for my troubles. After hours of waiting while my friends were miles away, climbing hills, slogging through mud, going over and under umpteen yucky, dangerous obstacles, I was very relieved to see them coming down the hill and entering this gross pond, hale and safe.

IMG_1476

Here is the last obstacle, named “Electroshock Therapy.” Those are electrified wires hanging down and the Mudders have to run (or fall, slip, crawl, and slide) through them, getting shocks all the while. This was the second obstacle with electricity. Ian had already gotten shocked pretty bad, which he says felt like being kicked in the head.

IMG_1490

IMG_1492

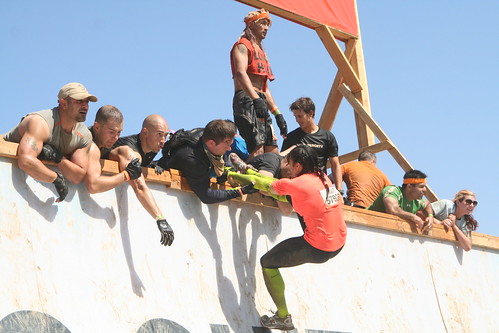
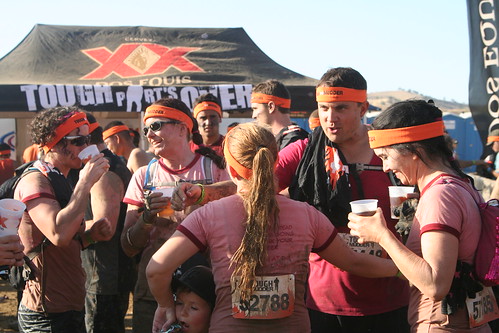
All six of our Mudders completed the course. What I like about this event is the emphasis on camaraderie and helping one another through it. Our Jog-or-Naughts stuck together and everyone tackled the obstacles that were right for them.

IMG_1536

Here is their celebratory beer, which I am told, never tasted so good. I am terribly impressed by all of them! Congratulations, Ian, Cherylyn, Kimberly, Cybil, Susan, and Nina!

School Community Michaelmas Festival

dragon

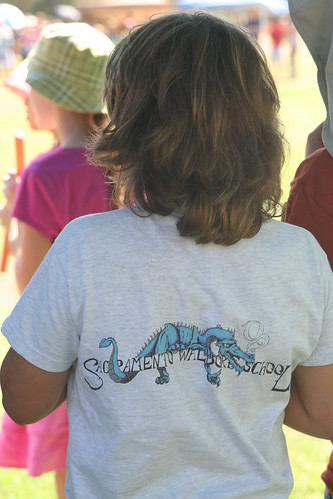
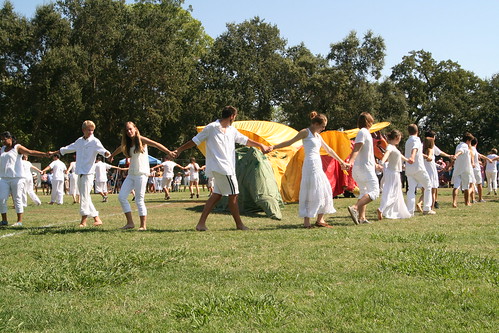
Last Friday was our school Michaelmas festival and we really go all out at Sacramento Waldorf School. While the pageant take the same form each time, every year there is a new dragon to conquer. I think this is an interesting metaphor. Aren’t we always facing some new dragon or other, along with our familiar ones, of course.

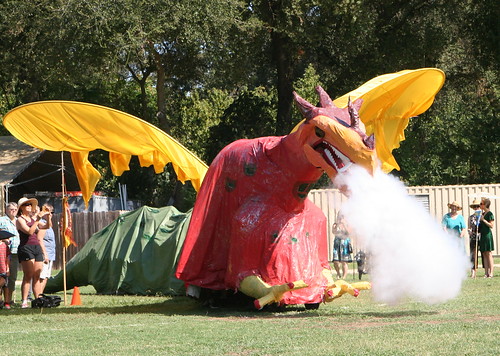
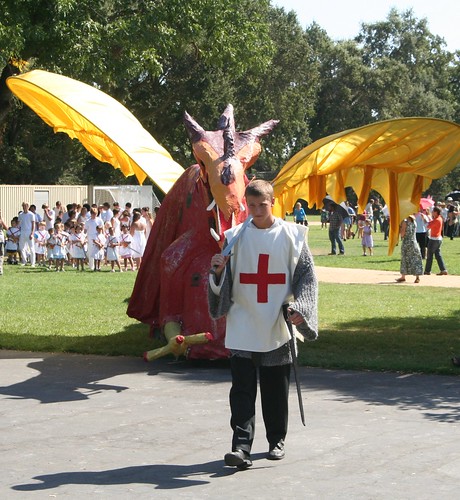
The sixth grade class creates and then mans the dragon. This year’s beast was magnificent! Those kids and their teacher should be very proud.

IMG_0498

The fifth graders, Lucas’s class, played the folk music (flutes and xylophones) while the village children (the third graders) did their folk dance.

IMG_0567

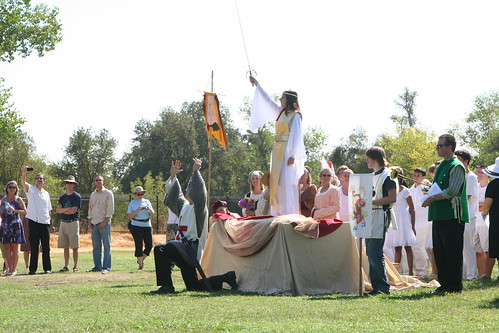
Here is a shot of George kneeling and receiving the blessing of the Archangel Michael.

IMG_0577

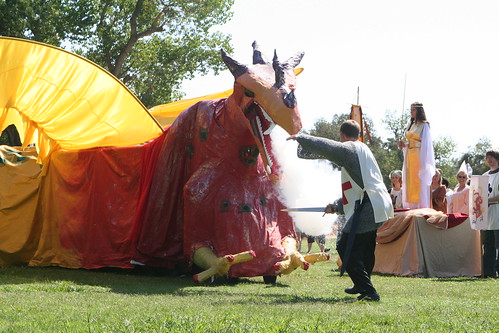
And then George must face the ferocious dragon, for it is threatening the villagers and the peace of the land.

IMG_0581

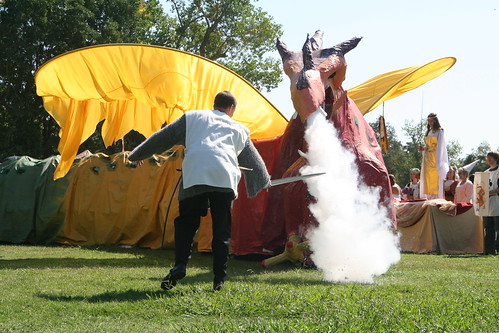
This year’s “battle” was particularly dynamic with all that hot dragon breath.

Each class has a verse they say and I wish I knew them all but I certainly do not. This year I learned that the fifth grade verse is the one that suggests the plan for bringing the dragon under control.

“Keep your courage from shrinking!
This beast requires some thinking.
Let’s make a geometric plan;
Surround the creature, if we can.
With courage, strength, and balance,
We’ll make a strong alliance.”

IMG_0586

The the older students surround the dragon and the youngest students (second graders) join them, wearing their knight tunics and with wood swords they have made. It is a powerful alliance, indeed.

IMG_0605

After the dragon is tamed with communal commitment and cleverness, and not might, George manfully leads the dragon away from the town. He has done his job well.

This festival never fails to inspire me because of its message and the great effort the school and each class puts in to make it so wonderful. Each year I get something new out of it. I hope your Michaelmas was full of shining courage and deep meaning.

  • About Sara

    Thanks for visiting! I’m Sara, editor and writer, wife to Ian, and mother of two precious boys. I am living each day to the fullest and with as much grace, creativity, and patience as I can muster. This is where I write about living, loving, and engaging fully in family life and the world around me. I let my hair down here. I learn new skills here. I strive to be a better human being here. And I tell the truth.

    Our children attend Waldorf school and we are enriching our home and family life with plenty of Waldorf-inspired festivals, crafts, and stories.

    © 2003–2018 Please do not use my photographs or text without my permission.

    “Love doesn’t just sit there like a stone; it has to be made, like bread, remade all the time, made new.” —Ursula K. LeGuinn

  • Buy Our Festivals E-Books


  • Archives

  • Tags

  • Categories

  •  

  • Meta