Easter Gnomes
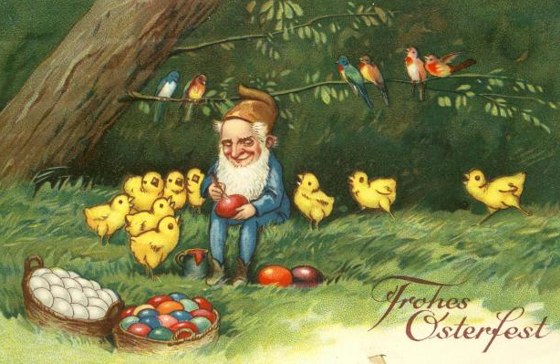
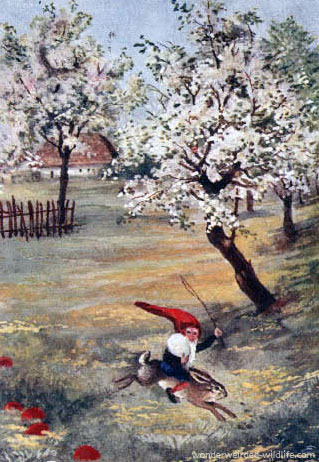
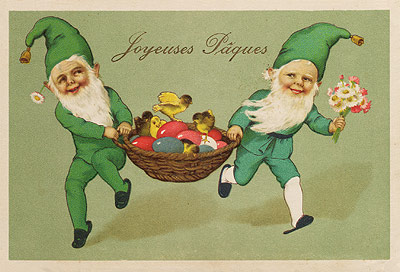
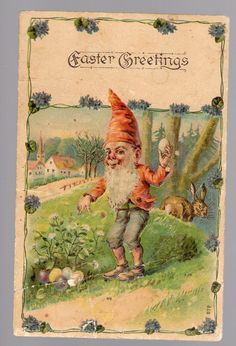
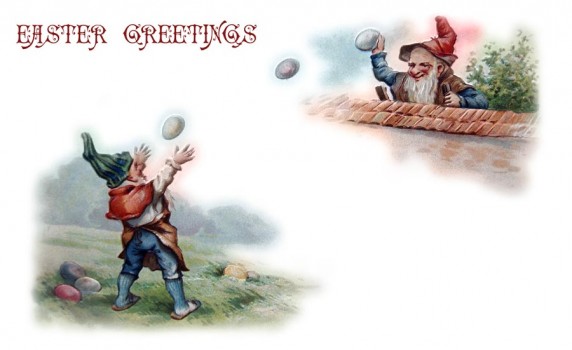
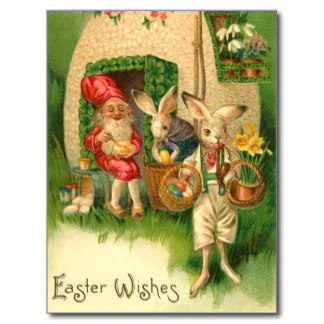
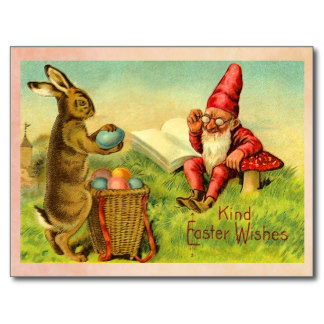
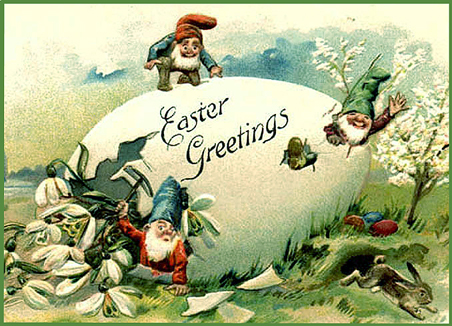
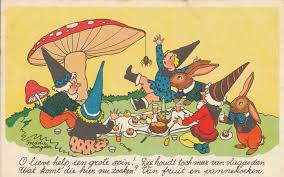
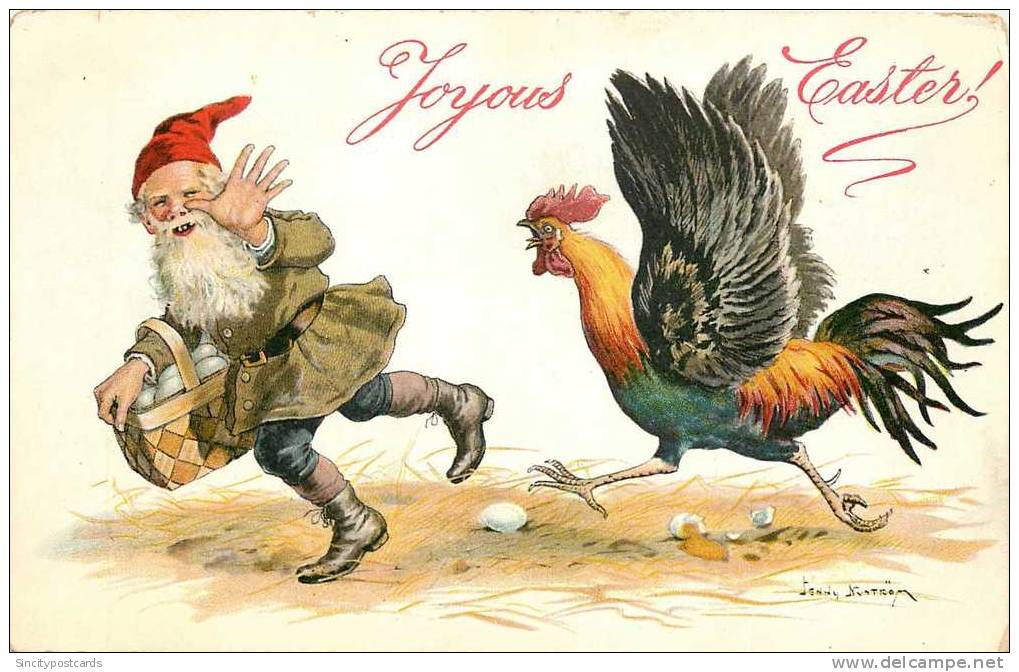
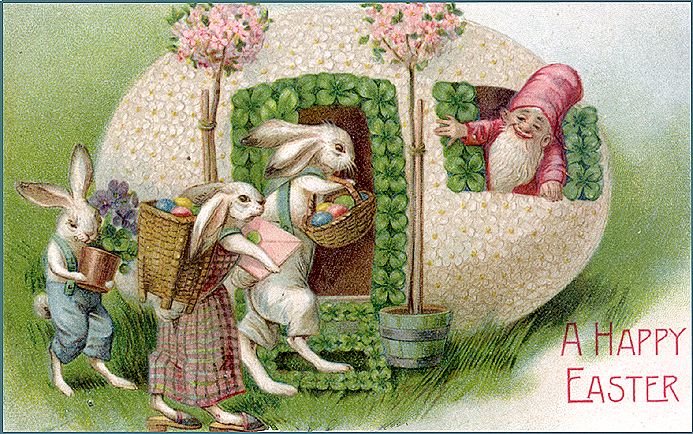
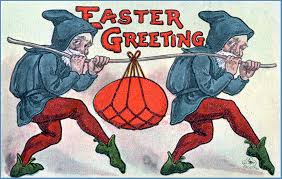
It’s a bit late, but these are so sweet, I had to share them. These vintage and German Easter cards with gnomes are too cute.
It’s a bit late, but these are so sweet, I had to share them. These vintage and German Easter cards with gnomes are too cute.
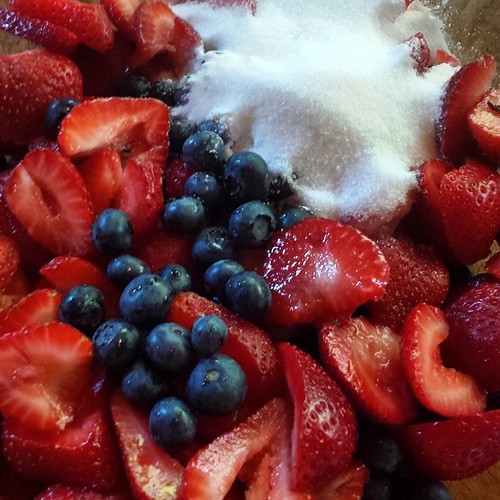
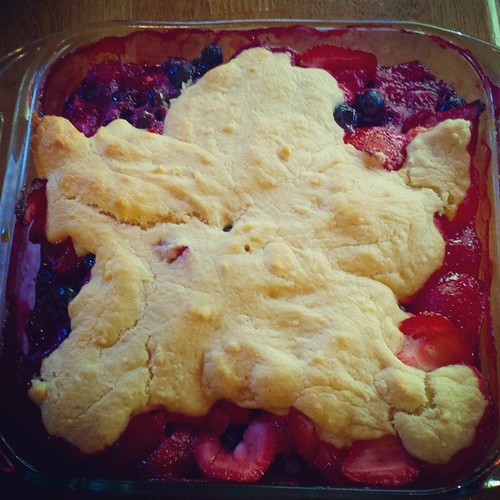
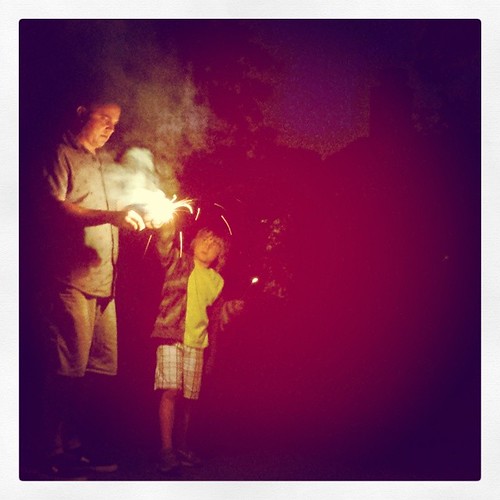

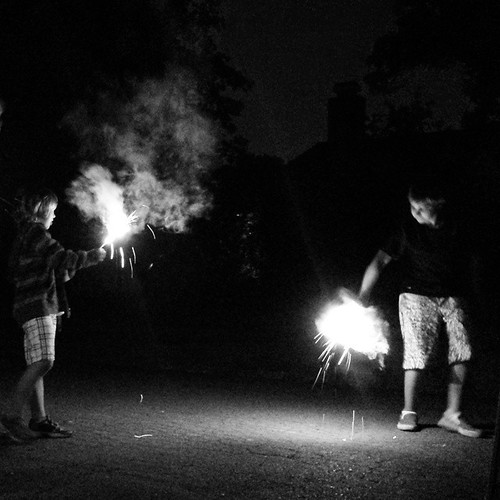
It was a slow day for us, this Independence Day. We were all tired from staying up too late the night before with friends. We opted to stay home, watch silly “Independence Day,” grill burgers, and eat homemade strawberry and blueberry cobbler. We burned some money in the form of fireworks, and then hit the hay. There was food and fire, and the boys were satisfied. And it was enough.
Edit 7/6/2014 [I’ve linked up to my friend’s Slow Summer Series at Little Acorn Learning. If you and your family are enjoying peaceful, slow moments this summer, join us here to share and inspire others to slow down and savor life.]
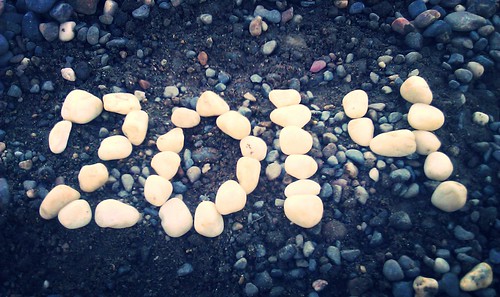
Happy New Year!
For our family this past year has been good overall. We’ve all grown so much, learning joyfully and meeting our challenges with determination and sometimes with grace. We have pursued goals, developed skills, made friends, and found and made new opportunities. We have carved a place for ourselves. We have faced our fears. We have dug deep to find additional strength and resolve. We have unearthed some old psychic muck and purged some baggage that no longer serves us. We have planted seeds of joy and nourished gardens of all kinds. We have bumbled and bumped along, at times, and our experiences have polished us a little bit more. I am repeatedly humbled by our amazing good fortune, most especially in our friends and loved ones. I am constantly amazed by and inspired by the courageous people around us, who serve as our support network and as excellent examples of compassion, understanding, goodness, bravery, and arete. Our boys continue to be our raison d’etre and an endless fountain of love in our lives.
I wish for our family, and for you and yours, fourteen essential blessings in 2014:
1. love
2. good luck/opportunity
3. prosperity
4. good health and stronger bodies
5. creativity
6. learning
7. friendship
8. laughter and whimsy
9. peace in our homes
10. forgiveness of self and others
11. patience
12. perseverance
13. dreaming
14. trust
Blessed Be.

The Sun in Winter
Pale sun goes sailing
Through the frozen sky;
Trees raise to him their arms
As he goes by.
Haste, sun, grow brighter
As the days go past;
Wake from their sleep the buds
And leaves at last.
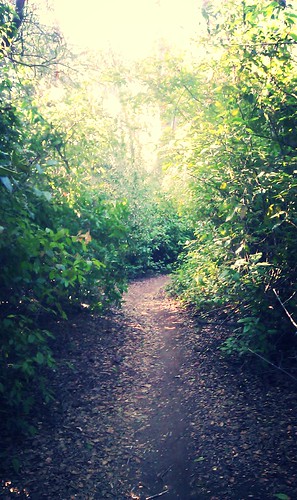
My day started with a gorgeous trail run with my friend.
The kids played with the neighborhood boys, and just at sunset, Ian got to explain to the kids what the winter solstice is—that the earth’s axis is 23.5 degrees tilted to the plane of her orbit, and thus we have seasons of more sun and less sun, and that after this shortest day, the hours of sunlight each will get longer for the the next six months.
We declined a party invitation with regret, and celebrated at home on Saturday evening. It was quiet. It was cozy.
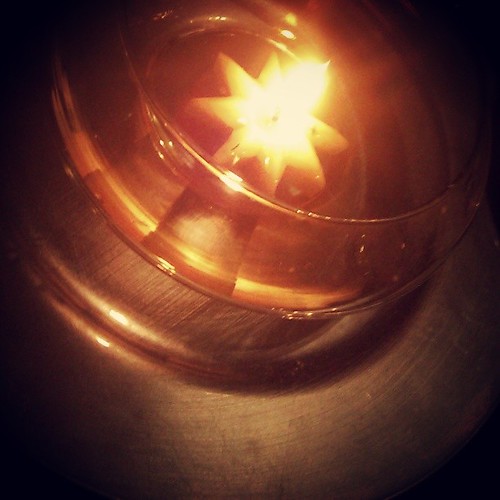
It was a little dark, just as I wanted it to be. The candlelight was lovely.
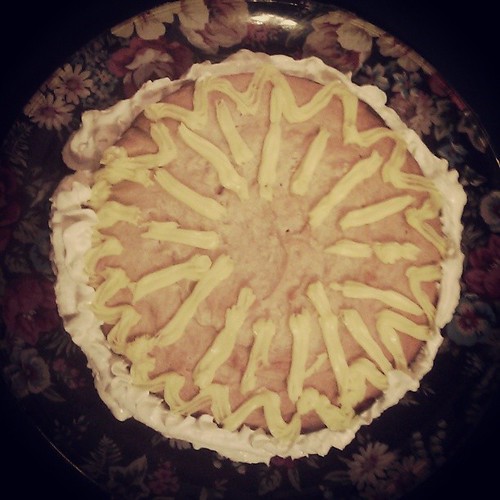
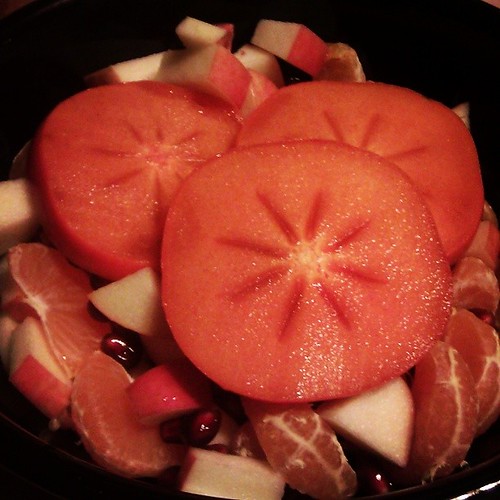
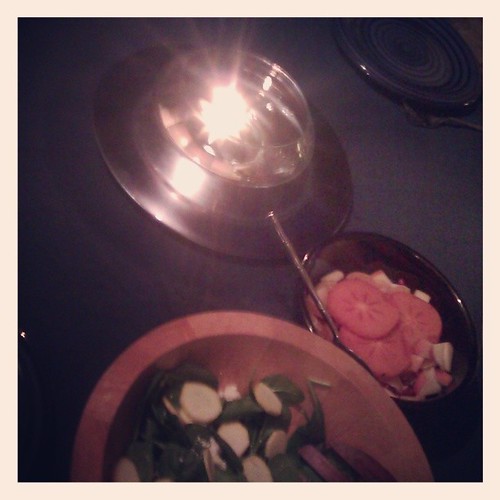
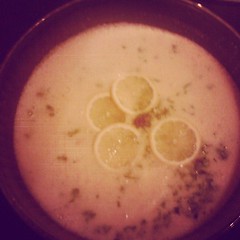
We had a meal of Greek avgolemono soup, fruit salad, green spinach salad with little yellow squash suns, and a honey suncake for dessert. Simple and delicious. I had a vision, so the kids and Ian just relaxed while I prepared it. I loved the part when I called them in to eat, and everything was glowing, perfect, and pretty. I only wish the boys had enjoyed the soup more.
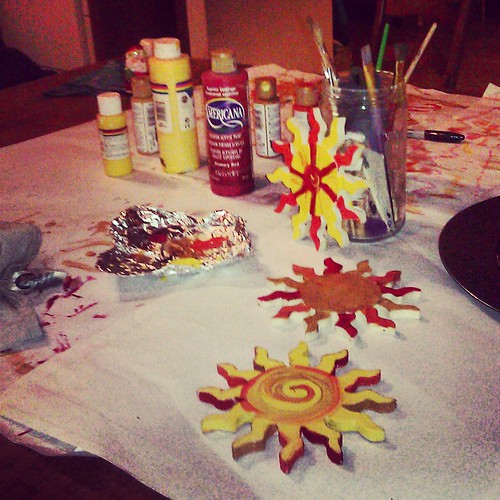
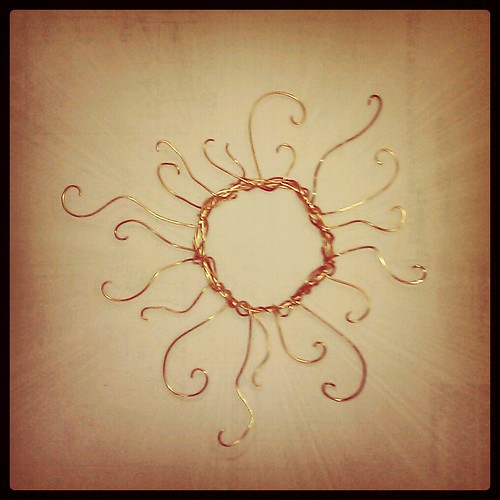
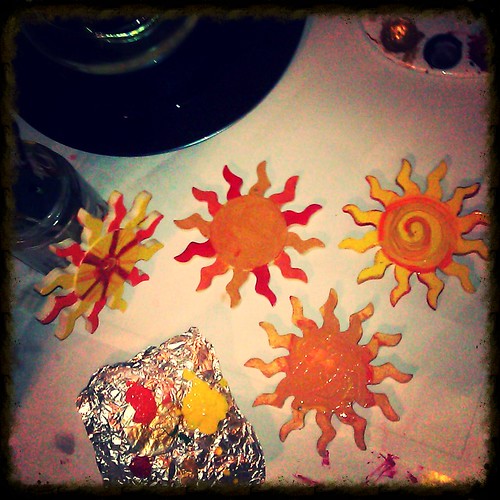
And I convinced my darling boys to do some art with me. We painted these pretty sun symbols. Now we can hang them to remind us of how grateful we are for the sun’s warmth and light. They could be Yule or Christmas ornaments, or a kind of mobile. I don’t know yet. But I love them.
And as for our furry friend, Solstice the dog—we celebrated his second anniversary in our home. He got some new treats and a new rope toy. We adore him.
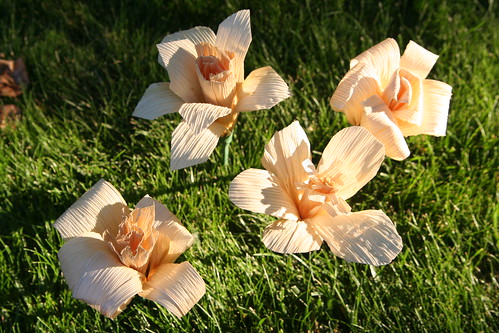
Cornhusks are a humble but versatile natural material. These protective sheaths from ears of corn, when dried, can be used in many lovely crafts. Here is a way to turn simple, natural cornhusks into flowers fit for decorating your family’s Thanksgiving table, adorning special gifts, or as accents for fall wreaths. If the children in your life need something special to do on Thanksgiving day, this is a fun, inexpensive, and rewarding activity.
Materials
• package of cornhusks from the Mexican food aisle of your grocery store
• 4-inch floral picks with thin wire at one end (floral wire on a spool can be used instead)
• green floral tape
• food dyes (optional)
Cornhusks come out of the package as wrapped triangles that are broad at one end and fairly narrow at the other. For these flowers, you’ll be splitting a large triangular cornhusk into strips of about 1 inch wide at the wide end. These strips will naturally taper to a point at the other end. It’s really not important to be precise in splitting the strips. These will end up being your flower’s petals. Make about five or six strips and then set them aside.
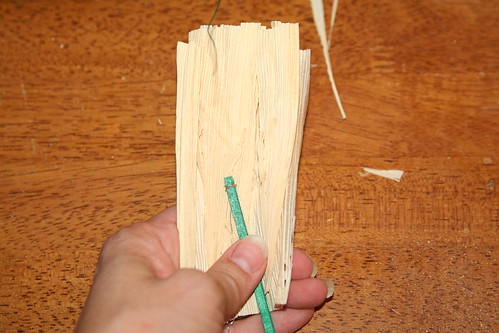
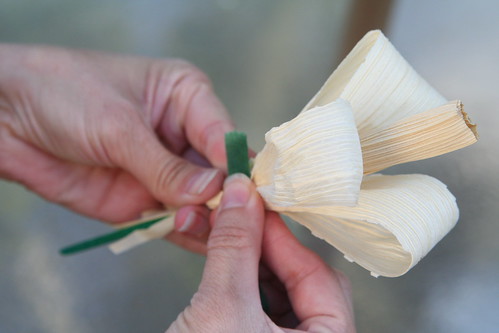
Take a cornhusk triangle and cut the bottom narrow half off so that you have in your hand the widest part. Lay a floral pick in the center with the wire pointing down and laying beside the wooden stem.

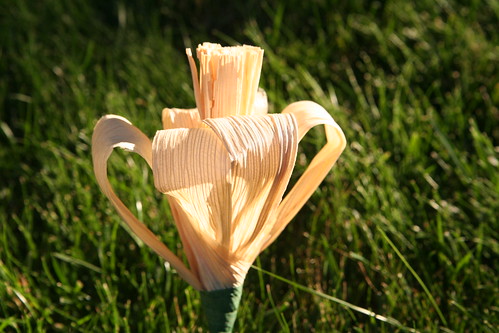
Now roll the cornhusk into a tight tube around this floral pick. The top will look something like the above photo.

Pull the free end of the wire up, letting it split the cornhusk in one spot, then wrap it tightly around the rolled husk with the pick inside. This is the finished center of your flower.

Now it’s time to add your petals. Many petal styles look great. One style is to take a strip of cornhusk (about 1 inch wide at its wide end) and fold it very gently over onto itself, making a loop. Hold both ends and place them next to your flower’s center. With one hand holding the flower’s center and the first petal, repeat the folding over of the next petal with your free hand. Add it to the flower. Repeat this until you have three to six petals ringing your flower’s center. Hold all the petals to the flower center with one hand.
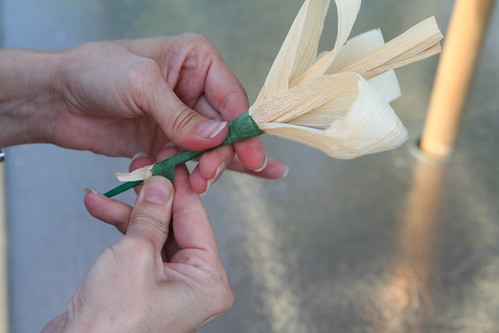
Gently stretch the floral tape slightly, and then place the tape’s end on top of your petals where they join the flower’s center (where the base of the flower is). Begin wrapping the tape around and around your flower’s stem by spinning the flower while keeping the tape gently stretched so it sticks nicely to the previous layer of tape. Work the floral tape all the way down the flower’s base and onto the wooden floral pick stem to its very end. You now have one complete flower, something like this one below.
Cornhusk flowers can be made with many variations.
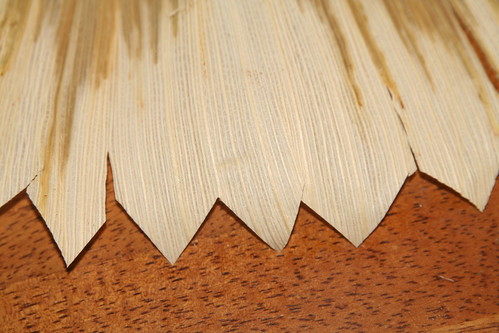
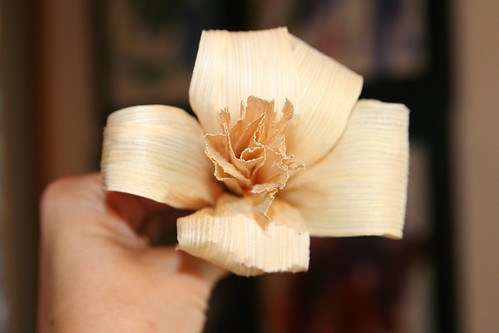
Another way of making flower petals is to unfold a whole cornhusk and cut dags into it every inch or so. Cut the narrow end of the cornhusk off and then wrap these dagged petals around your flower’s center.
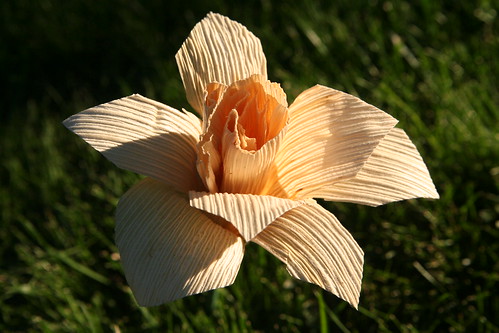
You can then gently pull the petals away from the center and curl them slightly with a finger or a pencil after you have them secured with floral tape. This can result in a lovely lily shape.
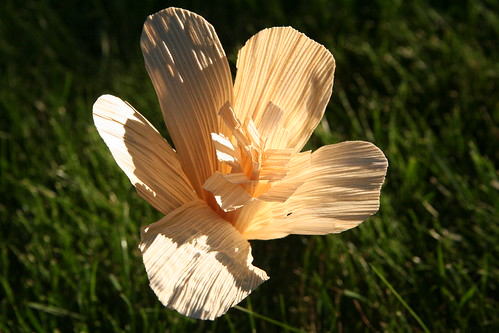
You can also round the ends of your petals like so. In the photo above, you can see that I split the flower’s center into narrow strips and bent them to achieve a different look for the flower’s stamens.
Some flowers have centers that extend beyond the petals. In some flowers, the opposite is true, and you can trim them to be shorter than the surrounding petals.
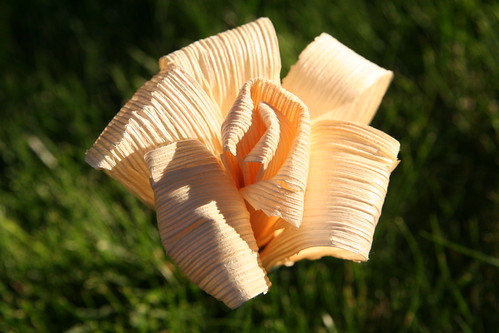
Another possibility is to roll a folded cornhusk to make a center like in the photo above. This one looks more like a rose.
Finally, if you’d rather your cornhusk flowers have colors instead of being natural color, that’s easy to achieve by soaking the cornhusks in a bath of water with food dye. Before you begin making flowers, you’ll have to let your dyed cornhusks dry completely, but that should take only a day or so. Food dyes will achieve pastel colors. If you want vibrant colors, you can dye the cornhusks with fabric dyes. Imagine the possibilities!


Here’s my humble cornhusk flower bouquet and table decoration. Will these flowers grace your Thanksgiving table?


