Spring Break

Vacation

Well, I’ve not been writing much here lately. Instead, there’s been a whole lot of living happening. The boys had two weeks of spring break and while sometimes a school vacation means I have more time for hobbies, such as blogging, sometimes it totally does not.

upload

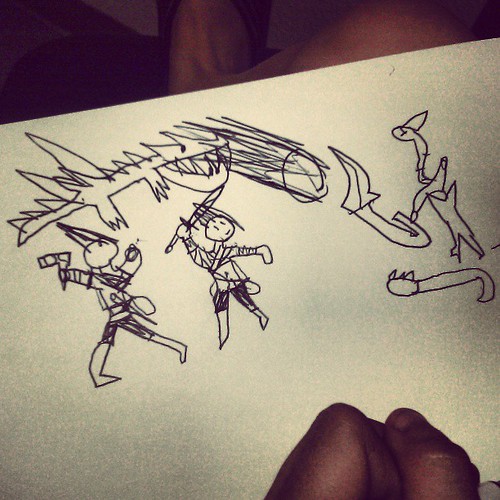
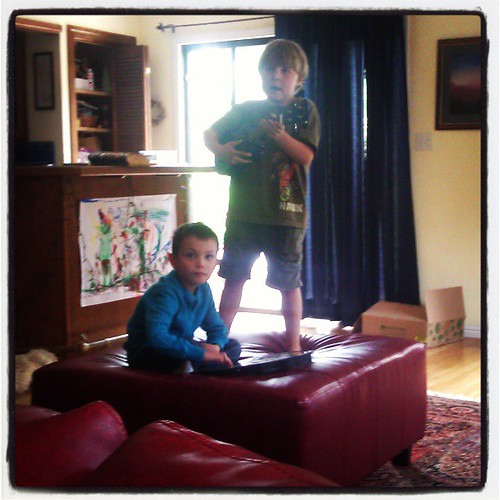
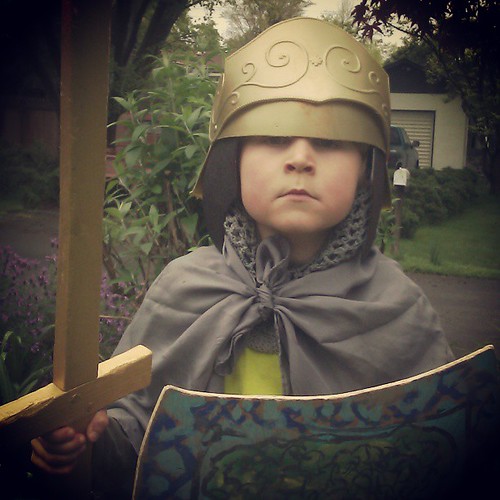
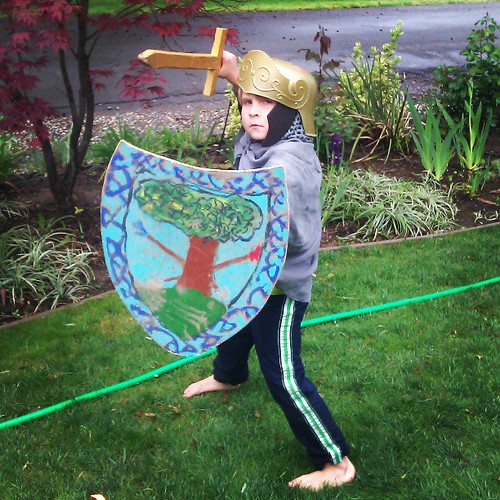
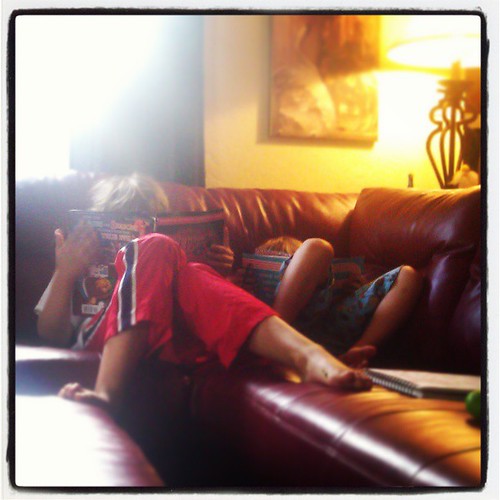
The boys have been reading and drawing like crazy. Both are completely captivated by all things Fantasy, all things Dragon, and all things Tolkien. Asher has a great fondness for Dwarves. Lucas fancies Elves. They write books, design games, draw pictures, and create “Game World” stories, which are “video games” that exist only in their heads and they act out the action. I like those video games!

upload

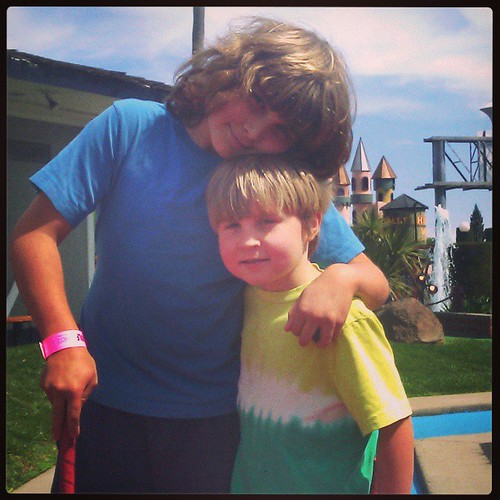
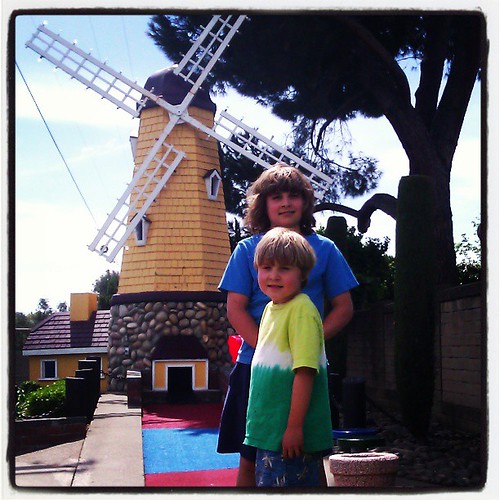
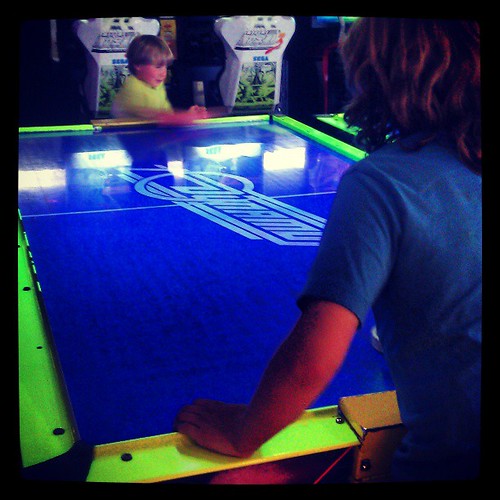
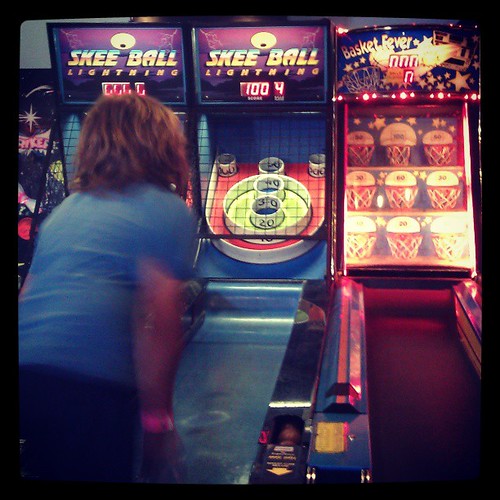
We had one super great Mama & Boys Day; we went to a local miniature golf course and played minigolf and a few arcade games—a very rare treat indeed.

upload

upload

upload

Asher played a killer game of Fast & Furious, a driving game where he spent most of the time flying off bridges and overpasses, but the old standbys were best—air hockey and skeeball. I let Lucas play the rifle-shooting game and he looked at me like he had just won the lottery. Arcade: $3. Minigolf for 3: $21. Lunch for 3: $25. Oh yeah, that’s why we don’t do all that many outings like this. Oh well.

upload

Then we went to the library and the park. This is more my speed.

Lucas and Asher had a little time with grandma. They played a lot with the neighborhood boys. The fact that we now have some neighborhood kids is a great pleasure—we have lived in this neighborhood for almost 13 years and for 12 of them there were no children. Elderly neighbors. The housing bubble and then the crash. Finally some younger families are moving in.

Let’s see … Ian built me a raised garden bed, which is totally awesome.

Rehearsal. Asher on ukelele, N on drum machine, Lucas is the band manager.

Asher got to have a buddy come to play. They created a rock band. Asher played ukelele, N played the drum machine, Lucas was their manager. They rehearsed. They sang songs called “Alabama Shakes,” “Lightning Strike,” “Golden Wolf,” “Clutches,” and “Death Knife.” I kid you not. Lucas told them they had a kind of punkheavymetal sound and then convinced Asher and his friend to put on face paint. It. Was. Awesome.

I love this boy.

He agreed to be photographed. He must be feeling pretty cool.

And there was this. I love this boy.

upload

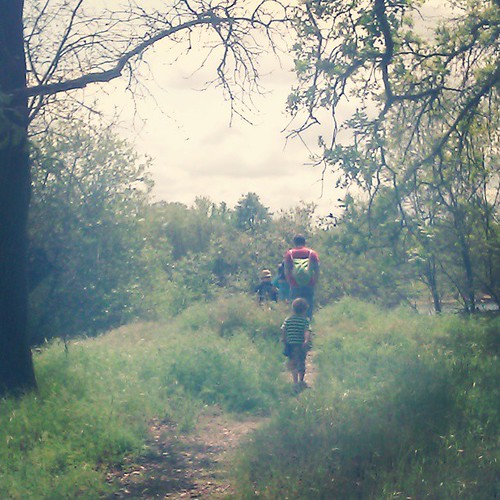
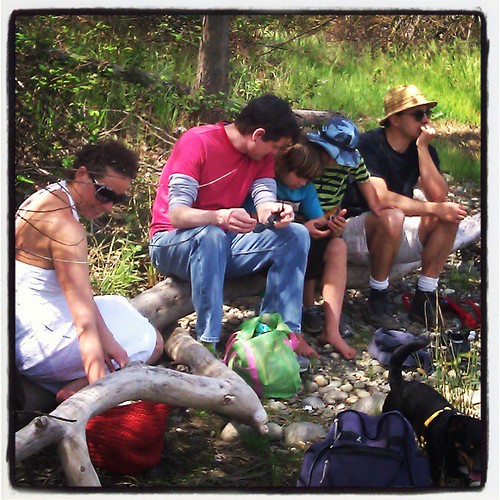
On the last day of Spring Break, we went on a lovely hike with Mars and NoNo.

upload

upload

River outing

upload

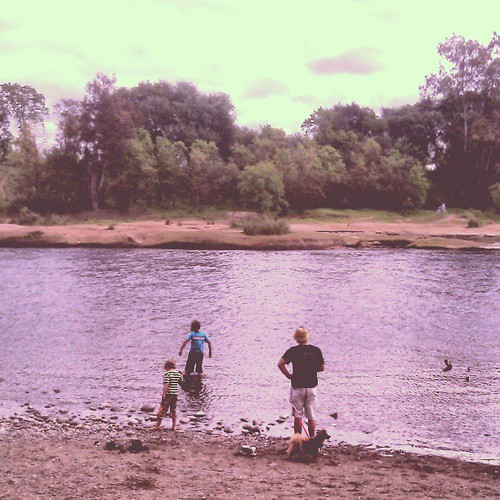
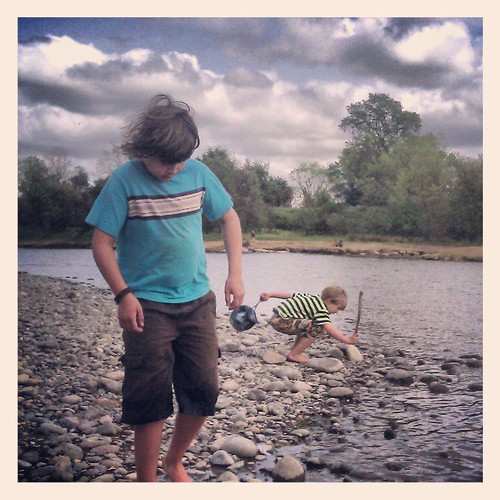
Mars showed us the game he is making. We picnicked. We got wet in the river. The dogs got to sniff a lot of things and meet other dogs. We walked the trails and spent time under the great big sky. I can’t really explain how refreshing and nourishing that is for me. It’s like medicine.

And now, the boys are back at school. Our normal rhythm has returned and I am happy about that, except I’m still not a morning person and never will be.

Tutorial: Create a Mermaid Crown and Wrist Ribbons

Mermaid Crown

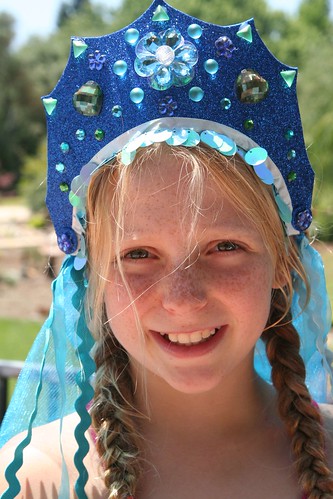
Who wouldn’t want to be as graceful as a beautiful mermaid or noble merman, living in an underwater wonderland? This play costume—a mermaid crown and wrist ribbons—is something you can create in stages, or do only the part you like best. Mermen might prefer just the crown, without the veil. The wrist ribbons encourage so much imaginative play for boys and girls alike. They can be water flowing while your merfolk swim. They can be magical water powers made visible.

Materials for Mermaid Crown

  • a craft-foam visor
  • jewels, beads, and/or small seashells (Tip: look for packages of jewels and rhinestones for decorating flip flop sandals! Craft stores have inexpensive kits.)
  • low temperature glue gun and glue sticks
  • ½ yard of veil fabric (tulle, netting, etc.)
  • scissors, sewing pins, hand-sewing needle and thread
  • sewing machine
  • notions and ribbons

Materials for Mermaid Wrist Ribbons

  • ¼ yard satin or acetate fabric
  • ½ inch wide elastic
  • notions and ribbons

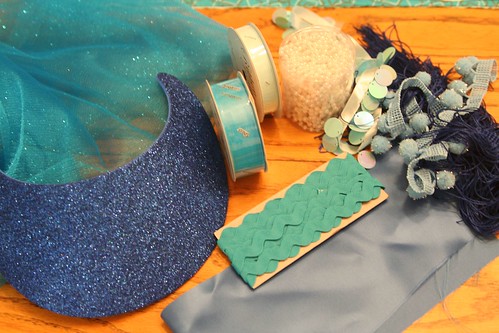
Materials

Make Your Mermaid Crown

Begin by gathering your materials. You will need a clean, flat surface to work on. First, remove the elastic or plastic coil that is the back of your foam visor. You will put it back on later.

Now decide how you want your headdress to look. Will it have points like a queen’s crown? Will it be scalloped like a seashell? Turn your craft-foam visor over and sketch the shape you want. When you’re happy with what you see, cut your foam with scissors.
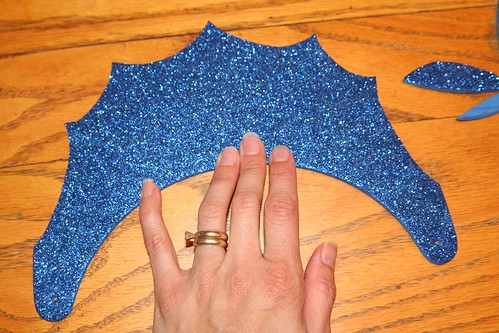
Cut the Visor into a Crown Shape

Now play with your notions and jewels, beads, and/or shells, placing them on the visor here and there, until you have an idea how you want them to be arranged. Take some time with this part because once you glue the items to your visor, it will be hard to remove them if you change your mind about their placement.
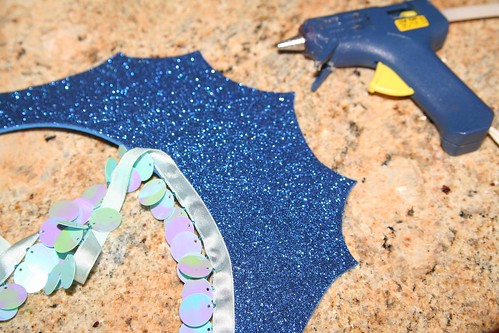
Adding Fringe

With your low-temp glue gun, glue on any trim (such as in this photo) and your decorations.
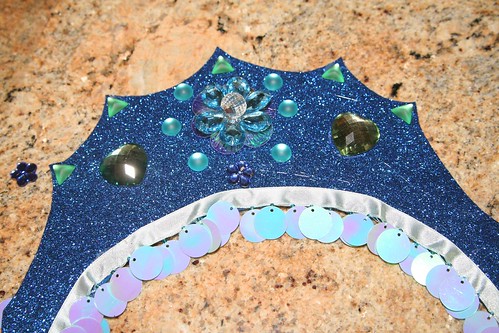
Gluing on Gems
It’s a good idea to measure to find the visor’s center. Try to arrange your biggest, most impressive or most special decorative item in the very center.

Using your glue gun and the smallest drops of glue, begin by gluing the special center item. Other smaller jewels or seashells can then be glued on. If your design is symmetrical, do the same item on both sides before moving on to a different jewel. You’ll have to pull off the strings of glue that may result from gluing on the jewels.

Have you decided to make a veil for your mermaid crown? (If you’re making this for a boy to play a merman, you may wish to skip this part.) Take your veil material (tulle, netting, etc.) and fold it in half so that it has two layers. You might measure your child to decide how long you want the veil to be. I decided I wanted the top layer of the veil to be shorter than the bottom layer. (Depending on the fabric you chose, you may wish to hem the bottom edges of your veil.) Pin the layers in place and then sew a seam about 1 inch from the top fold. This creates a tube through which you can pull the visor’s back elastic or plastic coil.
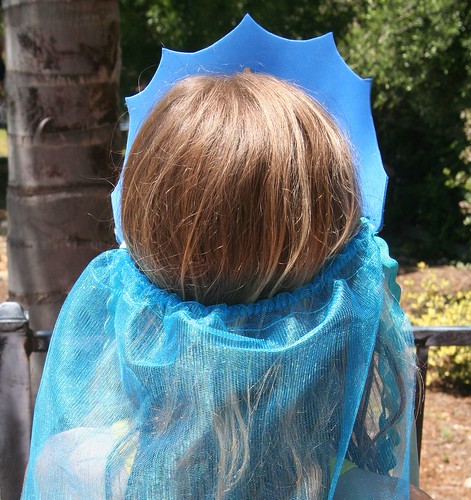
Mermaid Crown Back

Measure the visor on the head of your child, and shorten the elastic or plastic coil accordingly, so that it fits. (The coil on my visor is visible in the photo above.) You might wish to glue this part onto the visor so that it’s permanently attached. This spot, where the crown attaches to the back can be decorated with another jewel if you wish (see below at the child’s temple).
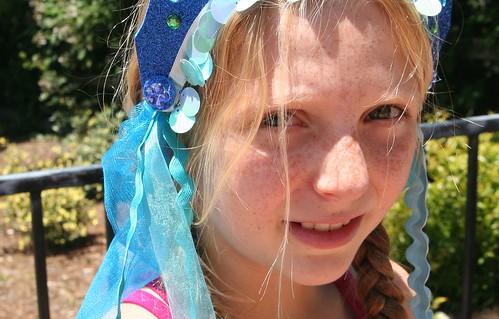
Mermaid Crown Detail

If you have ribbons or notions for decoration or long mermaid locks, fold them in half and with a needle and thread, sew them on to the corner of your veil, where the elastic attaches to the visor, so that they are firmly attached and can trail either in front of the shoulder or behind like hair. Keep in mind the age of the child who will wear this costume. The more decorations you add, the harder it will be for the child to put the crown on herself. (I ended up not using several items that are in the photo at the beginning of the tutorial.)

Congratulations! You’ve made a beautiful headdress for a lucky mermaid, or a handsome crown for a merman.

Sew Your Mermaid Wrist Ribbons

Wrist ribbons are a huge part of dress-up play in our home. You might be surprised at how well your child takes to these simple accessories. There is a bit of sewing involved, but it’s pretty easy.

The first step is to measure your child’s wrist using the elastic. You want the elastic band to be snug enough not to fall off the wrist, but not too snug as to feel tight. You also want to have about a 1 inch overlap, so that you can sew the elastic securely closed.

Now that you know how long it needs to be, cut two pieces of elastic that length. Lay out your covering fabric (satin or acetate). You could be very careful and measure this, but you don’t really need to do so. The object is to cut two strips of fabric so that they are twice as long as your elastic pieces and about 2 ½ inches wide. Turn in ¼ inch on both sides of your fabric strip and the ends and iron it flat. Sew the flat rectangle’s ends together to make a ring. Now fold your wide ring in half to make a long skinny ring with the right side of the fabric out. Make sure the width of your skinny ring will accommodate your elastic, but don’t actually put the elastic into the ring yet.
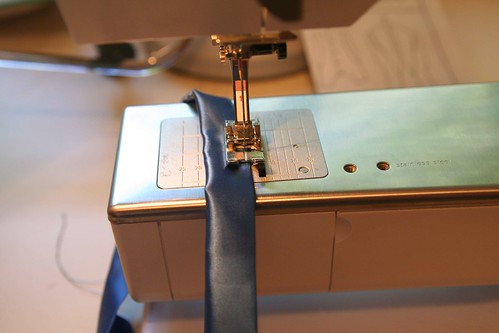
Sewing the Wristband

Top sew along the very edge of the long skinny ring to make a skinny tube. Don’t sew the ring completely closed. Leave an opening of a few inches so that you can insert your elastic.
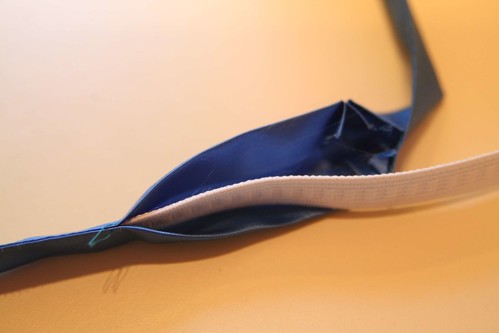
Insert the Elastic

With a safety pin on one end of the elastic, insert your elastic into your skinny tube of fabric. Bunch up the tube and join the ends of your elastic together with the appropriate overlap. Sew the elastic ring securely with a good zigzag stitch. You don’t want the elastic ring to pull apart when the child is putting the band around his or her wrist. At this point you have what looks like a hair scrunchie with a small opening in the side.

Gather up your ribbons that will be trailing and, with a few stitches, tack them all together at one end. I used the same notions as on the mermaid headdress, but you can use any ribbon. Consider painting some white satin ribbon with watercolors to create a watery effect.

Painted Ribbon

Now, insert the tacked end of your trailing ribbons into the hole of your ring and pin them in place.
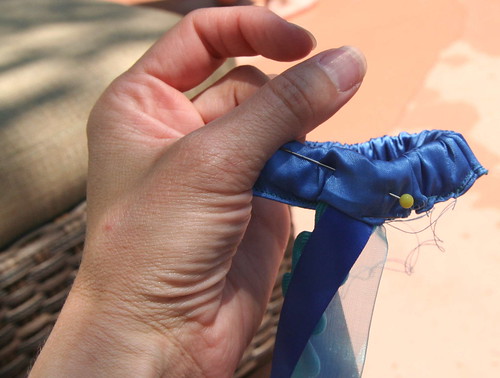
Wrist Ribbon Detail

By hand, with needle and thread, sew the ribbons in place to the elastic and sew the satin ring closed around them. I simply whip-stitched the opening closed and sewed the ribbons in firmly.
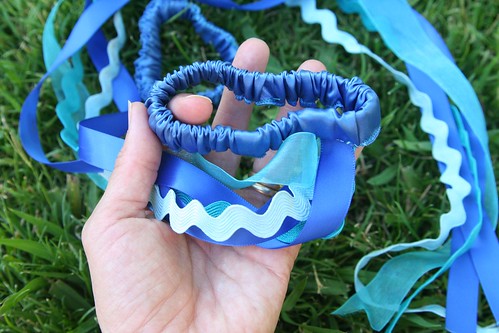
Finished Wrist Ribbons

Repeat all the steps so that you have two wrist ribbons.
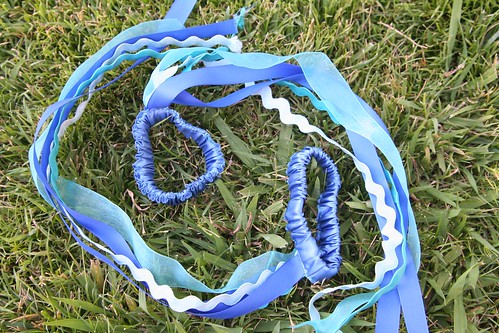
Finished Wrist Ribbons

If the ends of your ribbons want to fray, you can sometimes use a match and carefully melt the fibers at the ribbon ends to seal them. I suggest you first test this out on a ribbon scrap before you try to melt the ends of your finished wrist ribbons. You don’t want to harm your creation.

Now all you need to complete your mermaid or merman costume is a play silk tied around the child’s waist for a tail!
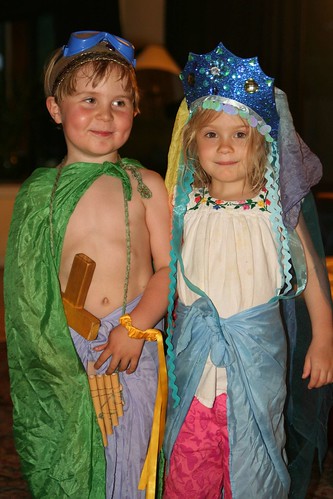
Merboy and Mermaid

You might be surprised at how your child uses these costume pieces. Perhaps the headdress or crown and the wrist ribbons you make will be used all together, or in different ways at different times. In this final photo, you can see that my son and his friend felt like using some of them at that moment, and found plenty of extra accessories (sword, goggles, pan pipes, cape) to transform themselves into a happy merfolk couple!

Happy sewing!
The Autumn Ball

I’ve been telling Asher a little story about the autumn here and there, when the moment is right and we’re in the mood to imagine.

Our Goldenrain Tree

When the weather becomes cool and mornings reveal frosty lawns or low-lying gray fog,

Fair Oaks Fall Color

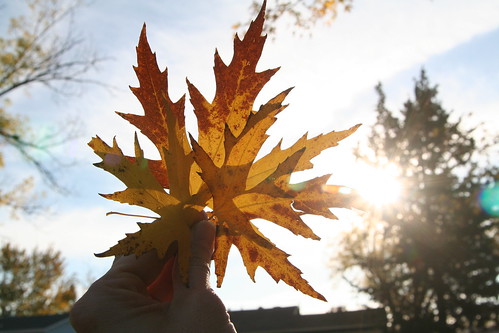
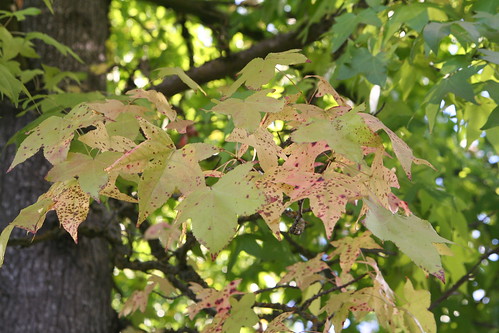
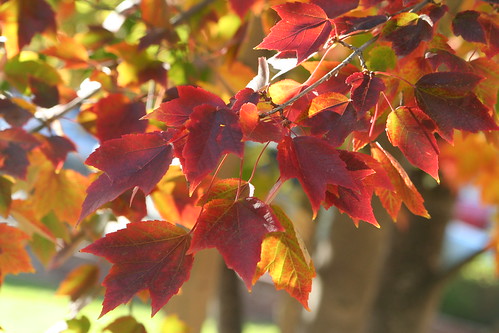
the trees prepare for the Autumn Ball by changing into their fanciest party dresses.

IMG_1099

They put on gowns of glowing golds, brilliant scarlet, warm russets, and rich browns. They must get very fancy, for it will be their last party for a good long while.

IMorning Walk to Preschool

They put on fine jackets of velvet and place gold crowns on their heads.

Neighborhood Trees

They shine up their boots and rouge their cheeks.

Black and Yellow

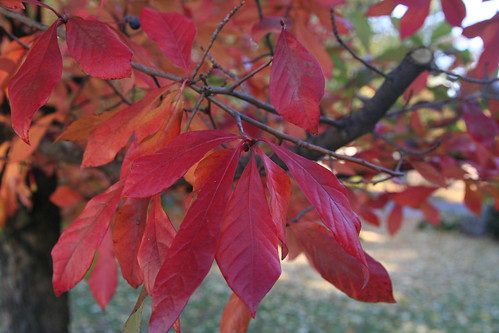
And together they whirl and swirl, dancing through the night under the stars, dancing while they greet the morning, dancing long into the midday sunshine, dancing even when it’s time for the little children to lay down their heads in the evening.

Glowing Red, Orange, and Yellow

The trees sway to the music of the good earth, turning turning, shining and spinning in their fancy clothes and until at last they tire.

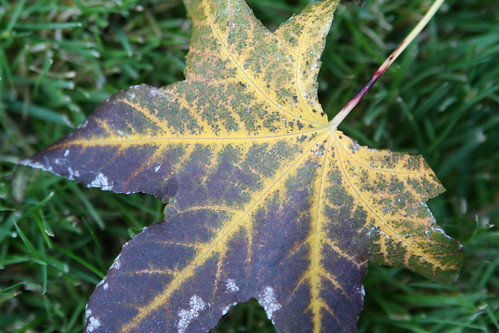
Speckled

Soon they must disrobe and go to sleep through the long, cold winter. They must slumber and rest after such a glorious Autumn, and will spend the dark winter dreaming of the enchanting party they attended in November, when the winds blew through their beautiful ruffles and silken leaves as they danced the month away.

They will sleep until it’s time to wake and don new green clothes in Spring.

The Bounty of the Tomato Fairy

We parents are sometimes allowed to sleep until 7:30 a.m. It has been happening more often lately, especially after a particular recent blowup over the unneccessary waking of Daddy at 5:30 a.m., which seems to have made a difference. Some mornings we wake to find our boys peacefully looking at books on the living-room couch. Other mornings we wake to hear them fighting over something that they both want. We were just telling some friends that lately, more often than not, our mornings have been gentler.

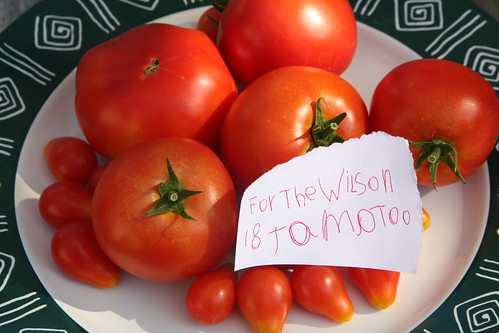
This morning, there was too much excitement in the air. Asher marched around the house shouting, “Wake up! Wake up! Wake up! Wake UP!” Lucas was a little subtler, quietly saying, “Oh my! Look what the Tomato Fairy has brought us!” He had to repeat it a few times before his sleepy parents clued in.

Bounty of the Tomato Fairy

We came out to the kitchen to find this bounty, this glorious Lughnasadh gift from the Tomato Fairy. (I had no idea there was such a fairy! Imagine my surprise!) There on green and yellow silks rested gorgeous tomatoes from Lucas’s garden, harvested at their peak in the early morning stillness. A little note from the Tomato Fairy reads, “For The Wilson 18 tamatoo.” I’ve never seen anything cuter.

Tomatoes from the Tomato Fairy, Moved Outside for Better Light

A few of these were eaten with breakfast, then I took the rest outside where the light was better. My little 8-year-old gardener is pleased as punch. Now I’m on the hunt for the perfect dinner recipe for these beauties.

Happy First Fruits!

Walking to Preschool

Asher and I walked to school two mornings last week. (With the shift to our summer schedule, we hadn’t been doing that as much since we had to drive Lucas to summer camp, too.) It was fun to have those cool morning walks together.

We discussed again where the curb water drains to. “What does this sign say, Mama?”
“Protect our creeks. No dumping. Drains to Arcade Creek.”
“Under the road?”

We visited those bumpy sedum plants again—he remembered just where they were. And guess what! They are flowering, with tiny star-shaped white flowers.

We also visited the “super-secret spy tree.” I had no idea it was any such thing.

Asher likes to know where the roads go. “This one goes to the zoo? This other road goes to Lucas’s school?” Yesterday he told me, “That road goes to the Fairy Zoo.”
“Oh? The Fairy Zoo? What kind of animals do they have at the Fairy Zoo?” I asked.
“Horses and marmosets.”

There is nothing quite like a crisp summer morning. It always seems that the whole world is savoring the moist coolness all the more for the day’s coming heat.

December Snapshot 6

IMG_7925

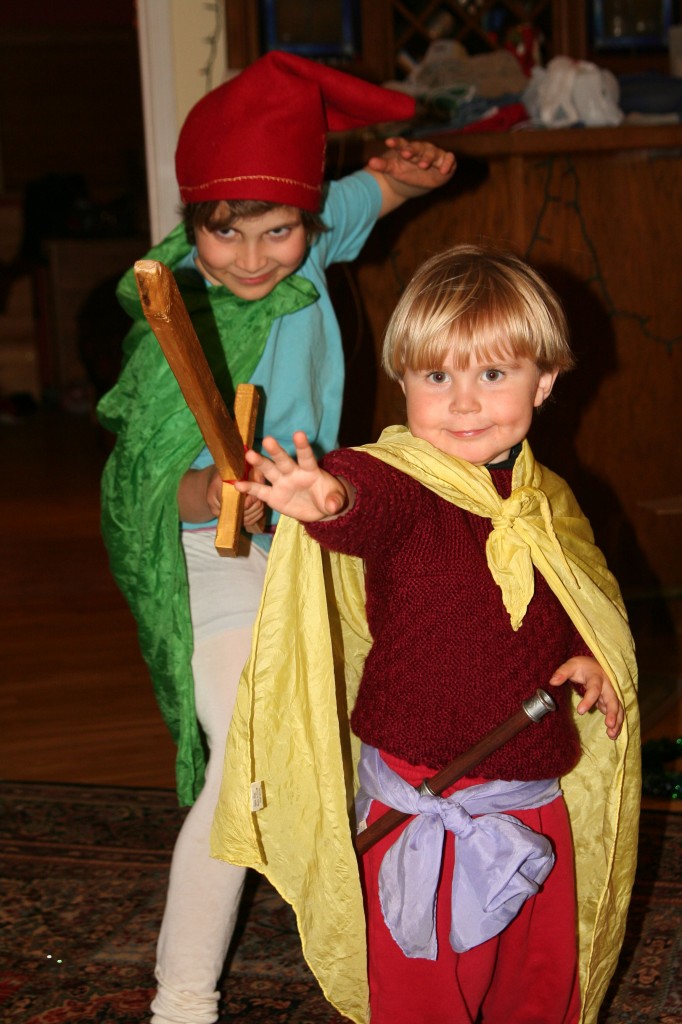
An elfin warrior and a good soldier koala man fight the evil emperor, who threatens the kingdom of cuddly Oo Ah Ee creatures!

No toys in this house are played with as much as these colorful silk scarves, except perhaps for Legos. Lucas never tires of inventing stories and now that Asher is almost 3-years-old, he has plenty to add to the games. Their play is far more imaginative,  interactive, and involves more role-playing than it was just six months ago. This is a beautiful thing because the more they play imagination games, the more they are cooperating instead of competing for resources. Fortunately, we have plenty of play silks.

Asher’s Store

Asher in his store

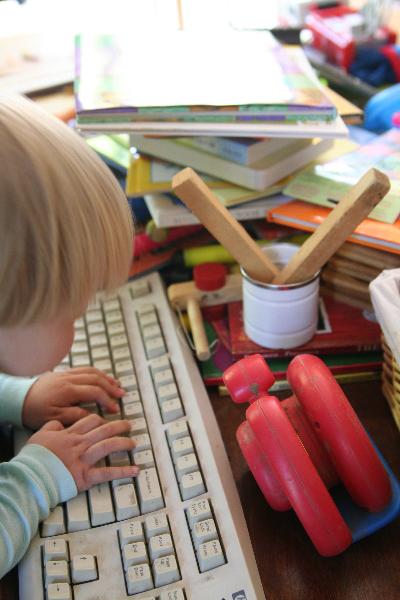
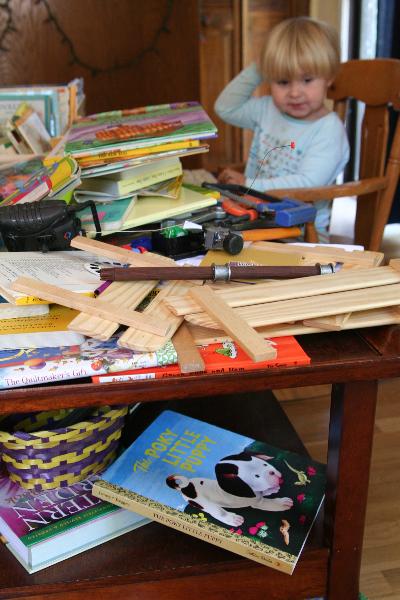
Welcome to Asher’s Store. He has lots of merchandise, but also something of an inventory problem.

IMG_6178

He uses his “computer” to work all the time. “Don’t touch my stuff!” he tells us one minute. The next, he says “Come buy something in my store and pay me money.”  Because of the computer he is able to take credit cards.

IMG_6180

He carries a wide selection of tools and books, and random gizmos of all sorts. Some items cost 36 cents. Others cost “40-85-shs dollars.”

IMG_6186

“Sit down and pay me money.”

IMG_6207

It’s good that he has the latest in price scanners. It makes his service so excellent. You can bet I’m a repeat customer.

  • About Sara

    Thanks for visiting! I’m Sara, editor and writer, wife to Ian, and mother of two precious boys. I am living each day to the fullest and with as much grace, creativity, and patience as I can muster. This is where I write about living, loving, and engaging fully in family life and the world around me. I let my hair down here. I learn new skills here. I strive to be a better human being here. And I tell the truth.
    Our children attend Waldorf school and we are enriching our home and family life with plenty of Waldorf-inspired festivals, crafts, and stories.

    © 2003–2018 Please do not use my photographs or text without my permission.

    “Love doesn’t just sit there like a stone; it has to be made, like bread, remade all the time, made new.” —Ursula K. LeGuinn

  • Buy Our Festivals E-Books


  • Archives

  • Tags

  • Categories

  •  

  • Meta