Saint Martin Lantern Walk at School

Martinmas lantern walk #waldorf #sacramentowaldorfschool #7yearold #secondgrade

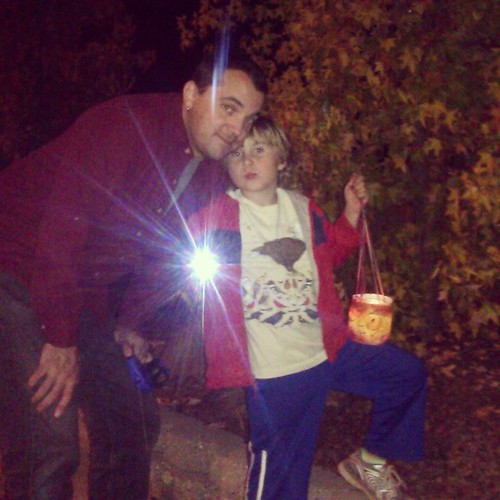
We had a wonderful time last night at Asher’s second-grade lantern walk. Our sweet teacher really wanted a mood of quiet reverence, and ultimately I think we got there, but the first few minutes of waiting for the event to begin were a tad wild. How often do large groups of 7- and 8-year-olds have the opportunity to play in the dark at their schoolyard?

When the teacher gathered the children together, they sang some wonderful songs for us. We entered the classroom, which was glowing from lantern lights atop the desks arranged all around the room’s periphery. The children sat on the floor and we parents gathered around the edges of the room. Teacher then told a beautiful story of Saint Martin walking through the cold, stormy night to reach the home of an old woman who lived high on a hill. The woman was ill and weak from hunger and thirst. Martin was bringing her bread and wine. But as the weather worsened, he fell on the path, and couldn’t see the way forward. He prayed for a light that might help him complete his mission to bring food to the ailing woman. A light appeared to brighten his way, and he was able to reach the woman in her remote home. He fed her from the loaf of bread, and gave her wine to drink. He was then amazed to see the old woman transformed into a healthy young woman, with the moon at her feet and stars about her head, who said that Martin’s way would always be lighted with the light of knowing, so that he might do his good works. And from then on, wherever the saint went, a little light was their to guide him. It became known as Martin’s lantern, and this is why we honor the saint with lanterns lighting the dark night on his feast day.

Or something to that effect. Probably Asher could tell us the story, word for word. But I’m old and I only heard it once, so … I looked it up, and it’s a story by Reg Down from the Tiptoes Lightly book The Festival of Stones.

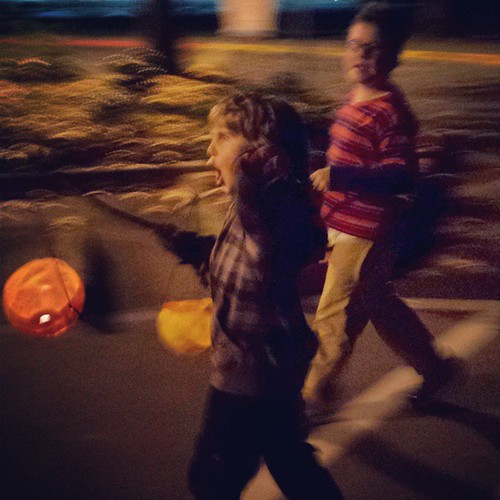
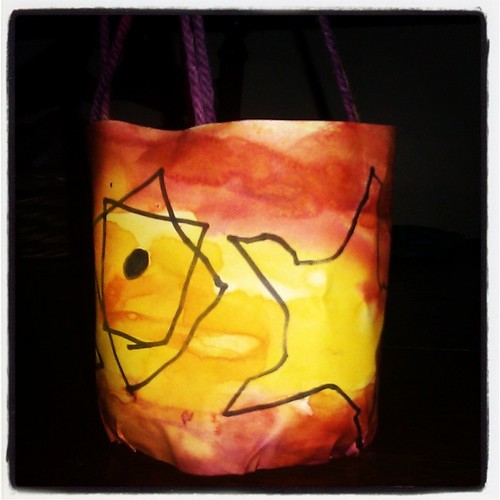
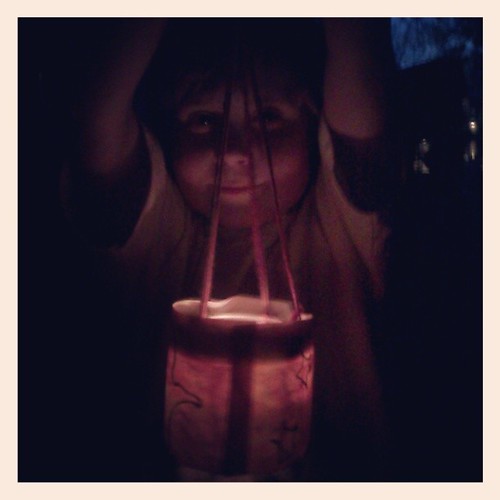
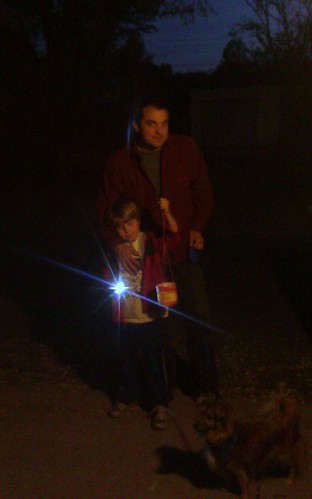
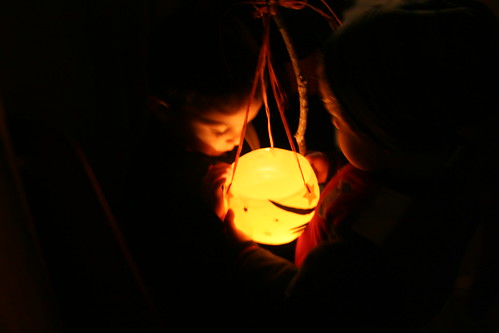
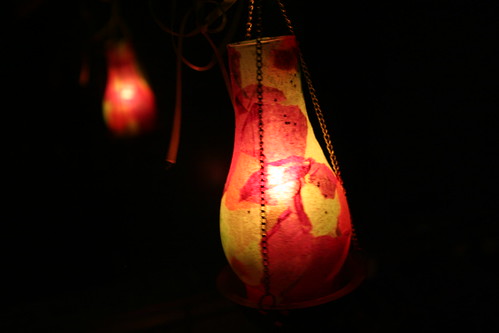
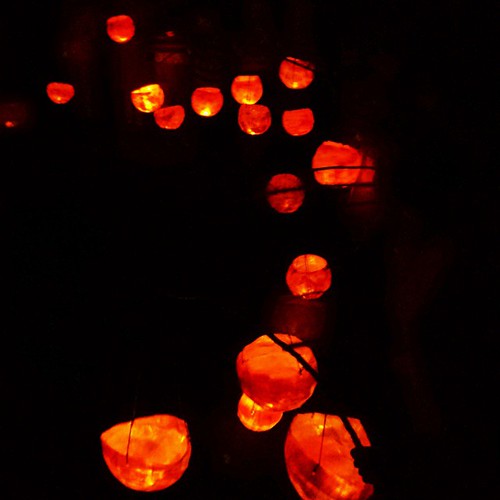
The lanterns were distributed to their young makers, and then we set out to walk through the dark school grounds, with the second-graders leading the way. Some parents and siblings brought lanterns as well, and the second-graders sang all along their walk. Their little voices are so beautiful! We walked past the classrooms and then into the farm, threading our way through the dark paths between fields of vegetables and greens, though the little orchard and out to the pasture on the bluff, where the sound of the San Juan rapids is loudest because it is just below the pasture—one of the most beautiful spots on the American River. I wish there had been a touch more ambient light for photos.

Don't take my picture

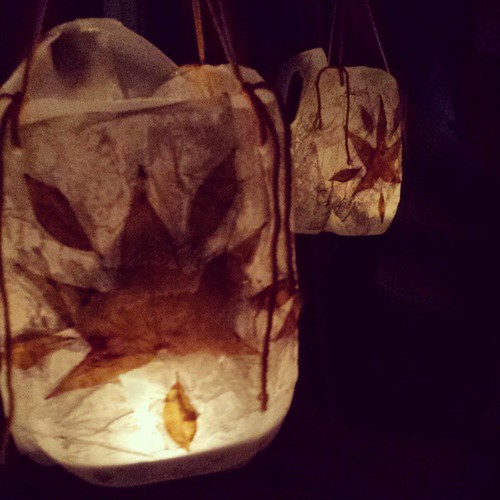
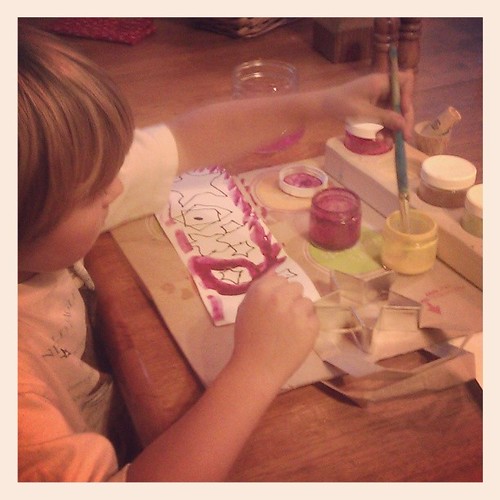
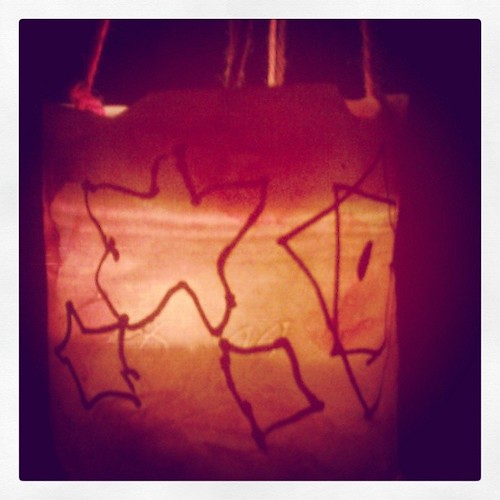
Asher enjoyed it, as did I, but he didn’t want me to take his picture. The second-graders made their lanterns by doing papier mache over a balloon, and then suspending the lantern from a carrying stick. They worked on these over three days at school.

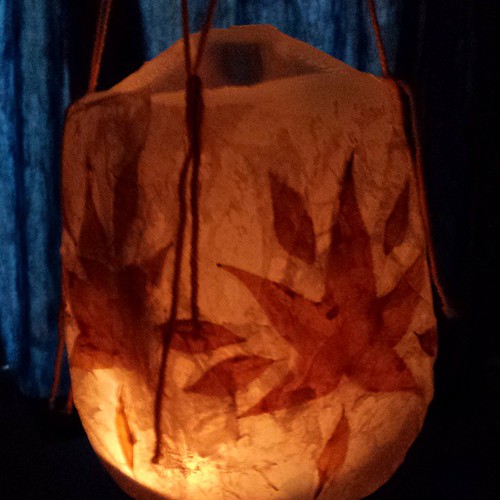
Before we went, I made a really fast Martinmas lantern, in case Lucas wanted to use it. (Neither of my kids wanted to make it with me: Asher because he already made his at school, and Lucas because he’s too old, in his opinion. Saints are sooooo second grade, not seventh.) Oh well. The preschooler I gave it to to carry liked it just fine!

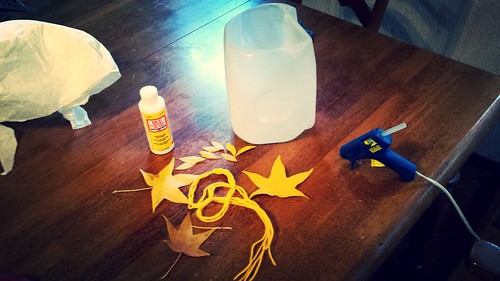
Materials

  • clean gallon milk jug
  • sharp knife
  • glue gun and glue sticks
  • autumn leaves
  • white tissue paper
  • mod podge and paint brush
  • tea light candle

Tutorial

20141111_155255

It couldn’t be simpler, really. Cut the top off the milk jug, leaving the handle in place, using a sharp knife like a steak knife.

2014-11-12_04-36-47

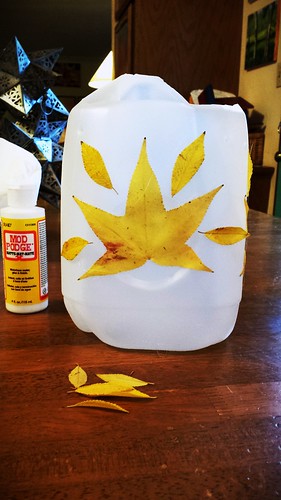
With a glue gun, glue on pretty autumn leaves in a pleasing pattern. Decorate all sides of the jug. A lighted tea light inside will make your lantern glow nicely.

2014-11-12_04-37-35

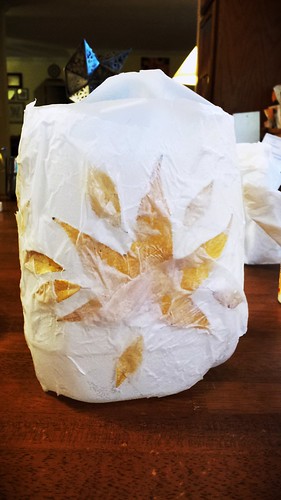
With torn pieces of white tissue paper, decoupage over the leaves and body of the lantern. You can use colored paper if you like. I wanted my leaves to really show through, so I used white paper. You don’t really have to do this step, but if you’d like your lantern to look less like a milk container, do this part. It will dry fairly quickly.

You can use the milk jug’s handle to carry your lantern, or you can add a yarn handle. Poke three small holes in the top of the lantern with your knife. Be careful not to put them too close to the very top edge.

Fingerknit three strands of yarn, about three feet long, to make a hand-width handle. The ends off either side of the finger-knitted section should be long. Thread the ends into the holes you pierced into the handle. Then tie them off, making sure the lantern hangs level from the yarn.

Happy Martinmas!

Finally, put a bit of hot glue on the bottom of a tea light candle and glue it down to the bottom of your lantern. This makes it safer. You don’t want your candle bouncing around inside the lantern.

New lantern for Martinmas #waldorf #waldorfhome #festivals #holiday #martinmas

So, how do you celebrate this darkening time of year? Do you do something special for Martinmas on one day, or do you make a week or so of it? Will you enjoy your lantern on many evening walks this fall? Remember it can be used more than just one night.

(More lantern-making crafts can be found in our Martinmas & Thanksgiving Festival E-Book.)
Martinmas

Wettingen_Kreuzgang_4766

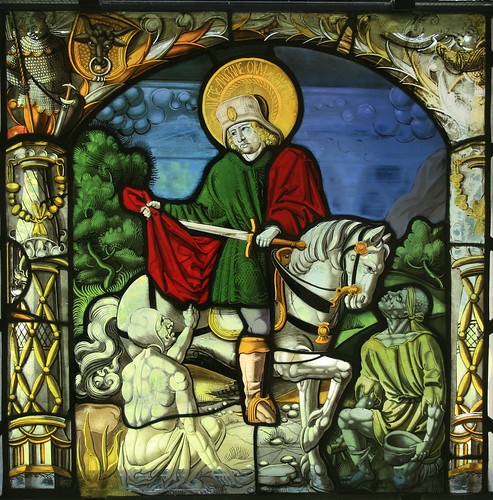
Today is Martinmas, the feast day of Saint Martin, who lived in the fourth century. Although I was raised a Catholic, I didn’t really learn about Martin until my older son was in second grade at his Waldorf school. Now, my younger son is a second grader, and tonight we get to go to school to have a lantern walk and meet the saint.

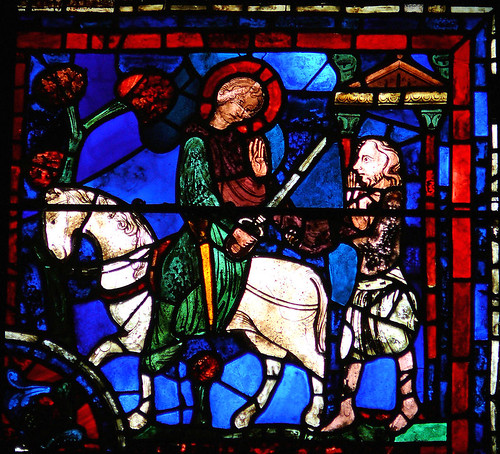
Chartres_-_Vitrail_de_la_Vie_de_saint_Martin_-_Charité

I feel like I have written about this event from 2008 before, but if I did I can’t find it. When Lucas was in second grade, we walked with our lanterns through the dark school grounds and through the woods at night and came upon a silent reenactment of the story of Martin and the beggar. A man sat on a horse and a beggar man was crouched nearby, in the shadows. At first we didn’t even see him. The children sang lantern songs and watched with wonder as the splendidly dressed Martin give half of his soldier’s cloak to the beggar, who warmed himself with the garment. It was a beautiful, reverent moment—a saint story brought to life before our eyes.

Playing

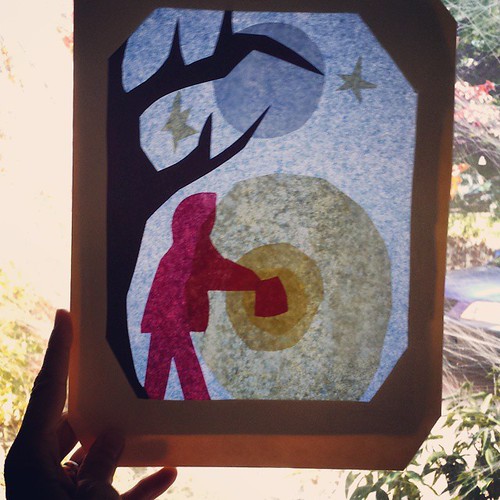
Above is a transparency I made to include in our new Martinmas & Thanksgiving Festival E-Book. A tutorial can be found in our book. It was lots of fun to make and I think I’d like to do more of these, especially one of Martin giving his cloak to the beggar.

Asher has been hearing about Saint Martin a lot at school. It never ceases to amaze me how much detail young children can remember of the complex stories they hear at school. Asher got really excited to be able to teach us all so much about Martin and his generosity. As I had been writing about Martin and Martinmas, I shared some of what I learned in my research at dinnertime, and Asher just launched in with, “Oh! I know that one!” and finished the story for me. He told us four stories about Martin that his teacher had shared.

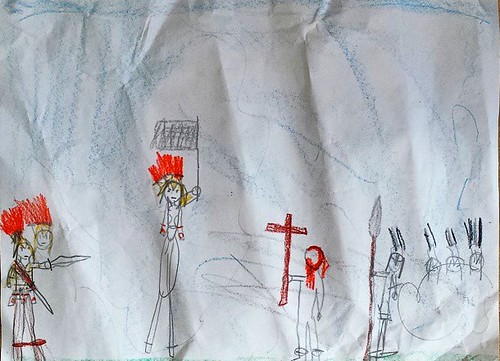
Saint Martin stands up to soldiers #waldorf #sacramentowaldorfschool #7yearold #secondgrader #secondgrader #saints

Here is one of Asher’s school drawings, showing Martin facing an enemy army with his cross only, no weapons. Martin was an early conscientious objector. His faith in Christ made him unwilling to fight, and after a short term of service in the Roman military, he was released from duty (he later became the bishop of Tours). So in addition to his generosity toward those suffering from cold and poverty, Martin was a man of peace. It’s quite fitting, I think, that his feast day is also Veterans’ Day in the US, and Armistice Day in Europe, the day that marks the end of WWI.

In Flanders fields the poppies blow
Between the crosses, row on row,
That mark our place; and in the sky
The larks, still bravely singing, fly
Scarce heard amid the guns below.

We are the Dead. Short days ago
We lived, felt dawn, saw sunset glow,
Loved and were loved, and now we lie
In Flanders fields.

Take up our quarrel with the foe:
To you from failing hands we throw
The torch; be yours to hold it high.
If ye break faith with us who die
We shall not sleep, though poppies grow
In Flanders fields.

—Lieutenant Colonel John McCrae, M.D., Canadian Army (1872–1918)

Painting by Szinyei Merse, Pál (1845 - 1920) (Hungarian)

1896 Painting by Pál Szinyei Merse,  (1845–1920)

Poppies. Scarlet poppies. In the UK there is a huge art installation of ceramic poppies at the Tower of London to commemorate the sacrifice of the fallen, which can be seen in photos here. It is called “Blood Swept Lands and Seas of Red”; it is breathtaking and utterly vast, and I wish I could see it in person.

I can’t help but feel satisfied at the blending of all these overlapping festivals. Martin. Peace. Remembrance of the men and women who fell, fighting for their loved ones and countries. The Veterans’ Day holiday here, when people openly acknowledge the service and sacrifices made by our service men and women and thank them. Thanksgiving. There is a beautiful grace that evokes the poppies of Flanders fields and the human toil that we must do to benefit from earth’s abundance.

The silver rain, the golden sun,
The fields where scarlet poppies run,
And all the ripples of the wheat
are in the food that we do eat.

So when we sit for every meal,
and say our grace, we always feel
that we are eating rain and sun
and fields where scarlet poppies run.

So, I’m thinking about all these things and feeling excited about tonight. I have some lantern-making supplies here for the boys to use after school. Asher will use the lantern he made at school tonight for the lantern walk, but Lucas might want to make one to use tonight. Or he might not. He might prefer just to tag along, and stay emotionally out of it.

I’m going to gather up some clothing and coats we don’t use and take them to the Sacramento Food Bank & Family Services this month. If anyone local would like to donate items also, I’ll be happy to deliver them to the organization. Let me know.

And with that, I will wish you all a season brimming with peace and gratitude.

Martinmas

Crafting for Martinmas

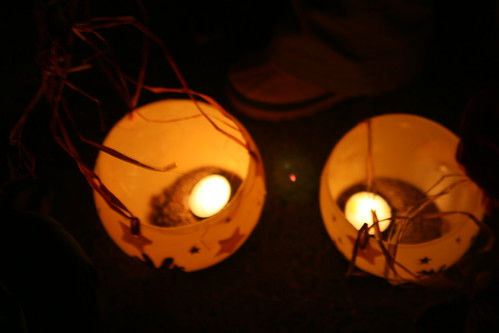
We did a little bit of crafting after I got home from work yesterday. Lucas went off to school for play practice, but Asher and I made a spur-of-the-moment lantern for Martinmas. We started with a long strip of plain paper, a sharpie, some star cookie cutters, watercolor paints, a wide mouth jar and ring, a glue gun, some yarn, and a candle.

upload

Asher drew stars on his paper first with the sharpie, then he painted the paper. We dried it quickly with a hair dryer.

upload

Then with the glue gun, I glued the paper around the outside of the jar. I tied four long pieces of yarn to the jar ring, then screwed on the ring to the top of the jar. I gathered up the yarn hangers into a single knot, then finger-knitted the tail to make a little handle.

Glimmer, Lantern, glimmer!

The whole project took about 25 minutes.

upload

Then Asher, Daddy, Solstice, and I went out for a little walk in the night. The lantern worked very well, and it was fun to be out after dark.

Our tiny lantern walk

IMAG6975

Although I have a whole collection of lantern songs, I didn’t practice them beforehand, and I couldn’t remember them very well. The last time we did this little ritual Asher was in preschool, and his sweet teacher led us and the other families through our neighborhood. Next year, in second grade, Asher will have a special Saint Martin night at school, in which the encounter between Martin, the young Roman soldier, and the nearly naked beggar, is reenacted. Martin cuts his warm cloak in two and gives half to the freezing man. Martin’s example of generosity is meant to prepare our hearts for the coming season of Christmas.

Saint Martin Chant

N and Asher

Monday is Martinmas. I’m planning on taking the kids out for a nighttime walk, to take in the cold November night and remember how grateful we are for our many blessings of warmth and safety, full bellies, friendship and light. In the spirit of generosity, I share my little poem with you.

Saint Martin Chant

© by moi, Sara E. Wilson

Into the night, we bravely go!
Within our lanterns a sprightly glow,
Within our hearts a kingly flow
Of sharing and loving to show.

Into the world, we boldly walk,
Singing our courage around the clock.
We listen to others as much as we talk.
Even in darkness, we never do balk.

In giving to others, we ourselves grow.
Thanks to Saint Martin, by giving we know
We reap so much more than ever we sow.
We march for the good, our spirits aglow.

Lantern for Lucas

Beeswax Lanterns

This poem was written originally for Little Acorn Learning’s November Enrichment Guide, which happens to be on sale at the moment at $19.99—$5 off the normal price. Among many other wonderful offerings for the month of November, this e-book features stories of peace and light, lantern songs, and a puppet show for Martinmas.

Enjoy!

Pumpkin Globe Lantern Tutorial

IMG_5700

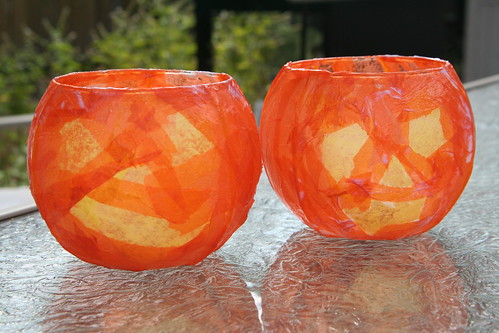
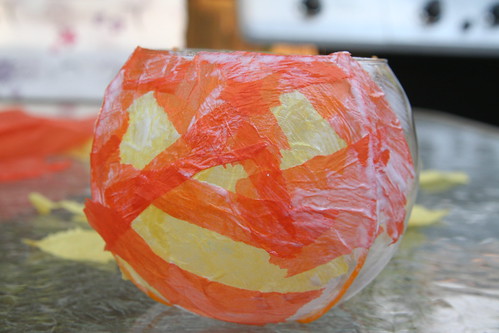
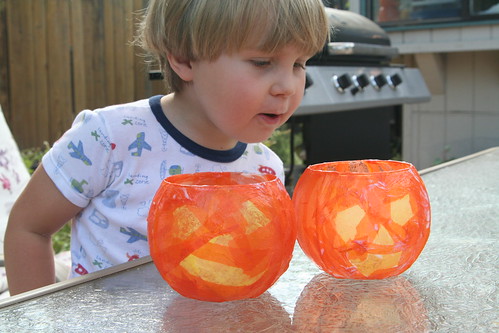
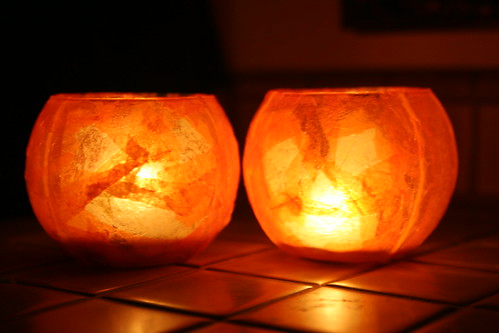
Candlelight is favorite way to illuminate October evenings, and what says October more than jaunty, glowing pumpkin faces? These pumpkin globe lanterns can be made by children of all ages with your supervision. The process is simple and the materials are inexpensive. Why not create a jack-o-lantern that you can enjoy year after year?

IMG_5662

Materials

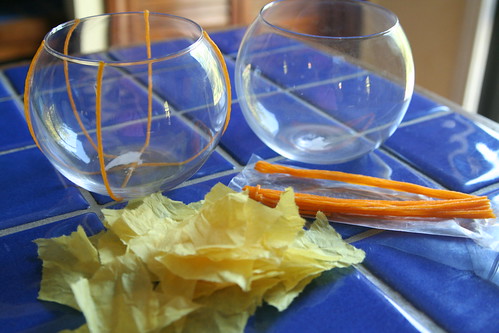
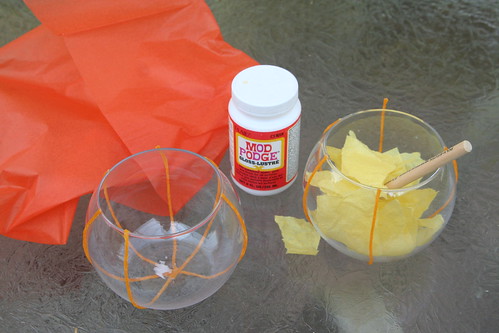
  • tissue paper in yellow and orange
  • wax-coated strings in yellow or orange (brand names are Wikki Sticks and Bendaroos)
  • globe glass candle holder
  • mod podge and a paintbrush or foam applicator

IMG_5689

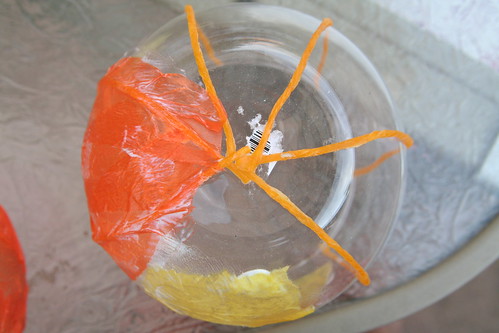
Begin by gathering your materials. The first step in the project is optional. If you want your pumpkin globe lantern to have the iconic vertical rib lines of a real pumpkin, gently squish the end of a wax string to the top edge of the globe. Guide it down the side and squish the other end to the bottom of the globe. Repeat this for as many lines as you like, placing the wax stings equidistant to each other. You might want to omit one line that would naturally appear at the pumpkin’s face. These lines will be visible when the candle is lighted in the finished pumpkin.

IMG_5690

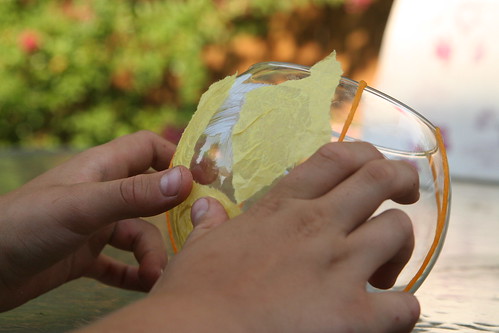
Rip your yellow tissue paper into small pieces. You won’t need much. Now apply a small amount of mod podge to your glass and apply a small piece of yellow paper. This is your first eye. Smooth the paper with more mod podge and the applicator or paintbrush. Add a second eye, a nose, and a long mouth. The shapes of these pieces of tissue don’t matter all that much. Smooth them all down.

IMG_5692

At this point, your face might not look much like a face. You’ll use your orange tissue paper to define your pumpkin’s features next. Rip your orange tissue paper into small pieces. (Alternatively, rip some small pieces and then rip some into strips about 6 inches long.)

IMG_5693

Using your small pieces of orange tissue paper, apply them around your pumpkin’s eyes, nose, and mouth. Now is your opportunity to define your pumpkin globe lantern’s personality. Small children may prefer smiling, happy pumpkins. Older children might enjoy figuring out how to make theirs spooky. Does the pumpkin have squinty, frowning eyes or a snaggletoothed grin?

IMG_5695

When your pumpkin is mostly découpaged with tissue, turn it over and cover the bottom of the glass globe. You’ll have to let it dry in this position, setting on its top rim.

IMG_5696

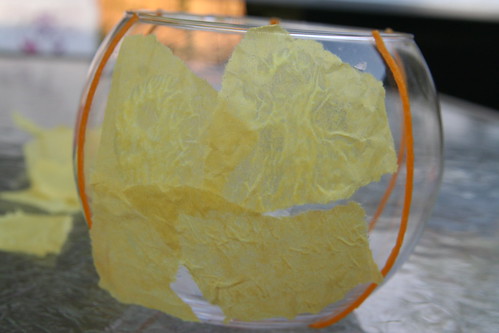
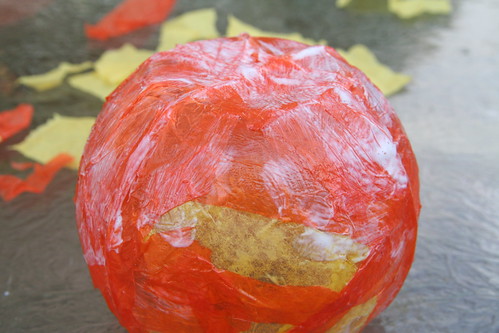
If you wish to use long strips of paper, your in-progress pumpkin lantern will look like this photo above. You’ll add adjoining strips, working your way around until the whole globe is covered.

IMG_5701

Now you have to wait patiently while the mod podge dries. Examine your pumpkin for any thin spots or places uncovered by tissue. Add or patch as needed. The more layers of paper you add, the better defined the pumpkin’s features will be.

IMG_5706

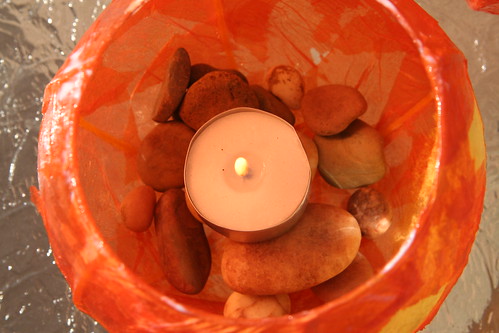
Fill your pumpkin globe lantern with some rocks, gems, or sand, add a tea light or votive, and wait for nightfall to meet your pumpkin friend in all his glowing glory. It will happily share its light during chilly autumn nights.

IMG_5720

It’s nice to have a friend in the darkness.

Ice Lanterns

Third Ice Lantern Close-up
I read about making ice lanterns on one of my favorite blogs, Ordinary Life Magic, and just had to try it. Stephanie is brilliant and you should read her tutorial if you want to do this. Thanks for the inspiration, Stephanie!

Trouble is, where we live in California, we don’t have snow or freezing temps. But we do have …. (drumroll) …. freezer technology!

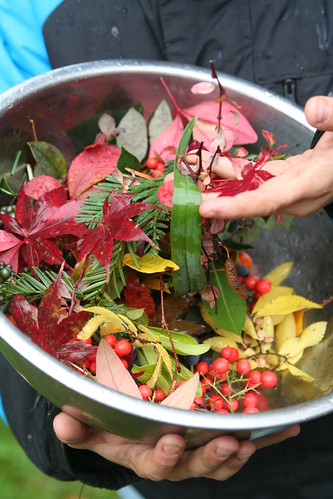
Lucas helped me clip and gather lots of little bits from our garden, which these days is looking a lot soggier, muddier, and more cluttered with decaying leaves than usual. Still, there are plenty of colorful bits and bobs to find: autumn leaves, berries, sprigs from our redwood trees, and even a few stubborn flowers still.

Yard Clippings for Ice Lantern

Fortunately, Ian hadn’t yet succeeded in his bid to get rid of the old and mismatched food storage containers, so I was able to use them. We had to find rocks to weigh down the inner container. This is when my kids lost interest, so I carried on bravely without them.

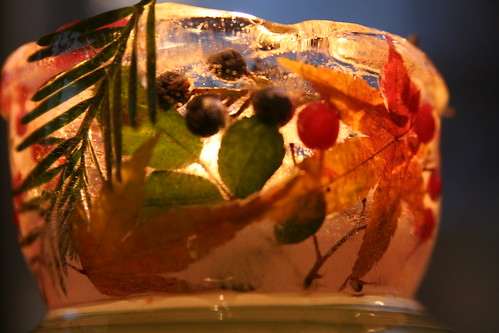
First, I froze an inch of water in my large, cylindrical container to make a base of the lantern. Then I set the smaller, weighted cylindrical container inside the bigger one. I put the nature bits and bobs into the space between the inner and outer containers, then poured water into the space and set the whole thing carefully on a level shelf in the freezer. I tested the ice after a few hours and decided it wouldn’t really be done until the morning.

The next day, we carefully transported the whole thing, containers and all—frozen solid—to brunch the next morning at our friends’ house. It was the hostess’s birthday and she is, and always has been, a candle nut, so we presented our ice lantern to her as a gift, with a gaily burning tea light inside it. It turned out beautiful!

Ice Lantern Birthday Gift

Some things I learned in doing this:

* Ice expands when it freezes (of course) and may make your outer container bulge if it’s plastic, so don’t use something you wouldn’t want to be ruined. (A coffee can might work best.)

* Don’t use glass; I used a glass jar as my inner container of one of my lanterns and it broke before it released from the ice.

* You can easily remove your inner container by pouring in some warm water. Just make sure you haven’t accidentally spilled water into the inner container before freezing, for of course, that will freeze too and make it difficult to pull out the inner container.

* If your ice lantern breaks into two pieces like mine did, you can put it back into the freezer (still protected within the outer container) and the broken parts will freeze together again.

* If you put your ice lantern on a plate or flat surface to display it indoors, it will probably slide around as it melts. I improvised a solution by putting down a paper towel first, setting the lantern atop it, and then disguising the towel with autumn leaves. If you have snow, you can put your lantern on a pile of snow, or I suppose sand would work to keep it centered, too, and would be naturally pretty.

Third Ice Lantern

  • About Sara

    Thanks for visiting! I’m Sara, editor and writer, wife to Ian, and mother of two precious boys. I am living each day to the fullest and with as much grace, creativity, and patience as I can muster. This is where I write about living, loving, and engaging fully in family life and the world around me. I let my hair down here. I learn new skills here. I strive to be a better human being here. And I tell the truth.

    Our children attend Waldorf school and we are enriching our home and family life with plenty of Waldorf-inspired festivals, crafts, and stories.

    © 2003–2018 Please do not use my photographs or text without my permission.

    “Love doesn’t just sit there like a stone; it has to be made, like bread, remade all the time, made new.” —Ursula K. LeGuinn

  • Buy Our Festivals E-Books


  • Archives

  • Tags

  • Categories

  •  

  • Meta