Review: Naturally Fun Parties for Kids

Review: Naturally Fun Parties for Kids

I was tickled to be asked to review Anni Daulter and Heather Fontenot’s new book, Naturally Fun Parties for Kids. Alas, I should have done so in a more timely fashion, as the book released earlier this year. But hopefully late is better than never. I’ve paged through this book dozens of times and I think it’s marvelous. Every time I pick it up I light upon a brilliant idea that hadn’t ever occurred to me before.

Daulter’s and Fontenot’s book is all about throwing parties with kid-friendly themes. As a huge fan of parties in general and, really, ANY excuse to dress up, I can totally relate. We all need celebrations and we all need to exercise our creativity muscles. This book is just the ticket to show what’s possible, with a little ingenuity, patience, and planning. A party for children doesn’t have to glorify a licensed media character! The book is organized into seasons and the authors provides three awesome party ideas per season. My favorites are the Summer Solstice Beach party, the Winter Solstice Party, the Forest Fairy Dress-up Party (Oh, to have girls!), and the Knights and Dragon Quest party.

The book offers “tips and tricks for making the parties green, natural, simple, and organic in style and content.” I like the emphasis on taking inspiration from nature and keeping it simple. The authors suggest thrifting, upcycling, borrowing, and making items from scratch to make the parties doable and special.

Review: Naturally Fun Parties for Kids

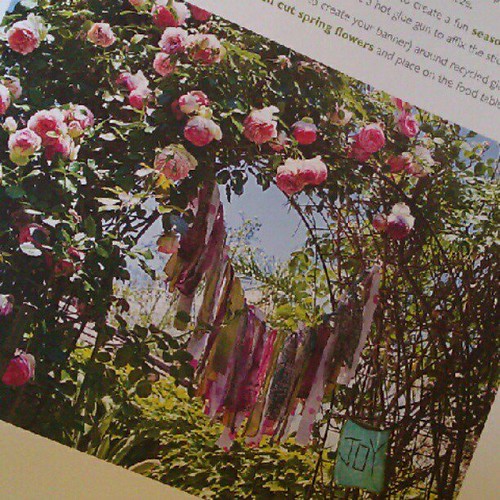
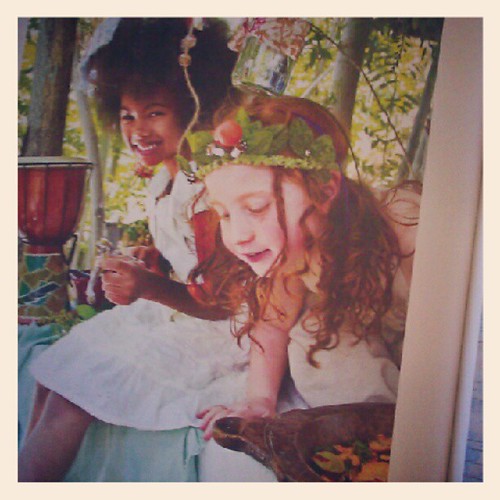
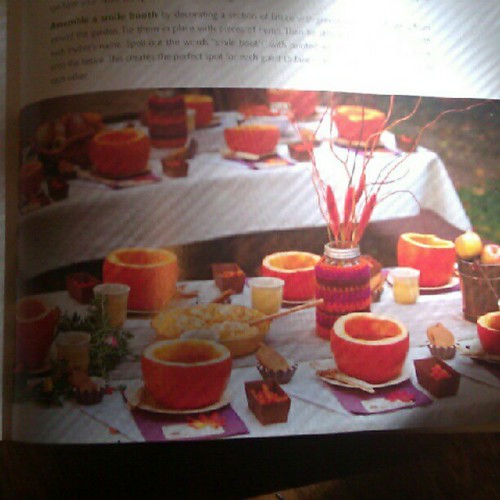
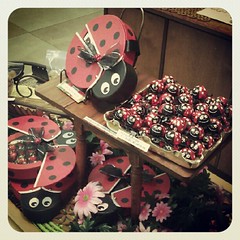
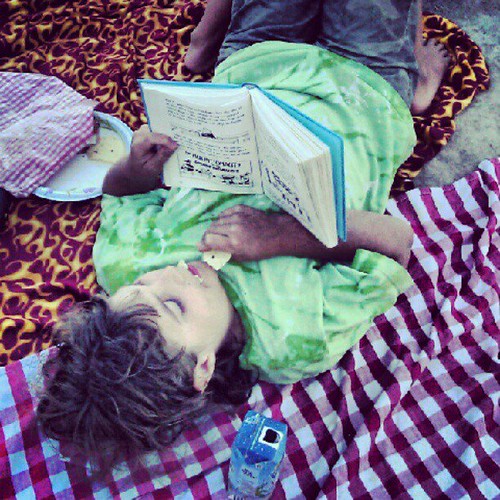
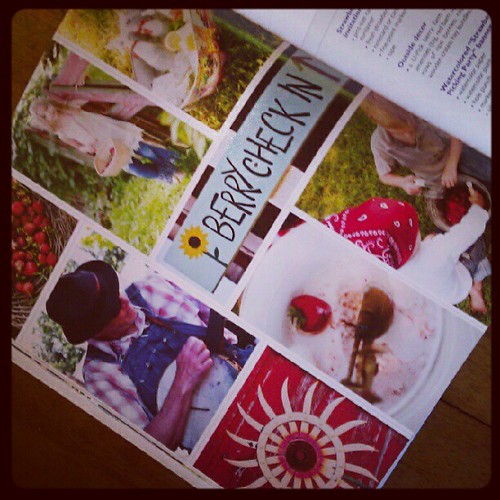
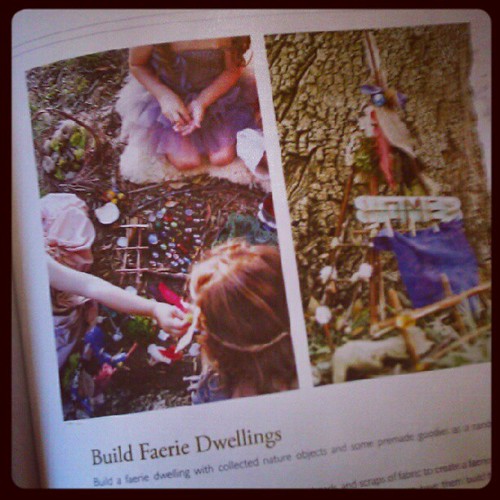
The book’s photography, by Tnah and Mario Di Donato, is simply gorgeous. Do NOT take my silly snapshots as an indication of the book’s beauty. I just wanted to give a little teaser. Their photos are vivid and inspiring.

Review: Naturally Fun Parties for Kids

What is kind of fun is how much the authors’ esthetic matches my own. Several of the projects in this book are ones we have done in the past, or ones that I’ve always wanted to do with my kids. I’m particularly intrigued by the beeswax ornaments (Winter Solstice Party), the upcycled sweater aprons (Community Cooking Party), and the grapefruit sugar scrub (Natural Spa Party). But there is much more.

Review: Naturally Fun Parties for Kids

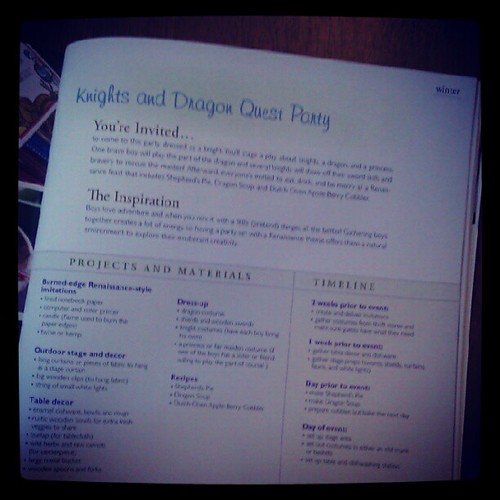
Each party comes with a project and materials list, and a timeline for getting things put together in advance of the big party day. That’s just the sort of thing people like me need! I’m often full of ideas at the too-late last minute and don’t have time to execute them. These handy lists fix that deficiency.

Review: Naturally Fun Parties for Kids

Activities are provided for each party, too: games and crafts, and even a play! And the party themes are well chosen to appeal to kids, such as pajama parties, berry picking, art, egg-dying in spring.

Review: Naturally Fun Parties for Kids

The authors also provide plenty of delicious-looking recipes and, frankly, you don’t need to throw the party to make them. Herbal tea spice cake and mushroom and onion mini crustless quiches both sound like they’ll be visiting my kitchen soon. Furthermore, the recipes are geared toward kid palates. Nothing too fussy and plenty of fun: Italian ices; black bean, corn, and cheese quesadillas; grilled flatbread pizzas; Dutch oven apple-berry cobbler, etc. Now, where the heck does one find a donut pan for baking donuts? (The Internet, I suppose.)

Those who like to do paper crafts will love all the invitation making in this book. That’s mostly not my thing, to be honest. So I’d probably skip some of that stuff. Anyone with a flare for scrapbooking and stamps and stuff will dig it.

So, if you’re looking for inspiration for celebrating with children, check out Naturally Fun Parties for Kids by Anni Daulter with Heather Fontenot.  I wonder if I could con my boys into a Forest Fairy Party? Well, maybe not that one, but definitely the Pancake P.J. Party. They’ll go for that!
Calendula and Mint Herbal Soaps Tutorial

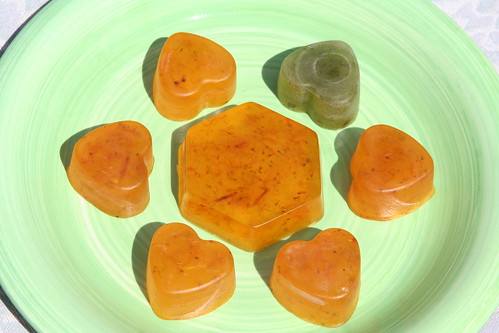
Finished Soaps

Earth’s bounty is always all around us, but it is perhaps even more apparent in the summer, when crops are ripening and plant life flourishes. Wild or cultivated herbs can be useful friends, growing perhaps right outside our kitchen doors. Herbs are commonly used as food, as decorations, as dyes, as flavorings. They also are used the world over to clean and heal.

You can easily make herbal soaps for your family to use and enjoy, right in the comfort of your own kitchen. There are two soap-making techniques. This tutorial teaches you the simpler of the two. Technically, you’re really embellishing this soap, rather than making it from scratch. Because the process is simple, even small children can help to make these beautiful, healing soaps, as long as you carefully monitor them around the stove and hot soap. (Of course you will!)

Calendula

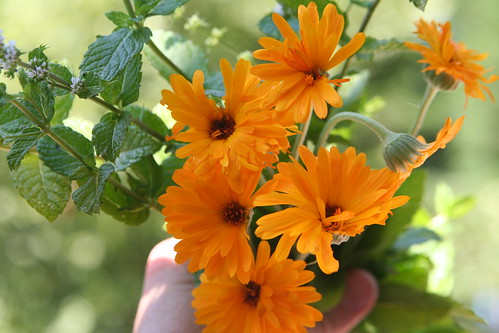
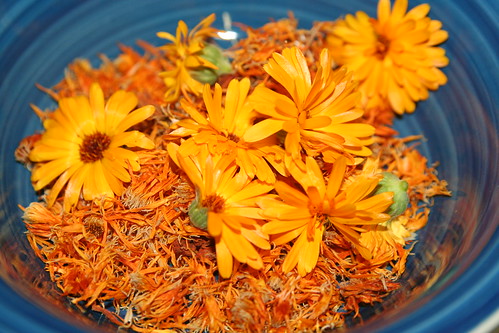
Calendula (also known as pot marigold) is a common and prolific garden annual that reseeds itself. It is known to have been used as early as Roman times as both a dye and a flavoring. Calendula is known to have antiseptic properties, which make it perfect as a soap additive. Many natural first aid preparations include calendula.

Peppermint grows in many cottage and kitchen gardens. You can use it in teas, desserts, and body care potions, such as lotions, shampoos, balms, and soap. Mint may have a calming and soothing effect for skin irritations, itching and hives. It is believed to have anesthetic and anti-inflammatory properties.

Materials for Making Herbal Soaps

  • glycerin soap base (I used a glycerin and olive oil base)
  • calendula (pot marigold) and mint herbs from the garden (I used a mix of dried calendula petals and fresh flower heads, and fresh mint leaves)
  • stovetop pan, cutting board, knife, ladle
  • soap molds (also silicone muffin pans work very well; these come in fun shapes )
  • essential oils for fragrance (optional)
  • soap colorant (optional)

A word about glycerin soaps: You can buy glycerin at the craft store, along with lots of other fun soap-making and body product supplies (dyes, fragrances, molds, etc.). Using pure glycerin soap in this project will result in soaps with a layered effect, since your herbal additives float to the top of your molds as your soap sets. There’s nothing wrong with this, and the result can be quite beautiful and rustic. Another kind of glycerin soap base that you can buy has olive oil added to it, and a property that keeps any additives in suspension, meaning you won’t get layers and your herbs will stay mixed throughout the soap. This is the look that I was going for with these two batches. You can decide what’s right for you. There is no difference in how you make the soap. Just be sure to read the packaging carefully so you get what you really want.

Making Soap

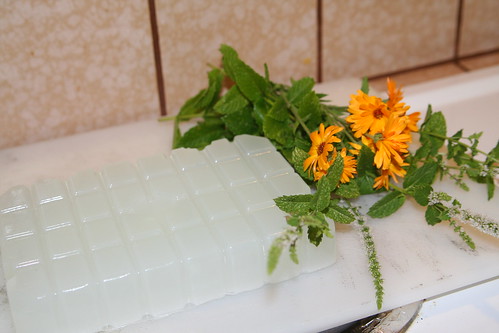
Begin by gathering your materials. You will need a clean cutting board and a table top to work on.

Glycerin Soap

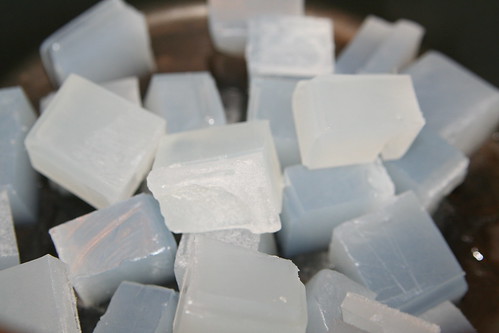
First, cut your glycerin soap base into small cubes. This makes it easier to melt at low temperatures, and you want to keep the temp quite low when you‘re making soap. You can use a double boiler or just put your glycerin cubes into your pot. (Cleanup is easy with hot water and a scrub brush!) Stir the soap often until all pieces of glycerin are melted.

Making Soap

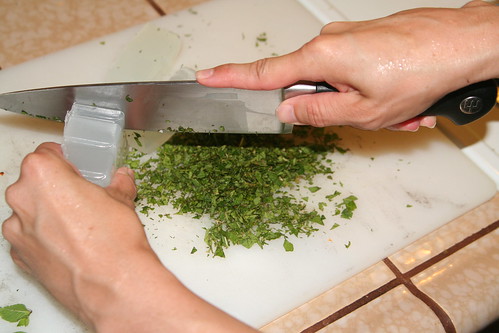
Meanwhile, chop your mint leaves into very small pieces. You may wish to set aside some of the tiniest leaves to be used as a decoration later on. Of course, this is optional.

If you have lots of soap molds or muffin pans, you might be able to make both types of soap at the same time. Since I had to reuse the molds after the first soaps were fully set, I made two batches—first calendula, then mint—cleaning up in between batches.

Calendula

Before starting, I saved the dried petals from my calendula flowers for a week or so. For my soap, I also used a few fresh flower heads to maximize its potency as an antiseptic.

Making Soap

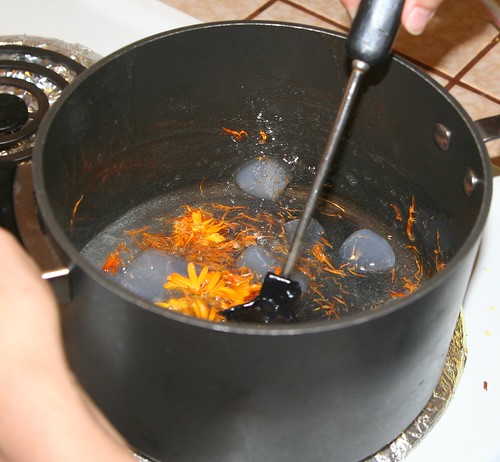
Add your petals and flower heads to your melting soap cubes. The heat will begin to cook the flowers.

Making Soap

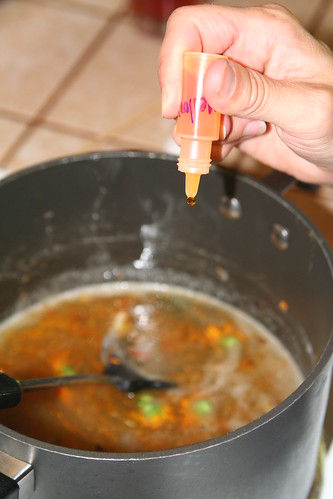
If you want your calendula soap to have a rich yellow coloring, add a few drops of soap colorant to the pot. You don’t have to do this, and if you cook the petals in the soap a while, it will begin to take on a natural yellow color. At this point, you can also add fragrance, if you wish. I added a few drops of geranium essential oil. Geranium is known to be a comforting scent, and since I envision my children washing their scrapes with my calendula soap, comfort seemed to be just the right feeling to evoke by smell.

If you used fresh flowers, you should fish out the centers now. When you’re satisfied with your soap’s color and fragrance, it’s time to pour it into molds to set. Using a ladle, gently fill each cup to the brim. Keep the mold flat. The soap will begin to cool quickly, but it may take an hour or so for the soap to become very firm to the touch. You can speed the cooling by placing the mold flat in your refrigerator.

Making Soap

When the soap is completely firm and set, gently pop each soap out of the mold. They should separate from the mold’s sides with some gentle twisting and come out cleanly.

Making Soap

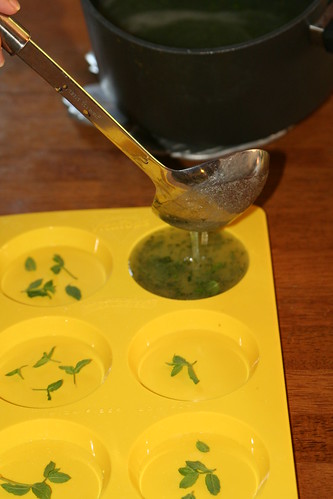
My second batch of soap was mint. You’ll repeat all the same steps as with the calendula soap. Begin by cutting soap cubes and then just add the chopped mint in with the glycerin. The longer you allow your mint soap to cook on the stove over low heat, the greener it will become. I added a few drops of eucalyptus and mint essential oils to the warm pot. The smell is calming and relieves stress.

Making Soap

You can add your reserved tiny mint leaves into your mold if you wish. They won’t stay exactly in place when you ladle in your mint soap, but you will be able to see pretty whole leaves in your soaps after they have set.

Homemade Mint Soap

In this photo, you can see my two different pours. The greener bars were poured from soap that had been on the stove longer. The natural green from the mint leaves colored the soaps. I like them both.

Mint Soap

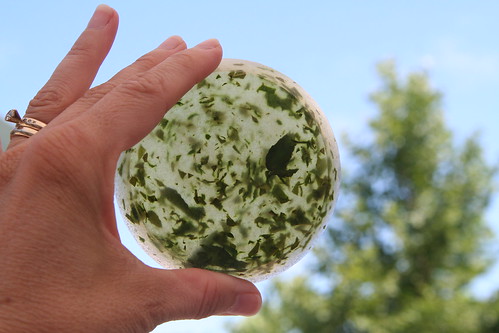
A finished mint soap, with lots of gorgeous herbal goodness visible.

IMG_3691

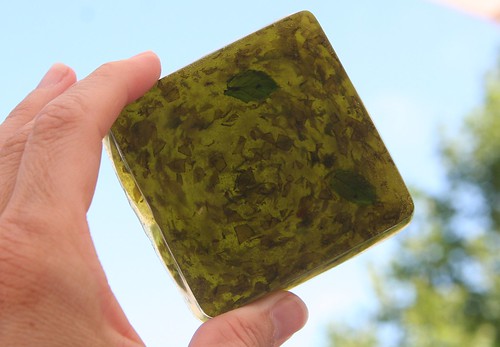
And here’s a darker one. This soap was on the heat longer and became a dark green.

Calendula Soap

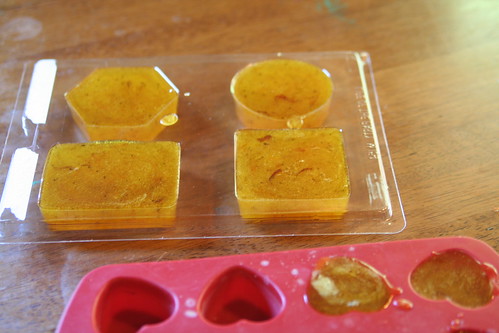
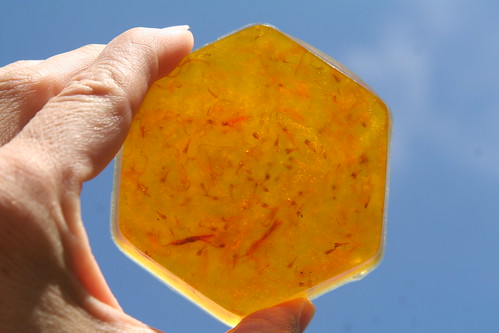
Here is the finished calendula soap, with pretty golden-orange petals showing inside.

Homemade soaps make wonderful gifts for family, friends, and teachers. Consider adding a mint and a calendula soap to your outdoor adventure box or your first aid kit. Use both types to cleanse and to heal.

Local Evening Safari

208841_3562774232797_1261923719_n

It’s been a bummer week for me. I’ve worked a lot. I’ve struggled with my current roster of projects and I have lots more work in my future. Last night, my mother-in-law gave us a big break by keeping our kids for dinner, which allowed Ian and me to go on a mini date. We had a lovely sushi dinner. (When I’m feeling beat-up by life, I always want sushi.)

185972_3562763952540_294711063_n 378231_3562780632957_553814106_n 375649_3562784153045_253169516_n 406214_3562766272598_1725675600_n

When we picked up our kids that evening, I just wasn’t ready to go back home. So we drove to Folsom, parked the car and walked over the historic truss bridge and into the old part of town. It was a great opportunity to visit a part of town we don’t often visit and the spontaneity of it felt really good.

487186_3562761752485_1142156933_n

We had great views of the Rainbow Bridge and Lake Natomas. I enjoyed watching the fishing boats move into their nooks for an evening of fishing.

548998_3562788633157_1791747691_n

Along the way we ran into our friends, which was a nice surprise. They were out looking for sticks to make into arrows and wild blackberries—you know, like you do.

578841_3562863875038_1531595046_n 547907_3562827554130_1794200393_n 309438_3562806153595_871188723_n 528950_3562851954740_652411575_n

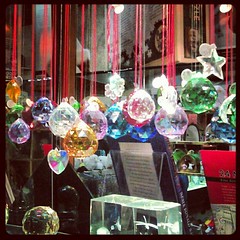
We walked through the main street and stopped in a New Age shop to admire the crystals and gems (Asher is very font of such things). We saw a huge crystal ball made of quartz with a price tag of $3800! Madame Trelawney must be missing it.

528937_3562909196171_1611436396_n

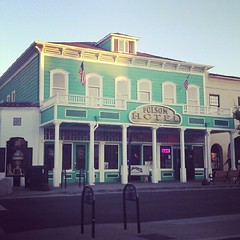
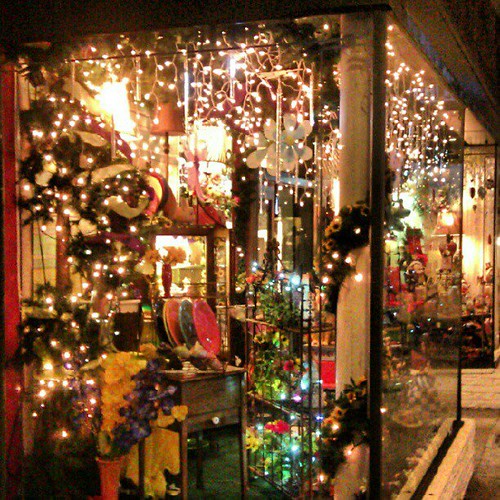
As dusk fell, we looked into glittering shop windows and then popped into Snook’s ice cream and candy shop for a treat. I really didn’t realize that Folsom has nightlife on the weekends. We saw several open wine bars and pubs. A band was setting up to play in the Folsom Hotel bar. We also discovered a cute and cozy coffee shop. I think this means Ian and need to come back another time when we’re alone.

403811_3562883275523_1740015677_n 304803_3562824034042_826227803_n 306809_3562898315899_427370118_n 600059_3562821633982_1198261163_n

For an unplanned ramble, it was very fun. We walked back to our car in the dark. Asher was pretty tired by the end, but he never complained once; his steps only got slower and slower as we neared the car. It was a perfect summer night.


Mermaid Aquarium Tutorial

Mermaid Aquarium Finished

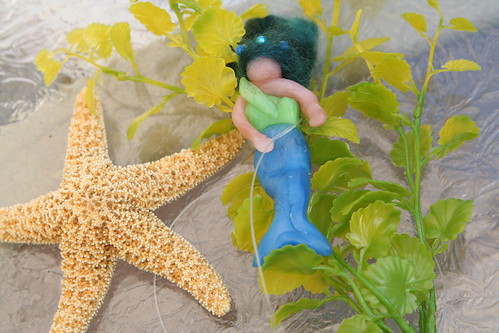
Have you ever wished that a mermaid would visit your home and be your best friend? You might get your wish, if you set up the perfect place for her to stay: a mermaid aquarium in your home or school! This is a simple project that older children can create by themselves or with a little help from you, and which may truly enchant younger children. While you’re assembling your mermaid aquarium, dream up some stories that feature your mermaid friend. With your mermaid visitor beside your child’s bed, tell mermaid bedtime stories.

Mermaid Aquarium materials

Materials

  • beeswax (color choice is up to you; I used blue, green and flesh colors for my mermaid)
  • wool roving (any color you like works for mermaid hair)
  • fishing line or thread
  • straight sewing pins
  • a large, clear-glass vase (a gold-fish bowl or small aquarium would also work very well)
  • seashells
  • found beach glass, beach pebbles, or glass gems from the craft store
  • a plastic aquarium plant (if your container is very large, you might want two of these)
  • water

Begin by gathering your materials together. This is a nice project to do outdoors, especially since you may spill some water, so craft outside and enjoy the fresh air. If you don’t have a plastic aquarium plant or would rather use a natural material, you can wet-felt or needle-felt some seaweed out of wool. There are many kinds of seaweed, so any shape of plant will do nicely.

Mermaid out of Beeswax

Model Your Mermaid

Your first task is to fashion your mermaid out of beeswax. Mermaids (and mermen) come in many different colors. Your child may have an idea of how this mermaid should look. If the beeswax is hard to mold, consider dipping it in warm water for a few minutes, or let the heat from your hands and breath soften it. Younger children find this very helpful when working with beeswax. Start by making the mermaid’s tail first, then create the mermaid’s upper body and arms. Finally, add on her head, making sure to let the wax from the body join the wax of the head. Your mermaid probably looks funny at this point. Mermaids are known for their gorgeous hair, right?

Use a shock of wool roving of any color you like and arrange it on your mermaid’s head to look like her luxurious locks. (You might want to do this next part out of the sight of younger children.) Now carefully take a few sewing straight pins and pin the wool hair to the mermaid’s head by aiming the pin down through her head and into her upper body. If you are careful, you can arrange the pins so that they look like hair decorations or a crown. Since children may be handling the mermaid, make sure the pins don’t stick out from her body to poke someone. Fortunately, if a pin’s tip emerges, you can just back it out and try again. The beeswax easily “heals”  if you rub out the hole. Perhaps the children would like to give the mermaid a name now.

IMG_2373

Assemble the Mermaid Aquarium

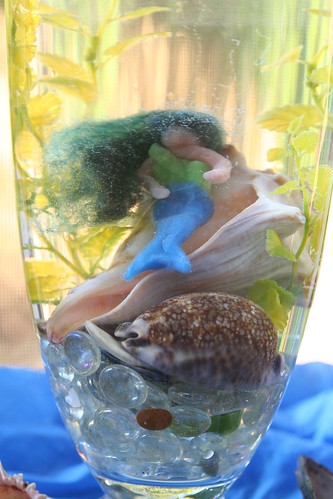
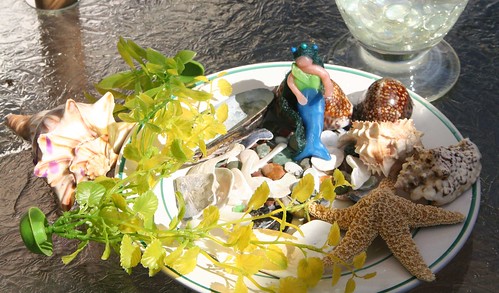
Now that your lovely mermaid is done, you can begin to assemble her underwater home. Fill the glass jar about a third of the way full with beach glass, pebbles, or glass gems. Your child may already have such treasures in his or her special collection, and may wish to contribute to the mermaid’s home. Consider adding seashells you have gathered from the shore (after you rinse them well). Real seashells will help your mermaid friend feel at home. Even the youngest children can easily add these special items to your vase.

Beeswax Mermaid

Be Thankful

Talk about where these treasures from the sea came from. Thank Mama Ocean for being the home to such amazing shelled creatures, and for wearing down the pebbles until they are smooth as silk. Sing a mermaid song.

Your aquarium is beginning to look inviting, isn‘t it?

Mermaid Aquarium in progress

The Tricky Part: Beeswax Floats

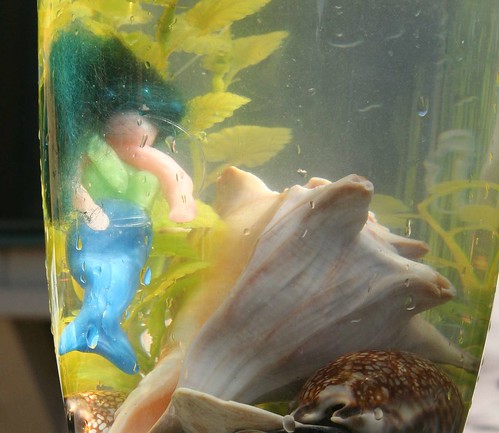
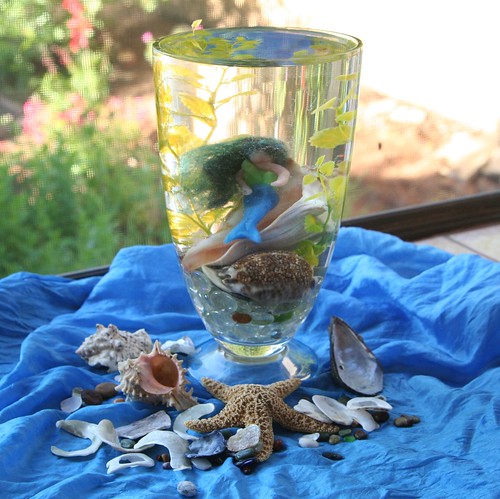
Now comes the only challenging part. Your beeswax mermaid at first wants to float on top of the water, but we know she will be more at home under the water. Take a small length of fishing line or thread and gently tie your mermaid to your plastic aquarium plant, or to a heavy seashell. We tried doing both, and found we were happiest with how she looked when anchored to the heavy shell. If you tie your mermaid to the plant, now is the time to plant the base of the plant into your pebbles or gems so that the plant looks like it’s growing there at the base of the aquarium. If you opt to tie your mermaid to a heavy shell, place your plant first, then add the shell and mermaid to the aquarium last. You probably won’t be able to see the fishing line or thread.

In thes photo above, it looks like our mermaid is swimming. In the next photo, she is resting atop a seashell. Feel free to move the objects around until you achieve a scene that you like.

IMG_2397

Enjoy Your Mermaid Visitor

Now place your mermaid aquarium on your summer nature table or at a child’s bedside. Arrange other beach treasures around her on an ocean-like silk. It will help her feel at home! If you tell a few mermaid stories, your child may become enchanted by the mermaid guest and may whisper secrets to her during the long twilight of summer evenings.
Perhaps the mermaid will tell the children stories of her life in the sea, the beautiful underwater merfolk cities, her fish friends, and water magic. Perhaps, if you‘re very lucky, the children will tell you these stories, too.

Please note: Your child may wish to touch the water and play with the mermaid, so your placement of the mermaid’s aquarium home may depend on whether spills are a problem. Also, if your mermaid visits for a long time, you may need to change the water to keep it looking clear. In doing so, you may need rinse the gems, pebbles, and shells. But then, you and the children get to remake it all over again!


Surprise Evening Picnic


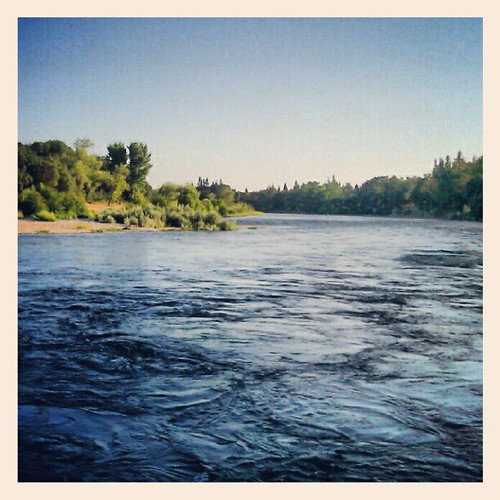
The River is FAST this Summer

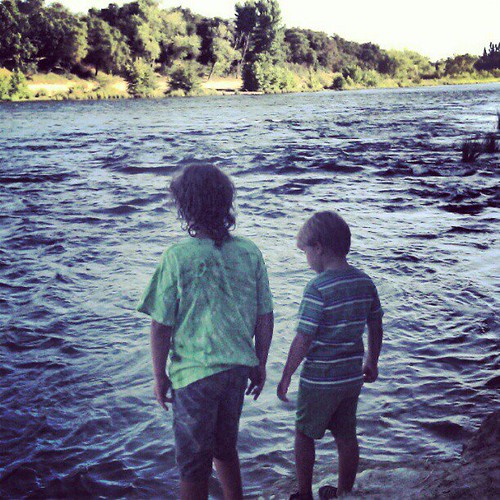
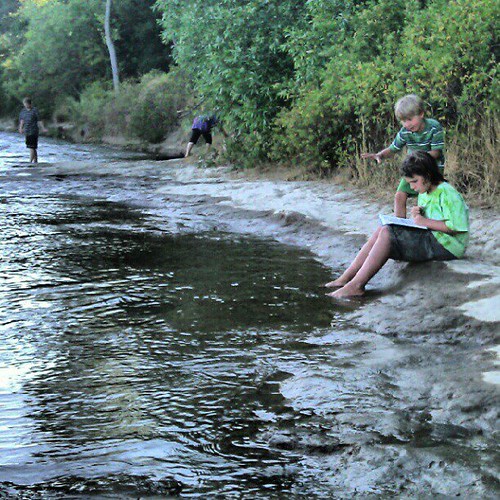
We surprised the boys with a picnic dinner the other night after swimming. We haven’t had a chance to leave town yet, so I’m trying to find little slices of heaven close to home. The river is running very high and very fast this summer. Although there was a small beach, I wasn’t comfortable letting the boys get in the water.

I read about this secluded little park on the American River and decided to check it out. Its entrance is sandwiched between two private residences in a ritzy neighborhood and the park is very small. They have the eleven-space parking lot closed during the summer, which I take to mean that the ritzy neighbors don’t want riffraff using their park.

Boys at River's Edge

Nevertheless, we weren’t the only people there. One family was fishing. Another group brought their dog down for … well, they seemed to want him to get wet. He wasn’t too keen on that plan. One couple swam a while, which looked fairly risky to me.

Our Beautiful River

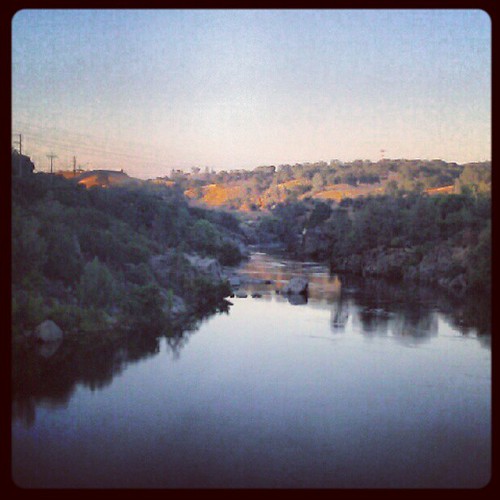
We waited for Daddy to bring Solstice dog and our picnic dinner, as the boys and I came here straight from swimming practice. It was a beautiful place for a picnic.

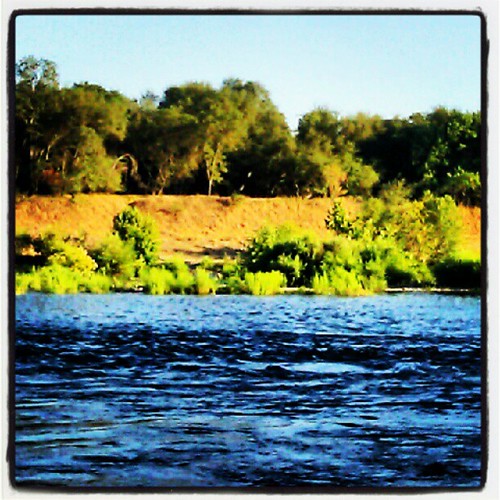
American River at Sunset

We watched the sun sink lower and light up the far bank.

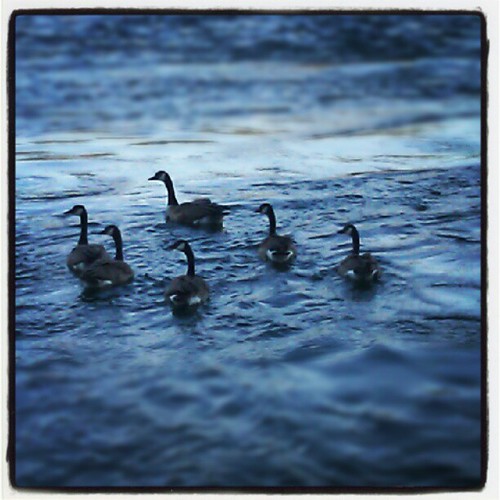
Canada Goose

We watched the Canada geese and mallard ducks. Solstice dog wanted those ducks sooooo bad.

Canada Geese

I (obviously) played with Instagram on my phone camera.

Picnic Reading

Lucas enjoyed some time with his Wimpy Kid book. Asher and Daddy explored a bit, and Asher tried to play with another little boy who was there. We ate ham sandwiches and apples and blueberries and corn chips. Simple. Perfect.

Letting Go: A Life Skill

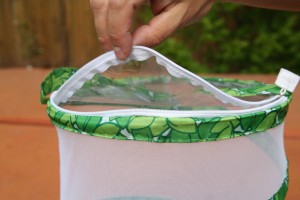
Butterfly Garden Habitat

“We need in love to practice only this: letting each other go. For holding on comes easily–we do not need to learn it.” —Rainer Maria Rilke

Sometimes letting go isn’t easy, especially if what you need to let go of is something you treasure. In many ways, parenting is one long process of letting go; every day we parents and caregivers are challenged to give a little more space, a little more trust, and a little more independence to these growing beings in our care.

Letting go of hurts, mistakes, expectations, and even our loved ones is, at times, part of life, and finding healthy ways to do so without struggle or stubborn holding on is a valuable life skill. Letting go can make way for new ideas, new opportunities, and new knowledge. It‘s also an excellent reminder to live in the present moment, and not in the past.

It‘s a good idea to find opportunities for your children to practice this skill of letting go. Here are two simple ideas that are perfect for children in the summertime.

Rescued Ladybugs

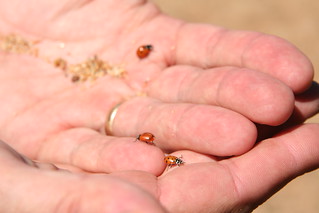
Buy a container of ladybugs at your local nursery. Watch them, hold them, admire them, perhaps compare their colors and count their spots. Wait until evening, when the beetles are less likely to fly away, and then release them in your garden. Gently sprinkle them onto your roses and other plants that attract aphids. The ladybugs will be your garden protectors, and your children will be doing the right thing by letting them go free.

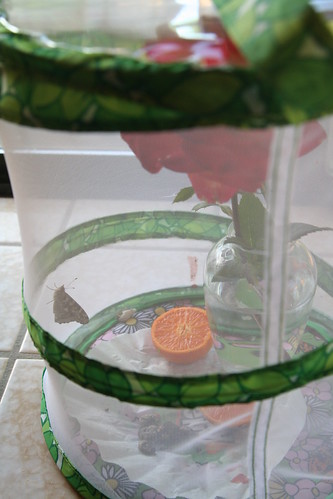
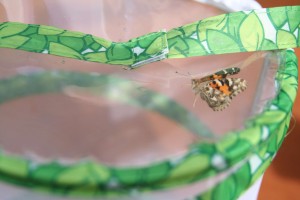
Order a butterfly garden and live painted lady caterpillars from a company such as Insect Lore. When your caterpillars arrive, watch them eat, grow, and transform into chrysalides. Then carefully place them into your mesh butterfly garden. After approximately seven to ten days, your painted lady butterflies will emerge. You can keep them for a while; they will eat sugar water or fruit juice in captivity. After a few days or a week pass, release the butterflies into the wild. Keep your eyes open because they move surprisingly fast! Whenever you see butterflies fluttering among the summer flowers, you’ll fondly remember the ones you set free.
Fly away, butterfly! Fly up so high. Fly away, butterfly, fly up in the sky!
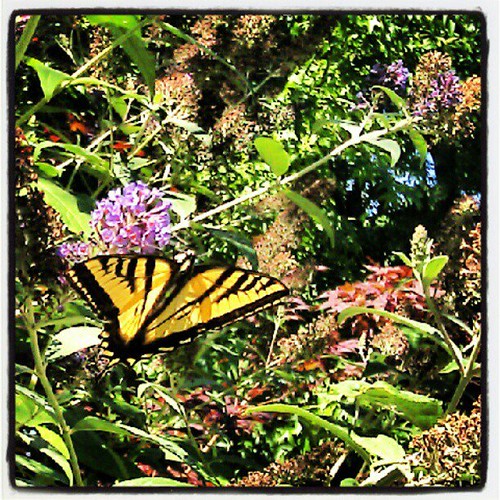
This Moment: Swallowtail

Swallowtail in my Garden

Inspired by SouleMama {this moment} – A Friday ritual. A single photo – no words – capturing a moment from the week. A simple, special, extraordinary moment. A moment I want to pause, savor and remember.

Fourth Grade Trip to Malakoff Diggins

L at farm sepia

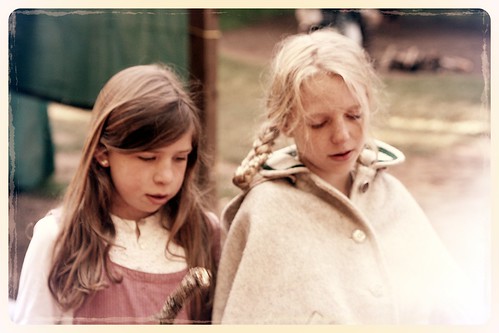
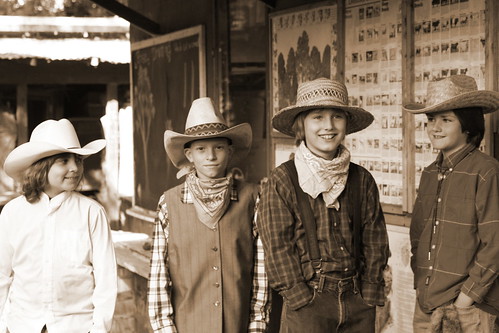
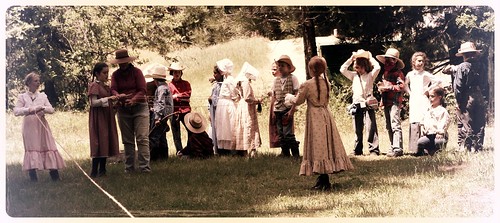
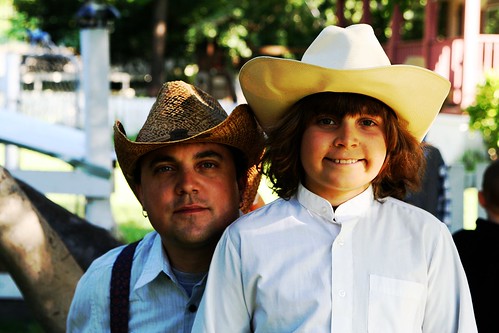
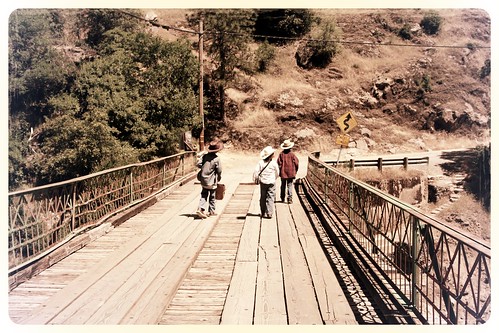
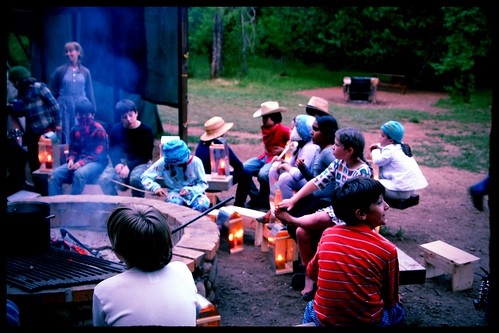
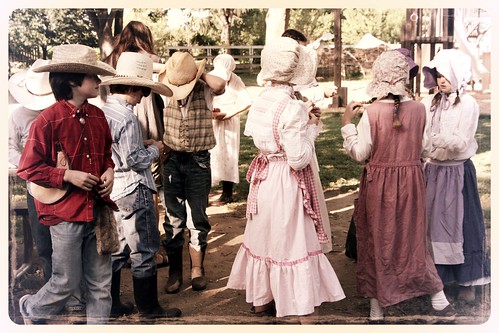
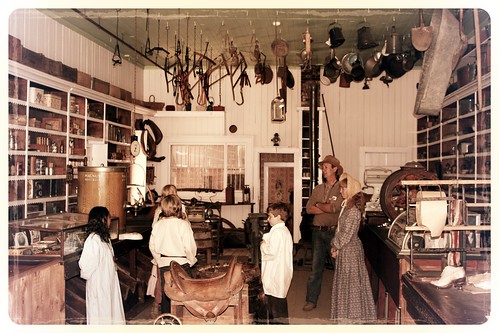
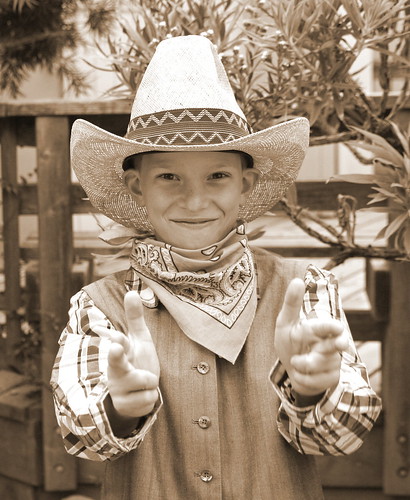
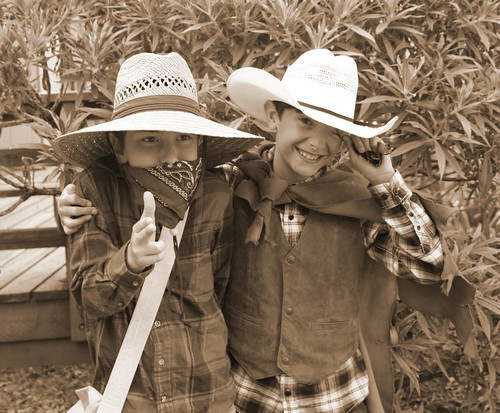
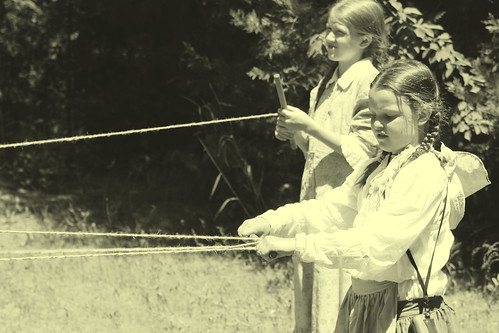
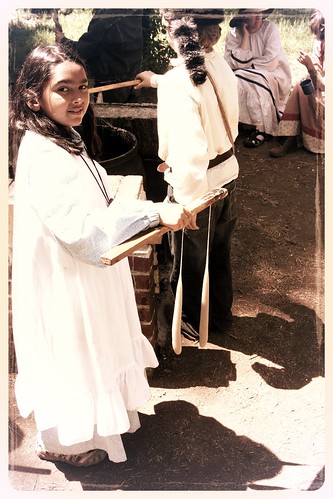
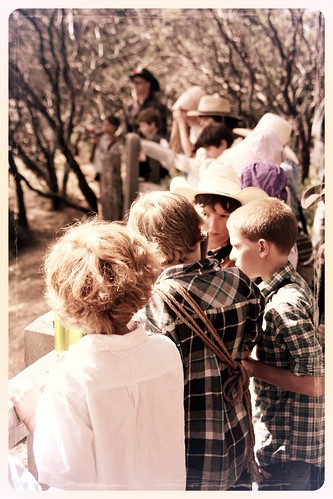
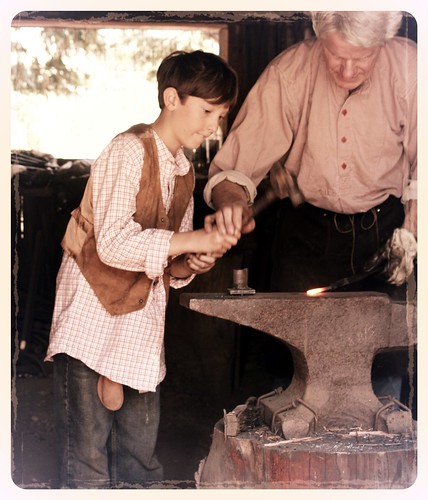
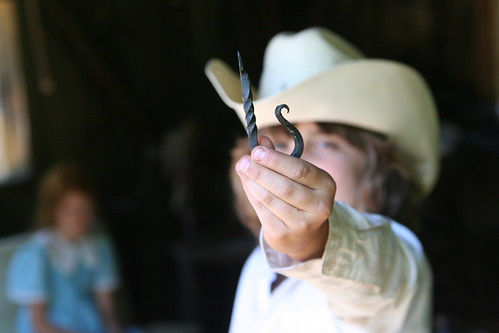
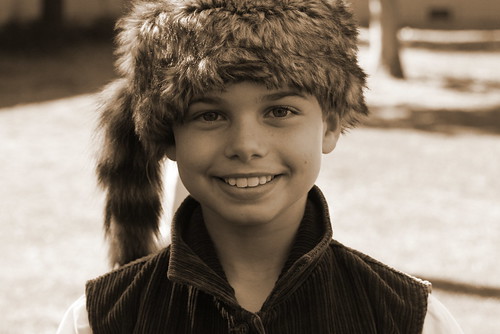
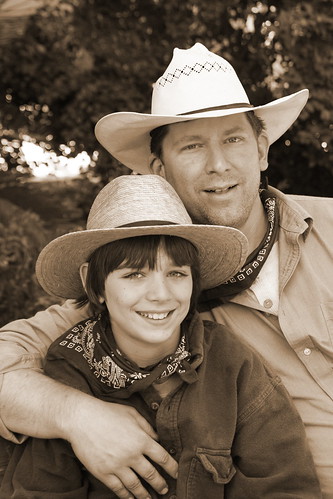
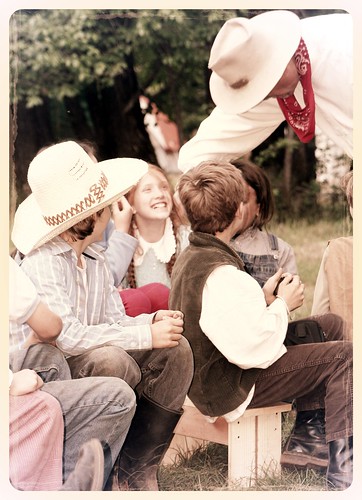
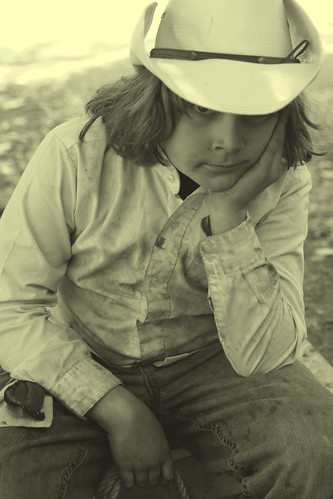
In May, before the end of the school year, Lucas and Ian got to go on the fourth-grade class trip to Malakoff Diggins, a California State Historic Park that was once a hydraulic mining operation in the Sierra Nevada mountains. Twenty-eight students, one class teacher, one Spanish teacher, and about ten parent volunteers/chaperones went for two and a half days. They dressed in Gold Rush period clothing, cooked their meals over an open fire, hiked, made rope, made candles, built their own benches for sitting around the campfire, learned about gold mining, danced, listened to a storyteller entertainer, and forged their own iron hooks. They had a marvelous time and came back filthy and tired, but very satisfied.

IMG_6003

Boys at farm

IMG_5887

IMG_5641

IMG_5859

IMG_5983

The class made wonderful wood, tin, and plexiglass lanterns in school, so they would have a way to see at night. I’m told that the food was wonderful the whole time.

IMG_5716

IMG_6170

IMG_6175

M gunslinger sepia

IMG_5961

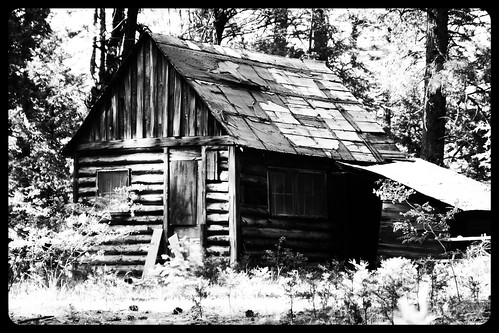
These are the cabins Ian stayed in when he was a boy, going camping with his mother and sister. Malakoff Diggins is very special to him and he jumped at the chance to chaperone. I’m so glad he got to do it, both for his sake and for Lucas’s sake. For Lucas, it was fun having his dad there to share in the adventure.

IMG_6198

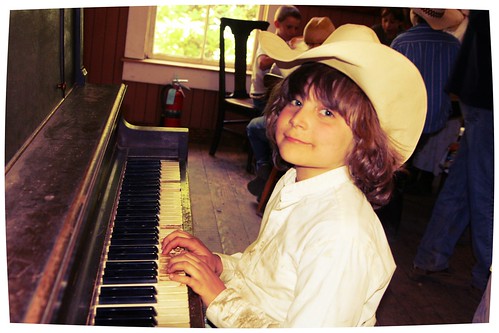
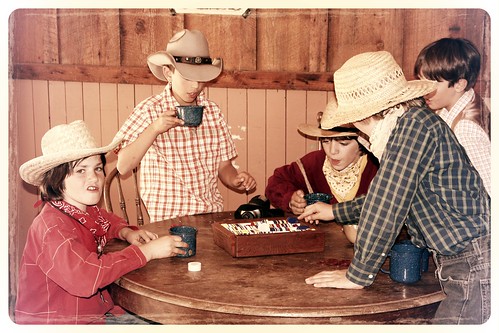
There was an old, old piano in the saloon. Lucas and some other students got to play it. They also played cards and ordered root beer from Ian, the barkeep. To get their second root beer, they had to tell Ian a joke, a fact, or a riddle.

IMG_6187

IMG_6171

I and S gunslingers sepia

Girls making rope

IMG_6129

IMG_5959

IMG_6126

IMG_6059

The blacksmith was amazing, according to Ian. He was a volunteer who, in his time of working with children at Malakoff Diggins, had helped over 10,000 kids make iron hooks like this one. He had his system down pat, with every child getting the opportunity to both work the bellows and hammer the iron hooks into shape. Isn’t Lucas’s hook terrific?

L trapper sepia

R and E sepia

The parents in attendance brought a wagon load of essential skills along to help: camping, cooking, nursing, building, child herding, and much more.

IMG_6249

IMG_6271

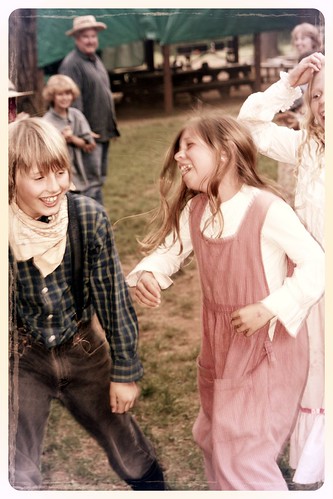
Everyone even tried square dancing and country dancing.

IMG_5942

IMG_5996

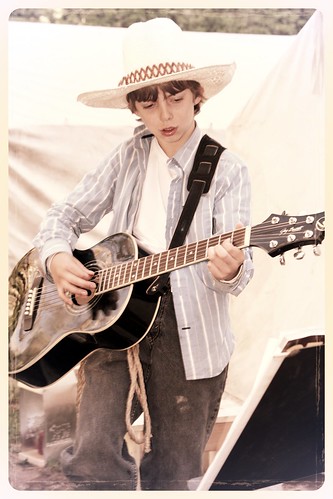
A few brave kids brought their guitars and played music around the campfire. I’m so impressed by this! These kids are so comfortable with each other, as they’ve been together since first grade (and some since preschool).

Lucas tired

This is how Lucas looked when he returned home after two and a half days—filthy and soooo tired.

These photos are just some of my favorite shots. I took a bunch of “before” shots on the morning they all left town, when the kids were clean, fresh-faced, and eager. Ian took all the wonderful photographs of the kids at Malakoff Diggins, for which I am so grateful. I had a TON of fun editing the photos when they returned, adding filters and making them look old-timey—something altogether new to me. Anyway, aren’t they the most beautiful children in the Wild West?

I am so grateful that my son got to experience this! Although every child in California studies California history in fourth grade, few get to immerse themselves in a Gold Rush era town for a few days, living and working like people used to do. These children, because of their Waldorf background, took to this stuff so easily. Make our own rope? Of course! My heartfelt thanks goes to the teachers and brave parents to took them. And thank you to Malakoff Diggins for having such a terrific program.

Midsummer Festival E-Book

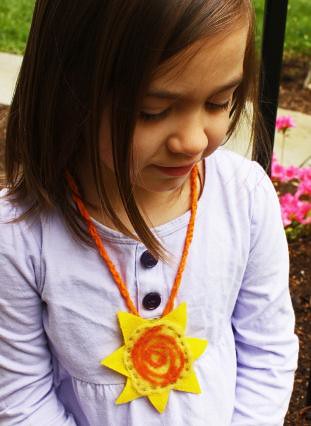
Sun_Child-311x426

I am delighted to announce that my dear friend Eileen Straiton (of Little Acorn Learning) and I wrote a Midsummer Festival E-Book! It has been a marvelous journey and I loved every step we took in making it. Please spread the word!

Little Acorn Learning
Monthly and Seasonal Guides
for Childcare, School and Home

*New* Midsummer Festival Book is Available!

This wonderful Midsummer Festival E-Book will bring the magic of summer into your home and help you keep celebrating throughout the season!  It is packed full of Waldorf songs, stories, verses, crafting tutorials and much more to help you celebrate Midsummer and the Summer Solstice with the children in your home, classroom, or childcare environment.

  • Read Stories and Fairy Tales Filled with Sunshine to the Children
  • Enjoy Verses, Songs, Poems and Fingerplays that Celebrate the Coming of Summer
  • Learn about the History, Background and Symbolism of the Summer Solstice
  • Get Ideas for How to Create Your Own Meaning of this Special Festival
  • Enjoy a Solstice Feast
  • Play Solstice Games
  • Make a Midsummer Bonfire
  • Create Simple Beeswax Suns with the Children
  • Make a Solstice Wreath for the Birds
  • Design Midsummer String Art Sunbursts
  • Read a Story of The Sun Child and Create a Sun Child Necklace
  • Craft a Shiny Garden Suncatcher
  • Use a Rock Garden Sundial to Tell Time in Your Garden
  • Make a Catch the Sun Throw Toy for Your Child
  • Create a Paper Solstice Sun
  • Read How to Create Daytime and Nightime Midsummer Magic
  • Hang Summer Solstice Flags Indoors or Outdoors this Season
  • Plant a Midsummer Indoor Herb Garden
  • Craft a Sun Mosaic Birdbath
  • Make a Sunshine Fairy out of Wool Roving and Felt
  • Sew and Stuff Herbal Dream Pillows for St. John’s Eve
  • Needle Felt a Summer Sun Wall Hanging
  • Create Sweet Pocket Sun Sprites for the Children
  • Bake Sun Bread with the Children
  • Go on a Sun Hunt
  • Make a Sun Mask
  • Design a Sunshine Banner
  • Crochet Sun Medallion Necklaces

mosaic681a08dd7f492074d30d638319d71c78eb0cd22f

In addition to our Midsummer Festival eBook, Little Acorn Learning has lots of wonderful offerings to fill your summer months with enriching, creative activities for your family, daycare, summer camp, or homeschool group, so please check out their other fine products.

Garden Love

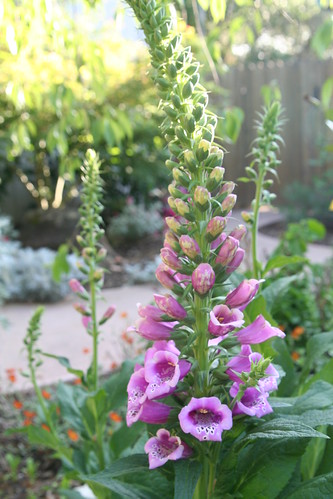
Foxgloves

I am thoroughly enjoying my garden this year. Everywhere I turn I see successes in the form of bright flowers. Not everything I’ve planted has done well, but so much has and I am finding that going even a few days without some time working in the garden is too long. (It helps when the weather is so completely perfect like it is now.)

Of course, there are spots of ugliness that I have plans to change, but I’ll give a little tour of the good stuff. My foxgloves (above) are off the hook this year. In fact, since this photo was taken, more tall spires have bloomed out and they’re bending down to the ground. I’ve got to stake them up with something.

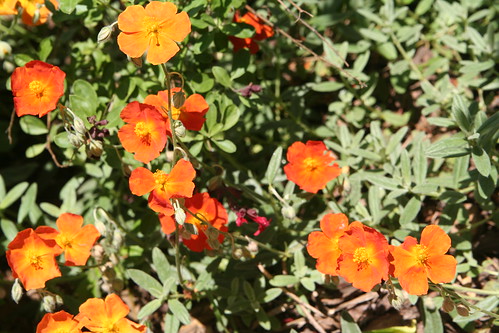
Sun Rose (Helianthemum nummularium 'Ben Nevis')

These sunny fellows are called Sun Roses (Helianthemum nummularium, according to the Interwebz). It’s a low-growing ground cover with orange flowers that drift up above.

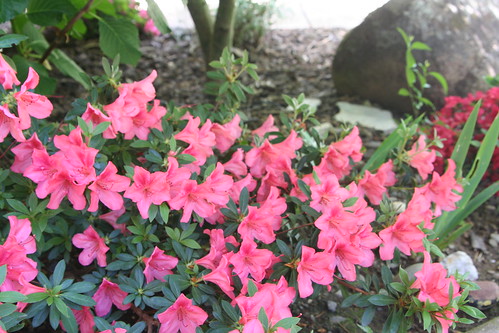
Salmon-Colored Azalea

April is the month for Azaleas and mine are doing great. I’ve actually been feeding them this year. I’ve turned over a new leaf and vowed to support the plants I already have with loving attention and fertilizer.

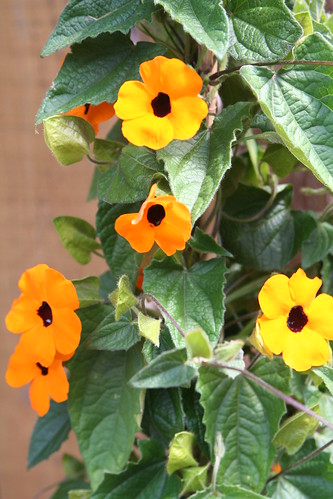
Black-eyed Susan (Rudbekia) Vine

This vine is new this spring. It’s a form of rudbekia called Black-eyed Susan vine. I’ve had it for about three weeks and it’s still blooming like this. My hope is that it will grow up onto my fence near my patio. My concern is that my soil isn’t all that great in that spot. It was such an arresting flower that I decided to take the chance. I think I paid $12 for this. It stands about 4 feet tall.

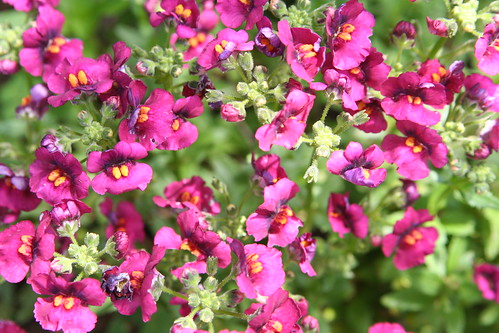
Nemisia

My nemesia from last year is blooming beautifully.

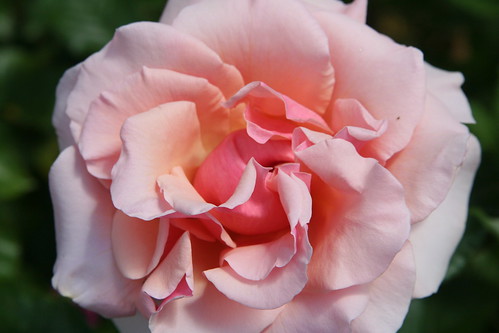
IMG_4008

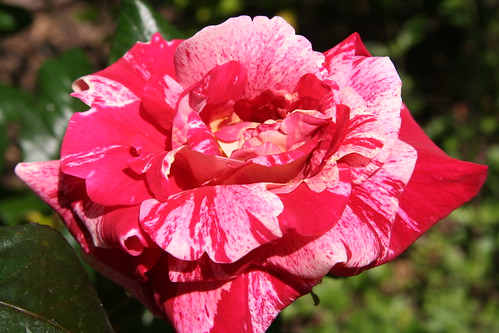
I think this rose is called “Peace” but I’m not sure. I think it’s heavenly.

Clematis

My clematis vine survived the winter and bloomed like crazy all through April. Then it had a few quiet days before a new batch of flowers opened up. These are about six inches across. I bought a pretty trellis for them to climb and need to paint it and get it into its permanent spot soon for the vine to grow on.

Like a Candy Cane

Peppermint candy rose—it was called something like that, but I forget. This rose was new last year and it seems very happy.

Mandavilla Vine

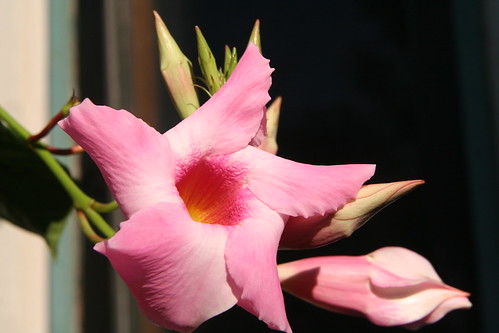
I bought a Mandevilla vine at Costco. My mother says she has killed several of these over the years. I figured I’d give it a try. It’s flowers look like ballerinas.

"Hot Cocoa" Rose

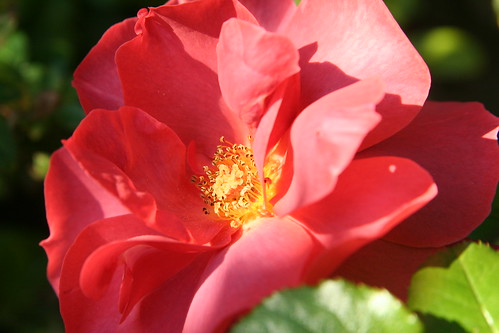
And this baby is Ian’s favorite rose “Hot Cocoa.” We like it so much we have two of them.

Let’s see … the delphinium is looking good and getting ready to bloom. I have seven new irises that I recently bought at the nearby Horton Iris Farm. One called “Obi-Wan Kenobi” is blooming and another called “Tomorrow’s Child” will bloom soon. Today I planted a scarlet dianthus and three purple verbena ground cover plants. The rock roses I put in last year are blooming and I’m looking forward to them getting bigger; they should get at least three feet tall. My evening primrose has spread and is now sporting baby-pink poppy-like flowers. I’m hoping it will spread out more in the front yard too. All the purple iris rhizomes I bought from the Waldorf school farm are doing fine but aren’t yet ready to bloom. I think I’ll have to wait until next spring for them to be well enough established to flower.

Oh—and the mint is trying to take over the world.

My next project, apart from putting in tomatoes and peppers and pumpkins from seed, is to get some rooting hormone and try my hand at propagating from cuttings.

  • About Sara

    Thanks for visiting! I’m Sara, editor and writer, wife to Ian, and mother of two precious boys. I am living each day to the fullest and with as much grace, creativity, and patience as I can muster. This is where I write about living, loving, and engaging fully in family life and the world around me. I let my hair down here. I learn new skills here. I strive to be a better human being here. And I tell the truth.

    Our children attend Waldorf school and we are enriching our home and family life with plenty of Waldorf-inspired festivals, crafts, and stories.

    © 2003–2018 Please do not use my photographs or text without my permission.

    “Love doesn’t just sit there like a stone; it has to be made, like bread, remade all the time, made new.” —Ursula K. LeGuinn

  • Buy Our Festivals E-Books


  • Archives

  • Tags

  • Categories

  •  

  • Meta