First Days of School

IMG_9386

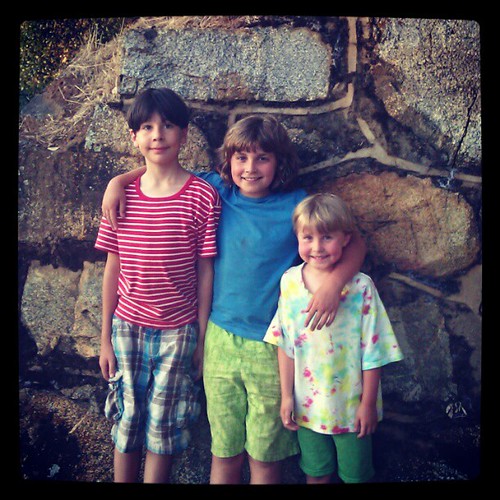
I am delighted that school has begun. We’ve had a goooooood LOOOOOOONG stretch of summer vacation (88 days, to be precise), and we enjoyed so many wonderful adventures. But the time has come to try new things, learn more, make new friends, and engage with the world around us in a new way. The boys are both ready for it. They’ve embraced going back to school with enthusiasm.

Lucas is in fifth grade now. Suddenly that seems amazing. He is charming, capable, dynamic, and creative. He is looking forward to this year, especially studying the Greeks and the end-of-fifth-grade pentathlon. This semester he is taking woodworking for the first time, and is very excited about that. He’s waffling about staying with violin or switching to flute. He seems, well, ready to take on a lot more now. He wants to study. He wants to make his own lunch. He wants to spend his own money on school supplies. Our job is to support him in his new responsibilities. I’m grateful that we established a good chore routine this summer, as I feel schoolwork will fit in nicely.

First Karate class punches

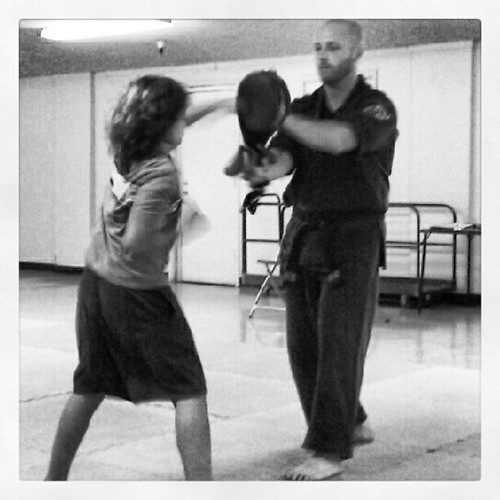
Also this week, Lucas has started his first karate class, which is being offered through the local Parks and Recreation department. He has wanted to do martial arts for a long time, especially after an exciting and brief taste of Brazilian jiujitsu. Since we are dabbling and on a budget, this is the right solution for the time being. It helps that Lucas’s best friend is also in the class. Both Ian and I are favorably impressed with the sensei.

IMG_9445

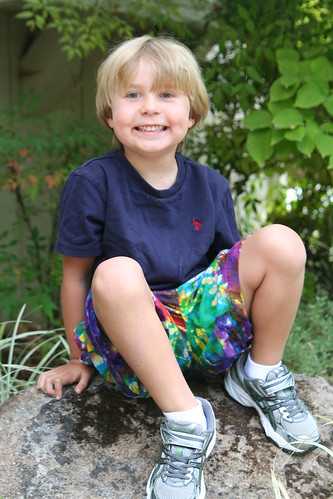
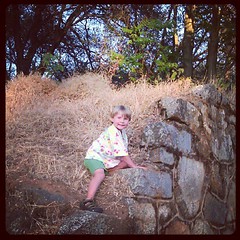
Asher’s first day of his second year of Kindergarten was a day after Lucas’s first day of school. Asher is an “older” this year, which means he is an older Kindergartner who will be going to first grade next year. He knows the ropes, and is expected to help the younger students adjust to school. The olders get to work on making their Michael swords right away. This is a big deal for a little boy. He has looked with covetous eyes on Lucas’s wooden sword for many years. Apart from some new children, the Kindergarten is the same and he’s comfortable and happy there. His lovely teachers have welcomed him back with open arms.

Now, I do feel a tiny little bit bittersweet about the end of summer. Rather than focusing on the longed-for experiences that we didn’t have, I’m going to think about all we did to celebrate life and living together. Not only did we make it through, we made it beautiful too.


Calendula and Mint Herbal Soaps Tutorial

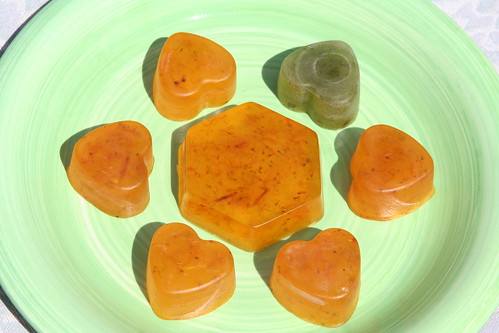
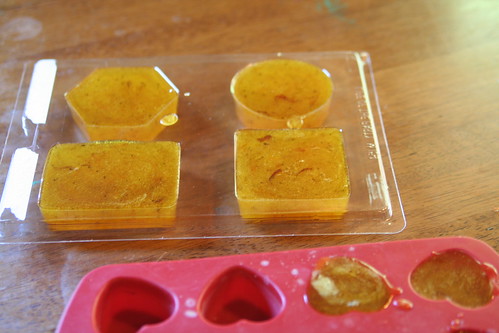
Finished Soaps

Earth’s bounty is always all around us, but it is perhaps even more apparent in the summer, when crops are ripening and plant life flourishes. Wild or cultivated herbs can be useful friends, growing perhaps right outside our kitchen doors. Herbs are commonly used as food, as decorations, as dyes, as flavorings. They also are used the world over to clean and heal.

You can easily make herbal soaps for your family to use and enjoy, right in the comfort of your own kitchen. There are two soap-making techniques. This tutorial teaches you the simpler of the two. Technically, you’re really embellishing this soap, rather than making it from scratch. Because the process is simple, even small children can help to make these beautiful, healing soaps, as long as you carefully monitor them around the stove and hot soap. (Of course you will!)

Calendula

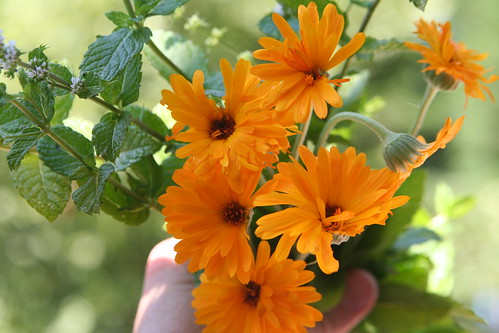
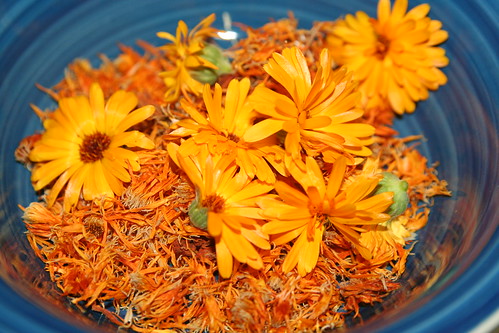
Calendula (also known as pot marigold) is a common and prolific garden annual that reseeds itself. It is known to have been used as early as Roman times as both a dye and a flavoring. Calendula is known to have antiseptic properties, which make it perfect as a soap additive. Many natural first aid preparations include calendula.

Peppermint grows in many cottage and kitchen gardens. You can use it in teas, desserts, and body care potions, such as lotions, shampoos, balms, and soap. Mint may have a calming and soothing effect for skin irritations, itching and hives. It is believed to have anesthetic and anti-inflammatory properties.

Materials for Making Herbal Soaps

  • glycerin soap base (I used a glycerin and olive oil base)
  • calendula (pot marigold) and mint herbs from the garden (I used a mix of dried calendula petals and fresh flower heads, and fresh mint leaves)
  • stovetop pan, cutting board, knife, ladle
  • soap molds (also silicone muffin pans work very well; these come in fun shapes )
  • essential oils for fragrance (optional)
  • soap colorant (optional)

A word about glycerin soaps: You can buy glycerin at the craft store, along with lots of other fun soap-making and body product supplies (dyes, fragrances, molds, etc.). Using pure glycerin soap in this project will result in soaps with a layered effect, since your herbal additives float to the top of your molds as your soap sets. There’s nothing wrong with this, and the result can be quite beautiful and rustic. Another kind of glycerin soap base that you can buy has olive oil added to it, and a property that keeps any additives in suspension, meaning you won’t get layers and your herbs will stay mixed throughout the soap. This is the look that I was going for with these two batches. You can decide what’s right for you. There is no difference in how you make the soap. Just be sure to read the packaging carefully so you get what you really want.

Making Soap

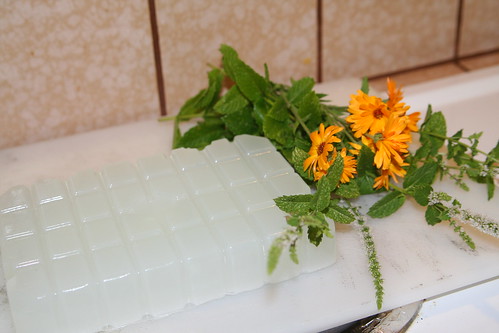
Begin by gathering your materials. You will need a clean cutting board and a table top to work on.

Glycerin Soap

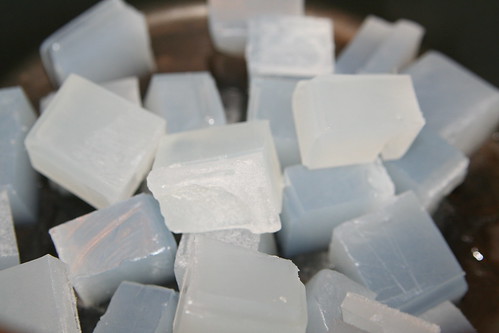
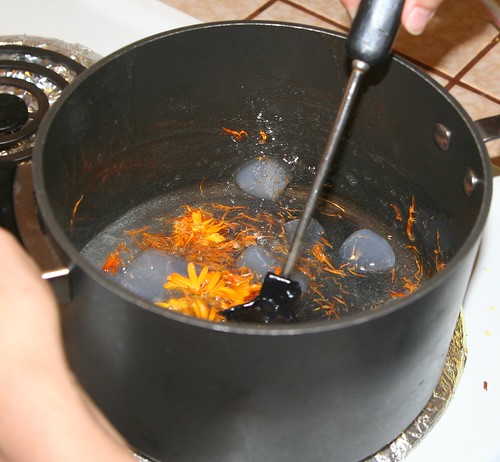
First, cut your glycerin soap base into small cubes. This makes it easier to melt at low temperatures, and you want to keep the temp quite low when you‘re making soap. You can use a double boiler or just put your glycerin cubes into your pot. (Cleanup is easy with hot water and a scrub brush!) Stir the soap often until all pieces of glycerin are melted.

Making Soap

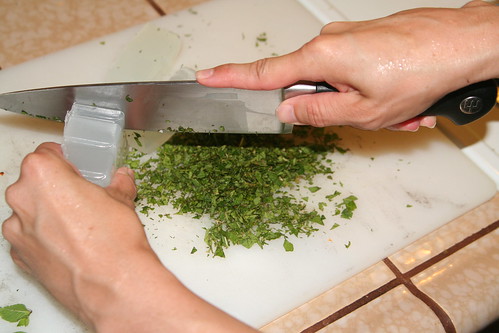
Meanwhile, chop your mint leaves into very small pieces. You may wish to set aside some of the tiniest leaves to be used as a decoration later on. Of course, this is optional.

If you have lots of soap molds or muffin pans, you might be able to make both types of soap at the same time. Since I had to reuse the molds after the first soaps were fully set, I made two batches—first calendula, then mint—cleaning up in between batches.

Calendula

Before starting, I saved the dried petals from my calendula flowers for a week or so. For my soap, I also used a few fresh flower heads to maximize its potency as an antiseptic.

Making Soap

Add your petals and flower heads to your melting soap cubes. The heat will begin to cook the flowers.

Making Soap

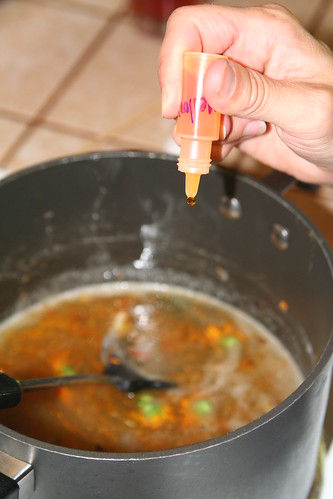
If you want your calendula soap to have a rich yellow coloring, add a few drops of soap colorant to the pot. You don’t have to do this, and if you cook the petals in the soap a while, it will begin to take on a natural yellow color. At this point, you can also add fragrance, if you wish. I added a few drops of geranium essential oil. Geranium is known to be a comforting scent, and since I envision my children washing their scrapes with my calendula soap, comfort seemed to be just the right feeling to evoke by smell.

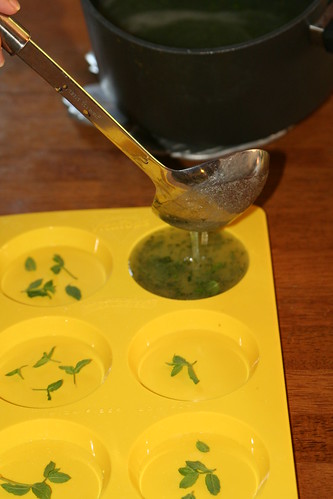
If you used fresh flowers, you should fish out the centers now. When you’re satisfied with your soap’s color and fragrance, it’s time to pour it into molds to set. Using a ladle, gently fill each cup to the brim. Keep the mold flat. The soap will begin to cool quickly, but it may take an hour or so for the soap to become very firm to the touch. You can speed the cooling by placing the mold flat in your refrigerator.

Making Soap

When the soap is completely firm and set, gently pop each soap out of the mold. They should separate from the mold’s sides with some gentle twisting and come out cleanly.

Making Soap

My second batch of soap was mint. You’ll repeat all the same steps as with the calendula soap. Begin by cutting soap cubes and then just add the chopped mint in with the glycerin. The longer you allow your mint soap to cook on the stove over low heat, the greener it will become. I added a few drops of eucalyptus and mint essential oils to the warm pot. The smell is calming and relieves stress.

Making Soap

You can add your reserved tiny mint leaves into your mold if you wish. They won’t stay exactly in place when you ladle in your mint soap, but you will be able to see pretty whole leaves in your soaps after they have set.

Homemade Mint Soap

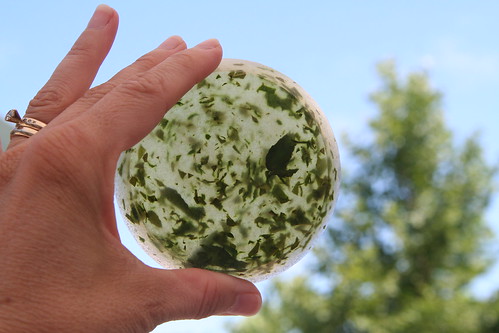
In this photo, you can see my two different pours. The greener bars were poured from soap that had been on the stove longer. The natural green from the mint leaves colored the soaps. I like them both.

Mint Soap

A finished mint soap, with lots of gorgeous herbal goodness visible.

IMG_3691

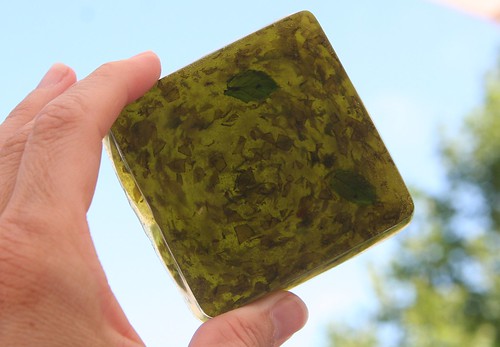
And here’s a darker one. This soap was on the heat longer and became a dark green.

Calendula Soap

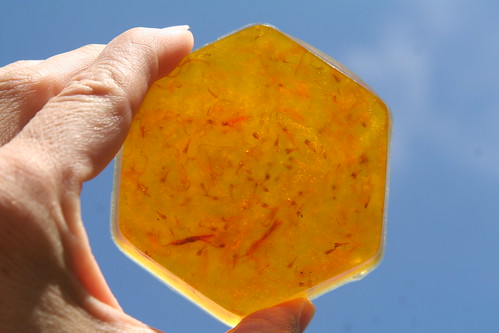
Here is the finished calendula soap, with pretty golden-orange petals showing inside.

Homemade soaps make wonderful gifts for family, friends, and teachers. Consider adding a mint and a calendula soap to your outdoor adventure box or your first aid kit. Use both types to cleanse and to heal.

Nature Therapy

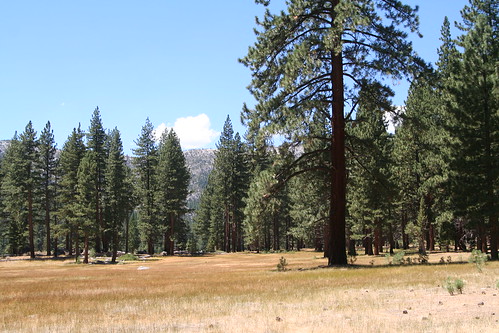
I love this meadow

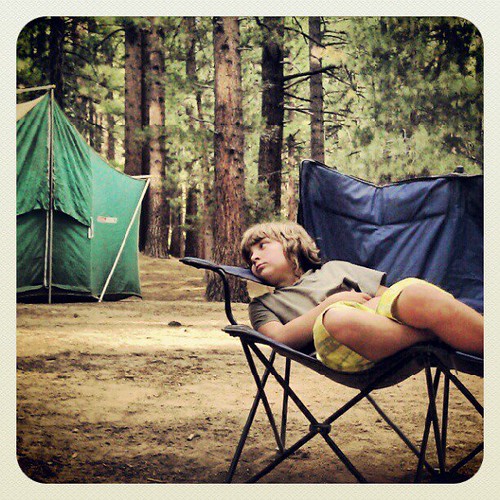
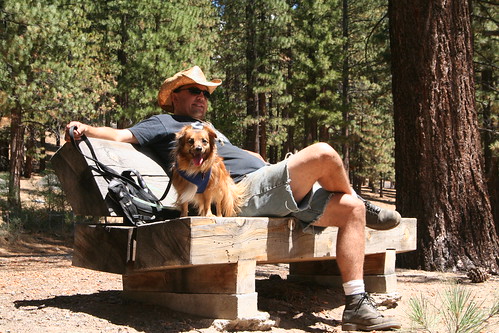
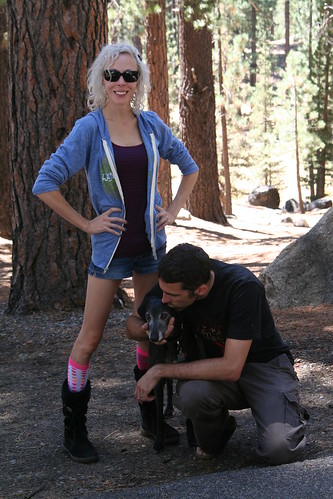
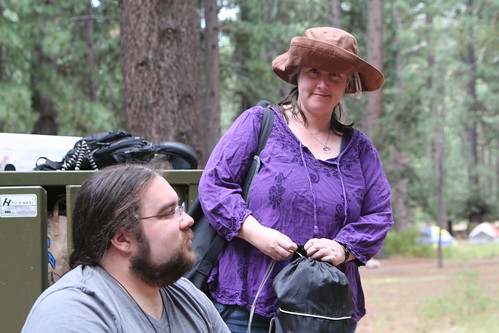
A couple of weekends ago, we joined 30 of our best friends for camping in the mountains south of Lake Tahoe at Grover Hot Springs State Park. I got to visit my favorite meadow for some much needed nature therapy. After four solid weeks of difficult work, I was ready for an escape.

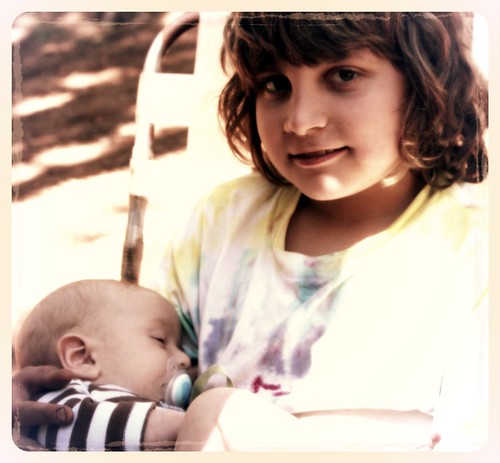
Lucas Holding Baby J

It was just the ticket for me, really. We got to be outside in a beautiful alpine forest. We got to hold a wee three-month-old baby (sublime!), and play with friends.

530000_3592621218953_835353086_n

I got to watch this, and watch my competent 10-year-old son light the campfire.

418404_3592634419283_959146268_n

The only hard part came on Friday afternoon, when my boys were stung by wasps after moving too close to their hive near the creek. They each received five or six stings, which were very painful. D, a brave 12-year-old girl, ran for help and trundled through the forest to find some, eventually making her way to the road and the ranger station. She brought a ranger who was prepared to give us medical help. Meanwhile, Lucas bore his brother away from the wasps and helped him back to camp. I am very proud of my son for helping his little brother! Honestly, my heart is full to bursting about this. When they arrived at camp, traumatized and sore, there was still a wasp in Asher’s armpit, stinging him. Fortunately, friends had Benadryl on hand and that, with some ice, did the trick. Within 2o minutes or so of resting, they were up and playing again. They are brave, irrepressible boys.

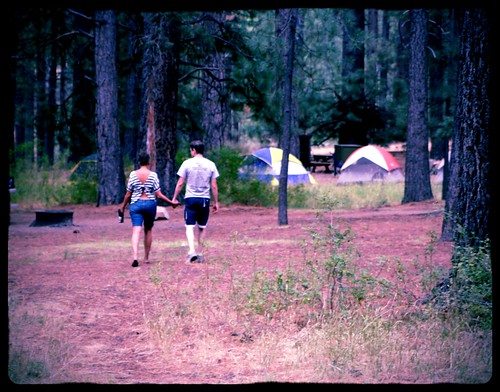
Holding Hands

Everything after that was sweetness and light.

Daddy and Solstice

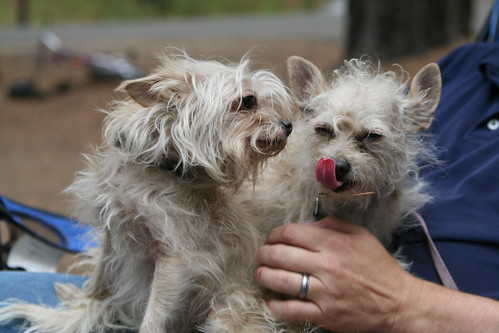
Our little dog Solstice surprised us with his desire to confront forest creatures in the dead of night, and “boof” at every nighttime sound. Hmm… He is braver than he is smart, I think. Apparently, bravado is just a part of our family.

E, T, and Suki

T and J

It was gooooooood to see some friends out there. Quite a few of us have been having a rough time this summer. I’m so grateful to have these amazing, inspiring people in my life. And I’m grateful that they continue to put one foot in front of the other.

575947_3592627339106_878551287_n

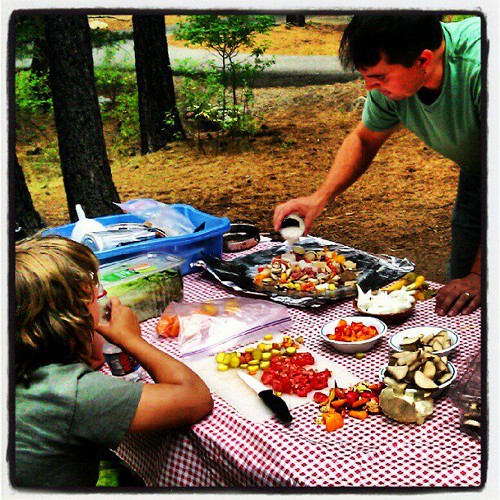
Ian made us hobo stew (custom dinner for each of us!), which we cooked over the campfire. It was yummy, and I have some notes to make it even better next time.

Potluck Barbarians Party

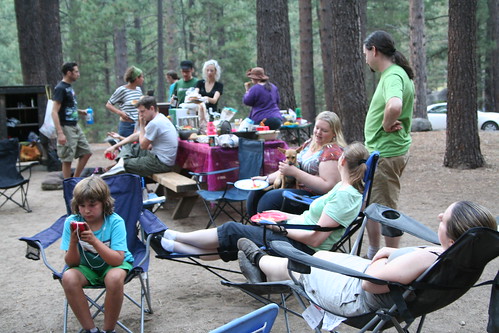
The second night we had a huge group potluck with TONS of veggies. I totally failed to get photos of everyone. Sorry, darlings. I was determined to relax and didn’t cart my camera around everywhere.

428786_3593311596212_679365485_n

On Saturday night we had a thunderstorm and it rained and rained. We were cozy and dry in our ancient Coleman 1970s tent. The rain sounded wonderful on the canvas of our tent!

Ivan the Terrified and Luna

We had eight dogs of varying sizes and shapes in attendance. Amazing! These were particularly kooky.

J and L

Some of us traveled six or more hours to join us. I am grateful to them for all the extra effort they expended to share this weekend with us.

J and Oscar

551895_3593329636663_198126526_n

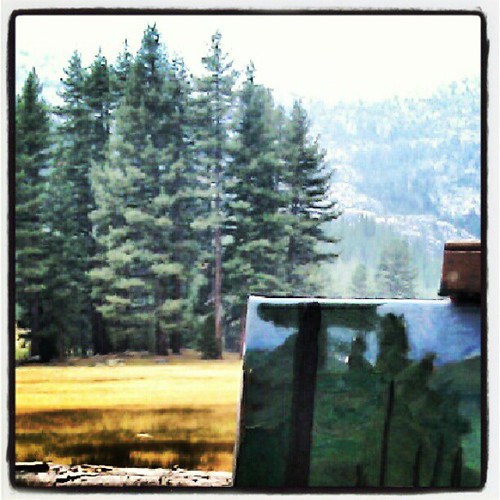
I got to spend a little time with my easel and oil paints in my beloved meadow, which is what I wanted to do from the moment I first saw it last summer. Plein air painting is hard and delightful. The only thing missing from my painting experience was a tall glass of cold white wine. Next time!

Tutorial: Create a Mermaid Crown and Wrist Ribbons

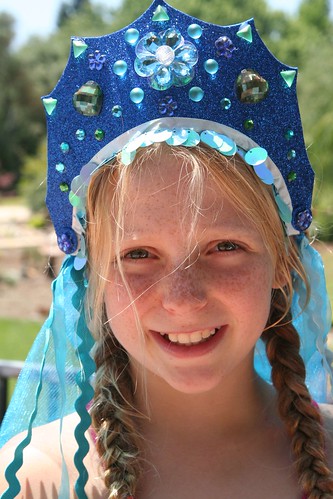
Mermaid Crown

Who wouldn’t want to be as graceful as a beautiful mermaid or noble merman, living in an underwater wonderland? This play costume—a mermaid crown and wrist ribbons—is something you can create in stages, or do only the part you like best. Mermen might prefer just the crown, without the veil. The wrist ribbons encourage so much imaginative play for boys and girls alike. They can be water flowing while your merfolk swim. They can be magical water powers made visible.

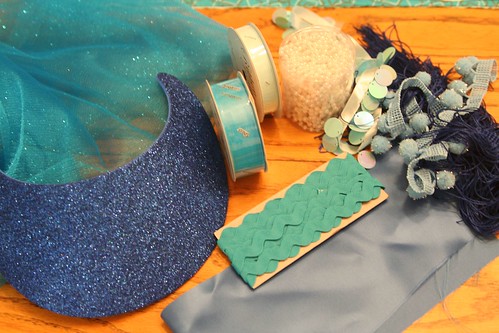
Materials for Mermaid Crown

  • a craft-foam visor
  • jewels, beads, and/or small seashells (Tip: look for packages of jewels and rhinestones for decorating flip flop sandals! Craft stores have inexpensive kits.)
  • low temperature glue gun and glue sticks
  • ½ yard of veil fabric (tulle, netting, etc.)
  • scissors, sewing pins, hand-sewing needle and thread
  • sewing machine
  • notions and ribbons

Materials for Mermaid Wrist Ribbons

  • ¼ yard satin or acetate fabric
  • ½ inch wide elastic
  • notions and ribbons

Materials

Make Your Mermaid Crown

Begin by gathering your materials. You will need a clean, flat surface to work on. First, remove the elastic or plastic coil that is the back of your foam visor. You will put it back on later.

Now decide how you want your headdress to look. Will it have points like a queen’s crown? Will it be scalloped like a seashell? Turn your craft-foam visor over and sketch the shape you want. When you’re happy with what you see, cut your foam with scissors.
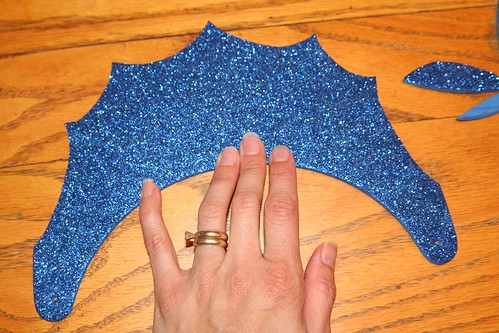
Cut the Visor into a Crown Shape

Now play with your notions and jewels, beads, and/or shells, placing them on the visor here and there, until you have an idea how you want them to be arranged. Take some time with this part because once you glue the items to your visor, it will be hard to remove them if you change your mind about their placement.
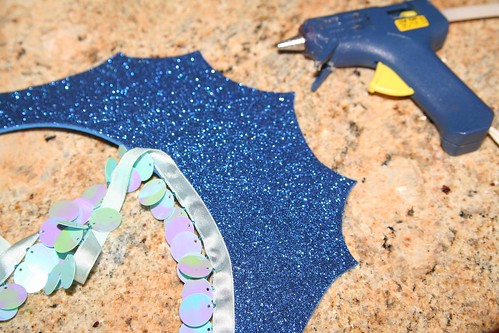
Adding Fringe

With your low-temp glue gun, glue on any trim (such as in this photo) and your decorations.
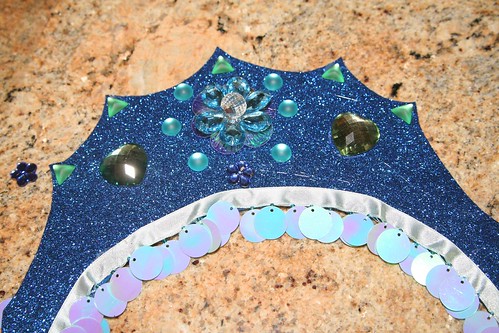
Gluing on Gems
It’s a good idea to measure to find the visor’s center. Try to arrange your biggest, most impressive or most special decorative item in the very center.

Using your glue gun and the smallest drops of glue, begin by gluing the special center item. Other smaller jewels or seashells can then be glued on. If your design is symmetrical, do the same item on both sides before moving on to a different jewel. You’ll have to pull off the strings of glue that may result from gluing on the jewels.

Have you decided to make a veil for your mermaid crown? (If you’re making this for a boy to play a merman, you may wish to skip this part.) Take your veil material (tulle, netting, etc.) and fold it in half so that it has two layers. You might measure your child to decide how long you want the veil to be. I decided I wanted the top layer of the veil to be shorter than the bottom layer. (Depending on the fabric you chose, you may wish to hem the bottom edges of your veil.) Pin the layers in place and then sew a seam about 1 inch from the top fold. This creates a tube through which you can pull the visor’s back elastic or plastic coil.
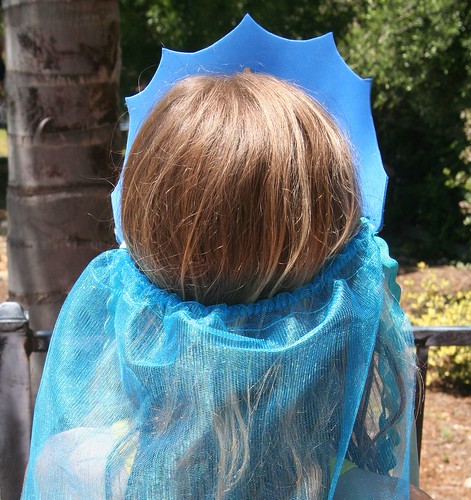
Mermaid Crown Back

Measure the visor on the head of your child, and shorten the elastic or plastic coil accordingly, so that it fits. (The coil on my visor is visible in the photo above.) You might wish to glue this part onto the visor so that it’s permanently attached. This spot, where the crown attaches to the back can be decorated with another jewel if you wish (see below at the child’s temple).
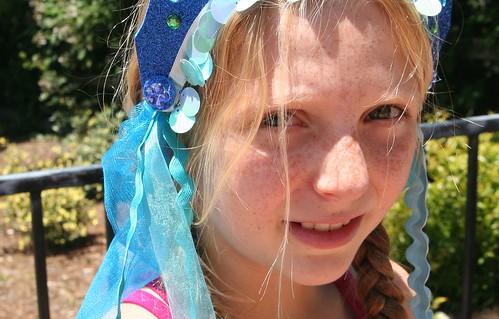
Mermaid Crown Detail

If you have ribbons or notions for decoration or long mermaid locks, fold them in half and with a needle and thread, sew them on to the corner of your veil, where the elastic attaches to the visor, so that they are firmly attached and can trail either in front of the shoulder or behind like hair. Keep in mind the age of the child who will wear this costume. The more decorations you add, the harder it will be for the child to put the crown on herself. (I ended up not using several items that are in the photo at the beginning of the tutorial.)

Congratulations! You’ve made a beautiful headdress for a lucky mermaid, or a handsome crown for a merman.

Sew Your Mermaid Wrist Ribbons

Wrist ribbons are a huge part of dress-up play in our home. You might be surprised at how well your child takes to these simple accessories. There is a bit of sewing involved, but it’s pretty easy.

The first step is to measure your child’s wrist using the elastic. You want the elastic band to be snug enough not to fall off the wrist, but not too snug as to feel tight. You also want to have about a 1 inch overlap, so that you can sew the elastic securely closed.

Now that you know how long it needs to be, cut two pieces of elastic that length. Lay out your covering fabric (satin or acetate). You could be very careful and measure this, but you don’t really need to do so. The object is to cut two strips of fabric so that they are twice as long as your elastic pieces and about 2 ½ inches wide. Turn in ¼ inch on both sides of your fabric strip and the ends and iron it flat. Sew the flat rectangle’s ends together to make a ring. Now fold your wide ring in half to make a long skinny ring with the right side of the fabric out. Make sure the width of your skinny ring will accommodate your elastic, but don’t actually put the elastic into the ring yet.
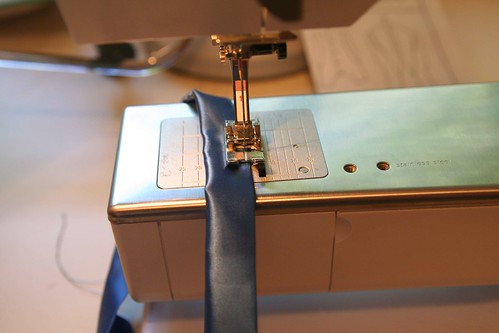
Sewing the Wristband

Top sew along the very edge of the long skinny ring to make a skinny tube. Don’t sew the ring completely closed. Leave an opening of a few inches so that you can insert your elastic.
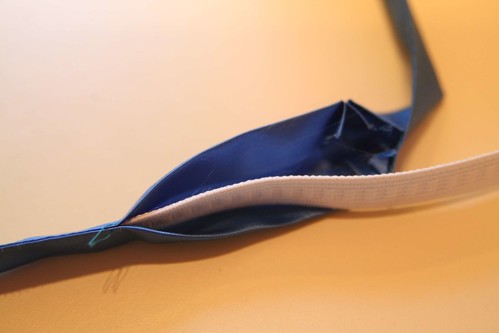
Insert the Elastic

With a safety pin on one end of the elastic, insert your elastic into your skinny tube of fabric. Bunch up the tube and join the ends of your elastic together with the appropriate overlap. Sew the elastic ring securely with a good zigzag stitch. You don’t want the elastic ring to pull apart when the child is putting the band around his or her wrist. At this point you have what looks like a hair scrunchie with a small opening in the side.

Gather up your ribbons that will be trailing and, with a few stitches, tack them all together at one end. I used the same notions as on the mermaid headdress, but you can use any ribbon. Consider painting some white satin ribbon with watercolors to create a watery effect.

Painted Ribbon

Now, insert the tacked end of your trailing ribbons into the hole of your ring and pin them in place.
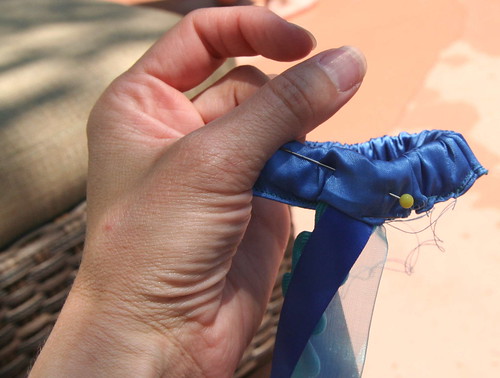
Wrist Ribbon Detail

By hand, with needle and thread, sew the ribbons in place to the elastic and sew the satin ring closed around them. I simply whip-stitched the opening closed and sewed the ribbons in firmly.
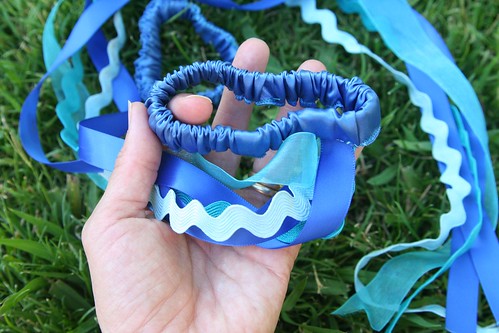
Finished Wrist Ribbons

Repeat all the steps so that you have two wrist ribbons.
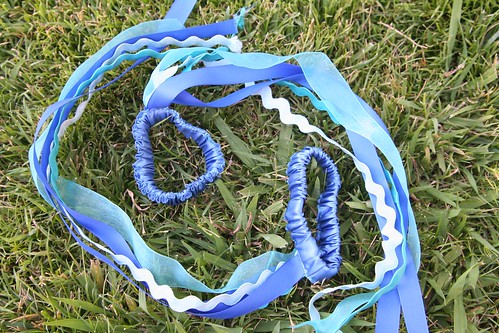
Finished Wrist Ribbons

If the ends of your ribbons want to fray, you can sometimes use a match and carefully melt the fibers at the ribbon ends to seal them. I suggest you first test this out on a ribbon scrap before you try to melt the ends of your finished wrist ribbons. You don’t want to harm your creation.

Now all you need to complete your mermaid or merman costume is a play silk tied around the child’s waist for a tail!
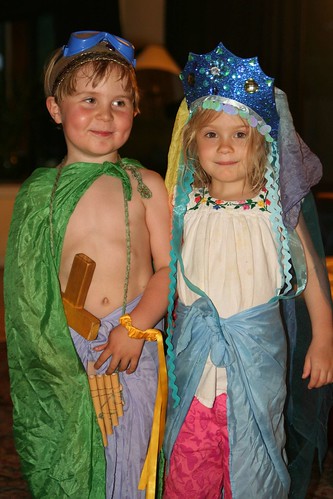
Merboy and Mermaid

You might be surprised at how your child uses these costume pieces. Perhaps the headdress or crown and the wrist ribbons you make will be used all together, or in different ways at different times. In this final photo, you can see that my son and his friend felt like using some of them at that moment, and found plenty of extra accessories (sword, goggles, pan pipes, cape) to transform themselves into a happy merfolk couple!

Happy sewing!

Local Evening Safari

208841_3562774232797_1261923719_n

It’s been a bummer week for me. I’ve worked a lot. I’ve struggled with my current roster of projects and I have lots more work in my future. Last night, my mother-in-law gave us a big break by keeping our kids for dinner, which allowed Ian and me to go on a mini date. We had a lovely sushi dinner. (When I’m feeling beat-up by life, I always want sushi.)

185972_3562763952540_294711063_n 378231_3562780632957_553814106_n 375649_3562784153045_253169516_n 406214_3562766272598_1725675600_n

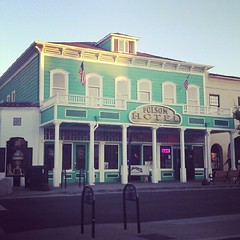
When we picked up our kids that evening, I just wasn’t ready to go back home. So we drove to Folsom, parked the car and walked over the historic truss bridge and into the old part of town. It was a great opportunity to visit a part of town we don’t often visit and the spontaneity of it felt really good.

487186_3562761752485_1142156933_n

We had great views of the Rainbow Bridge and Lake Natomas. I enjoyed watching the fishing boats move into their nooks for an evening of fishing.

548998_3562788633157_1791747691_n

Along the way we ran into our friends, which was a nice surprise. They were out looking for sticks to make into arrows and wild blackberries—you know, like you do.

578841_3562863875038_1531595046_n 547907_3562827554130_1794200393_n 309438_3562806153595_871188723_n 528950_3562851954740_652411575_n

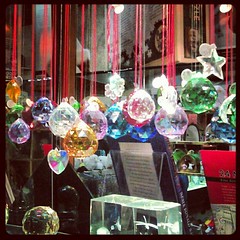
We walked through the main street and stopped in a New Age shop to admire the crystals and gems (Asher is very font of such things). We saw a huge crystal ball made of quartz with a price tag of $3800! Madame Trelawney must be missing it.

528937_3562909196171_1611436396_n

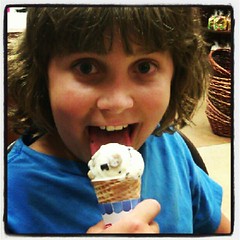
As dusk fell, we looked into glittering shop windows and then popped into Snook’s ice cream and candy shop for a treat. I really didn’t realize that Folsom has nightlife on the weekends. We saw several open wine bars and pubs. A band was setting up to play in the Folsom Hotel bar. We also discovered a cute and cozy coffee shop. I think this means Ian and need to come back another time when we’re alone.

403811_3562883275523_1740015677_n 304803_3562824034042_826227803_n 306809_3562898315899_427370118_n 600059_3562821633982_1198261163_n

For an unplanned ramble, it was very fun. We walked back to our car in the dark. Asher was pretty tired by the end, but he never complained once; his steps only got slower and slower as we neared the car. It was a perfect summer night.


Surprise Evening Picnic


The River is FAST this Summer

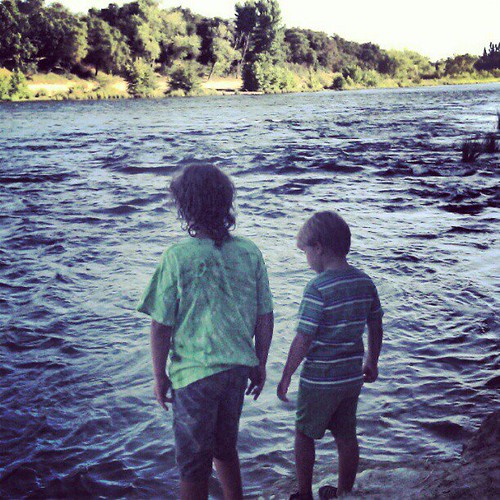
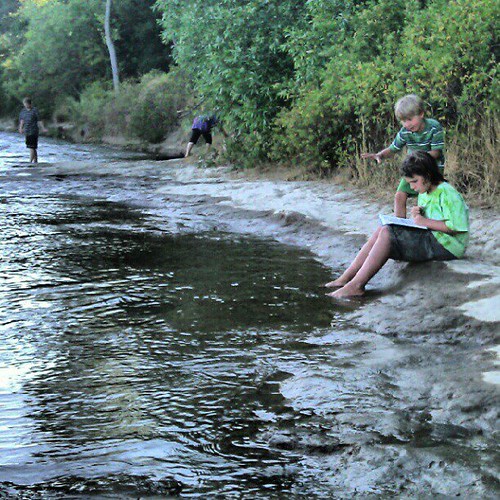
We surprised the boys with a picnic dinner the other night after swimming. We haven’t had a chance to leave town yet, so I’m trying to find little slices of heaven close to home. The river is running very high and very fast this summer. Although there was a small beach, I wasn’t comfortable letting the boys get in the water.

I read about this secluded little park on the American River and decided to check it out. Its entrance is sandwiched between two private residences in a ritzy neighborhood and the park is very small. They have the eleven-space parking lot closed during the summer, which I take to mean that the ritzy neighbors don’t want riffraff using their park.

Boys at River's Edge

Nevertheless, we weren’t the only people there. One family was fishing. Another group brought their dog down for … well, they seemed to want him to get wet. He wasn’t too keen on that plan. One couple swam a while, which looked fairly risky to me.

Our Beautiful River

We waited for Daddy to bring Solstice dog and our picnic dinner, as the boys and I came here straight from swimming practice. It was a beautiful place for a picnic.

American River at Sunset

We watched the sun sink lower and light up the far bank.

Canada Goose

We watched the Canada geese and mallard ducks. Solstice dog wanted those ducks sooooo bad.

Canada Geese

I (obviously) played with Instagram on my phone camera.

Picnic Reading

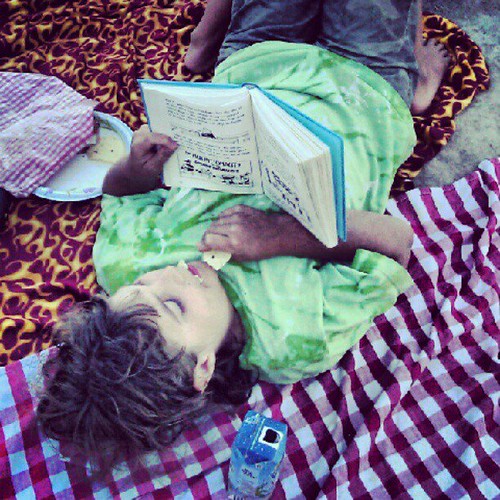
Lucas enjoyed some time with his Wimpy Kid book. Asher and Daddy explored a bit, and Asher tried to play with another little boy who was there. We ate ham sandwiches and apples and blueberries and corn chips. Simple. Perfect.

Summer Swimming

Swim Practice

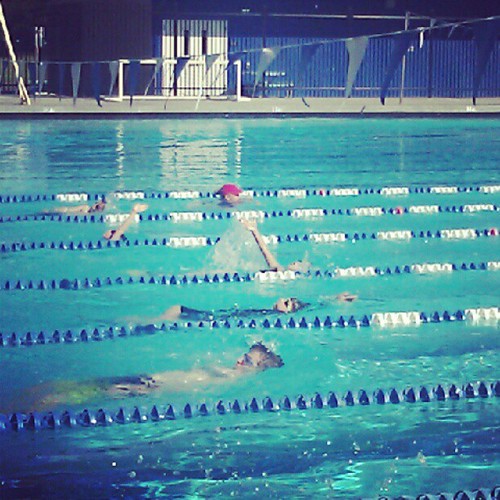
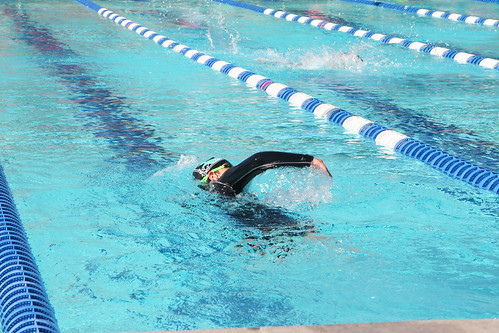
My darling boys are sure getting good workouts in the pool these days. We are nearly done with Lucas’s a six-week swim team commitment. There are four more days of swim, with the last day a meet.

IMG_7196

Lucas was on this American River College Aquatics youth swim team two years ago, and because he was younger then and the length of the commitment a couple of weeks longer, it was kind of a slog. Long before the season was finished, he was ready to be done. I had to coax and cajole to get us through it because I felt it was important not to quit. Last summer, he wasn’t interested in doing swim at all.

But this summer has been altogether different! This summer, Lucas is older, stronger, and more confident. This summer, three of Lucas’s classmates are on the team with him. This summer, he’s better able to take direction and coaching and incorporate new knowledge into his strokes. This summer, the session is a tad shorter. All of these factors have combined to make swim team a lot of fun. He’s getting great exercise four days a week, having fun with friends, and getting to be a stronger swimmer.

IMG_7266

IMG_7272

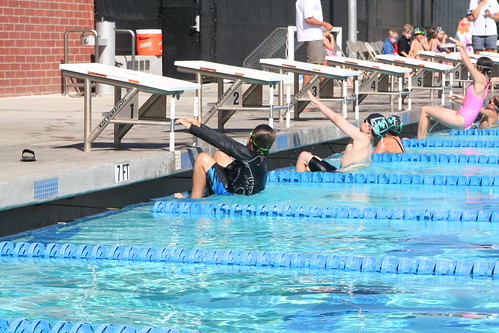
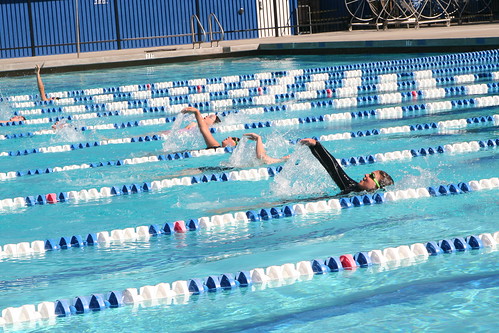
This summer, he’s learning the butterfly stroke. His backstroke is beautiful. On June 21, there was an “inner squad” swim meet and these photos are from the meet. The competition of the thing didn’t interest him much at all. He was just determined to swim hard and have fun. I love the photo above because he is smiling while racing!

IMG_7227

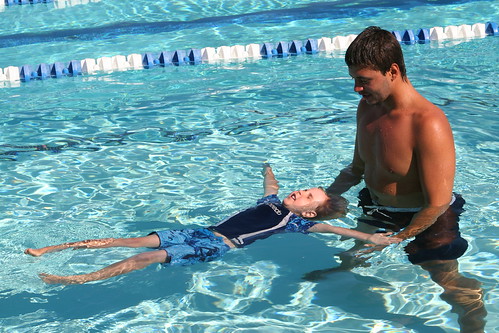
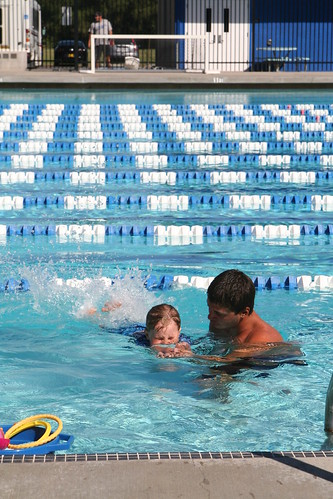
And for three weeks now, Asher has been taking swimming lessons. This young man (I’ll call him S) is Asher’s very patient and gentle teacher. Asher has learned to trust him during these 20 minute lessons, and S has coaxed Asher along from the point when he was afraid to get his face wet, to floating, going underwater, diving for toys, swimming in streamline position, and now doing “freestyle,” which for Asher is a kind of flailing about and moving slightly forward. But it’s a fantastic start. Now Asher goes underwater for fun, even when S isn’t asking him to. Now Asher jumps from the side of the pool into the water, knowing that S will help him up.

IMG_7241

IMG_7235

And now when Asher and I swim together, he’s willing to practice these new skills with me, even though it’s not lesson time and  S isn’t there to encourage him. This last week, Asher was paired in a group lesson with another little boy, but the boy was very frightened and the swim instructors split them up because they weren’t at the same level. So Asher’s been getting private lessons with S and lots of attention. I watch him closely. I see him negotiating, asking S to come a little bit closer so he doesn’t have to swim quite so far by himself. And he’s always got a smile on his face while swimming with S. This week, S had Asher “dive” with assistance. He sort of carried him head first into the water from the edge of the pool.

The last time Asher had swim lessons, two years ago, he hated every single moment of it. He has come so far!

There are four more days of lessons. For my part, I’m ready to be done driving to the college pool and waiting around in the hottest part of the day for my boys to do their swimming, but I’m so grateful this summer’s swim experience has been so successful and fun for both of them. I’m proud of them. There’s so much good stuff here to build on!

Letting Go: A Life Skill

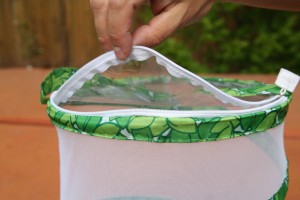
Butterfly Garden Habitat

“We need in love to practice only this: letting each other go. For holding on comes easily–we do not need to learn it.” —Rainer Maria Rilke

Sometimes letting go isn’t easy, especially if what you need to let go of is something you treasure. In many ways, parenting is one long process of letting go; every day we parents and caregivers are challenged to give a little more space, a little more trust, and a little more independence to these growing beings in our care.

Letting go of hurts, mistakes, expectations, and even our loved ones is, at times, part of life, and finding healthy ways to do so without struggle or stubborn holding on is a valuable life skill. Letting go can make way for new ideas, new opportunities, and new knowledge. It‘s also an excellent reminder to live in the present moment, and not in the past.

It‘s a good idea to find opportunities for your children to practice this skill of letting go. Here are two simple ideas that are perfect for children in the summertime.

Rescued Ladybugs

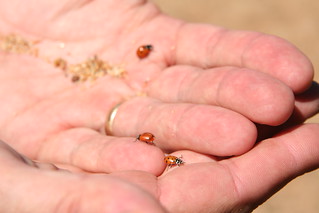
Buy a container of ladybugs at your local nursery. Watch them, hold them, admire them, perhaps compare their colors and count their spots. Wait until evening, when the beetles are less likely to fly away, and then release them in your garden. Gently sprinkle them onto your roses and other plants that attract aphids. The ladybugs will be your garden protectors, and your children will be doing the right thing by letting them go free.

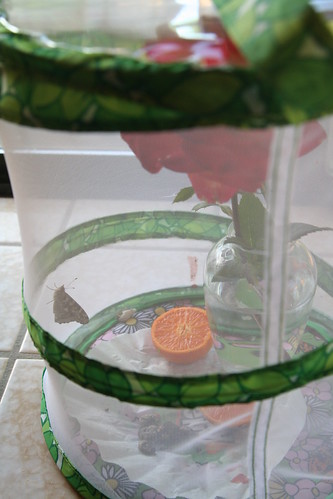
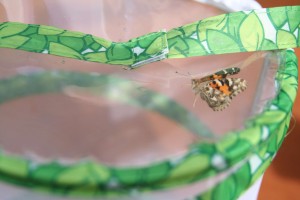
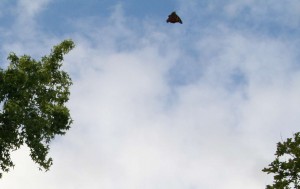
Order a butterfly garden and live painted lady caterpillars from a company such as Insect Lore. When your caterpillars arrive, watch them eat, grow, and transform into chrysalides. Then carefully place them into your mesh butterfly garden. After approximately seven to ten days, your painted lady butterflies will emerge. You can keep them for a while; they will eat sugar water or fruit juice in captivity. After a few days or a week pass, release the butterflies into the wild. Keep your eyes open because they move surprisingly fast! Whenever you see butterflies fluttering among the summer flowers, you’ll fondly remember the ones you set free.

Fly away, butterfly! Fly up so high. Fly away, butterfly, fly up in the sky!

Wishing Tree Tutorial

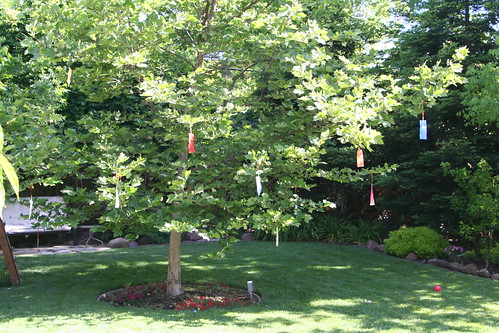
Wishing Tree

When cultivating optimism, which I posted about the other day,  it can be helpful to have a visual reminder of your intentions, hopes, and dreams. Make wishing flags to hang on a tree in your garden and sway in the breezes all summer long.

Materials
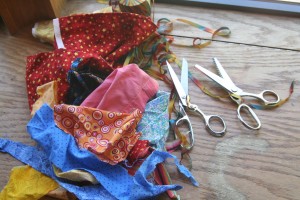
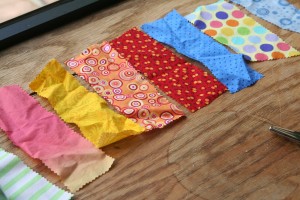
* assorted pretty fabric scraps, or watercolor paintings or pretty papers
* a permanent marker
* ribbon or yarn
* pinking shears (if using fabric)
* a hole punch (if using paper), or scissors
* beads (optional)

Tutorial
Take a moment to think of the good things you want to happen in your life. Your wishes may be as specific as you need them to be (new job for daddy, better health for grandma, college acceptance for sister, opportunity to homeschool, good teacher for brother, fun at camp, etc.). If you are doing this project with children, ask them, “What happy things will happen to us?” Chances are good that the children will have many joyful ideas to share. (Marvel for a moment at how easy optimism comes to them.) Write your ideas down in a list.

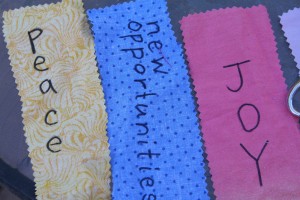
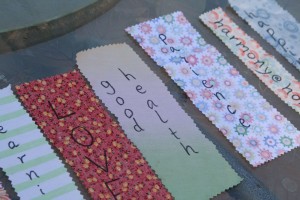
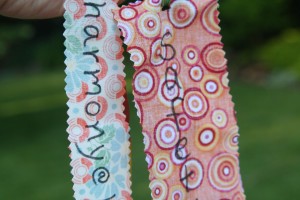
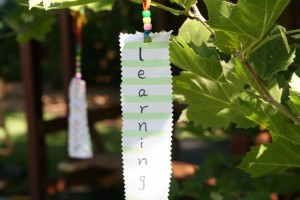
If you don’t have specific ideas or hopeful expectations, make a general list of positives, such as: joy, learning, rest, health, happiness, hope, peace, harmony, love, patience, safety, etc.  When my family and I did this project, we asked our friends and loved ones what they hoped and prayed for—we took their requests and made flags for them, too. It was a lovely way to share our goodwill with others.


Cut your fabric into skinny rectangles (or triangles) with your pinking shears. If you are using paintings or other papers, you can use regular craft scissors. You’ll need one rectangle for each wish, and they can be measured and uniform or free form and varied, it’s up to you. If you want, you can think of them as custom-made prayer flags.

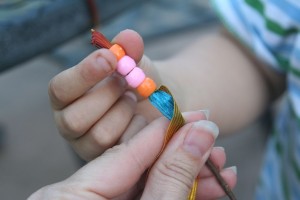
Using your permanent marker, write your wish on your rectangle. Make a hole with scissors (or a hole punch, if you’re using paper) at the top, and loop your ribbon or yarn through the hole and tie a knot. Now it will look a lot like a bookmark.

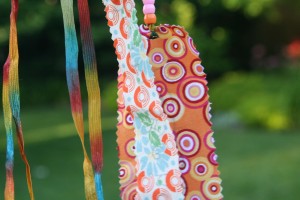
You may like to add beads to the top of your ribbon. If you do, the beads will add weight to the wish and give it a finished look. Make as many or as few of these wish flags as you like. If you’re doing this as a class or as a family, make sure that everyone contributes some wishes.

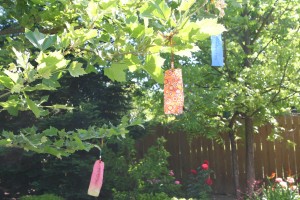
Now find a spot in your garden or playground where you will be frequently and tie your wishes to a tree. They will add color to your garden and flutter in the summer breezes. Perhaps your wishes will be carried by the wind up to heaven, or to the four corners of the world, spreading your love and optimism over the globe to people everywhere. Whenever you see them, you will be reminded of all the good that is in your future.


(This article was originally published in the Little Acorn Learning June Enrichment Guide in 2011. Check out all their many wonderful offerings at Little Acorn Learning.

Cultivating Optimism

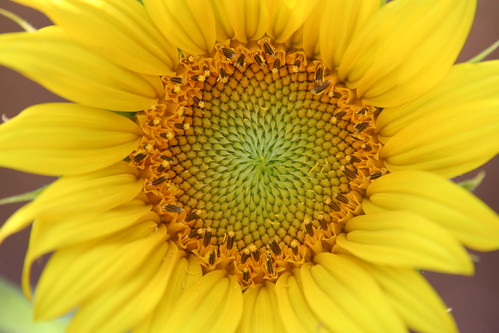
Volunteer Sunflower! Gorgeous!

If you have a sanguine temperament, you probably never even think about optimism, or being optimistic—you just are upbeat most of the time. Not everyone is naturally optimistic, though. As caregivers and parents, optimism can be one of our most valuable personal resources. Finding ways to cultivate optimism in our lives is highly rewarding and will provide a fount of energy and love that we can draw from, especially when times get tough or we’re having a challenging day.

But what is optimism? Some would say it is hope, or the expectation that the future will bring good things. Some would define optimism as a tendency to think of life and the event unfolding around us in a positive light, to see opportunity in change, to see good outcomes when we imagine what is to come.

There is a well-documented connection between optimism and good health—and the converse. The mind-body connection is being validated by scientific research, and has long been understood in many cultures. The Latin word optimum means “best.” So how will you be your best self, live your best, do your best, and reap the best outcomes for your efforts?

Even if it’s not your tendency to be optimistic, you can cultivate optimism in your life for your own benefit and the benefit of those around you. Patterns of optimistic thinking can be learned. Here are some things you can do to nurture an optimistic outlook. I know because this is something I work on all the time.

Tired Little Hero

Get some exercise. Exercise has so many benefits, which we’ve all heard before. But the positive impact of exercise on your emotional and mental state is just exactly what you need to be optimistic. Not only does exercise provide you with a boost to your physical energy and emotional well-being, it’s also a way of investing today in your healthy, happy future. You want to be around to enjoy those grandchildren and great-grandchildren, to fulfill your life goals, and exercise is the ticket.

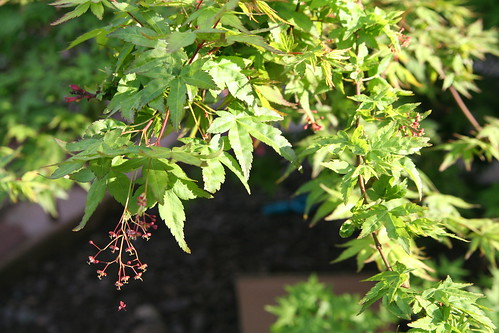
Japanese Maple in Bloom

Plant a tree. By planting a tree, you are symbolically looking to the future. You plan where it will go in your garden, imagine its height and breadth as it grows, how it will cast shade, and even perhaps that you will someday picnic under its canopy. What else will your tree bring you and your family? How else might it bring you joy? As you watch your tree grow, you have a symbol of your optimism.

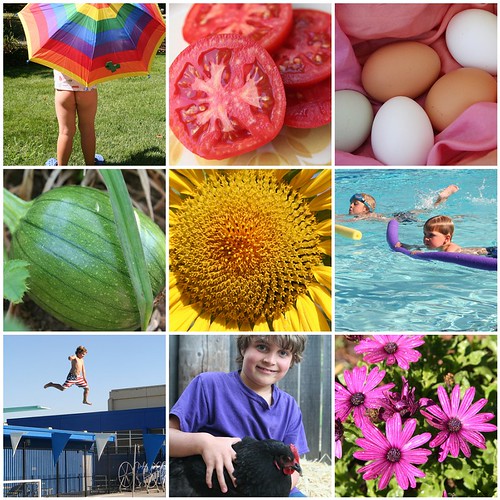
Summer 2010 Mosaic

Practice “prenostalgia.” OK. My husband and I made up that word, but I think it works. By prenostalgia I mean imagining a moment in the future when you might look back and fondly remember this time in the present. I guess that’s a kind of funny way of saying be mindful of this moment, and take some steps to ensure that you can enjoy it later, too. Take up scrapbooking, for example, or journaling, or blogging. If you‘re a shutterbug like me, realize that every photo you snap is a simple act of optimism. You are investing in your future enjoyment of life, just as much as you’re enjoying the present.

Prepare a time capsule, or a hope chest, for your children. Add to your time capsule, little by little, through the years. It can contain artworks, special items of clothing, and other mementos. A hope chest traditionally is a collection of things that a grown child will need when she or he reaches adulthood. Exercise your imagination. What will your child like to have in the future?

IMG_4623

Make a handmade quilt. There’s nothing quite like a quilt as a symbol of love, warmth, and home. Stitch by stitch, you can sew in your hopes for the future, for the world, and for your beloved family members. While you work, imagine how this quilt you are making will be used, who will use it, and how it will be treasured because it came from your hands and heart.

Save some money. I look on each dollar I save for my sons’ college education as an exercise in optimism. No matter how small the amount, saving money is a way of planning for a good future. Perhaps it’s savings for your children or your own retirement; perhaps it’s for a special family vacation or for your dream home. Whatever you save for, you are acting out of hope and it feels good.

Make a microloan. Sorry to mention money twice in a row, but I think this one is great. Microloans are tiny investments in people and small businesses, especially in developing nations. There are several reputable organizations that can match micro-investors with people who need small amounts of cash (sometimes as little as $25) to get a business off the ground, thereby increasing the safety and health of their families and communities. This small investment is an act of trust and optimism, a testament to our faith in human nature and good in the world. An individual does have the power to change lives for the better, which is a way of changing the world.

Daddy Love

Find the positive. Take a moment to find the positives in every situation, especially in those that are seemingly bad or discouraging. This silver-lining thinking may require some deep soul-searching and some practice to make it a habit, but if you make a concerted effort to change your negative thoughts to positive ones, you‘ll be learning optimism.

Say it aloud. Whenever you are feeling good about the future or confidence in yourself or others, say so out loud. Not only will you be sharing compliments and your happy expectations with others, who will surely benefit from hearing it, but also you will benefit from hearing yourself being positive and hopeful. Furthermore, be aware of your inner self-talk and compliment yourself when you do something well, when you make the extra effort, when you give of yourself, when you act out of kindness. Positive affirmations can help cultivate an optimistic outlook on life.

These few simple things, practiced and perfected over time, may just alter the way you look at everything. Soon, your own eyes will sparkle with hope and excitement in just that same magical way your child’s eyes do.

This Moment: Holding

Finally, be gentle with yourself. You already are optimistic, even if you don’t realize it. Here is the proof: By spending time caring for children, you are engaged in faithful, optimistic work every day, striving toward and cultivating a bright, beautiful future world.


(This article was originally published in the Little Acorn Learning June Enrichment Guide in 2011. Check out all their many wonderful offerings at Little Acorn Learning.

  • About Sara

    Thanks for visiting! I’m Sara, editor and writer, wife to Ian, and mother of two precious boys. I am living each day to the fullest and with as much grace, creativity, and patience as I can muster. This is where I write about living, loving, and engaging fully in family life and the world around me. I let my hair down here. I learn new skills here. I strive to be a better human being here. And I tell the truth.

    Our children attend Waldorf school and we are enriching our home and family life with plenty of Waldorf-inspired festivals, crafts, and stories.

    © 2003–2018 Please do not use my photographs or text without my permission.

    “Love doesn’t just sit there like a stone; it has to be made, like bread, remade all the time, made new.” —Ursula K. LeGuinn

  • Buy Our Festivals E-Books


  • Archives

  • Tags

  • Categories

  •  

  • Meta