Autumn Equinox and Michaelmas Festival E-Book

E-Book Cover

I’ve been a bit quiet in this space lately. We’ve been adjusting to a new school year and working through some projects. I am delighted to announce that my dear friend Eileen Straiton (of Little Acorn Learning) and I have finished another big e-book. This one is our Autumn Equinox & Michaelmas Festival E-Book and I’d be honored if you’d check it out and spread the word a little. It was a pleasure to work with Eileen on this and I’m really proud of it. We have such a great rapport and similar values, and I think this comfort and compatibility reflects in our e-book. So here’s to healthy, joyful, creative collaboration!

Here is a little teaser: a mosaic of just some of the images from the projects and activities we offer in our e-book.

Taste of the Contents of Our Autumn Equinox & Michaelmas Festival E-Book

133 PAGES of verses, fingerplays, poems, song, crafts, meditations, book recommendations, circle times, recipes, and much more to guide you in celebrating the Autumn Equinox and Michaelmas
in your home or school!

  • Needle Felt a Beautiful Apple Mother Doll
  • Go on an Apple Picking Field Trip and Learn
    About Different Varieties of Apples
  • Design a Breathtaking Early Autumn Nature Table
  • Read Books with the Children Celebrating
    Autumn and Michaelmas
  • Make Your Own Apple Stamps
  • Enjoy Homemade Applesauce Together
  • Crochet an Apple for Your Nature Table or Play Kitchen
  • Create a Beautiful Autumn Candle Holder Centerpiece
  • Make an Archangel Michael Mobile
  • Harvest Natural Dye Materials from Outdoors and
    Make Capes of Light Playsilks
  • Hold a Michaelmas Family Feast
  • Create Dragons out of Nature Items
  • Bake Dragon Bread with the Children
  • Make a Dragon Tree Block Checker Set
  • Sculpt Dragons out of Modeling Material
  • Cut Out Paper Flying Dragons to Display on Your Wall
  • Make a Michaelmas Felt Play Set
  • Paint an Autumn Leaf Stencil Painting with Watercolors
  • Crochet Beautiful Autumn Leaves for Your Nature Table
  • Paint Your Own Interpretation of Michael and the Dragon
  • Look Inward and Face Your Own Dragons with our Caregiver Meditation
  • Share Verses and Songs About Autumn and Michaelmas
  • Meditate on Quotes from Steiner and Other Inspirational Individuals
  • Enjoy Pinecone Weaving
  • Share Circle Time Together
  • Make Michael Sword Napkin Holders
  • Sculpt Michaelmas Worry Beads
  • Craft an Autumn Equinox Wreath
  • And more!

So, if you’re wondering how to make this time of year feel magical, this e-book may be just what you need. Thanks for peeking!

Only $24.99

Authors:
~ Eileen Straiton,
Little Acorn Learning

~ Sara Wilson, Love in the Suburbs

With Guest Contribution from Jennifer Tan, Syrendell

This Moment: Wild Children

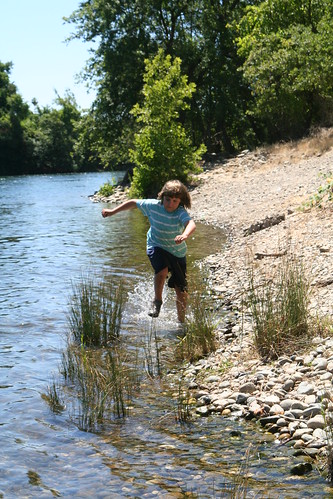
Wild children

Late, but worth posting anyway. 😉

Inspired by SouleMama {this moment} – A Friday ritual. A single photo – no words – capturing a moment from the week. A simple, special, extraordinary moment. A moment I want to pause, savor and remember.

Review: Naturally Fun Parties for Kids

Review: Naturally Fun Parties for Kids

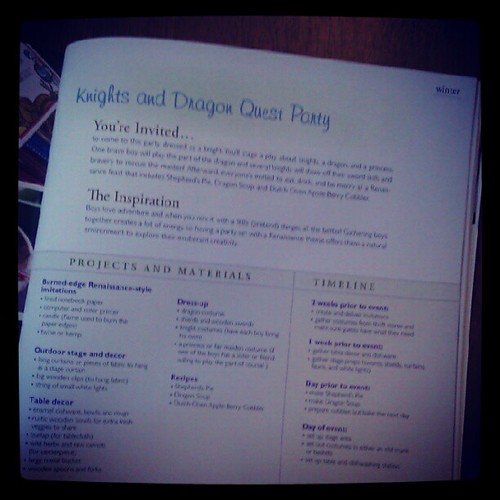
I was tickled to be asked to review Anni Daulter and Heather Fontenot’s new book, Naturally Fun Parties for Kids. Alas, I should have done so in a more timely fashion, as the book released earlier this year. But hopefully late is better than never. I’ve paged through this book dozens of times and I think it’s marvelous. Every time I pick it up I light upon a brilliant idea that hadn’t ever occurred to me before.

Daulter’s and Fontenot’s book is all about throwing parties with kid-friendly themes. As a huge fan of parties in general and, really, ANY excuse to dress up, I can totally relate. We all need celebrations and we all need to exercise our creativity muscles. This book is just the ticket to show what’s possible, with a little ingenuity, patience, and planning. A party for children doesn’t have to glorify a licensed media character! The book is organized into seasons and the authors provides three awesome party ideas per season. My favorites are the Summer Solstice Beach party, the Winter Solstice Party, the Forest Fairy Dress-up Party (Oh, to have girls!), and the Knights and Dragon Quest party.

The book offers “tips and tricks for making the parties green, natural, simple, and organic in style and content.” I like the emphasis on taking inspiration from nature and keeping it simple. The authors suggest thrifting, upcycling, borrowing, and making items from scratch to make the parties doable and special.

Review: Naturally Fun Parties for Kids

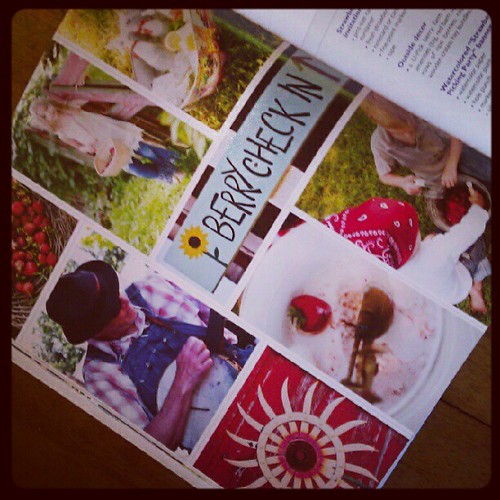
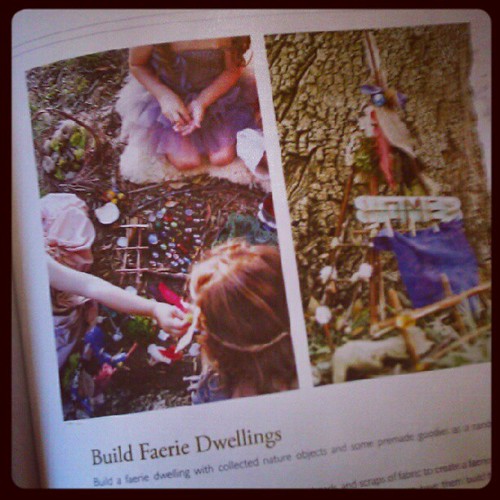
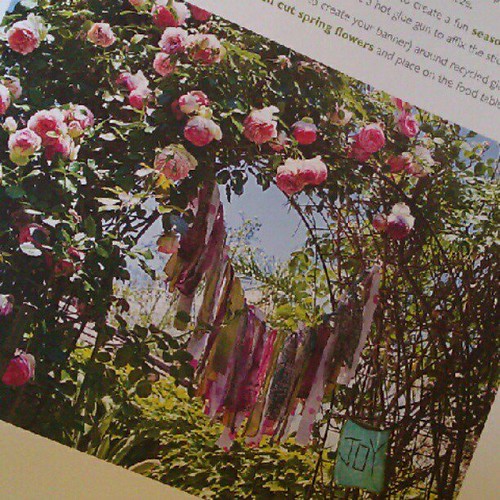
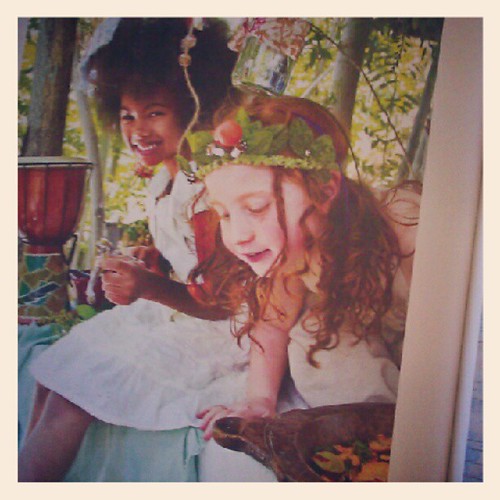
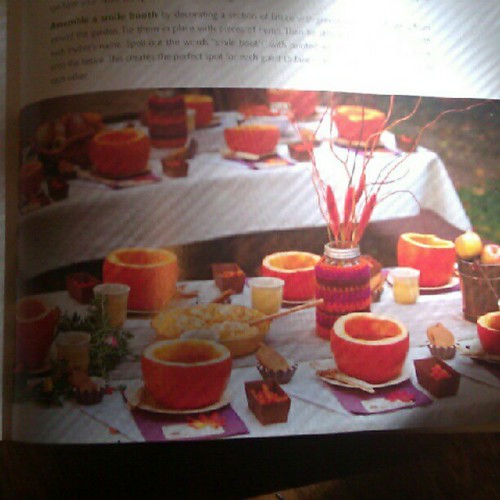
The book’s photography, by Tnah and Mario Di Donato, is simply gorgeous. Do NOT take my silly snapshots as an indication of the book’s beauty. I just wanted to give a little teaser. Their photos are vivid and inspiring.

Review: Naturally Fun Parties for Kids

What is kind of fun is how much the authors’ esthetic matches my own. Several of the projects in this book are ones we have done in the past, or ones that I’ve always wanted to do with my kids. I’m particularly intrigued by the beeswax ornaments (Winter Solstice Party), the upcycled sweater aprons (Community Cooking Party), and the grapefruit sugar scrub (Natural Spa Party). But there is much more.

Review: Naturally Fun Parties for Kids

Each party comes with a project and materials list, and a timeline for getting things put together in advance of the big party day. That’s just the sort of thing people like me need! I’m often full of ideas at the too-late last minute and don’t have time to execute them. These handy lists fix that deficiency.

Review: Naturally Fun Parties for Kids

Activities are provided for each party, too: games and crafts, and even a play! And the party themes are well chosen to appeal to kids, such as pajama parties, berry picking, art, egg-dying in spring.

Review: Naturally Fun Parties for Kids

The authors also provide plenty of delicious-looking recipes and, frankly, you don’t need to throw the party to make them. Herbal tea spice cake and mushroom and onion mini crustless quiches both sound like they’ll be visiting my kitchen soon. Furthermore, the recipes are geared toward kid palates. Nothing too fussy and plenty of fun: Italian ices; black bean, corn, and cheese quesadillas; grilled flatbread pizzas; Dutch oven apple-berry cobbler, etc. Now, where the heck does one find a donut pan for baking donuts? (The Internet, I suppose.)

Those who like to do paper crafts will love all the invitation making in this book. That’s mostly not my thing, to be honest. So I’d probably skip some of that stuff. Anyone with a flare for scrapbooking and stamps and stuff will dig it.

So, if you’re looking for inspiration for celebrating with children, check out Naturally Fun Parties for Kids by Anni Daulter with Heather Fontenot.  I wonder if I could con my boys into a Forest Fairy Party? Well, maybe not that one, but definitely the Pancake P.J. Party. They’ll go for that!

Family Advenure Day

We’re ten weeks into summer vacation now. The boys are enjoying themselves immensely. They drift through the days, adventuring, squabbling, eating, and swimming. They spend one day a week with my mother and one day a week with Ian’s mother. Sometimes they’re with me, sometimes they’re visiting friends. Or friends come to play here. They’ve come to accept summertime chores as something they can’t get out of. Most of the arguments about chores have died away, as we’ve been pretty good about keeping the bar high. We’ve raised our expectations of them and mostly they’re rolling with it. There are plenty of interpersonal arguments to fill the space. Lucas and Asher are presently best friends and worst enemies. Somewhere there is a happy balance between planned activities and unstructured rambling time. We find it and lose it and find it again, week by week.

So, they’re having a great time. I’m really ready for school to start. Two more weeks to go. What is it about August? The heat, the drying up of my garden, the looooong summer. It’s not my favorite month. I seem to always have junk to confront. And yet, there’s plenty of deliciousness to celebrate.

384736_3615847439594_647558904_n

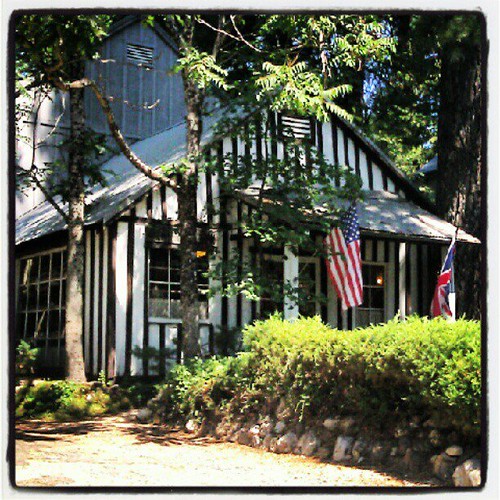
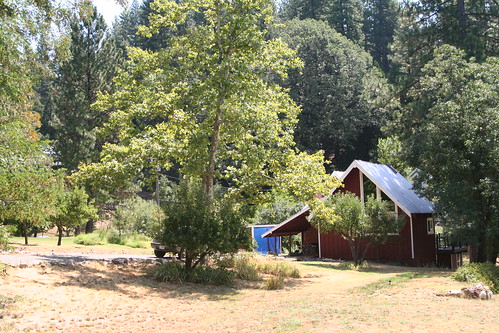
On Sunday of last week we took an impromptu drive up the hill. The four of us packed the dog and some snacks, and let the car take us somewhere new. We were without a plan and it was a great feeling. We stopped by a little town call Dutch Flat to see what there was to see. It’s a gorgeous little place—very picturesque. I wanted to get some shots of the homes, both because they are beautiful and quaint and also because I feel they will be great references for future paintings, if I ever get good enough. Which I will!

189524_3615465750052_712190604_n

IMG_8283

See what I mean? So simple and beautiful.

IMG_8286

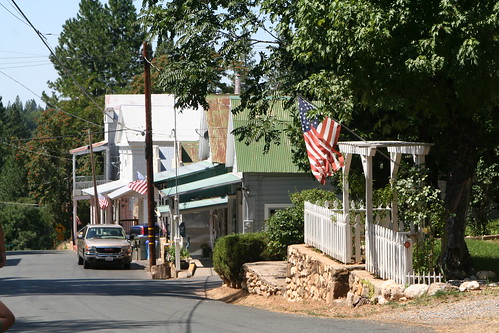
This is the main street. It was hot while we walked around and I looked for someplace to spend a little money to support the local economy, like an ice cream parlor or something. Alas, I couldn’t find anything and I’m not sure how this town survives.

IMG_8278

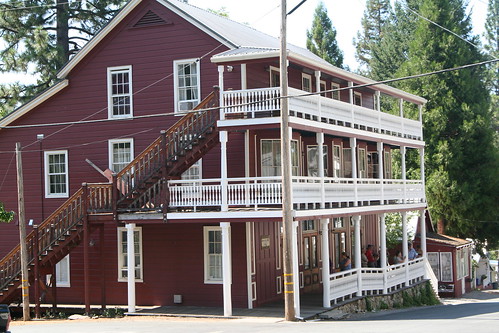
This is the hotel. It was lovely from the front and from the back, where we were able to peek over the small fence to see the deck and garden.

427417_3615832839229_1162808895_n

IMG_8330

IMG_8334

Great homes. White picket fences everywhere. Plenty of fruit trees in yards and baskets full of flowers hanging from porches. I’ve rarely seen so many American flags on display.

IMG_8342

Anyway, we continued on our way up the hill and ended up at Donner Lake. The temperature was far more pleasant than at home in the valley. We walked a little through the state park and enjoyed a rest at the edge of the lake. I would love to go camping here.

488355_3616565097535_1969974835_n

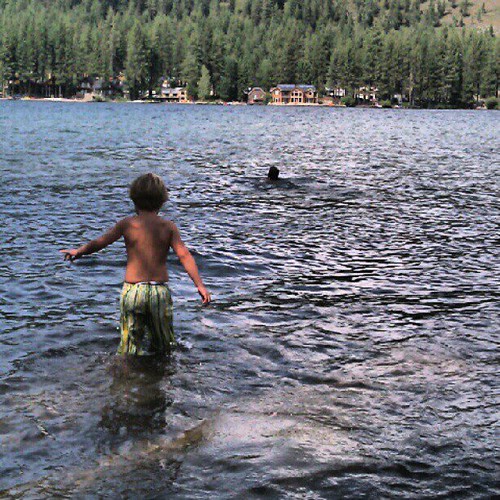
Naturally the boys wanted to swim. It was beautiful and very satisfying to say “yes, of course.” Next time, I’d like to rent a canoe and paddle about for a while.

215751_3616363452494_1728256240_n

It was a perfect family adventure day. Just what I needed in August.

Nature Therapy

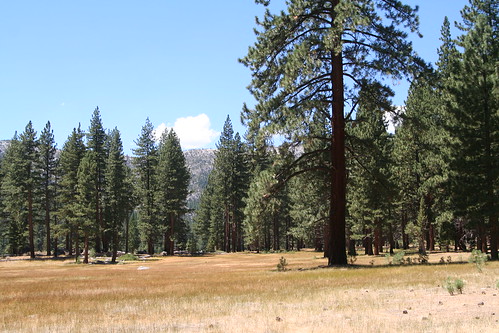
I love this meadow

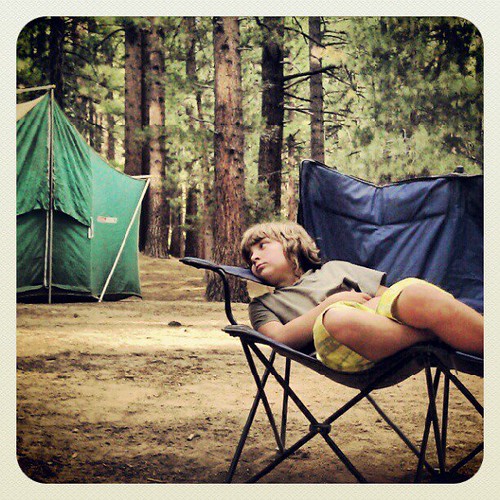
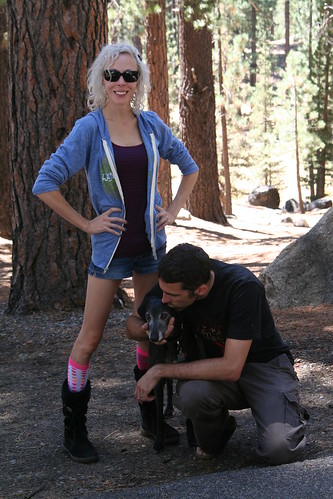
A couple of weekends ago, we joined 30 of our best friends for camping in the mountains south of Lake Tahoe at Grover Hot Springs State Park. I got to visit my favorite meadow for some much needed nature therapy. After four solid weeks of difficult work, I was ready for an escape.

Lucas Holding Baby J

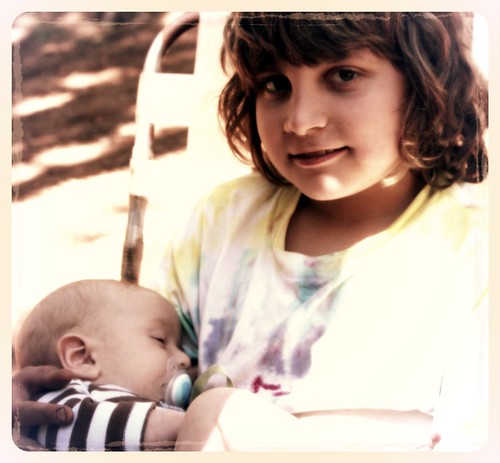
It was just the ticket for me, really. We got to be outside in a beautiful alpine forest. We got to hold a wee three-month-old baby (sublime!), and play with friends.

530000_3592621218953_835353086_n

I got to watch this, and watch my competent 10-year-old son light the campfire.

418404_3592634419283_959146268_n

The only hard part came on Friday afternoon, when my boys were stung by wasps after moving too close to their hive near the creek. They each received five or six stings, which were very painful. D, a brave 12-year-old girl, ran for help and trundled through the forest to find some, eventually making her way to the road and the ranger station. She brought a ranger who was prepared to give us medical help. Meanwhile, Lucas bore his brother away from the wasps and helped him back to camp. I am very proud of my son for helping his little brother! Honestly, my heart is full to bursting about this. When they arrived at camp, traumatized and sore, there was still a wasp in Asher’s armpit, stinging him. Fortunately, friends had Benadryl on hand and that, with some ice, did the trick. Within 2o minutes or so of resting, they were up and playing again. They are brave, irrepressible boys.

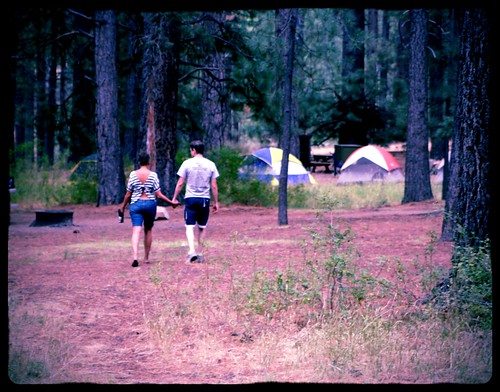
Holding Hands

Everything after that was sweetness and light.

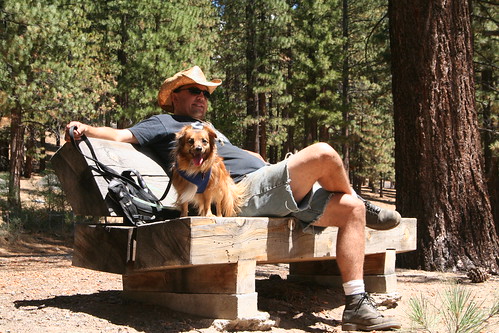
Daddy and Solstice

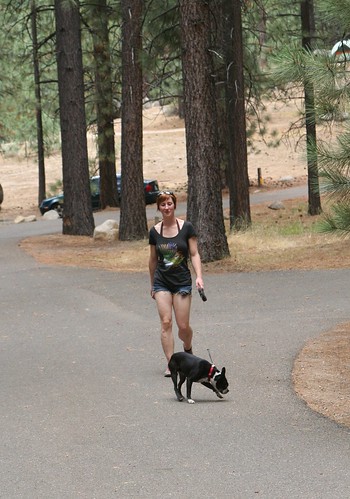
Our little dog Solstice surprised us with his desire to confront forest creatures in the dead of night, and “boof” at every nighttime sound. Hmm… He is braver than he is smart, I think. Apparently, bravado is just a part of our family.

E, T, and Suki

T and J

It was gooooooood to see some friends out there. Quite a few of us have been having a rough time this summer. I’m so grateful to have these amazing, inspiring people in my life. And I’m grateful that they continue to put one foot in front of the other.

575947_3592627339106_878551287_n

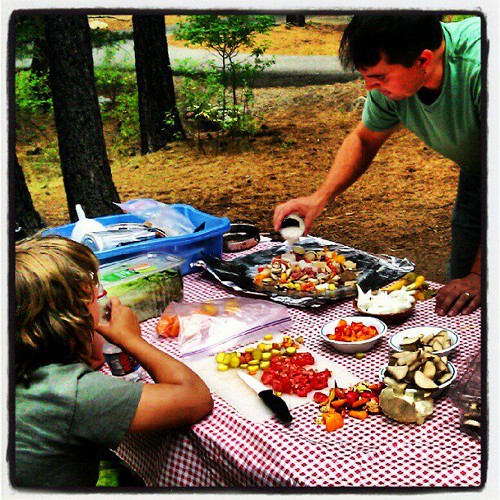
Ian made us hobo stew (custom dinner for each of us!), which we cooked over the campfire. It was yummy, and I have some notes to make it even better next time.

Potluck Barbarians Party

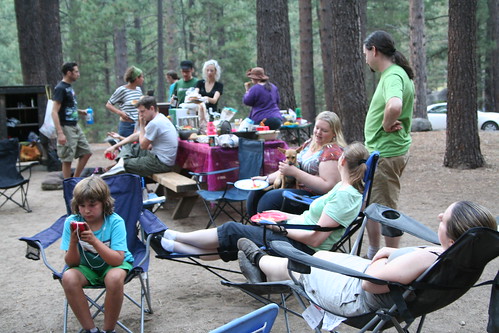
The second night we had a huge group potluck with TONS of veggies. I totally failed to get photos of everyone. Sorry, darlings. I was determined to relax and didn’t cart my camera around everywhere.

428786_3593311596212_679365485_n

On Saturday night we had a thunderstorm and it rained and rained. We were cozy and dry in our ancient Coleman 1970s tent. The rain sounded wonderful on the canvas of our tent!

Ivan the Terrified and Luna

We had eight dogs of varying sizes and shapes in attendance. Amazing! These were particularly kooky.

J and L

Some of us traveled six or more hours to join us. I am grateful to them for all the extra effort they expended to share this weekend with us.

J and Oscar

551895_3593329636663_198126526_n

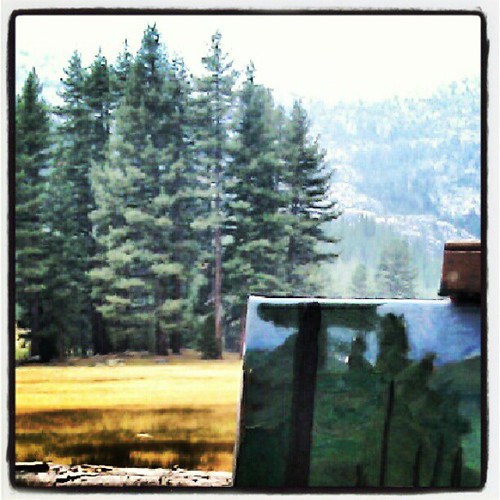
I got to spend a little time with my easel and oil paints in my beloved meadow, which is what I wanted to do from the moment I first saw it last summer. Plein air painting is hard and delightful. The only thing missing from my painting experience was a tall glass of cold white wine. Next time!

Tutorial: Create a Mermaid Crown and Wrist Ribbons

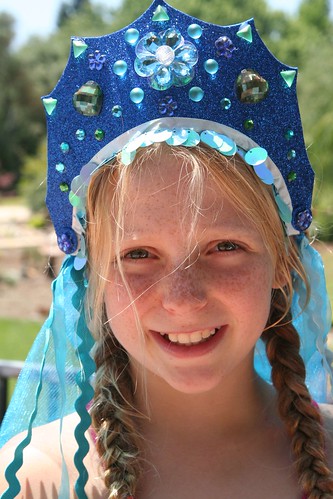
Mermaid Crown

Who wouldn’t want to be as graceful as a beautiful mermaid or noble merman, living in an underwater wonderland? This play costume—a mermaid crown and wrist ribbons—is something you can create in stages, or do only the part you like best. Mermen might prefer just the crown, without the veil. The wrist ribbons encourage so much imaginative play for boys and girls alike. They can be water flowing while your merfolk swim. They can be magical water powers made visible.

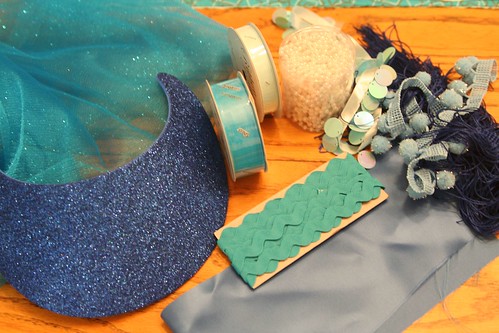
Materials for Mermaid Crown

  • a craft-foam visor
  • jewels, beads, and/or small seashells (Tip: look for packages of jewels and rhinestones for decorating flip flop sandals! Craft stores have inexpensive kits.)
  • low temperature glue gun and glue sticks
  • ½ yard of veil fabric (tulle, netting, etc.)
  • scissors, sewing pins, hand-sewing needle and thread
  • sewing machine
  • notions and ribbons

Materials for Mermaid Wrist Ribbons

  • ¼ yard satin or acetate fabric
  • ½ inch wide elastic
  • notions and ribbons

Materials

Make Your Mermaid Crown

Begin by gathering your materials. You will need a clean, flat surface to work on. First, remove the elastic or plastic coil that is the back of your foam visor. You will put it back on later.

Now decide how you want your headdress to look. Will it have points like a queen’s crown? Will it be scalloped like a seashell? Turn your craft-foam visor over and sketch the shape you want. When you’re happy with what you see, cut your foam with scissors.
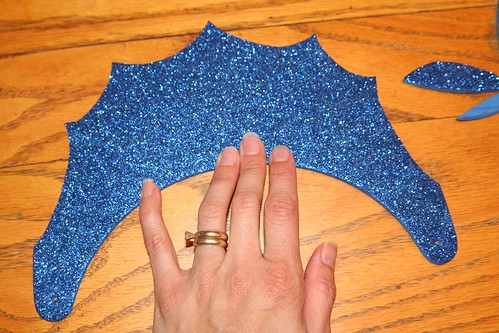
Cut the Visor into a Crown Shape

Now play with your notions and jewels, beads, and/or shells, placing them on the visor here and there, until you have an idea how you want them to be arranged. Take some time with this part because once you glue the items to your visor, it will be hard to remove them if you change your mind about their placement.
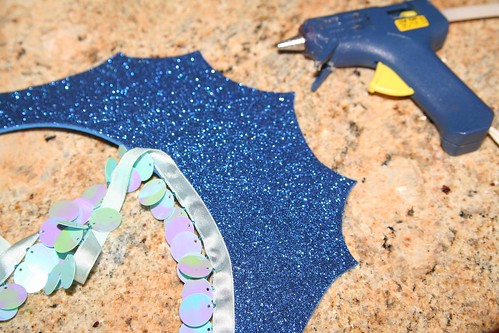
Adding Fringe

With your low-temp glue gun, glue on any trim (such as in this photo) and your decorations.
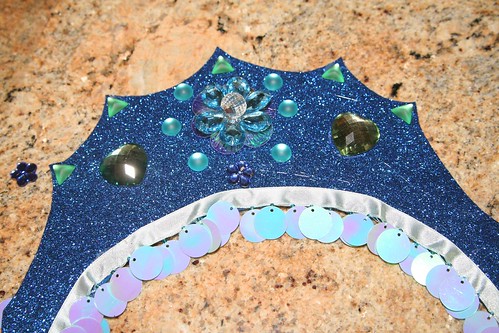
Gluing on Gems
It’s a good idea to measure to find the visor’s center. Try to arrange your biggest, most impressive or most special decorative item in the very center.

Using your glue gun and the smallest drops of glue, begin by gluing the special center item. Other smaller jewels or seashells can then be glued on. If your design is symmetrical, do the same item on both sides before moving on to a different jewel. You’ll have to pull off the strings of glue that may result from gluing on the jewels.

Have you decided to make a veil for your mermaid crown? (If you’re making this for a boy to play a merman, you may wish to skip this part.) Take your veil material (tulle, netting, etc.) and fold it in half so that it has two layers. You might measure your child to decide how long you want the veil to be. I decided I wanted the top layer of the veil to be shorter than the bottom layer. (Depending on the fabric you chose, you may wish to hem the bottom edges of your veil.) Pin the layers in place and then sew a seam about 1 inch from the top fold. This creates a tube through which you can pull the visor’s back elastic or plastic coil.
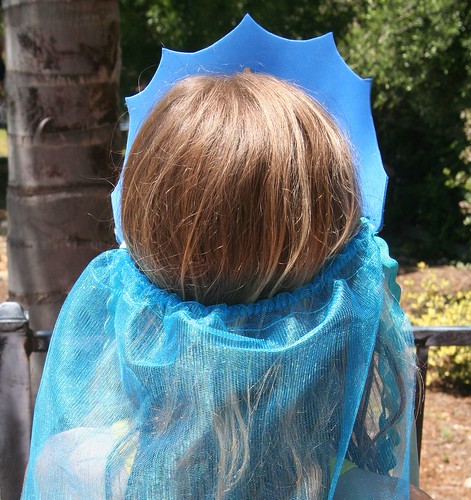
Mermaid Crown Back

Measure the visor on the head of your child, and shorten the elastic or plastic coil accordingly, so that it fits. (The coil on my visor is visible in the photo above.) You might wish to glue this part onto the visor so that it’s permanently attached. This spot, where the crown attaches to the back can be decorated with another jewel if you wish (see below at the child’s temple).
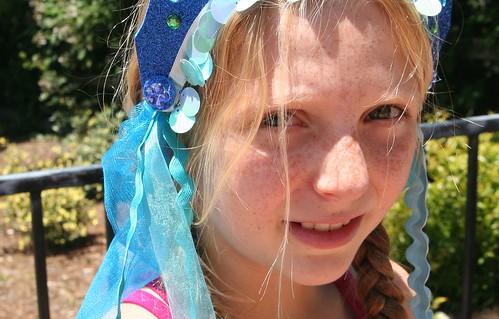
Mermaid Crown Detail

If you have ribbons or notions for decoration or long mermaid locks, fold them in half and with a needle and thread, sew them on to the corner of your veil, where the elastic attaches to the visor, so that they are firmly attached and can trail either in front of the shoulder or behind like hair. Keep in mind the age of the child who will wear this costume. The more decorations you add, the harder it will be for the child to put the crown on herself. (I ended up not using several items that are in the photo at the beginning of the tutorial.)

Congratulations! You’ve made a beautiful headdress for a lucky mermaid, or a handsome crown for a merman.

Sew Your Mermaid Wrist Ribbons

Wrist ribbons are a huge part of dress-up play in our home. You might be surprised at how well your child takes to these simple accessories. There is a bit of sewing involved, but it’s pretty easy.

The first step is to measure your child’s wrist using the elastic. You want the elastic band to be snug enough not to fall off the wrist, but not too snug as to feel tight. You also want to have about a 1 inch overlap, so that you can sew the elastic securely closed.

Now that you know how long it needs to be, cut two pieces of elastic that length. Lay out your covering fabric (satin or acetate). You could be very careful and measure this, but you don’t really need to do so. The object is to cut two strips of fabric so that they are twice as long as your elastic pieces and about 2 ½ inches wide. Turn in ¼ inch on both sides of your fabric strip and the ends and iron it flat. Sew the flat rectangle’s ends together to make a ring. Now fold your wide ring in half to make a long skinny ring with the right side of the fabric out. Make sure the width of your skinny ring will accommodate your elastic, but don’t actually put the elastic into the ring yet.
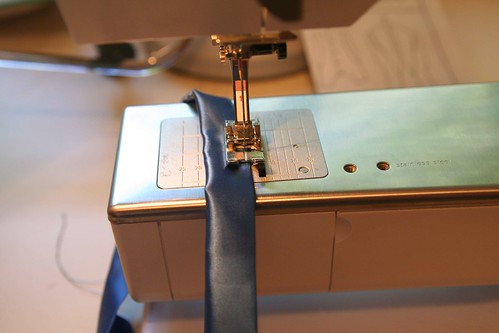
Sewing the Wristband

Top sew along the very edge of the long skinny ring to make a skinny tube. Don’t sew the ring completely closed. Leave an opening of a few inches so that you can insert your elastic.
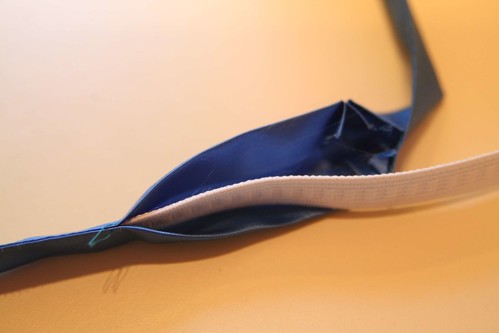
Insert the Elastic

With a safety pin on one end of the elastic, insert your elastic into your skinny tube of fabric. Bunch up the tube and join the ends of your elastic together with the appropriate overlap. Sew the elastic ring securely with a good zigzag stitch. You don’t want the elastic ring to pull apart when the child is putting the band around his or her wrist. At this point you have what looks like a hair scrunchie with a small opening in the side.

Gather up your ribbons that will be trailing and, with a few stitches, tack them all together at one end. I used the same notions as on the mermaid headdress, but you can use any ribbon. Consider painting some white satin ribbon with watercolors to create a watery effect.

Painted Ribbon

Now, insert the tacked end of your trailing ribbons into the hole of your ring and pin them in place.
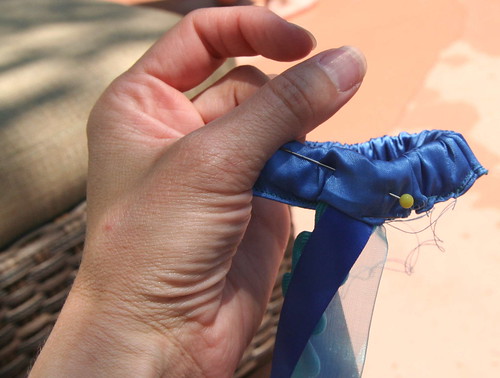
Wrist Ribbon Detail

By hand, with needle and thread, sew the ribbons in place to the elastic and sew the satin ring closed around them. I simply whip-stitched the opening closed and sewed the ribbons in firmly.
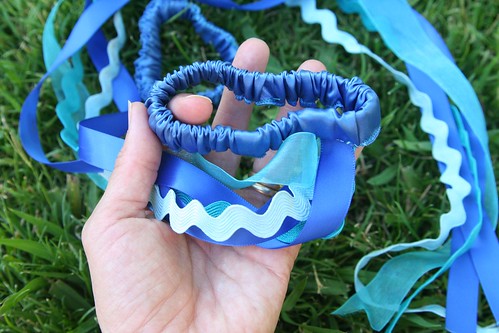
Finished Wrist Ribbons

Repeat all the steps so that you have two wrist ribbons.
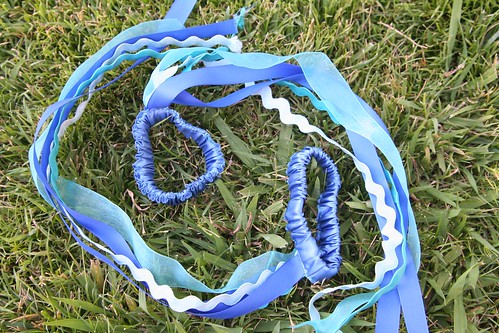
Finished Wrist Ribbons

If the ends of your ribbons want to fray, you can sometimes use a match and carefully melt the fibers at the ribbon ends to seal them. I suggest you first test this out on a ribbon scrap before you try to melt the ends of your finished wrist ribbons. You don’t want to harm your creation.

Now all you need to complete your mermaid or merman costume is a play silk tied around the child’s waist for a tail!
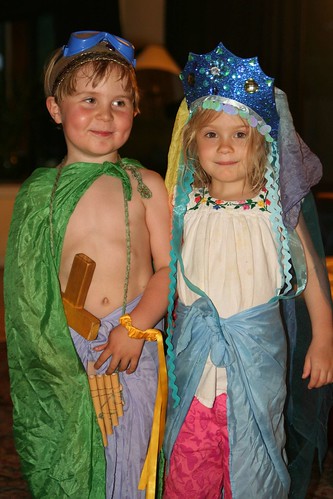
Merboy and Mermaid

You might be surprised at how your child uses these costume pieces. Perhaps the headdress or crown and the wrist ribbons you make will be used all together, or in different ways at different times. In this final photo, you can see that my son and his friend felt like using some of them at that moment, and found plenty of extra accessories (sword, goggles, pan pipes, cape) to transform themselves into a happy merfolk couple!

Happy sewing!
Mermaid Aquarium Tutorial

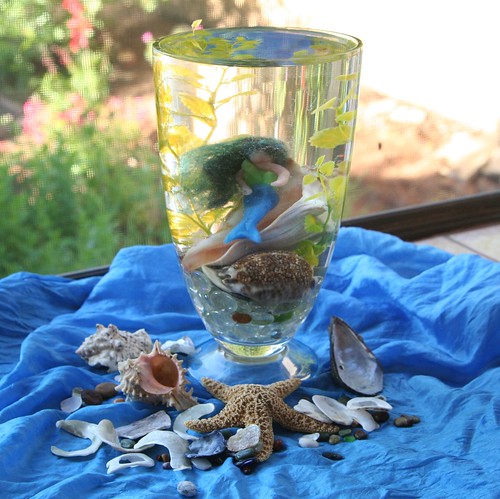
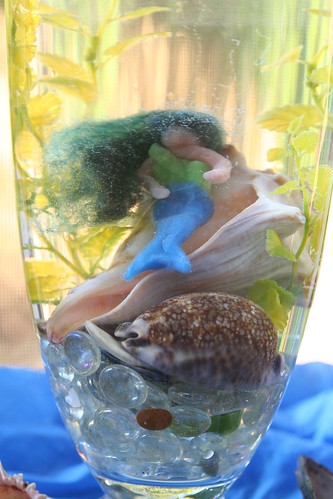
Mermaid Aquarium Finished

Have you ever wished that a mermaid would visit your home and be your best friend? You might get your wish, if you set up the perfect place for her to stay: a mermaid aquarium in your home or school! This is a simple project that older children can create by themselves or with a little help from you, and which may truly enchant younger children. While you’re assembling your mermaid aquarium, dream up some stories that feature your mermaid friend. With your mermaid visitor beside your child’s bed, tell mermaid bedtime stories.

Mermaid Aquarium materials

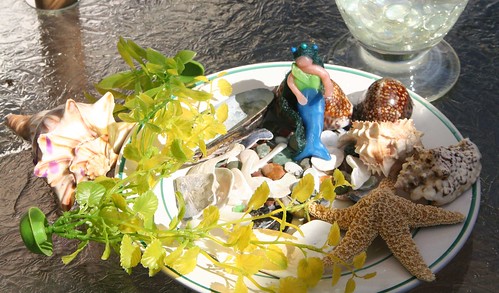
Materials

  • beeswax (color choice is up to you; I used blue, green and flesh colors for my mermaid)
  • wool roving (any color you like works for mermaid hair)
  • fishing line or thread
  • straight sewing pins
  • a large, clear-glass vase (a gold-fish bowl or small aquarium would also work very well)
  • seashells
  • found beach glass, beach pebbles, or glass gems from the craft store
  • a plastic aquarium plant (if your container is very large, you might want two of these)
  • water

Begin by gathering your materials together. This is a nice project to do outdoors, especially since you may spill some water, so craft outside and enjoy the fresh air. If you don’t have a plastic aquarium plant or would rather use a natural material, you can wet-felt or needle-felt some seaweed out of wool. There are many kinds of seaweed, so any shape of plant will do nicely.

Mermaid out of Beeswax

Model Your Mermaid

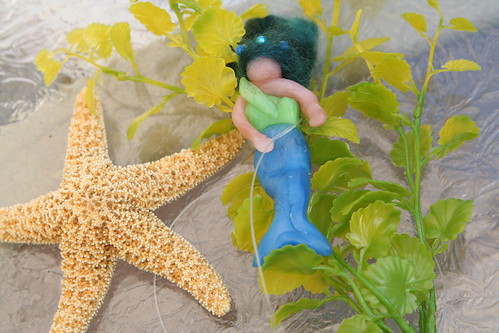
Your first task is to fashion your mermaid out of beeswax. Mermaids (and mermen) come in many different colors. Your child may have an idea of how this mermaid should look. If the beeswax is hard to mold, consider dipping it in warm water for a few minutes, or let the heat from your hands and breath soften it. Younger children find this very helpful when working with beeswax. Start by making the mermaid’s tail first, then create the mermaid’s upper body and arms. Finally, add on her head, making sure to let the wax from the body join the wax of the head. Your mermaid probably looks funny at this point. Mermaids are known for their gorgeous hair, right?

Use a shock of wool roving of any color you like and arrange it on your mermaid’s head to look like her luxurious locks. (You might want to do this next part out of the sight of younger children.) Now carefully take a few sewing straight pins and pin the wool hair to the mermaid’s head by aiming the pin down through her head and into her upper body. If you are careful, you can arrange the pins so that they look like hair decorations or a crown. Since children may be handling the mermaid, make sure the pins don’t stick out from her body to poke someone. Fortunately, if a pin’s tip emerges, you can just back it out and try again. The beeswax easily “heals”  if you rub out the hole. Perhaps the children would like to give the mermaid a name now.

IMG_2373

Assemble the Mermaid Aquarium

Now that your lovely mermaid is done, you can begin to assemble her underwater home. Fill the glass jar about a third of the way full with beach glass, pebbles, or glass gems. Your child may already have such treasures in his or her special collection, and may wish to contribute to the mermaid’s home. Consider adding seashells you have gathered from the shore (after you rinse them well). Real seashells will help your mermaid friend feel at home. Even the youngest children can easily add these special items to your vase.

Beeswax Mermaid

Be Thankful

Talk about where these treasures from the sea came from. Thank Mama Ocean for being the home to such amazing shelled creatures, and for wearing down the pebbles until they are smooth as silk. Sing a mermaid song.

Your aquarium is beginning to look inviting, isn‘t it?

Mermaid Aquarium in progress

The Tricky Part: Beeswax Floats

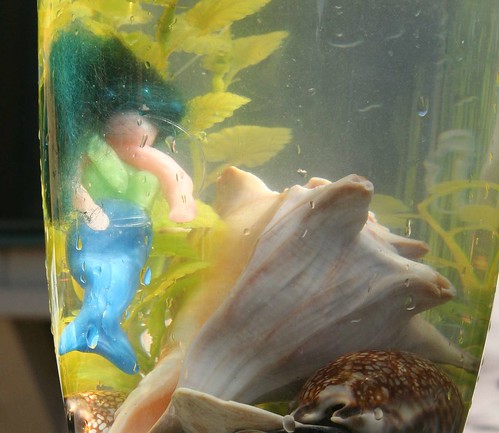
Now comes the only challenging part. Your beeswax mermaid at first wants to float on top of the water, but we know she will be more at home under the water. Take a small length of fishing line or thread and gently tie your mermaid to your plastic aquarium plant, or to a heavy seashell. We tried doing both, and found we were happiest with how she looked when anchored to the heavy shell. If you tie your mermaid to the plant, now is the time to plant the base of the plant into your pebbles or gems so that the plant looks like it’s growing there at the base of the aquarium. If you opt to tie your mermaid to a heavy shell, place your plant first, then add the shell and mermaid to the aquarium last. You probably won’t be able to see the fishing line or thread.

In thes photo above, it looks like our mermaid is swimming. In the next photo, she is resting atop a seashell. Feel free to move the objects around until you achieve a scene that you like.

IMG_2397

Enjoy Your Mermaid Visitor

Now place your mermaid aquarium on your summer nature table or at a child’s bedside. Arrange other beach treasures around her on an ocean-like silk. It will help her feel at home! If you tell a few mermaid stories, your child may become enchanted by the mermaid guest and may whisper secrets to her during the long twilight of summer evenings.
Perhaps the mermaid will tell the children stories of her life in the sea, the beautiful underwater merfolk cities, her fish friends, and water magic. Perhaps, if you‘re very lucky, the children will tell you these stories, too.

Please note: Your child may wish to touch the water and play with the mermaid, so your placement of the mermaid’s aquarium home may depend on whether spills are a problem. Also, if your mermaid visits for a long time, you may need to change the water to keep it looking clear. In doing so, you may need rinse the gems, pebbles, and shells. But then, you and the children get to remake it all over again!


Summer Swimming

Swim Practice

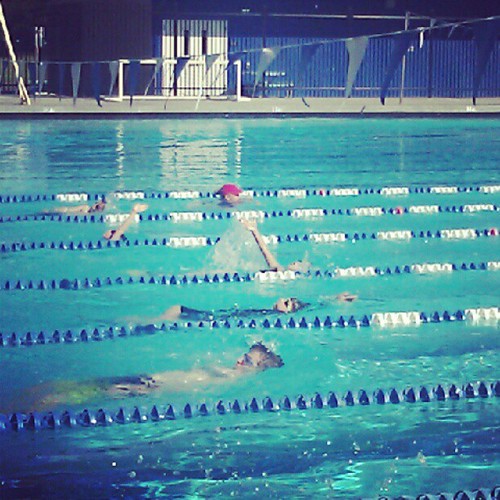
My darling boys are sure getting good workouts in the pool these days. We are nearly done with Lucas’s a six-week swim team commitment. There are four more days of swim, with the last day a meet.

IMG_7196

Lucas was on this American River College Aquatics youth swim team two years ago, and because he was younger then and the length of the commitment a couple of weeks longer, it was kind of a slog. Long before the season was finished, he was ready to be done. I had to coax and cajole to get us through it because I felt it was important not to quit. Last summer, he wasn’t interested in doing swim at all.

But this summer has been altogether different! This summer, Lucas is older, stronger, and more confident. This summer, three of Lucas’s classmates are on the team with him. This summer, he’s better able to take direction and coaching and incorporate new knowledge into his strokes. This summer, the session is a tad shorter. All of these factors have combined to make swim team a lot of fun. He’s getting great exercise four days a week, having fun with friends, and getting to be a stronger swimmer.

IMG_7266

IMG_7272

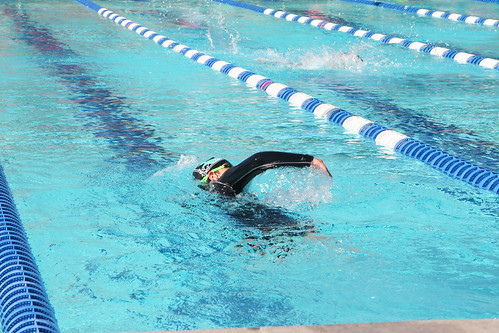
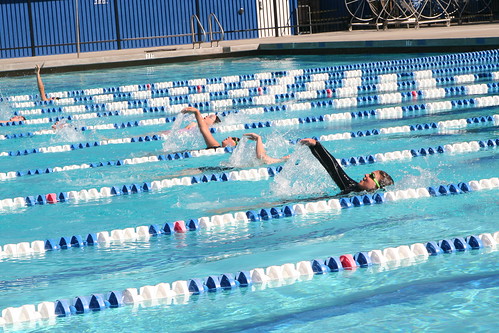
This summer, he’s learning the butterfly stroke. His backstroke is beautiful. On June 21, there was an “inner squad” swim meet and these photos are from the meet. The competition of the thing didn’t interest him much at all. He was just determined to swim hard and have fun. I love the photo above because he is smiling while racing!

IMG_7227

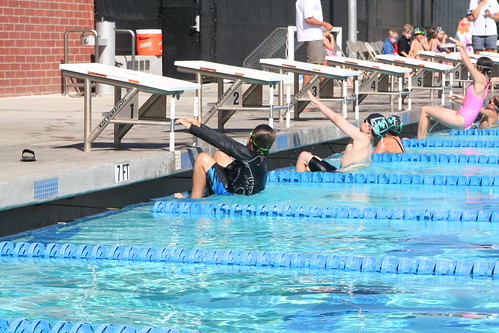
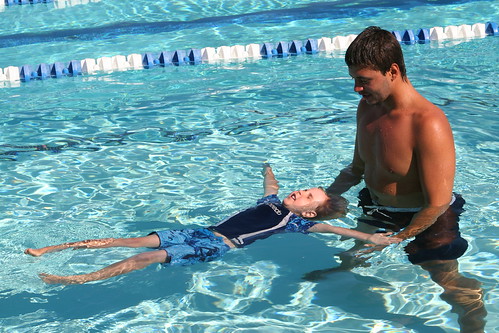
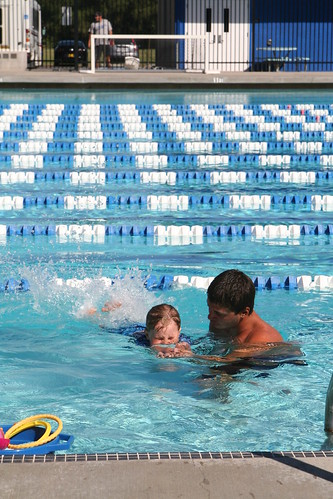
And for three weeks now, Asher has been taking swimming lessons. This young man (I’ll call him S) is Asher’s very patient and gentle teacher. Asher has learned to trust him during these 20 minute lessons, and S has coaxed Asher along from the point when he was afraid to get his face wet, to floating, going underwater, diving for toys, swimming in streamline position, and now doing “freestyle,” which for Asher is a kind of flailing about and moving slightly forward. But it’s a fantastic start. Now Asher goes underwater for fun, even when S isn’t asking him to. Now Asher jumps from the side of the pool into the water, knowing that S will help him up.

IMG_7241

IMG_7235

And now when Asher and I swim together, he’s willing to practice these new skills with me, even though it’s not lesson time and  S isn’t there to encourage him. This last week, Asher was paired in a group lesson with another little boy, but the boy was very frightened and the swim instructors split them up because they weren’t at the same level. So Asher’s been getting private lessons with S and lots of attention. I watch him closely. I see him negotiating, asking S to come a little bit closer so he doesn’t have to swim quite so far by himself. And he’s always got a smile on his face while swimming with S. This week, S had Asher “dive” with assistance. He sort of carried him head first into the water from the edge of the pool.

The last time Asher had swim lessons, two years ago, he hated every single moment of it. He has come so far!

There are four more days of lessons. For my part, I’m ready to be done driving to the college pool and waiting around in the hottest part of the day for my boys to do their swimming, but I’m so grateful this summer’s swim experience has been so successful and fun for both of them. I’m proud of them. There’s so much good stuff here to build on!

Nature Walk in June

On the Trail

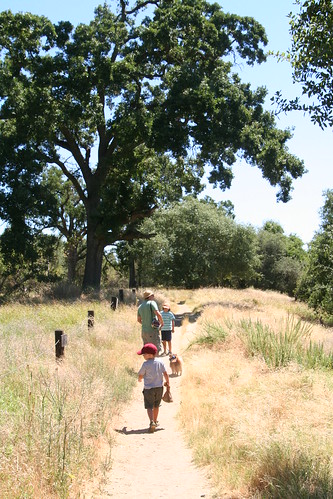
We all went on a nature walk yesterday to one of our favorite areas on the American River. We like it because it’s close, it’s beautiful in all seasons, and it’s a nature preserve. Lucas has done many day camps here over the years and he really knows the place well and feels very comfortable and confident there. The day was warm, but not too hot. We took Solstice along with us, but learned that we’re supposed to keep dogs out of the nature preserve. So we skirted the edges of it and made our way to the river and back again.

Woods

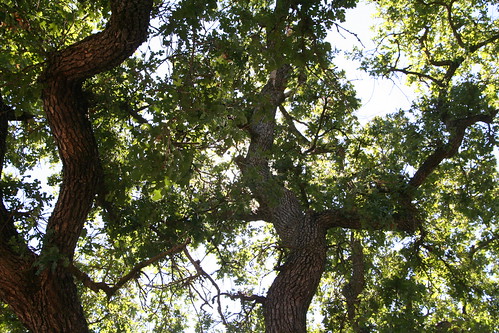
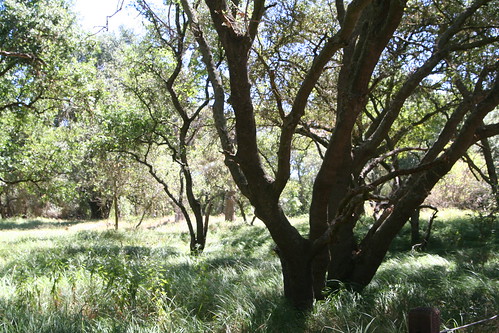
The sun was shining so beautifully through the trees. We saw many deer on our walk, and lots of butterflies, and some quail. Things scuttled away from our feet into the grasses—probably lizards although we didn’t see them.

Woods at Effie Yeaw Nature Preserve

Everything looks like a potential landscape painting to me now.

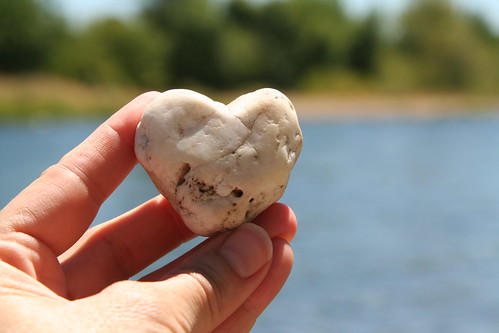
Heart

We found a treasure along the way.

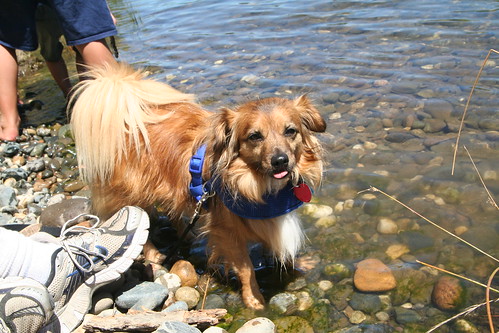
Solstice Gets His Paws Wet

Solstice is getting better at walking on a leash, but still has a lot to learn. I’ve never seen him touch the water on purpose before, so this was interesting. Usually he is fastidious about keeping his paws clean.

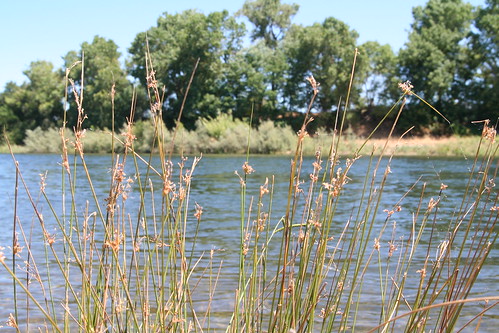
Grasses

We relaxed a while at the water’s edge.

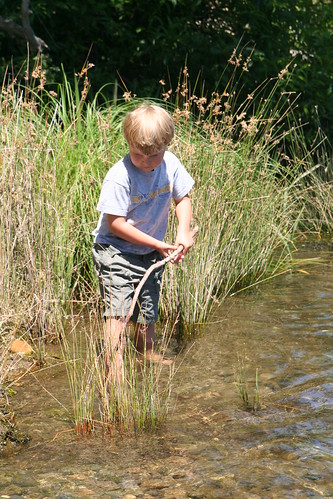
Asher

There were sticks to poke and rocks to throw. Lucas spotted a crawdad in the water.

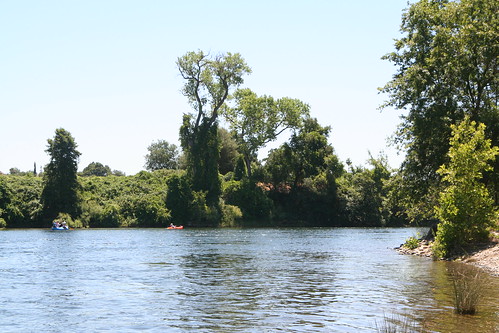
River View

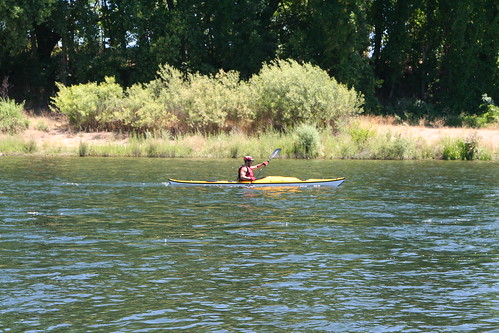
Kayaker

We watched the rafters and kayakers float by. Almost everyone waves from their little boats, which is a funny, friendly quality about being in nature and encountering other people. We seem to retreat into anonymity so much of the time while we go about our daily business, but out on a trail, under a big sky we tend to be better about saying hello and striking up conversation.

Lucas Splashing

We made that typical warning that parents make—If you get all wet, you might be uncomfortable on the hike back. It went entirely unheeded, as expected.

Now, we are new dog owners, you see, so we learned something important on this little hike. Ticks really do jump onto your dog and even people. This has never happened to me before. Three little buggers hitched a ride home with Solstice and one with Ian. We were able to treat the problem quickly, so all is well now. This info will be retained for future precaution.

40

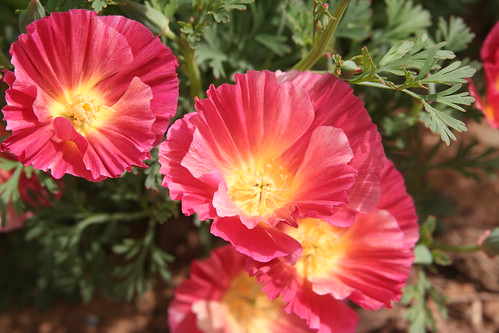
Poppies

A lot is going on right now and I’ve not had much time to write. I had a birthday this week and it got me ruminating. Here’s some of what I’ve learned in my 40 years. (Some of these say “you,” but they all mean “me.”)

1. clean something every day, even if it’s only your hands

2. read to your kids; it is food for life

3. mothering well is largely a matter of knowing what things to get excited about, and what not to

4. wine is wonderful

5. smiling makes you feel good and it’s free (sometimes I forget this one)

6. make a place for butterflies and birds in your world; you won’t be sorry

7. stuff is only stuff; it all wears out eventually

8. beware of modeling beeswax in the laundry

9. tell your story, but don’t get so caught up in telling it that you forget to live the next chapter

10. children are resilient; however, test this only with careful discrimination

11. make your own meaning, don’t swallow anyone else’s

12. read poetry; read everything

13. when you fuck up, breathe, and then start over

14. being married to your best friend is ideal

15. try new things every day

16. exercise is good for me even if I don’t like it

17. fashion is stupid—occasionally fun, but stupid

18. it feels good to help people

19. somehow, time can both fly and drag—at the same time

20. words can indeed hurt

21. onions and Brussels sprouts are actually delicious

22. sing more, dance more

23. be your own beautiful freaky self out loud; if you don’t you’re cheating everyone

24. avoid the pink aisle and boys need dolls

25. sometimes the best course of action is to set it on fire

26. vote

27. gardening is cheaper than therapy

28. feminism benefits everyone

29. art is important, and more important to make than to consume

30. boys are actually sweeter than they want you to think they are

31. love and kindness is all the religion I need

32. equality for only some is no equality at all

33. find your cause; better yet, find a dozen of them and get to work

34. miracles are everywhere and often go by the names of “humanity” and “nature,” “life” and “science”; as such, they are no less miraculous

35. making it often feels better than buying it

36. I cannot “do all the things”; nor should I try to

37. a whole lot of things that bother me today won’t matter a bit tomorrow, so I should just chill

38. I am still learning

39. friendship is as necessary to me as air

40. my ultimate career goal is still philanthropist

  • About Sara

    Thanks for visiting! I’m Sara, editor and writer, wife to Ian, and mother of two precious boys. I am living each day to the fullest and with as much grace, creativity, and patience as I can muster. This is where I write about living, loving, and engaging fully in family life and the world around me. I let my hair down here. I learn new skills here. I strive to be a better human being here. And I tell the truth.
    Our children attend Waldorf school and we are enriching our home and family life with plenty of Waldorf-inspired festivals, crafts, and stories.

    © 2003–2018 Please do not use my photographs or text without my permission.

    “Love doesn’t just sit there like a stone; it has to be made, like bread, remade all the time, made new.” —Ursula K. LeGuinn

  • Buy Our Festivals E-Books


  • Archives

  • Tags

  • Categories

  •  

  • Meta