Last Days of School

We’re in the final stretch of the school year. My kids are about to change overnight from Kindergartner and fifth grader to first grader and sixth grader. These last few days at school are spent packing up the classroom and moving items into the sixth grade room, horsing around, and enjoying lots of time with friends. The Kindergartners will spend as much of the next two days as possible outside. On Friday we’ll go to an annual end-of-year party at the home of one of Lucas’s classmates, where we always celebrate with style and great joy.

In a way, it’s no small accomplishment that they’ve completed this year. Their challenges may seem small compared to those that adults experience, but they are significant for the children.

My little Asher has grown from a somewhat shy baby to a confident, clowning boy of the world in the two years he’s been in Kindergarten. He is highly social, a great listener and storyteller, a good friend, a very fast runner, a heartthrob, and a proficient helper. He has mad cleanup skills now, thanks to Kindergarten, and his art has moved lightyears ahead of where it was even just a few months ago. I see so many signs in him that he is ready, that he’s “graduating” and moving on to first grade.

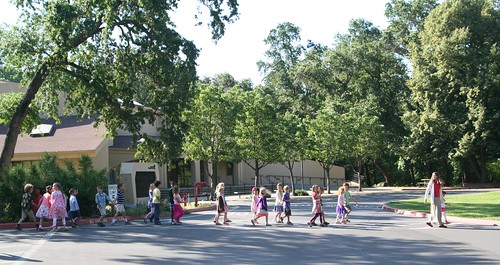
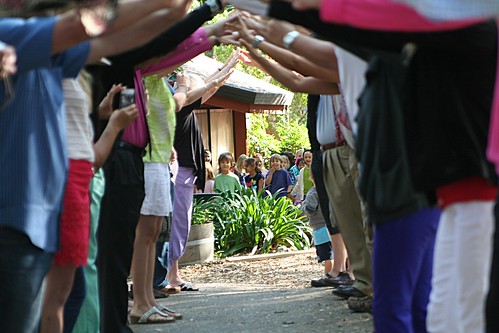
Yesterday we gathered in the Kindergarten yard to celebrate and watch the “olders” from both the White Rose and the Red Rose Kindergarten classes join together with their new first-grade teacher and ceremonially walk over to the first-grade classroom.

IMG_6736

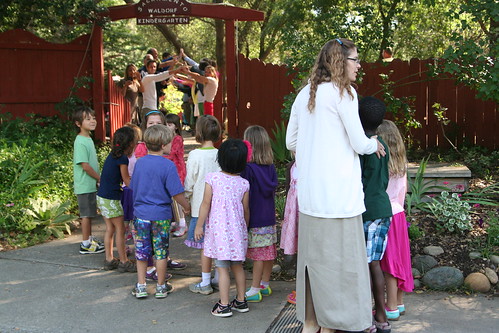
The parents created an arch over the walkway and the new teacher, Miss H, led them under it.

IMG_6758

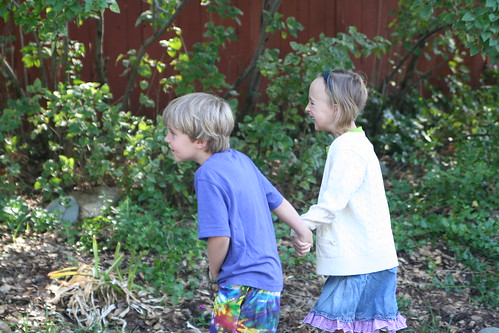
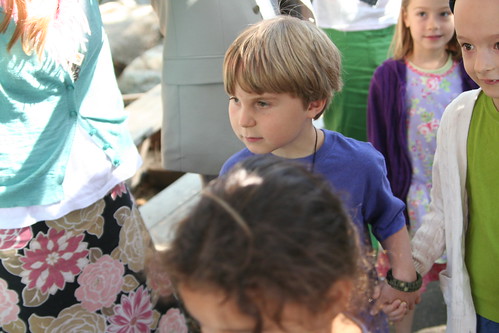
Many of the children were all smiles, several were nervous, several were super goofy; mine was, for this moment at least, acting jaded when he saw me and Daddy. But I saw him scampering along with the rest of the children, clearly enjoying himself.

IMG_6781

They crossed the campus to the first grade, little ducklings all in a row.

IMG_6826

It’s exciting to see these kids growing and changing, some of whom we’ve known since they were babies. This group has been playing together for a long time. And for Ian and me, there are so many new friends to make!

IMG_6832

We parents got to wait and visit with each other until the “rising first graders” returned. Of course, the current first graders aren’t actually ready to relinquish their classroom, and our kids came back to their yard and classrooms to finish out the week.

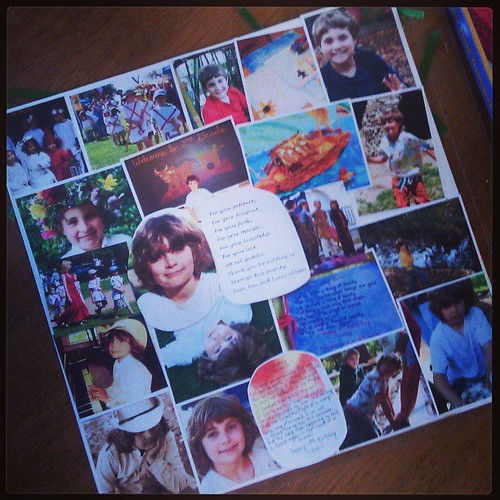
Scrapbook page for departing class teacher. So hard to put 5 years of growth and precious experiences on one page.

Lucas, at 11, is finishing up a glorious, fifth-grade year, what some call the “golden year” of the school-age child. He reveled in woodworking, learned to enjoy orchestra class and playing his violin, improved in all subjects, and ached all year for their study of the Greeks to begin and then soaked up every morsel of it once it did. He trained his body all year to compete in the Pentathlon, and has continued to do so since the big day. He is every day more independent and competent and it’s a both joy to see and a huge help in my life. I’ve been experiencing some nostalgia lately because I’ve been going through old photos and working on our end-of-year gift to his departing class teacher, our beloved Ms. D, who is retiring this year. My how these fifth-graders have changed!

And my son is eager for new, exciting experiences, more alone time, more time away from his little brother, and more responsibility (specifically when and only when he wants it). I am highly cognizant of this and am working to find him experiences that stretch his previous limits. I’m thinking of it as measured risk-taking.

And so, summertime is almost here. I can see it in all the children. They are boundless and expansive and loud, as if their spirits are no longer contained within their bodies. The teachers look both pleased and tired. The parents … well, there is a kind of “oh, I can’t wait for summer” on their lips or behind their eyes. And I kind of get it.

Now, in the interest of honest, full disclosure, I admit to feeling great trepidation about the coming 13 weeks of summer vacation. 13. 13 weeks. That’s a lot of days. I always feel this way at the end of the school year. The eagerness I felt for summer as a child is very different from how I feel now that I’m a parent. I have some excitement and daydreams and some wonderful plans for us, but I also know that it won’t be a huge bowl of cherries every day.

The boys will be engaged in any number of wonderful activities and play. Swim and summer camp and weekend camping. They will be blessed with the “gift of boredom” and plenty of nature time and unscheduled time. They will do chores. They will bicker and negotiate and hurt each other and cooperate—all of which is essential to both their growth as humans and their relationship as brothers.

We will make the most of it, the best we can. And we will learn so much. We will all soak up all that Summer has to give us, and we will level up.
Santa Cruz, We Love You

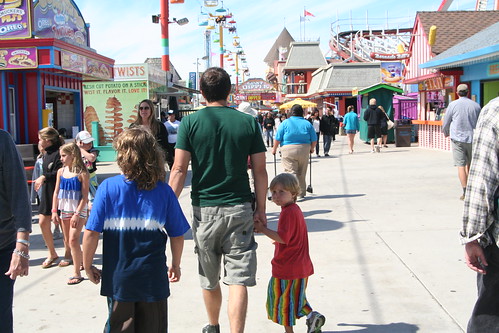
IMG_0180

I guess this is vacation post 2. After our trip to the Monterey Bay Aquarium last Saturday, we visited the Santa Cruz Beach Boardwalk on Sunday. We had a bunch of fun, riding rides and getting to hang out with Danny some more. Lucas was big enough this time to ride even on …

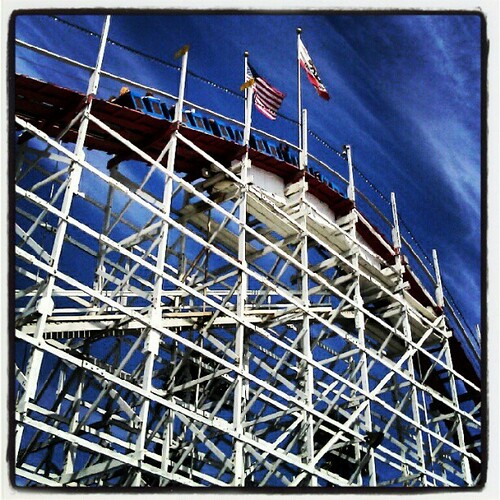
upload

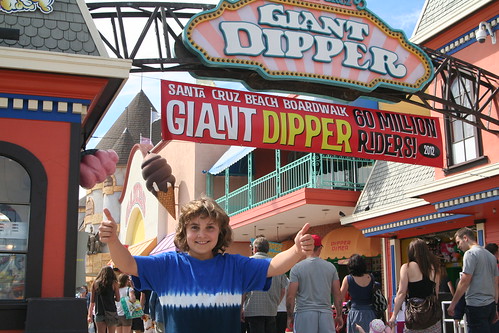
the GIANT DIPPER!

IMG_0280

He thought it was awesome. He is ready for more.

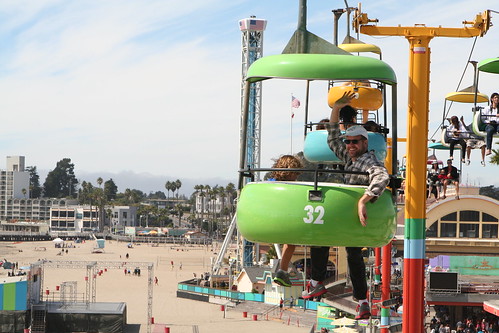
IMG_0193

We all enjoyed the skytram. (Don’t know its official name.) Here is Danny waving at us. xo

IMG_0211

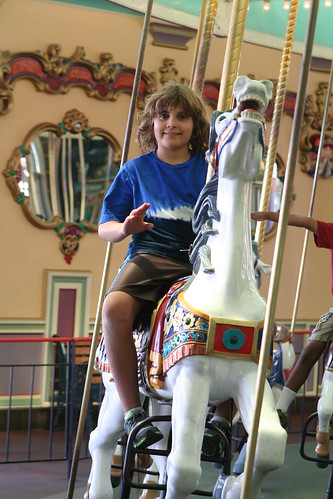
My only ride was the carousel and I got to sit on a white pony right next to my beamish boy. I love this carousel. It’s very beautiful. Lucas managed to throw the brass ring into the clown’s mouth! Lucas also did the bumper cars and the haunted house, which was his first, I think. He said it wasn’t scary at all.

IMG_0220

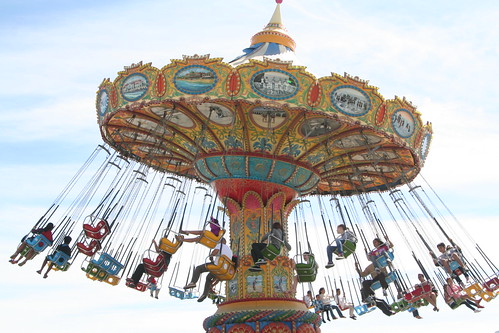
We didn’t ride this thingy, but it was pretty.

IMG_0225

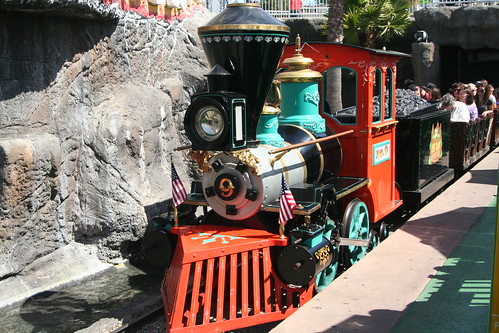
At first Asher wasn’t interested in riding anything, but we found the kiddie rides, like this Cave Train Adventure, and he went with Ian and Lucas.

IMG_0242

Pretty little engine. I have a fondness for trains, thanks to Lucas’s young childhood obsession with them. It’s funny how Asher never took to them.

IMG_0264

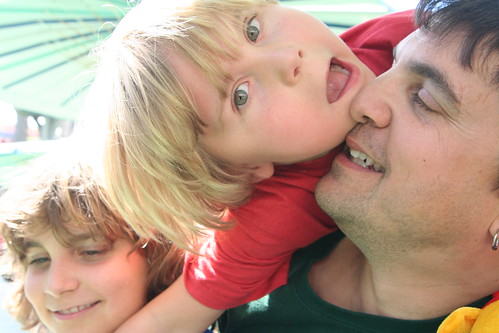
There was plenty of togetherness and horsing around. We ate crummy Boardwalk food for a mere $55. Ugh!

IMG_0281

Then we spent an hour or so playing in the waves on the beach. Lucas swam and Asher played in the sand a lot. It was a beautiful day and lots of people were enjoying the water and the beach. The bay was filled with lovely sailboats, and the sounds of Boardwalk merriment drifted over to the water’s edge. I got to put my toes in Mama Ocean, which is my great love and privilege. I must touch the water. It’s a personal law.

IMG_0285

So much sun and sea and adventure! A perfect way to end the summer. It’s nice to break away together and do those special things. As important as rhythm and consistency and a firm, foundational family life is, it’s also important to have experiences, move outside of normal, and go wild, to enter into a place of magic and discovery—because we’re not just here this earth to be steady, rhythmical, safe, and constant. We’re also here to take big bites, to reach, to dive deep and swim on the tides, and to fly on the breezes of opportunity.

First Days of School

IMG_9386

I am delighted that school has begun. We’ve had a goooooood LOOOOOOONG stretch of summer vacation (88 days, to be precise), and we enjoyed so many wonderful adventures. But the time has come to try new things, learn more, make new friends, and engage with the world around us in a new way. The boys are both ready for it. They’ve embraced going back to school with enthusiasm.

Lucas is in fifth grade now. Suddenly that seems amazing. He is charming, capable, dynamic, and creative. He is looking forward to this year, especially studying the Greeks and the end-of-fifth-grade pentathlon. This semester he is taking woodworking for the first time, and is very excited about that. He’s waffling about staying with violin or switching to flute. He seems, well, ready to take on a lot more now. He wants to study. He wants to make his own lunch. He wants to spend his own money on school supplies. Our job is to support him in his new responsibilities. I’m grateful that we established a good chore routine this summer, as I feel schoolwork will fit in nicely.

First Karate class punches

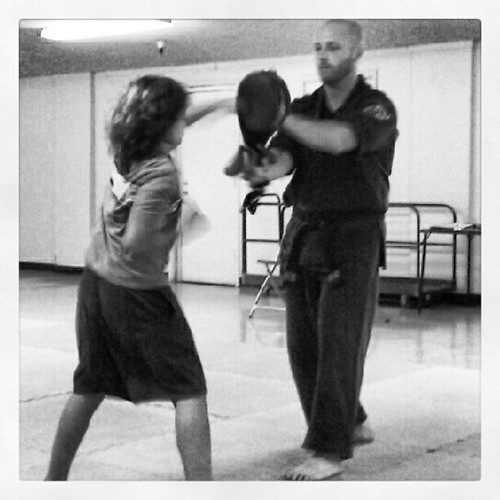
Also this week, Lucas has started his first karate class, which is being offered through the local Parks and Recreation department. He has wanted to do martial arts for a long time, especially after an exciting and brief taste of Brazilian jiujitsu. Since we are dabbling and on a budget, this is the right solution for the time being. It helps that Lucas’s best friend is also in the class. Both Ian and I are favorably impressed with the sensei.

IMG_9445

Asher’s first day of his second year of Kindergarten was a day after Lucas’s first day of school. Asher is an “older” this year, which means he is an older Kindergartner who will be going to first grade next year. He knows the ropes, and is expected to help the younger students adjust to school. The olders get to work on making their Michael swords right away. This is a big deal for a little boy. He has looked with covetous eyes on Lucas’s wooden sword for many years. Apart from some new children, the Kindergarten is the same and he’s comfortable and happy there. His lovely teachers have welcomed him back with open arms.

Now, I do feel a tiny little bit bittersweet about the end of summer. Rather than focusing on the longed-for experiences that we didn’t have, I’m going to think about all we did to celebrate life and living together. Not only did we make it through, we made it beautiful too.


Camping Bliss

IMG_9091

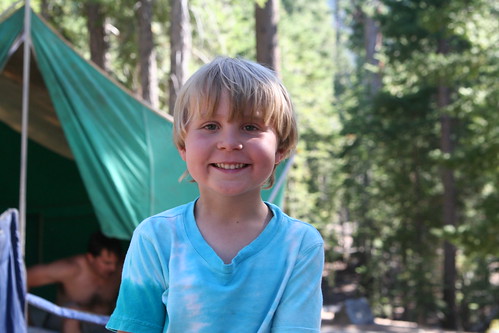
We had a beautiful time camping with Lucas’s fifth grade class last the other weekend. We went to D. L. Bliss State Park on Lake Tahoe. Everything about the weekend was lovely.

IMG_8828

IMG_8934

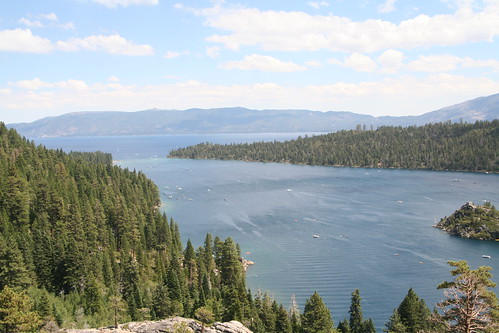
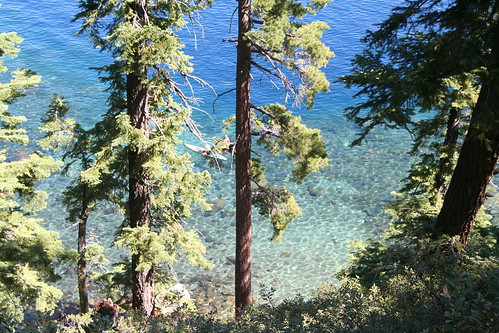
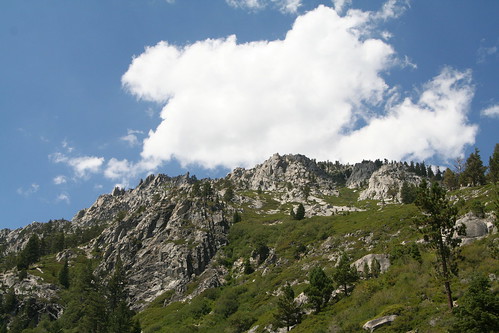
I was so taken with the beauty of this place. We are definitely coming here again. We hiked on Saturday along the lake and were treated to views like this. Asher, Ian, and I hiked almost four miles, which was impressive for our 5-year-old.

IMG_8945

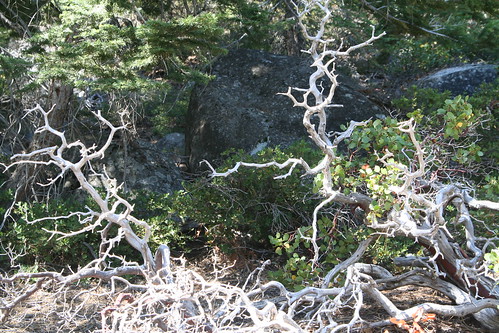
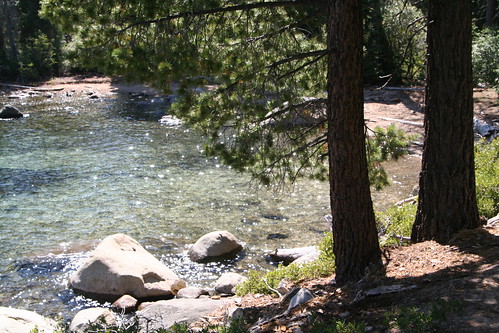
All along our hike we were treated with exquisite sites: bleached, dead manzanita branches and glittering green and gold leaves of living manzanita; vanilla-scented Jeffrey pine trees; sparkling lake waters in tiny coves;

IMG_8947

sparkling lake waters in tiny coves (I could have spent my whole day here!);

IMG_8924

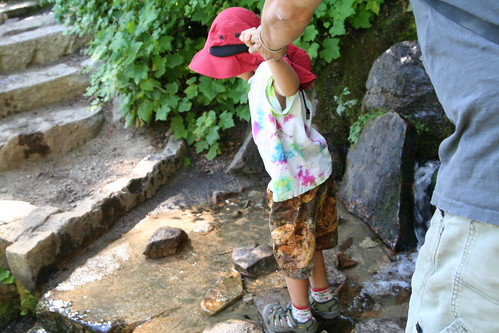
a trickle of a waterfall and a wet crossing;

IMG_9059

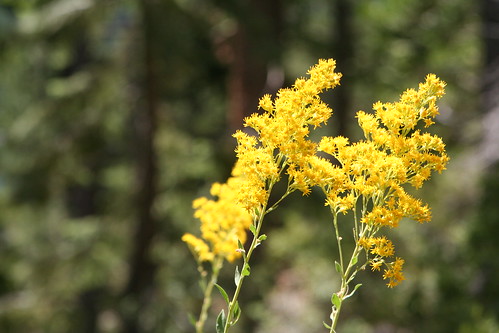
and wildflowers and gorgeous evergreens at every turn.

IMG_9048

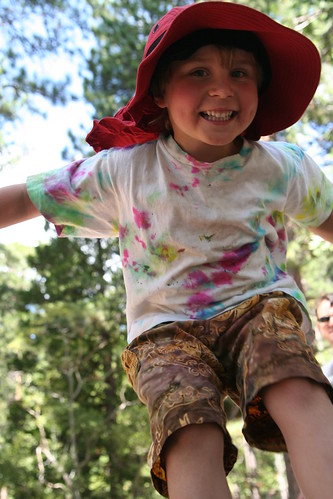
This is Asher along the hike—after a snack of trail mix and a little rest, he was ready for more.

IMG_8913

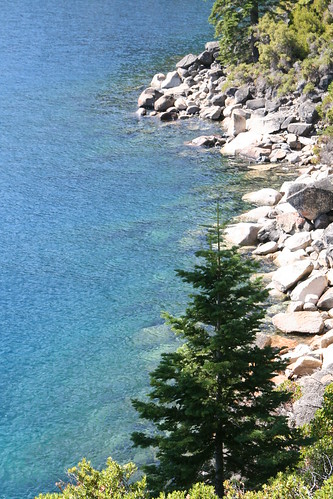
The waters of Lake Tahoe truly are blue. Clean. Pure. Inspiring blue. With shallow bits of aquamarine to take your breath away.

IMG_9075

We hiked all the way to Emerald Bay, where the Vikingsholm historic site is. As we three were stragglers, we were lucky to meet up with our friends in time to book up the mountain to the road  and then catch rides back to our campsite. Lucas hiked back with friends and a few parents, making a round trip of about seven and a half miles. Along the way, his sandals disintegrated. It didn’t stop him.

IMG_9179

We spent part of Saturday afternoon and Sunday on the shore. The only problem with this place is that dogs aren’t welcome on the trails or beaches, as it’s a state park. We had our little Solstice dog with us and we like taking him camping, but I can see that this is something of a limitation. Thank goodness one of our friends was willing to keep Solstice while we hiked the trail on Saturday!

IMG_9209

IMG_9216

IMG_9129

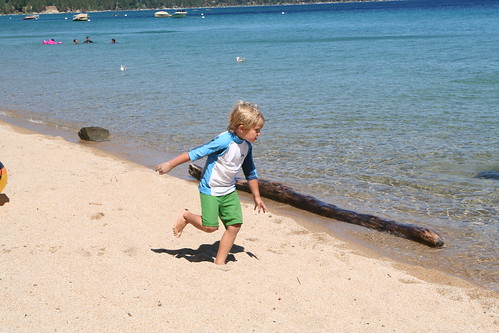
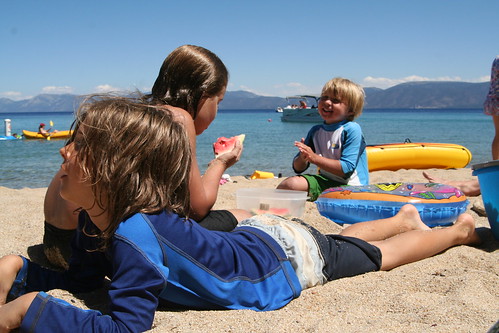
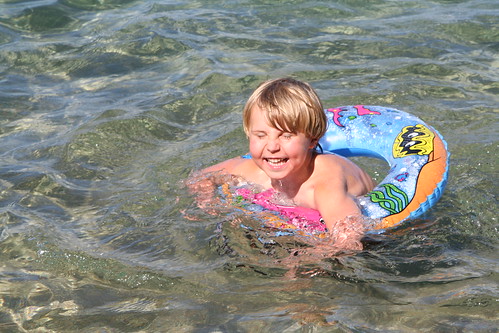
We swam in cold water, which didn’t slow the children down a wit and was surprisingly lovely, once I got use to it. The children played in kayaks and rafts. Adults sunbathed and chatted. It was relaxing and wonderful and I can’t wait to do it all again next year.

IMG_9238

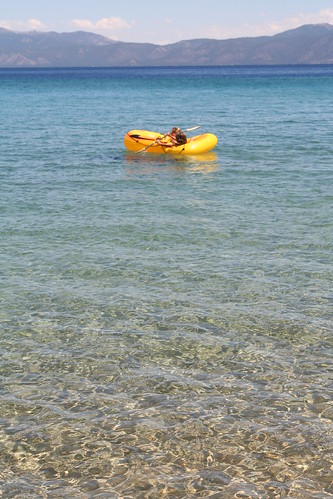
And if by chance you are wondering, Where are the photos of Lucas? It was his class camping trip after all. Well, all I can say is he never once sat still long enough for me to take his picture. He was riding his bike, off with friends, hiking, or in the water the whole time. And, for the most part, we tried to give him his space. Here is one of the few I have of him, out in a raft on the lake.

Calendula and Mint Herbal Soaps Tutorial

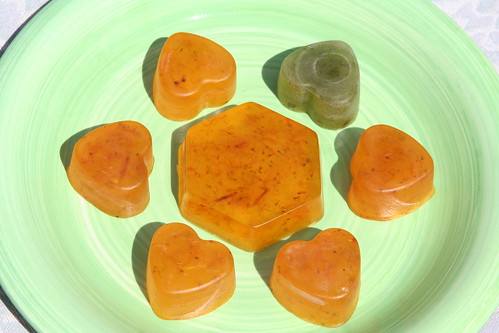
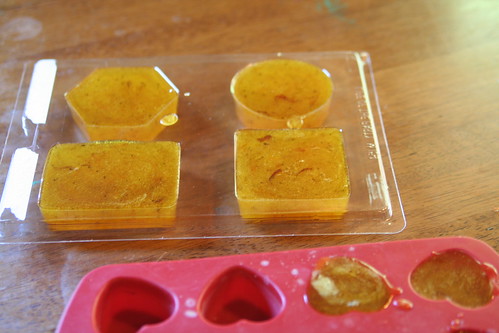
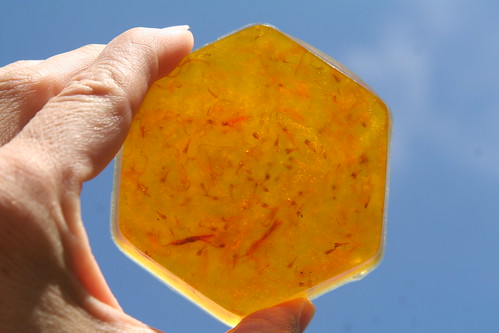
Finished Soaps

Earth’s bounty is always all around us, but it is perhaps even more apparent in the summer, when crops are ripening and plant life flourishes. Wild or cultivated herbs can be useful friends, growing perhaps right outside our kitchen doors. Herbs are commonly used as food, as decorations, as dyes, as flavorings. They also are used the world over to clean and heal.

You can easily make herbal soaps for your family to use and enjoy, right in the comfort of your own kitchen. There are two soap-making techniques. This tutorial teaches you the simpler of the two. Technically, you’re really embellishing this soap, rather than making it from scratch. Because the process is simple, even small children can help to make these beautiful, healing soaps, as long as you carefully monitor them around the stove and hot soap. (Of course you will!)
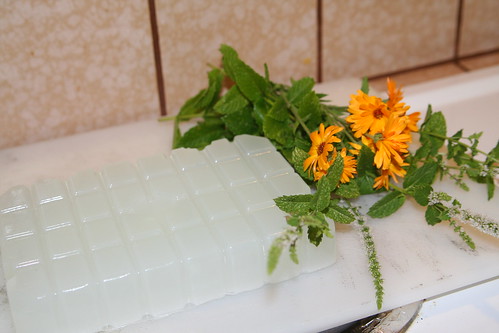
Calendula

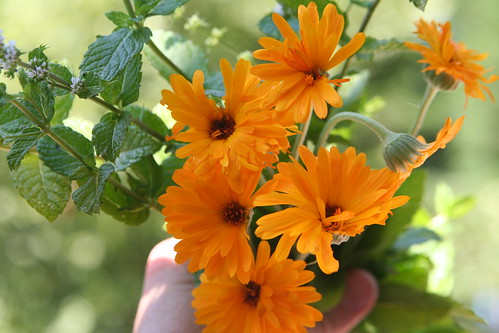
Calendula (also known as pot marigold) is a common and prolific garden annual that reseeds itself. It is known to have been used as early as Roman times as both a dye and a flavoring. Calendula is known to have antiseptic properties, which make it perfect as a soap additive. Many natural first aid preparations include calendula.
Peppermint grows in many cottage and kitchen gardens. You can use it in teas, desserts, and body care potions, such as lotions, shampoos, balms, and soap. Mint may have a calming and soothing effect for skin irritations, itching and hives. It is believed to have anesthetic and anti-inflammatory properties.
Materials for Making Herbal Soaps

  • glycerin soap base (I used a glycerin and olive oil base)
  • calendula (pot marigold) and mint herbs from the garden (I used a mix of dried calendula petals and fresh flower heads, and fresh mint leaves)
  • stovetop pan, cutting board, knife, ladle
  • soap molds (also silicone muffin pans work very well; these come in fun shapes )
  • essential oils for fragrance (optional)
  • soap colorant (optional)

A word about glycerin soaps: You can buy glycerin at the craft store, along with lots of other fun soap-making and body product supplies (dyes, fragrances, molds, etc.). Using pure glycerin soap in this project will result in soaps with a layered effect, since your herbal additives float to the top of your molds as your soap sets. There’s nothing wrong with this, and the result can be quite beautiful and rustic. Another kind of glycerin soap base that you can buy has olive oil added to it, and a property that keeps any additives in suspension, meaning you won’t get layers and your herbs will stay mixed throughout the soap. This is the look that I was going for with these two batches. You can decide what’s right for you. There is no difference in how you make the soap. Just be sure to read the packaging carefully so you get what you really want.

Making Soap

Begin by gathering your materials. You will need a clean cutting board and a table top to work on.

Glycerin Soap

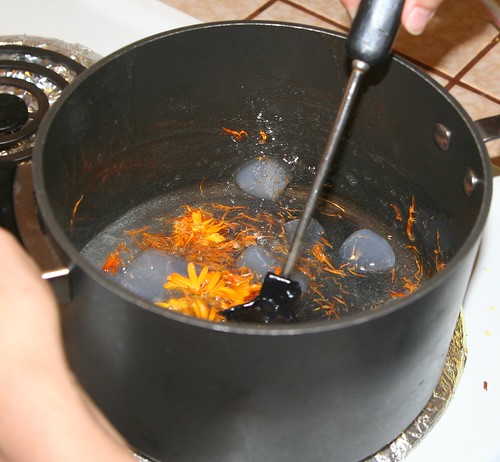
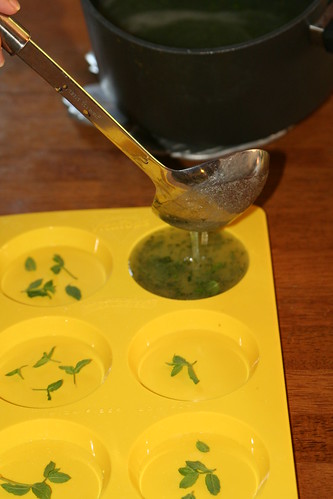
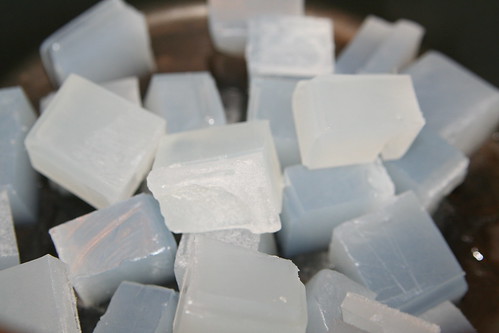
First, cut your glycerin soap base into small cubes. This makes it easier to melt at low temperatures, and you want to keep the temp quite low when you‘re making soap. You can use a double boiler or just put your glycerin cubes into your pot. (Cleanup is easy with hot water and a scrub brush!) Stir the soap often until all pieces of glycerin are melted.

Making Soap

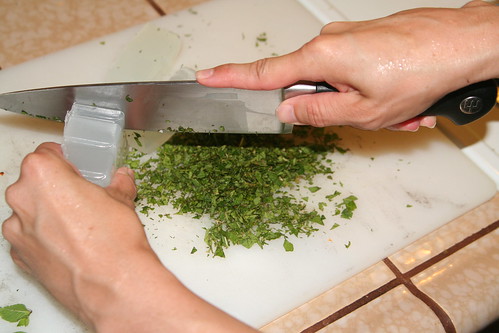
Meanwhile, chop your mint leaves into very small pieces. You may wish to set aside some of the tiniest leaves to be used as a decoration later on. Of course, this is optional.

If you have lots of soap molds or muffin pans, you might be able to make both types of soap at the same time. Since I had to reuse the molds after the first soaps were fully set, I made two batches—first calendula, then mint—cleaning up in between batches.

Calendula

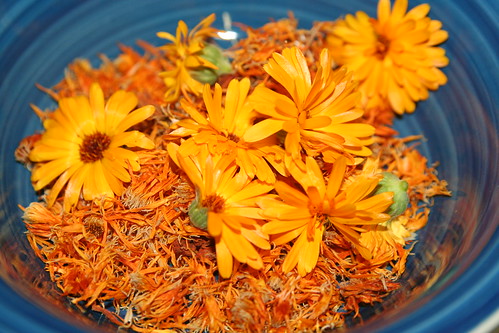
Before starting, I saved the dried petals from my calendula flowers for a week or so. For my soap, I also used a few fresh flower heads to maximize its potency as an antiseptic.

Making Soap

Add your petals and flower heads to your melting soap cubes. The heat will begin to cook the flowers.

Making Soap

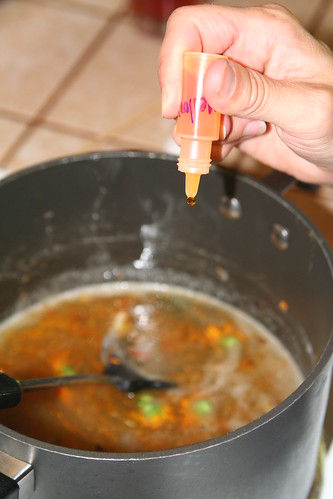
If you want your calendula soap to have a rich yellow coloring, add a few drops of soap colorant to the pot. You don’t have to do this, and if you cook the petals in the soap a while, it will begin to take on a natural yellow color. At this point, you can also add fragrance, if you wish. I added a few drops of geranium essential oil. Geranium is known to be a comforting scent, and since I envision my children washing their scrapes with my calendula soap, comfort seemed to be just the right feeling to evoke by smell.

If you used fresh flowers, you should fish out the centers now. When you’re satisfied with your soap’s color and fragrance, it’s time to pour it into molds to set. Using a ladle, gently fill each cup to the brim. Keep the mold flat. The soap will begin to cool quickly, but it may take an hour or so for the soap to become very firm to the touch. You can speed the cooling by placing the mold flat in your refrigerator.

Making Soap

When the soap is completely firm and set, gently pop each soap out of the mold. They should separate from the mold’s sides with some gentle twisting and come out cleanly.

Making Soap

My second batch of soap was mint. You’ll repeat all the same steps as with the calendula soap. Begin by cutting soap cubes and then just add the chopped mint in with the glycerin. The longer you allow your mint soap to cook on the stove over low heat, the greener it will become. I added a few drops of eucalyptus and mint essential oils to the warm pot. The smell is calming and relieves stress.

Making Soap

You can add your reserved tiny mint leaves into your mold if you wish. They won’t stay exactly in place when you ladle in your mint soap, but you will be able to see pretty whole leaves in your soaps after they have set.

Homemade Mint Soap

In this photo, you can see my two different pours. The greener bars were poured from soap that had been on the stove longer. The natural green from the mint leaves colored the soaps. I like them both.

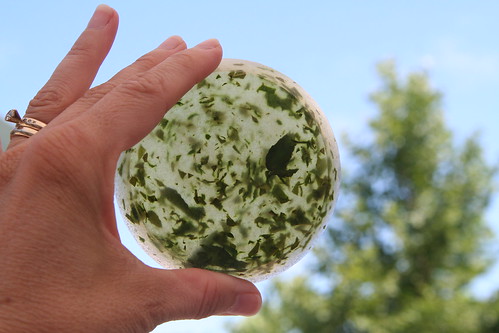
Mint Soap

A finished mint soap, with lots of gorgeous herbal goodness visible.

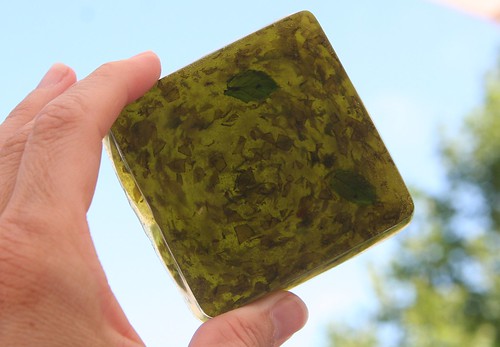
IMG_3691

And here’s a darker one. This soap was on the heat longer and became a dark green.

Calendula Soap

Here is the finished calendula soap, with pretty golden-orange petals showing inside.

Homemade soaps make wonderful gifts for family, friends, and teachers. Consider adding a mint and a calendula soap to your outdoor adventure box or your first aid kit. Use both types to cleanse and to heal.

Family Advenure Day

We’re ten weeks into summer vacation now. The boys are enjoying themselves immensely. They drift through the days, adventuring, squabbling, eating, and swimming. They spend one day a week with my mother and one day a week with Ian’s mother. Sometimes they’re with me, sometimes they’re visiting friends. Or friends come to play here. They’ve come to accept summertime chores as something they can’t get out of. Most of the arguments about chores have died away, as we’ve been pretty good about keeping the bar high. We’ve raised our expectations of them and mostly they’re rolling with it. There are plenty of interpersonal arguments to fill the space. Lucas and Asher are presently best friends and worst enemies. Somewhere there is a happy balance between planned activities and unstructured rambling time. We find it and lose it and find it again, week by week.

So, they’re having a great time. I’m really ready for school to start. Two more weeks to go. What is it about August? The heat, the drying up of my garden, the looooong summer. It’s not my favorite month. I seem to always have junk to confront. And yet, there’s plenty of deliciousness to celebrate.

384736_3615847439594_647558904_n

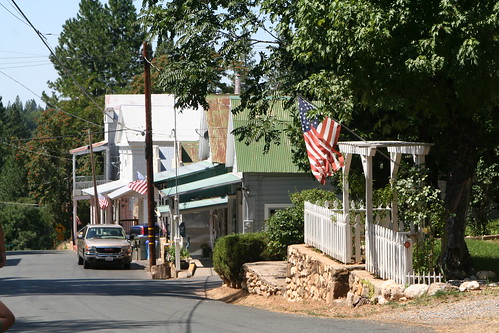
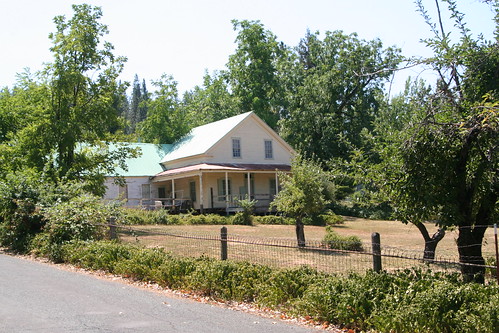
On Sunday of last week we took an impromptu drive up the hill. The four of us packed the dog and some snacks, and let the car take us somewhere new. We were without a plan and it was a great feeling. We stopped by a little town call Dutch Flat to see what there was to see. It’s a gorgeous little place—very picturesque. I wanted to get some shots of the homes, both because they are beautiful and quaint and also because I feel they will be great references for future paintings, if I ever get good enough. Which I will!

189524_3615465750052_712190604_n

IMG_8283

See what I mean? So simple and beautiful.

IMG_8286

This is the main street. It was hot while we walked around and I looked for someplace to spend a little money to support the local economy, like an ice cream parlor or something. Alas, I couldn’t find anything and I’m not sure how this town survives.

IMG_8278

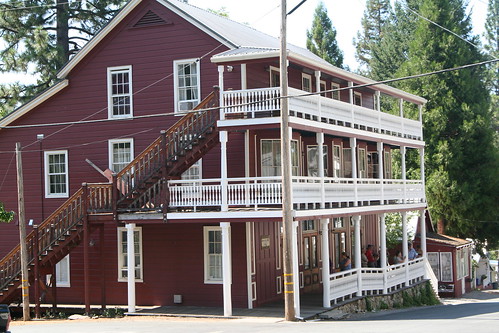
This is the hotel. It was lovely from the front and from the back, where we were able to peek over the small fence to see the deck and garden.

427417_3615832839229_1162808895_n

IMG_8330

IMG_8334

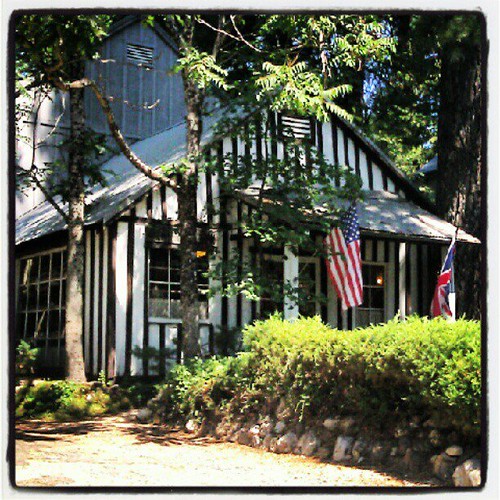
Great homes. White picket fences everywhere. Plenty of fruit trees in yards and baskets full of flowers hanging from porches. I’ve rarely seen so many American flags on display.

IMG_8342

Anyway, we continued on our way up the hill and ended up at Donner Lake. The temperature was far more pleasant than at home in the valley. We walked a little through the state park and enjoyed a rest at the edge of the lake. I would love to go camping here.

488355_3616565097535_1969974835_n

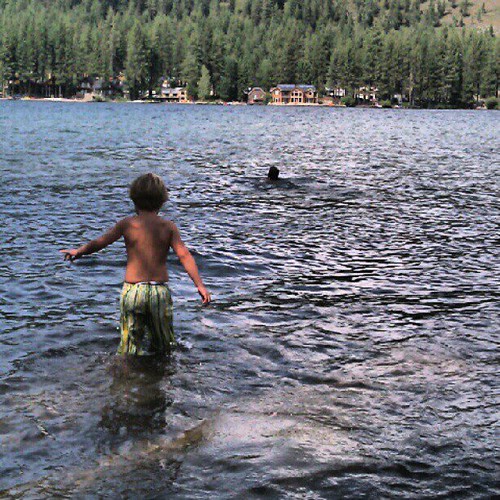
Naturally the boys wanted to swim. It was beautiful and very satisfying to say “yes, of course.” Next time, I’d like to rent a canoe and paddle about for a while.

215751_3616363452494_1728256240_n

It was a perfect family adventure day. Just what I needed in August.

Nature Therapy

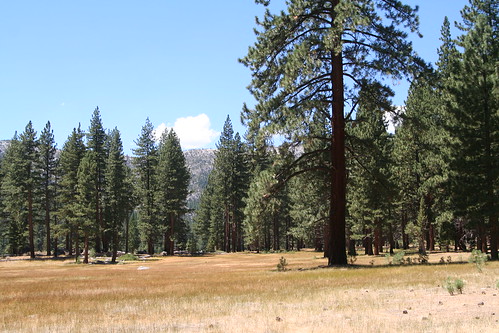
I love this meadow

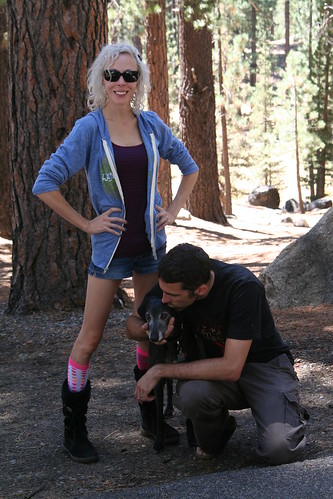
A couple of weekends ago, we joined 30 of our best friends for camping in the mountains south of Lake Tahoe at Grover Hot Springs State Park. I got to visit my favorite meadow for some much needed nature therapy. After four solid weeks of difficult work, I was ready for an escape.

Lucas Holding Baby J

It was just the ticket for me, really. We got to be outside in a beautiful alpine forest. We got to hold a wee three-month-old baby (sublime!), and play with friends.

530000_3592621218953_835353086_n

I got to watch this, and watch my competent 10-year-old son light the campfire.

418404_3592634419283_959146268_n

The only hard part came on Friday afternoon, when my boys were stung by wasps after moving too close to their hive near the creek. They each received five or six stings, which were very painful. D, a brave 12-year-old girl, ran for help and trundled through the forest to find some, eventually making her way to the road and the ranger station. She brought a ranger who was prepared to give us medical help. Meanwhile, Lucas bore his brother away from the wasps and helped him back to camp. I am very proud of my son for helping his little brother! Honestly, my heart is full to bursting about this. When they arrived at camp, traumatized and sore, there was still a wasp in Asher’s armpit, stinging him. Fortunately, friends had Benadryl on hand and that, with some ice, did the trick. Within 2o minutes or so of resting, they were up and playing again. They are brave, irrepressible boys.

Holding Hands

Everything after that was sweetness and light.

Daddy and Solstice

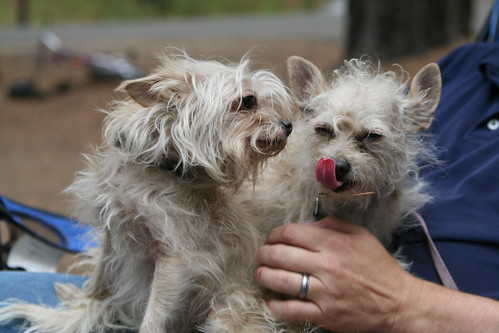
Our little dog Solstice surprised us with his desire to confront forest creatures in the dead of night, and “boof” at every nighttime sound. Hmm… He is braver than he is smart, I think. Apparently, bravado is just a part of our family.

E, T, and Suki

T and J

It was gooooooood to see some friends out there. Quite a few of us have been having a rough time this summer. I’m so grateful to have these amazing, inspiring people in my life. And I’m grateful that they continue to put one foot in front of the other.

575947_3592627339106_878551287_n

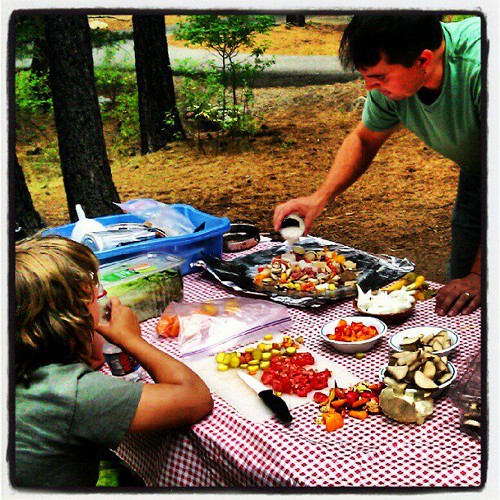
Ian made us hobo stew (custom dinner for each of us!), which we cooked over the campfire. It was yummy, and I have some notes to make it even better next time.

Potluck Barbarians Party

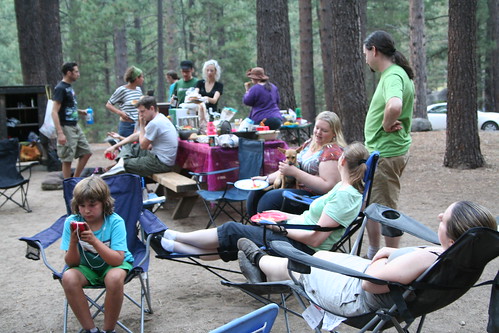
The second night we had a huge group potluck with TONS of veggies. I totally failed to get photos of everyone. Sorry, darlings. I was determined to relax and didn’t cart my camera around everywhere.

428786_3593311596212_679365485_n

On Saturday night we had a thunderstorm and it rained and rained. We were cozy and dry in our ancient Coleman 1970s tent. The rain sounded wonderful on the canvas of our tent!

Ivan the Terrified and Luna

We had eight dogs of varying sizes and shapes in attendance. Amazing! These were particularly kooky.

J and L

Some of us traveled six or more hours to join us. I am grateful to them for all the extra effort they expended to share this weekend with us.

J and Oscar

551895_3593329636663_198126526_n

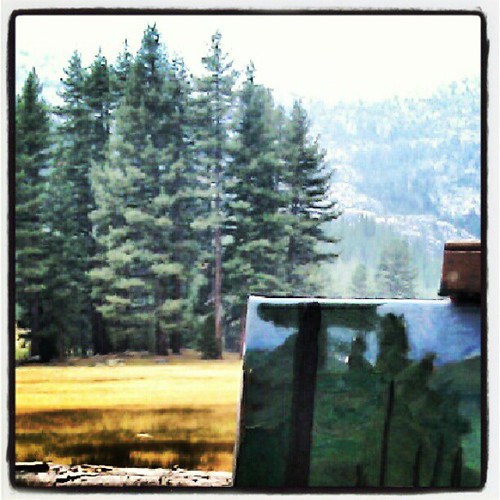
I got to spend a little time with my easel and oil paints in my beloved meadow, which is what I wanted to do from the moment I first saw it last summer. Plein air painting is hard and delightful. The only thing missing from my painting experience was a tall glass of cold white wine. Next time!

Summer Garden Salad

524548_3617626724075_448463044_n

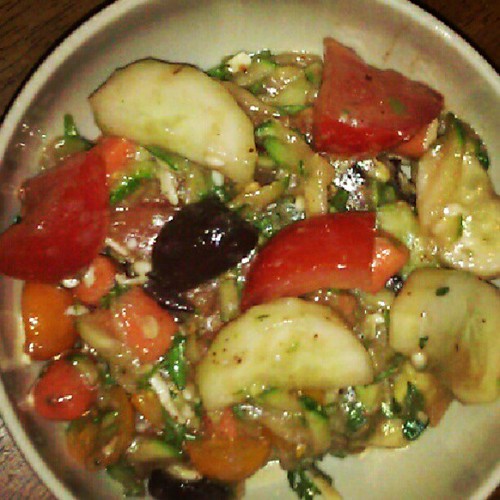
I whipped up this salad last night and it was so delicious. This is a great way to sneak fresh zucchini into a meal. Everybody has extra zucchini at this time of year! We served it with popcorn and it was a perfect supper for a scorching-hot day.


1 whole cucumber, chopped

1 whole red tomato, chopped

1/2 c yellow or sungold cherry tomatoes, halved

1 small zucchini, shredded

1-2 T fresh parsley

1 avocado, cubed

1/2 to 1 c chopped carrots

1/2 gypsy pepper

1/2 c kalamata olives

2 T shredded horseradish cheese

a few dashes of Tajin fruit seasoning (a mix of chili peppers, salt, and dehydrated lime juice)


Dressing

1/4 c kalamata olive brine from jar

2 T olive oil

2 T rice wine vinegar


Chop veggies and parsley, add shredded zucchini and shredded cheese and then toss. Mix olive brine, oil, and vinegar in a jar, shake and pour over salad. Toss well.


Tutorial: Create a Mermaid Crown and Wrist Ribbons

Mermaid Crown

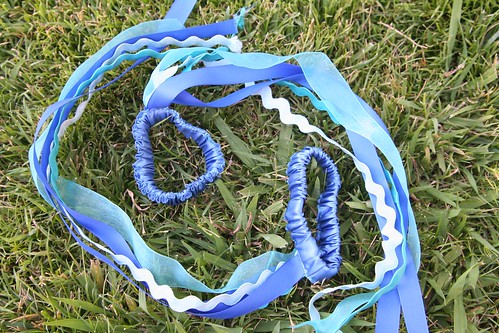
Who wouldn’t want to be as graceful as a beautiful mermaid or noble merman, living in an underwater wonderland? This play costume—a mermaid crown and wrist ribbons—is something you can create in stages, or do only the part you like best. Mermen might prefer just the crown, without the veil. The wrist ribbons encourage so much imaginative play for boys and girls alike. They can be water flowing while your merfolk swim. They can be magical water powers made visible.

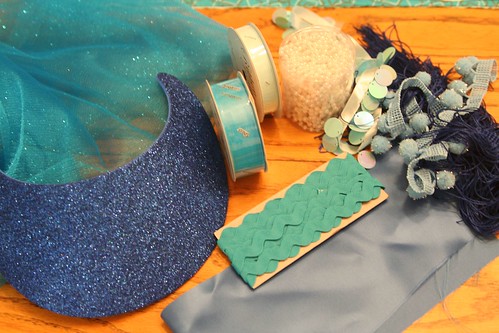
Materials for Mermaid Crown

  • a craft-foam visor
  • jewels, beads, and/or small seashells (Tip: look for packages of jewels and rhinestones for decorating flip flop sandals! Craft stores have inexpensive kits.)
  • low temperature glue gun and glue sticks
  • ½ yard of veil fabric (tulle, netting, etc.)
  • scissors, sewing pins, hand-sewing needle and thread
  • sewing machine
  • notions and ribbons

Materials for Mermaid Wrist Ribbons

  • ¼ yard satin or acetate fabric
  • ½ inch wide elastic
  • notions and ribbons

Materials

Make Your Mermaid Crown

Begin by gathering your materials. You will need a clean, flat surface to work on. First, remove the elastic or plastic coil that is the back of your foam visor. You will put it back on later.

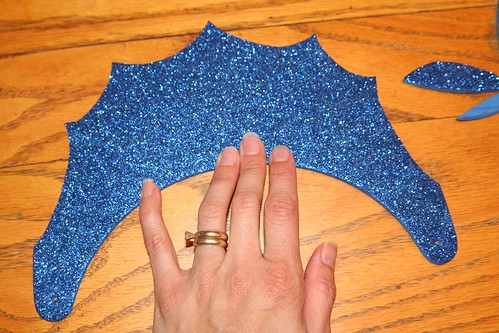
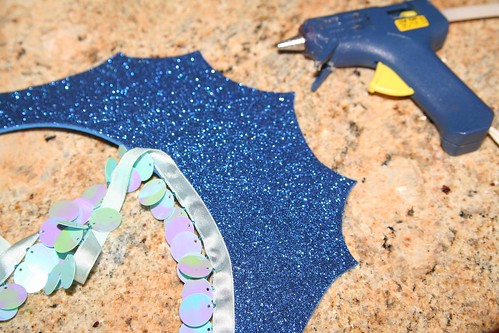
Now decide how you want your headdress to look. Will it have points like a queen’s crown? Will it be scalloped like a seashell? Turn your craft-foam visor over and sketch the shape you want. When you’re happy with what you see, cut your foam with scissors.

Cut the Visor into a Crown Shape

Now play with your notions and jewels, beads, and/or shells, placing them on the visor here and there, until you have an idea how you want them to be arranged. Take some time with this part because once you glue the items to your visor, it will be hard to remove them if you change your mind about their placement.

Adding Fringe

With your low-temp glue gun, glue on any trim (such as in this photo) and your decorations.

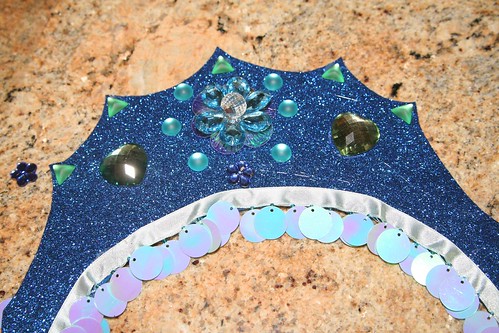
Gluing on Gems
It’s a good idea to measure to find the visor’s center. Try to arrange your biggest, most impressive or most special decorative item in the very center.

Using your glue gun and the smallest drops of glue, begin by gluing the special center item. Other smaller jewels or seashells can then be glued on. If your design is symmetrical, do the same item on both sides before moving on to a different jewel. You’ll have to pull off the strings of glue that may result from gluing on the jewels.

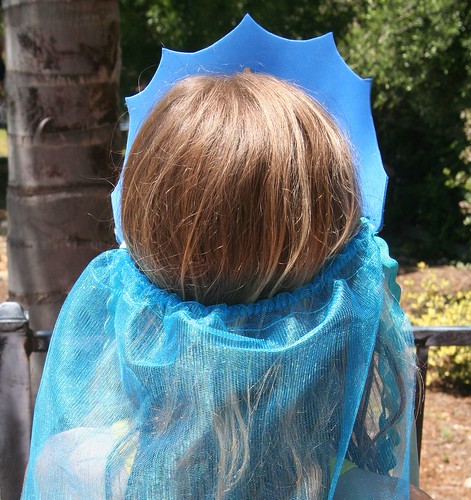
Have you decided to make a veil for your mermaid crown? (If you’re making this for a boy to play a merman, you may wish to skip this part.) Take your veil material (tulle, netting, etc.) and fold it in half so that it has two layers. You might measure your child to decide how long you want the veil to be. I decided I wanted the top layer of the veil to be shorter than the bottom layer. (Depending on the fabric you chose, you may wish to hem the bottom edges of your veil.) Pin the layers in place and then sew a seam about 1 inch from the top fold. This creates a tube through which you can pull the visor’s back elastic or plastic coil.

Mermaid Crown Back

Measure the visor on the head of your child, and shorten the elastic or plastic coil accordingly, so that it fits. (The coil on my visor is visible in the photo above.) You might wish to glue this part onto the visor so that it’s permanently attached. This spot, where the crown attaches to the back can be decorated with another jewel if you wish (see below at the child’s temple).

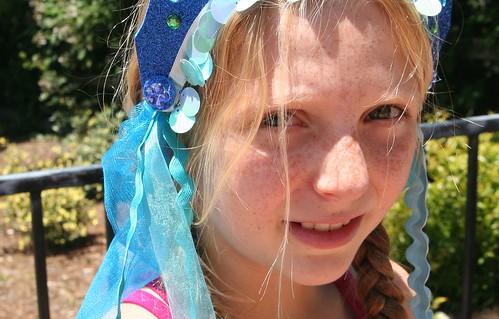
Mermaid Crown Detail

If you have ribbons or notions for decoration or long mermaid locks, fold them in half and with a needle and thread, sew them on to the corner of your veil, where the elastic attaches to the visor, so that they are firmly attached and can trail either in front of the shoulder or behind like hair. Keep in mind the age of the child who will wear this costume. The more decorations you add, the harder it will be for the child to put the crown on herself. (I ended up not using several items that are in the photo at the beginning of the tutorial.)

Congratulations! You’ve made a beautiful headdress for a lucky mermaid, or a handsome crown for a merman.

Sew Your Mermaid Wrist Ribbons

Wrist ribbons are a huge part of dress-up play in our home. You might be surprised at how well your child takes to these simple accessories. There is a bit of sewing involved, but it’s pretty easy.

The first step is to measure your child’s wrist using the elastic. You want the elastic band to be snug enough not to fall off the wrist, but not too snug as to feel tight. You also want to have about a 1 inch overlap, so that you can sew the elastic securely closed.

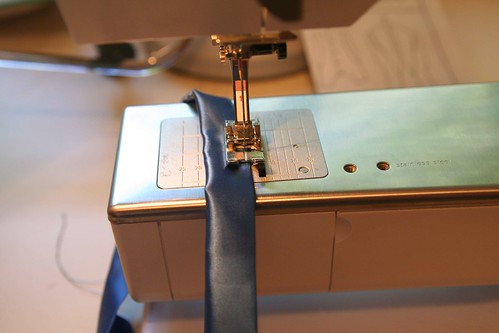
Now that you know how long it needs to be, cut two pieces of elastic that length. Lay out your covering fabric (satin or acetate). You could be very careful and measure this, but you don’t really need to do so. The object is to cut two strips of fabric so that they are twice as long as your elastic pieces and about 2 ½ inches wide. Turn in ¼ inch on both sides of your fabric strip and the ends and iron it flat. Sew the flat rectangle’s ends together to make a ring. Now fold your wide ring in half to make a long skinny ring with the right side of the fabric out. Make sure the width of your skinny ring will accommodate your elastic, but don’t actually put the elastic into the ring yet.

Sewing the Wristband

Top sew along the very edge of the long skinny ring to make a skinny tube. Don’t sew the ring completely closed. Leave an opening of a few inches so that you can insert your elastic.

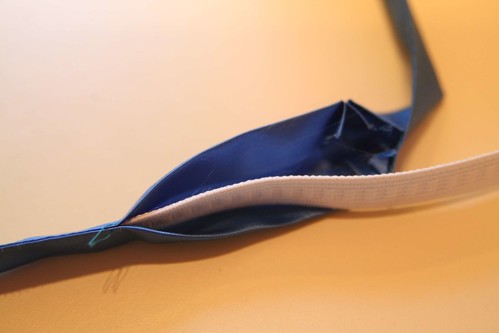
Insert the Elastic

With a safety pin on one end of the elastic, insert your elastic into your skinny tube of fabric. Bunch up the tube and join the ends of your elastic together with the appropriate overlap. Sew the elastic ring securely with a good zigzag stitch. You don’t want the elastic ring to pull apart when the child is putting the band around his or her wrist. At this point you have what looks like a hair scrunchie with a small opening in the side.

Gather up your ribbons that will be trailing and, with a few stitches, tack them all together at one end. I used the same notions as on the mermaid headdress, but you can use any ribbon. Consider painting some white satin ribbon with watercolors to create a watery effect.

Painted Ribbon

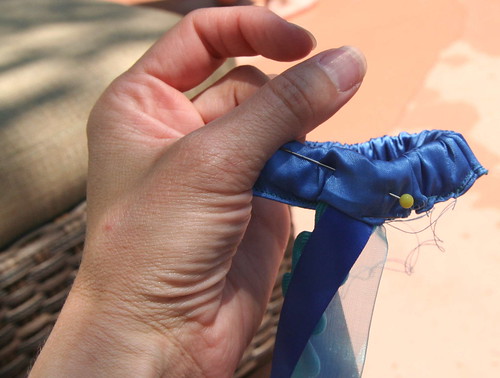
Now, insert the tacked end of your trailing ribbons into the hole of your ring and pin them in place.

Wrist Ribbon Detail

By hand, with needle and thread, sew the ribbons in place to the elastic and sew the satin ring closed around them. I simply whip-stitched the opening closed and sewed the ribbons in firmly.

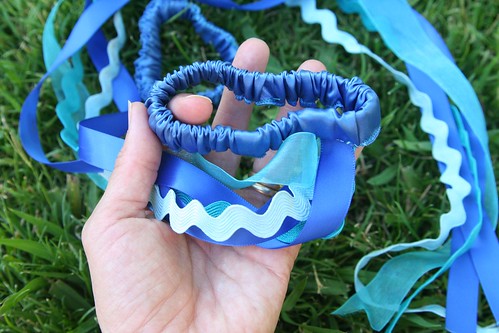
Finished Wrist Ribbons

Repeat all the steps so that you have two wrist ribbons.

Finished Wrist Ribbons

If the ends of your ribbons want to fray, you can sometimes use a match and carefully melt the fibers at the ribbon ends to seal them. I suggest you first test this out on a ribbon scrap before you try to melt the ends of your finished wrist ribbons. You don’t want to harm your creation.

Now all you need to complete your mermaid or merman costume is a play silk tied around the child’s waist for a tail!

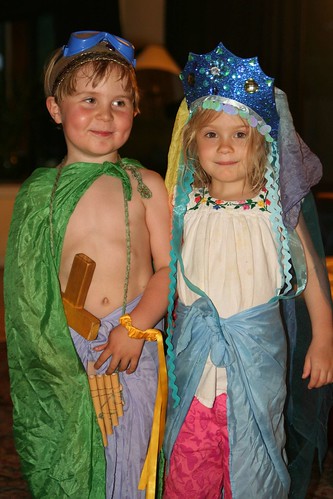
Merboy and Mermaid

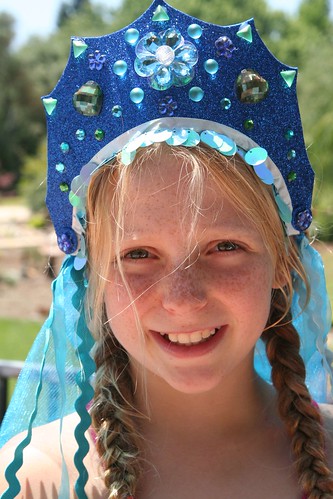
You might be surprised at how your child uses these costume pieces. Perhaps the headdress or crown and the wrist ribbons you make will be used all together, or in different ways at different times. In this final photo, you can see that my son and his friend felt like using some of them at that moment, and found plenty of extra accessories (sword, goggles, pan pipes, cape) to transform themselves into a happy merfolk couple!

Happy sewing!

Family Clay Camp

Family Clay Camp

Right at the beginning of summer vacation, my boys and I participated in Family Clay Camp, which was offered through our local Parks and Rec. Michelle Leuth was our wonderful teacher. Lucas and I had taken a clay/pottery class from her a few years ago. Now that Asher is 5, he can start doing some of these fun activities, too!

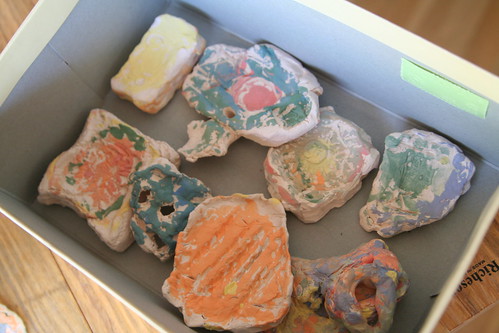
We had a blast. Camp was four days, for two hours each day. Some friends from the boys’ school were also enrolled, so that made it extra fun. We had unlimited clay to play with for three days. On the fourth day, we painted everything. Then our pieces dried and were fired, and we picked them up a couple weeks later.

IMG_7426

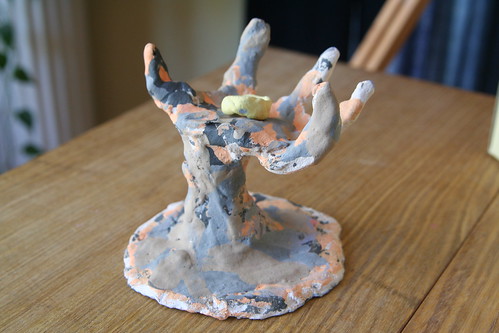
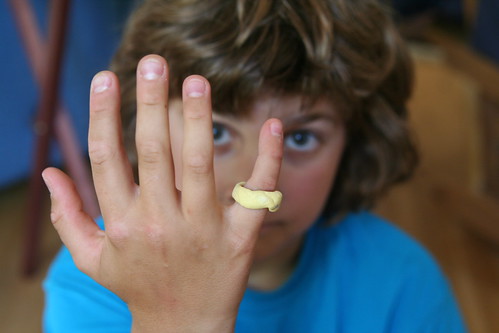
This is Lucas’s piece de resistance: A hand reaches up out of the ooze to clasp a golden ring. The ring is separate from the hand.

IMG_7446

(It’s been a good, long season of reading The Lord of the Rings books in our home and these stories have clearly  fired up my children’s imaginations.)

IMG_7429

Asher thoroughly enjoyed this class, and got really into the feel of the clay and the fact that it took impressions. He spent a lot of time pressing textures of all kinds into his clay objects.

IMG_7427

This is Asher’s “design collection”—a series of clay objects with many textures. They are right in keeping with Asher’s appreciation for treasures.

IMG_7431

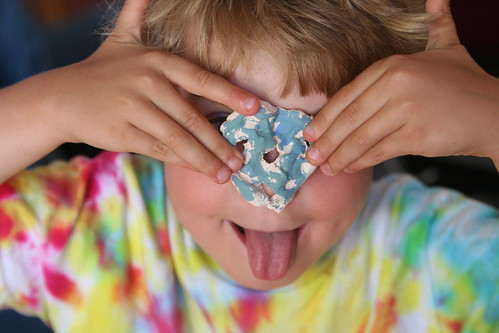
This is a small mask he made. I noticed that Asher had little interest in painting his creations—for him it was all about the forming of the objects.

IMG_7436 IMG_7433

This is a kind of creature sculpture that Lucas made for his father as a Father’s Day present. The back view is on the left, front view is on the right. Asher made a lovely, lumpy candle-holder for his daddy for Father’s Day.

IMG_7439

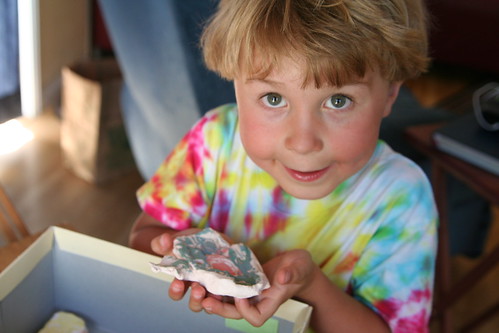
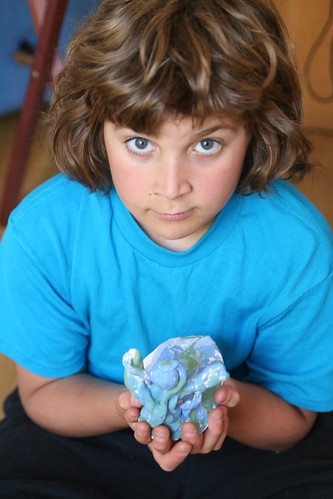
The expressive artist holding his sculpture.

IMG_7451

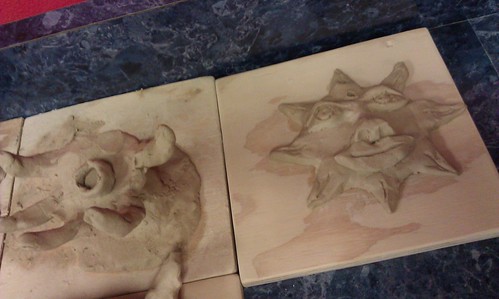
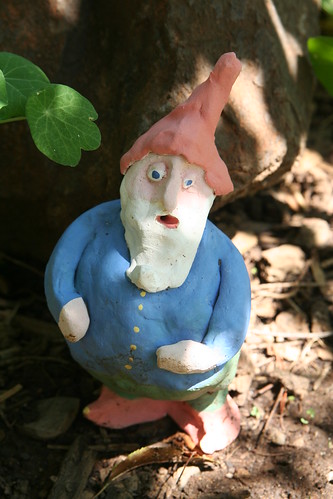
I made this little gnome, using the coil method. I started at his feet and worked up, taking care to avoid having any air spaces inside the figure without a means for the air to escape during the firing process. My gnome now stands in my garden and I am rather fond of him. I also made a sunshine face and a pinch-pot style bowl. It catches my earrings on my bedside table at night.

I like making art with my boys!

  • About Sara

    Thanks for visiting! I’m Sara, editor and writer, wife to Ian, and mother of two precious boys. I am living each day to the fullest and with as much grace, creativity, and patience as I can muster. This is where I write about living, loving, and engaging fully in family life and the world around me. I let my hair down here. I learn new skills here. I strive to be a better human being here. And I tell the truth.

    Our children attend Waldorf school and we are enriching our home and family life with plenty of Waldorf-inspired festivals, crafts, and stories.

    © 2003–2018 Please do not use my photographs or text without my permission.

    “Love doesn’t just sit there like a stone; it has to be made, like bread, remade all the time, made new.” —Ursula K. LeGuinn

  • Buy Our Festivals E-Books


  • Archives

  • Tags

  • Categories

  •  

  • Meta