Handmade Wooden Toys

Two Girls

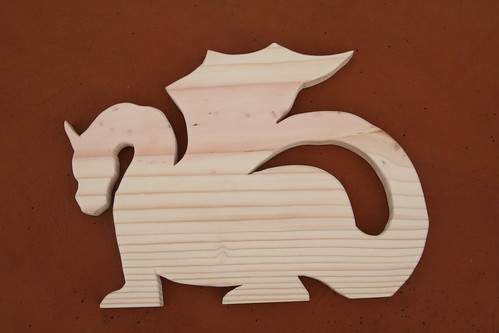
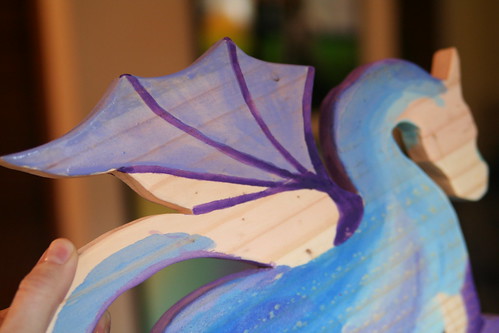
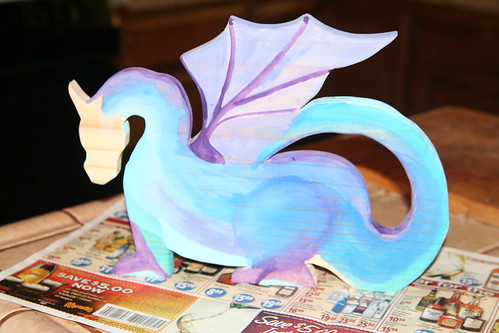
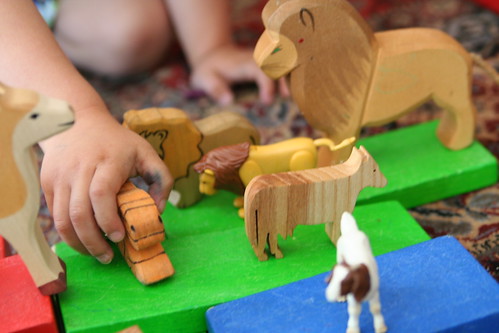
Ian and I made some wooden toys for Asher for his birthday. We learned a lot last December when we made his wooden dragon, knight, and horse, and his rainbow gnomes—not the least of which is that sanding wooden toys takes forever. We wanted to practice these new toy-making skills some more, so we made Asher two girls, an older boy, a pig, a goose, and a gnome cave. We ran out of time and didn’t finish goose woman and the other older boy we cut out. But they’ll be along someday.

Older Boy, Goose, and Pig

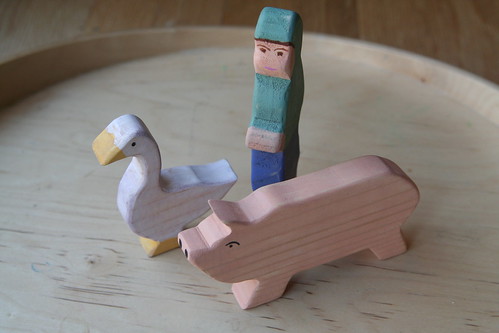
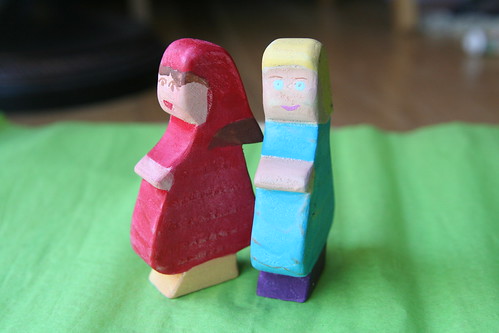
I drew these figures after looking at some old illustrations by Blanche Fisher Wright that were recently republished in a Barnes and Noble collection of Mother Goose nursery rhymes. I liked their simplicity and their old-fashioned clothing (kerchiefs and knickers and so on). Ian did a marvelous job with the scroll saw, which is the part that scares me not a little.

Gnome Cave and Gnomes

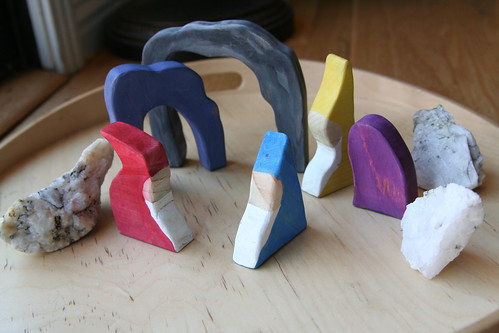
The gnomes in this photo were made last month, but the stacking cave pieces are new. They can be fitted together or separated out to form a gnome scene.

Now, the truth is, I don’t know if Asher will ever play with these items. Often plastic gifts grab a child’s attention quicker, and Asher got some of those for his birthday. For the most part, he prefers to play pretend and transform himself into someone new, whether human or animal. He doesn’t often sit and play with items the way they are intended by adults to be played with. A screwdriver toy becomes a sword, or a pen, or a magic wand. A firefighter’s helmet becomes a bowl or an astronaut’s gear. A stethoscope becomes a communication device or an air tube.

I will just sit back and see what he does with these wooden toys, just as I do with everything else, and be proud that we made them from scratch. They will be for him whatever he needs or wants them to be. And if nothing else, and if I’m very lucky, maybe someday I’ll see them in the hands of my grandchild.

Thar Be Dragons

Asher is really into dragons. He has been playing dragon for quite some time, but we were recently inspired by this book, Tell Me a Dragon, by Jackie Morris. It is simply beautiful and I fully recommend it. It was published in 2009 by Frances Lincoln Children’s Books.

IMG_2303 IMG_2302 IMG_2304 IMG_2305

We have been wanting to make some wooden toy figures for a long time, so making him a dragon for Christmas seemed like just the right thing. We used a scroll saw with a blade that turned out to be too lightweight for the job, and yet, it got the job done.

Christmas Projects: Wood Dragon in Progress

I drew the dragon on paper and cut it out, then I traced it onto a piece of pine. I wish I had paid more attention to the back side of the board, as the back was flawed and we didn’t notice until our dragon was cut out. (Thank you, Ian, for doing the scary work with the saw.) At this point, we were so pleased with our cutout that there was no turning back.

Christmas Projects: Wood Dragon in Progress

I used regular old acrylic craft paints, slightly watered down, to make a kind of color wash. The wood absorbed the wetness quickly, but there were a few seconds with each application when the colors would blend nicely like watercolors. I painted this dragon in several sessions because I needed to let it dry in between.

Christmas Projects: Wood Dragon in Progress

The face was last, and I’ll admit I was really scared I’d mess up on the face! I was hoping to achieve a face that looked both friendly and fierce—kind of a tall order! (I am really pleased with how the tail works like a handle. It feels really sturdy.)

Christmas Projects: Horse, Dragon, and Knight

Of course, what do you do with just a dragon? Along the way, we created a knight and gave him a horse to ride. The horse had to be to scale to the knight, who was done first, but couldn’t be as big as the dragon. Tricky!

Ian was really clever with the knight’s paint job, I think. They look marvelous together. The figures were sanded lightly after painting to smooth them, then finished with a beeswax and lavender furniture polish. They smell and feel delightful.

Now, let’s hope Asher plays with them!

Magical Rainbow Pony

Knitted Magical Rainbow Pony

My mama, who knits (generously and prolifically) very practical and beautiful things like sweaters, socks, baby blankets, and scarves, asked me, “So, what’s with all the knitted animals?” My answer is, “Because they’re small and cute and fast, and I can justify making them because I have kids (even though my kids don’t play with them). Moreover, I’m practicing simple/basic knitting skills like increasing and decreasing, following a pattern, and counting. Prerequisite skills for knitting anything that might be worn by someone.

In the case of this pony, the pattern (from Toymaking with Children by Freya Jaffke) was just slightly different from the donkey I knitted in June, so I was curious about that. I had the rainbow wool yarn from a felting project I did a couple of years ago. So, why not? Haven’t you always wanted a rainbow pony? I have!

Another Knitted Kitty

Second Knitted Kitty: Right

Yep. I made another one—my second knitted cat. This one is going to live elsewhere as soon as she’s old enough.

This Moment: Zoo

This Moment: Zoo

Inspired by SouleMama {this moment} – A Friday ritual. A single photo – no words – capturing a moment from the week. A simple, special, extraordinary moment. A moment I want to pause, savor and remember.

Kitty, Kitty

This knitted kitty I made is far simpler than the knitted donkey I made a couple of weeks ago. Seriously, it’s all rectangles and all garter stitch. Easy, even for me.

Knitted Kitty

My cat is about 2 inches high and 3 inches long. The pattern I used is from Toymaking with Children by Freya Jaffke, but all you have to do to make this little cat is to knit a rectangle that’s almost a square (for the body). Then cast on half as many stitches as you used for the body to make a head, which you will knit until it is a long rectangle (almost three times as long as wide). Last, cast on less than half as many stitches as you used to make the head, to make a tail. Knit about the same number of rows as you knit for the head rectangle. Then sew up the tail into a long tube. If your cat will be small like mine, then no stuffing of the tail will be necessary. If your cat will be bigger, you might have to stuff the tail with wool roving. Fold your head piece in half, sew up three sides, stuff it with wool, and sew up the final side. You may wish to make a few stitches to accentuate the ears. For the body, pinch a corner of your rectangle and sew it into a cone (leg), then move to the next corner and do the same thing. Repeat for all four corners to make for legs. Stuff all of the legs and body and sew up the body at the cat’s tummy. Now attach head and tail in a way that looks appropriately catlike. Voilà! A kitty!

Sturdylegs the Donkey Is Done

The knitted donkey work in progress that I wrote about last week is finished. Here he is!

Sturdylegs the Donkey

Sturdylegs the Donkey

We decided our newest mom-made toy is named Sturdylegs the Donkey. Other name contenders—all great suggestions from Lucas—were Nightsky, Faithful, and Chimney. His names were so perfect and creative, it makes me want to knit three more donkeys just to use them all. (I doubt any family of four needs four knitted donkeys, however.)

Sturdylegs is all one piece, knitted from wool yarn and stuffed with wool roving. His mane and tail tuft is black acrylic because that’s what I had. The pattern is from Toymaking with Children by Freya Jaffke.

I’ve started knitting a cat, which is far easier than the donkey.  😉

WIP: Knitted Donkey

Why a donkey? I don’t actually know, except that it’s small and doesn’t matter. I think that appealed to me. And this pattern is more challenging that the lamb and duck that I’ve knitted in the past. I’d been feeling a lack of handwork even though I’m discouraged because the sweater I was knitting for Asher would no longer fit him if I actually finished it—yes, it takes me THAT long! (Oh, and he hates sweaters.)

Anyway, this donkey has been a good way to practice (remember) how to increase and decrease stitches, and to read a pattern. The trickiest part was increasing in the center of the rows to produce the neck of the animal. There was MATH and everything! It was a great boon to have my friend Dakini_Grl (an accomplished knitter) over for dinner the night I first attempted that! She’s the BEST. It’s actually looking like a donkey now.

WIP: Knitted Donkey

WIP: Knitted Donkey

  • About Sara

    Thanks for visiting! I’m Sara, editor and writer, wife to Ian, and mother of two precious boys. I am living each day to the fullest and with as much grace, creativity, and patience as I can muster. This is where I write about living, loving, and engaging fully in family life and the world around me. I let my hair down here. I learn new skills here. I strive to be a better human being here. And I tell the truth.

    Our children attend Waldorf school and we are enriching our home and family life with plenty of Waldorf-inspired festivals, crafts, and stories.

    © 2003–2018 Please do not use my photographs or text without my permission.

    “Love doesn’t just sit there like a stone; it has to be made, like bread, remade all the time, made new.” —Ursula K. LeGuinn

  • Buy Our Festivals E-Books


  • Archives

  • Tags

  • Categories

  •  

  • Meta