St. Patrick’s Day Leprechaun Mobile Tutorial
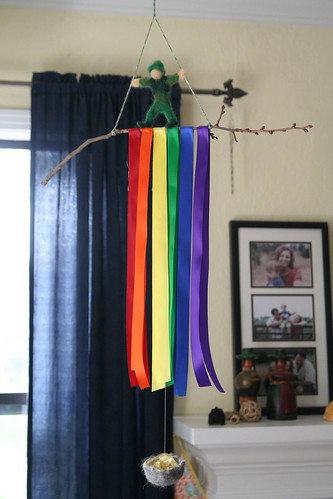
I have a deep and abiding love for mobiles. Holiday decorations that hang can be very festive without taking up too much space or cluttering your nature table. Here’s a St. Patrick’s Day leprechaun mobile that is easy to make and quite whimsical.
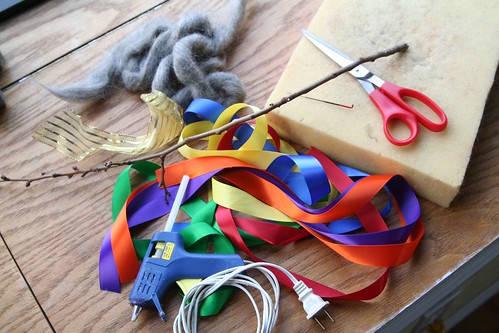
Materials
- foam base and needle-felting needle
- wool roving in gray or black, green(s), and skin colors
- low-temperature glue gun and glue sticks
- one twig approximately 18 inches long; ideally it will have a 6-inch straight section in the middle
- gold ribbon, gold foil, or gold tissue paper
- 1-inch ribbons in rainbow colors, approximately one yard of each color
- yarn or string, approximately 2 yards
- needle, thread, and scissors
Money-Saving Alternatives
- Narrower ribbon in rainbow colors costs less. Although I used 1-inch ribbon, you could use several strips of the same color ribbon to create a 1-inch band of color for each color of the rainbow.
- Instead of 1 yard of each color, you could use only a half yard. Your ribbons would be a single layer, not double as in the photos below.
- Check your gift wrap stores. You may have some gold tissue paper or ribbon left over from a package.
Tutorial
To begin, tie two pieces of yarn or string (each about a yard long) to your twig, approximately 8 inches apart. Hang the twig from the two strings more or less horizontally (adjust the position of the two ties on the twig as needed). Then tie a knot in the two strings about 8 inches up from the twig. This will make a triangle of string above your twig. Tie your twig to something so that it hangs freely at shoulder level so that you can work on it comfortably.
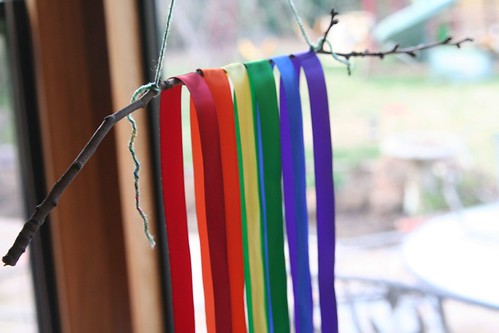
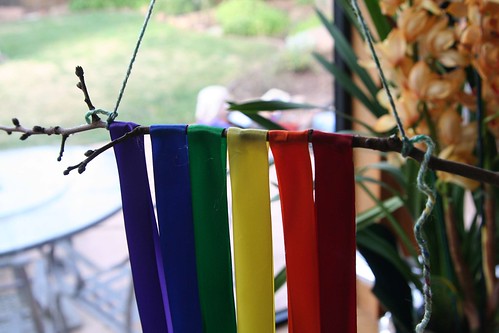
Lay your ribbons over the twig in rainbow order. Their two ends should be even at the bottom. Make sure you like the position of each ribbon before you affix any glue. (You can use clothes pins to hold them in place while you decide on their optimal positions.)
With your glue gun, put a dab of glue on the inside of one layer of a ribbon and pinch the other layer over the top of the warm glue to fix the ribbon to itself. Repeat this for each color. See the photo above.
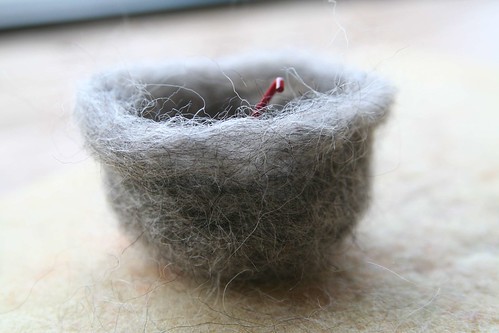
Now, take your gray or black wool roving, felting needle, and foam pad and needle-felt a pot. This will be your pot of gold. Mine was about 2 and ½ inches in diameter. If you wish to have a sleeker look for your wool pot, you can first shape it with your felting needle, then wet-felt the pot in hot water with soap. Gently rub your pot inside and out with soap until the fibers mat firmly together. Rinse it in both hot and cold water.) Shape it carefully into a pot and let it dry. You may still want to apply your needle again to perfect the pot’s shape.
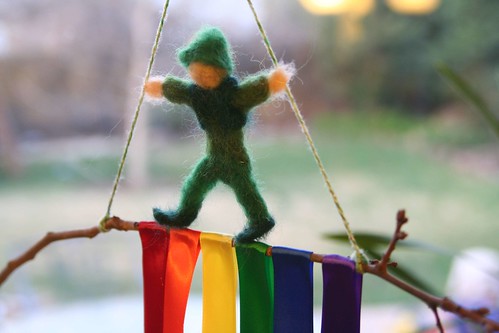
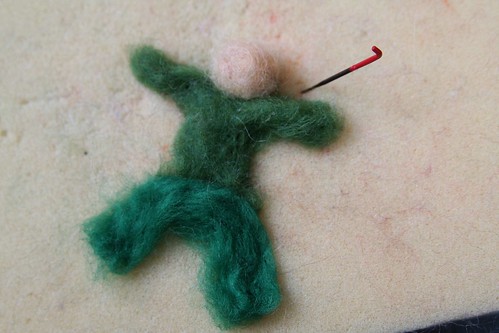
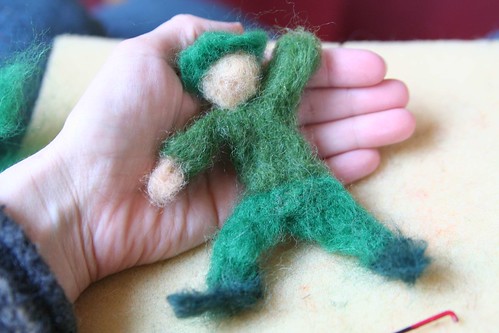
With your green and skin-colored wool roving, needle-felt a leprechaun. No wire skeleton is needed for this project and since this figure will not be played with, you can attach head, hands, legs, shoes, and hat by simply needling the fibers together. Start with a torso and arms. Add legs. Add a ball of skin-colored wool for a head.
Your leprechaun can be as traditional or as unique as you like. Mine was a kind of Waldorf-inspired figure dressed in several greens, with a jaunty hat and dark green vest.
Stand your leprechaun on top of your horizontal twig. With needle and thread, sew your leprechaun’s hands to the yarn or string hanger. (Feel free to adjust the knot above the leprechaun‘s head as needed to make it possible for the hands to hold both strings.) Finish off the two yarn/string knots on the twig by tying them securely and cutting off the excess.
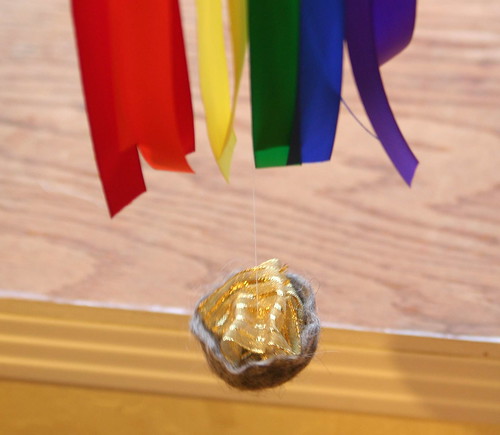
When your pot is dry, crumple your gold ribbon, foil, or tissue paper into a mound of gold and place it into your pot. You might want it to heap above the edge of your pot. With a long thread, sew up from the bottom center of your wool pot, through your gold, and back down a couple of times. On the way up again, extend your long thread all the way up to your rainbow-covered twig and tie your thread securely to the center of the twig. You’ll probably want to tie it in between the yellow and green ribbons. Cut of the excess thread tail. Your pot of gold should hang a couple of inches below your twig, at the end of your rainbow.
Find a nice spot in your home to hang your St. Patrick’s Day mobile with leprechaun and pot of gold, perhaps in front of a window, where fresh spring breezes will make your rainbow ribbons flutter.
* This article was originally published in the Little Acorn Learning March Enrichment Guide.




March 12, 2012 at 3:15 pm
I love it ! Thanks Sara for sharing
March 12, 2012 at 8:49 pm
How cute! We have no St. Patrick’s Day decorations, so this will be fun to make! Now to go see if I have any variety of greens in my roving stash…..
March 19, 2012 at 9:15 am
Hi Abigail! Thanks for your comment. I hope your mobile turned out nicely and that you enjoyed the holiday.