St. Patrick’s Day Paper Ornaments Tutorial
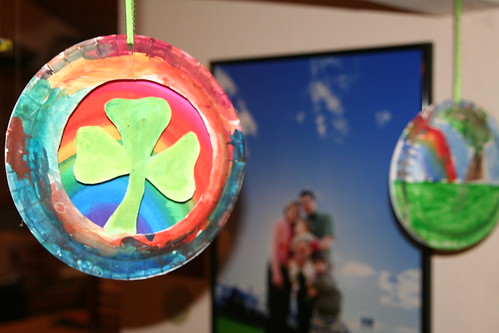
We are sick. Well, Lucas and I are, and we spent the day at home. This afternoon we rallied a bit and managed some impromptu crafts for St. Patrick’s Day. So, these kid-friendly St. Patrick’s Day paper ornaments were born. I offer these in the spirit of using what you have on hand for some low-key fun.
Materials
- 2 paper plates
- watercolor paints and brushes
- watercolor paper (optional)
- scissors
- ribbon or yarn
- compass and hole punch (optional)
Tutorial
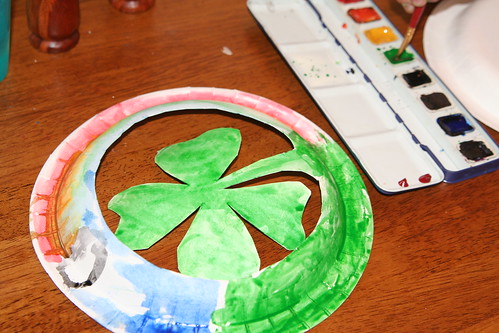
Insert your scissors into a paper plate and cut along the outer ring and cut out a shamrock shape from the center of the plate, leaving the bottom of the shamrock’s stem attached to the outer circle. I cut out a three-leaf shamrock and a four-leaf. If you get ambitious, you can cut out the figure of a standing leprechaun, leaving both feet and one hand attached to the outer circle. This is harder to do, but give it a try. You can choose to draw your design on the plate first, or just eyeball it, start cutting, and see what happens.
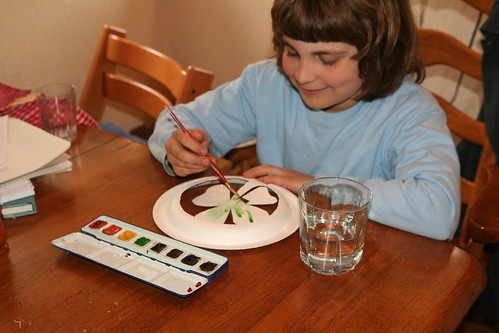
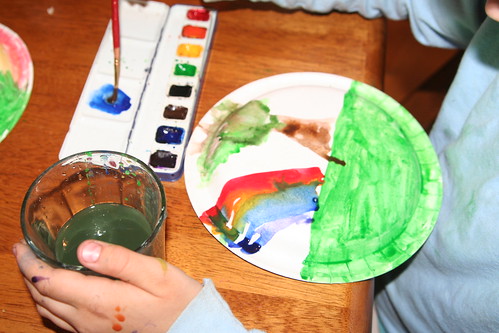
Now get your kids to paint your design. Painting is such a great activity when you need to rest or cultivate calm in your home.
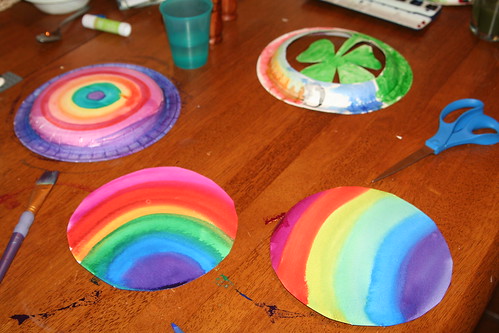
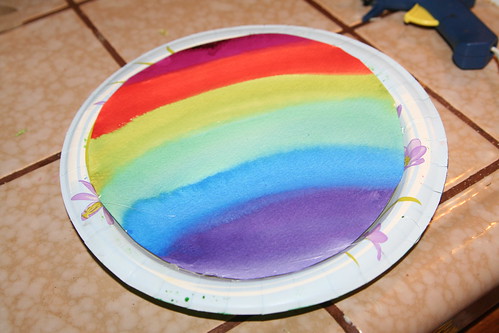
If you have the type of paper plates with a coating on them to make them less absorbent, then you will probably also want to paint a circular background on watercolor paper. Do you know where your compass is? If you have one, it makes this step a lot easier. Draw a circle that will fit inside your paper plate. I painted rainbows on some circles to use as backgrounds. I love rainbows.
Your children should also paint the back of a second paper plate. Be sure to wait until all the watercolor painting is completely dry before you assemble your ornament.

With hot glue, glue your circle background into your bottom plate. It will cover any design on the plate and compensate for that water-resistant coating.
Like so. The design that is still visible around the edges won’t be visible in a minute.
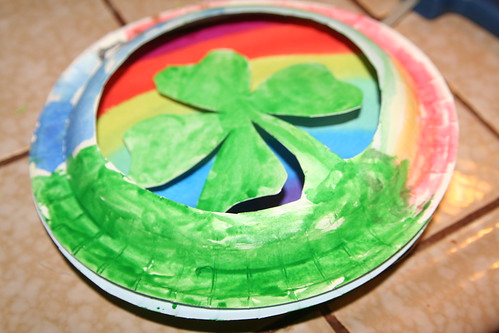
Now stack your front cut-out design on top of the bottom paper plate. Using hot glue, seal the outer edges together. Press them firmly to make them stick nicely. You might have to apply glue in six or seven spots around the circle.
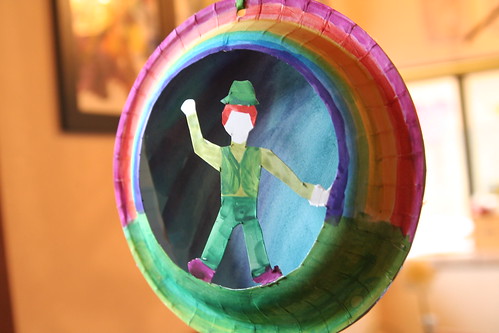
Finally, punch a hole in the top, thread a piece of ribbon or yarn through the hole, and hang your ornament.


March 15, 2012 at 9:02 pm
Love it! Especially the leprechaun one!