Kind Saint Nicholas

IMG_3321

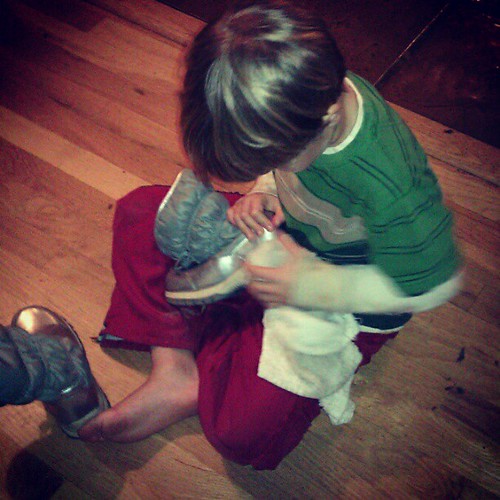
Yesterday was the feast of Saint Nicholas and we marked the holiday in our usual small ways. The boys polished their shoes and put them out near our door. We also left out some hay for the saint’s donkey to eat. (Lucas left a note for Nicholas, asking for oranges, a taser gun, and a katana; the kid can dream big!)

Polishing boots for St. Nicholas Day Eve of St. Nicholas Day

IMG_3320

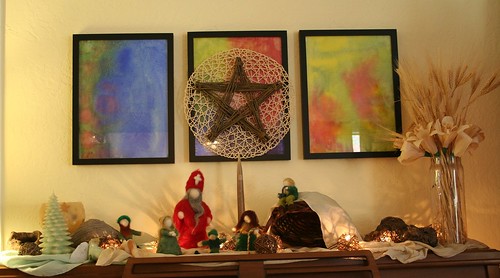
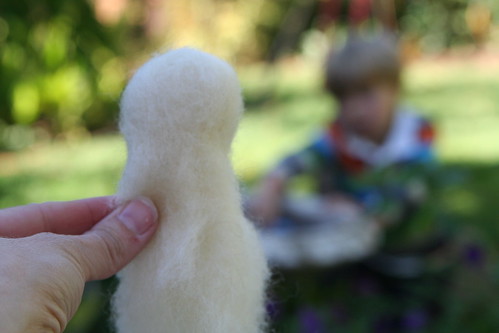
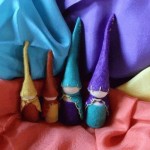
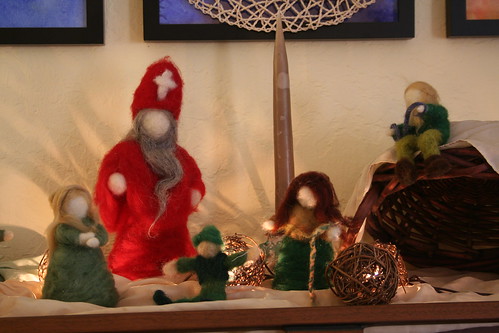
I updated our nature table a bit, with Saint Nicholas surrounded by some little children. Together we read Christine Natale’s Saint Nicholas stories. My favorites are the ones when Nicholas is a boy because he shows generosity in ways that children can—by sharing what he has, by cheering people and giving comfort to those who are sad, and by being kind and generous to those who are different, disadvantaged, or disabled.

In the morning, we all found some treats and treasures in our shoes. Nicholas must have come in the night! Lucas and Asher got oranges, fancy chocolates with honey caramel inside, a bag full of magnetic hematite stones (gold for Lucas and rainbow iridescent for Asher), and they each got a beautiful heart-shaped agate worry stone. (We parents also received worry stones, too, and I think we need them more than the boys do. They are delightful for hands to find in pockets.) Simple. Sweet. My kids think it’s out of this world to be allowed a chocolate first thing in the morning!

Saint Nicholas also visited all the children at school. He and Rupert brought oranges, cookies, and crystals to Asher’s Kindergarten class, and he brought chocolates and pretty stones to Lucas’s fifth-grade class. I wish I had a photo, but I wasn’t there.

My kids chose some toys they no longer want to keep and we are donating them to others. We have a pile of donations outside at our curb, just waiting for the United Cerebral Palsy donation van to come and pick them up. It always feels good to give away things that no longer serve us to those who need them more than we do.

I think Saint Nicholas must be pleased with us. I am.

Oaks

upload

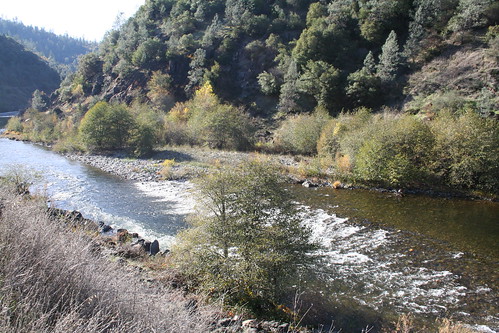
Today is rainy and gloomy. We’re getting our first big winter storm in Northern California. So I consoled myself with some photos from about a week ago—I took these on a glorious November day in Temple Park in Fair Oaks. I thought I’d share them here, in case you need a pick-me-up too.

upload

Worldtree shadow

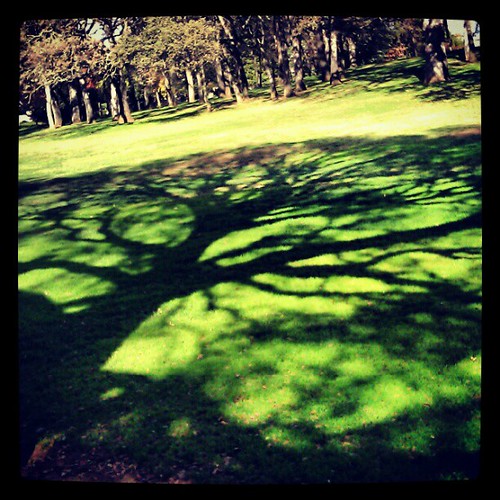
This shadow was really stunning. It reminded me of Yggdrasil, the World Tree from Norse mythology. Kind of a magical, accidental moment I captured. My children played at the park while I wandered around with my eyes mostly in the sky.

upload

Oak

upload

It’s no wonder to me why this place is called Fair Oaks. These trees are so mighty and beautiful. They never fail to inspire me.

Finished, Released, and Relieved

Winter Mosaic 10x3

This is a teaser photo mosaic that shows just a little of what my friend and I have been up to lately. For the last two months, Eileen Straiton (of Little Acorn Learning) and I have been diligently working on our latest e-book. We had so many fantastic ideas and so enjoyed inspiring each other that we kept crafting and writing right up until our self-imposed deadline. Furthermore, we created so much content that we decided to release it as TWO e-books instead of one.

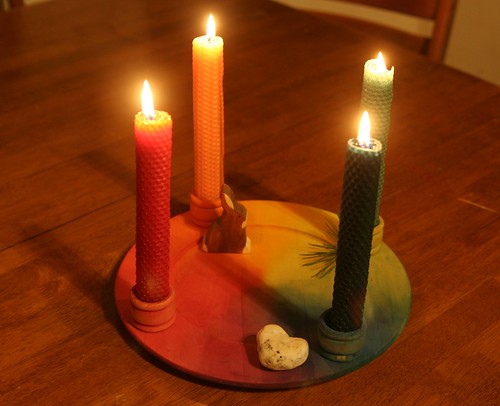
Wooden Advent Wreath

One book is our Advent and Saint Nicholas Festival E-Book, which offers poems, stories, songs, crafts, and myriad special ways that families, schools, or childcare professionals can celebrate the whole month of December with children. The advantage to doing so is that you get a more thoughtful, heartfelt approach to the holidays, with less rushing commercialism and more time in each other’s company while making and giving of yourselves. A measured, calm approach to the winter holidays gives children time to dream, live into the stories of their faith and the season, and count the days of Advent. Children can savor the passing of time with peaceful, delicious anticipation and gentle, useful activity, rather than experience the holiday as a single, frenzied, blowout day that is over all too soon. A peaceful Advent full of simple pleasures and togetherness is what they’ll remember later, not the package-ripping and specific, expensive gifts.

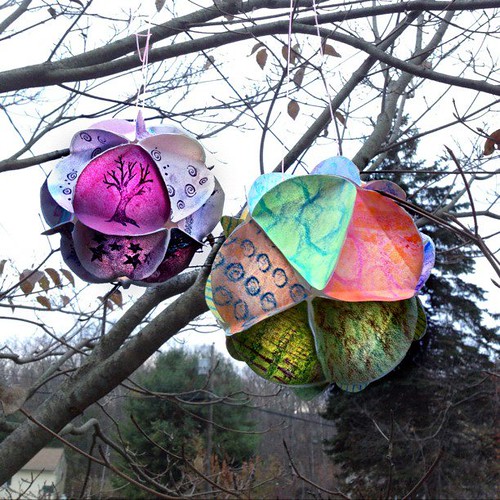
Solstice Spheres

The other e-book we created is the Winter Festivals E-Book, and it’s full of ways to celebrate the festivals of Santa Lucia, Hanukkah, Solstice, Yule, and Christmas. Maybe now it makes sense that we have two offerings instead of one? See, the season of winter festivals is packed with beautiful symbols; messages of peace, hope, rebirth, brotherhood, generosity, and love; and so many inspiring and edifying traditions that it was tough to contemplate leaving out anything. And cold and dark days give us the opportunity to dive into the rich and various traditions that inform the winter festivals. This e-book also offers songs, ancient poems and carols, recipies, rhymes for circle time, caregiver meditations, crafts and natural decorations you can make, and a whole bunch of ideas for enjoying the many festivals of light.

We would be honored and delighted if you’d check out these e-books and spread the word a little. We have poured our hearts and souls into them.

It is our aim to provide nourishing opportunities for families and groups of children at school/daycare environments. Our content is firmly based in Waldorf instructional methods and theories of child development. We value the whole person—head, heart, and hands—both the child and the adult alike. We strive to be original, to use natural, affordable materials, and to create beautiful artwork and handwork without it being so complex that readers are intimidated. We strive to inspire and encourage frequent artistic expression and to share the joy and satisfaction of creating handmade gifts. We are Waldorf moms (and Eileen is a professional childcare provider) and we offer this work with love.

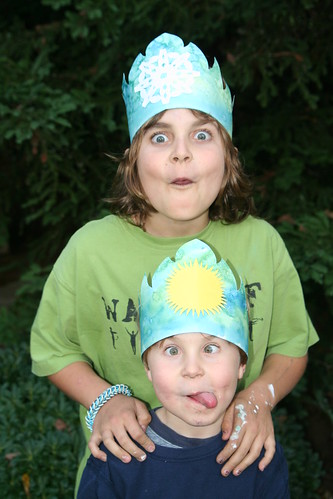
Here are a few “making of” shots from the last two months. I’d like to say thank you to my little helpers and models, Lucas and Asher, for being willing to go along with Mommy’s visions, and to Ian who tolerated my clutter of tools and supplies, my having four different holidays’ décor spread throughout our home at once for photo shoots, and my “Just a minute, I’m writing” excuses. I’m grateful for the opportunity to do this work.

IMG_1931

Reborn Solstice Sun Watercolor pants

IMG_2447

IMG_2364

Thanksgiving in Nature

IMG_2531

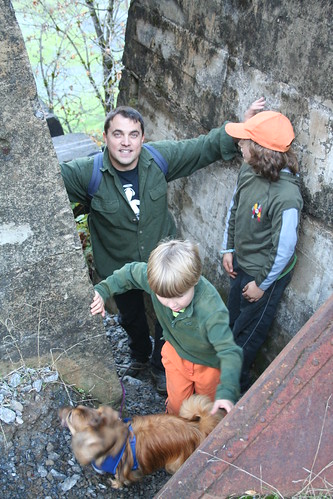
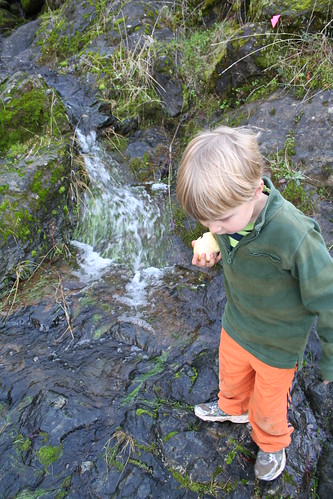
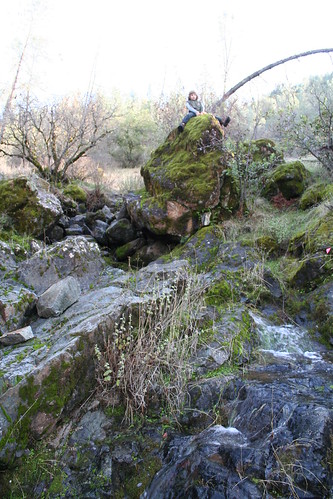
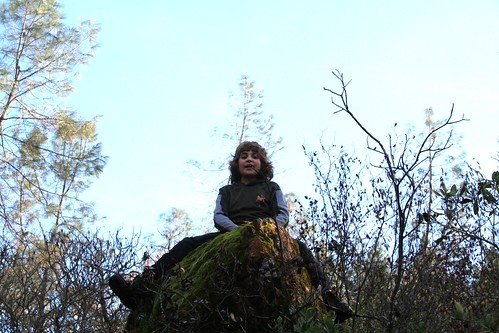
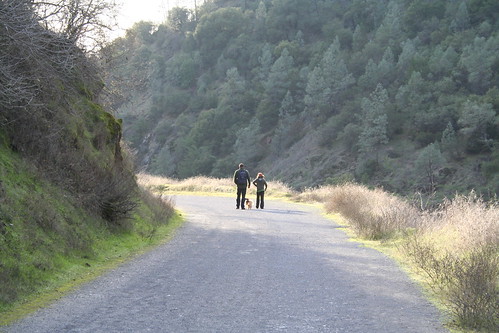
We had been planning a family vacation in Eureka, but it didn’t work out. As a consolation prize we took the boys and the dog hiking in Auburn on Thanksgiving Day. We hiked about 5 miles and ate chicken sandwiches at a picnic table. It was absolutely perfect and exactly what we needed.

IMG_2539

IMG_2542

IMG_2571

upload

IMG_2588

IMG_2623

IMG_2626

IMG_2635

upload

IMG_2699

IMG_2645

IMG_2657

IMG_2682

IMG_2692

IMG_2708

IMG_2727

IMG_2711

IMG_2701

IMG_2736

Thanksgiving Leaf Mobile

IMG_7639

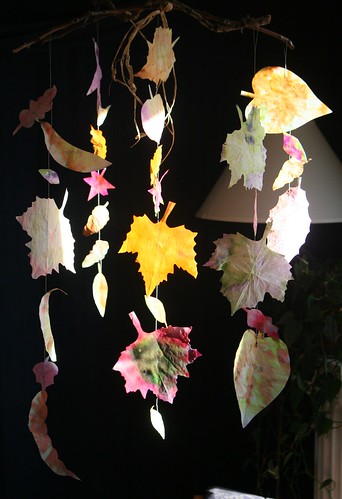
Do you ever wish you had a physical expression of all the many things your family is thankful for? Here is a simple project that can be just that. Hang this Thanksgiving Leaf Mobile over your dining room table or in your family room to decorate for the Thanksgiving holiday and remind your whole family of the bounty of blessings that you all share together.

Materials

  • white circular paper coffee filters
  • washable marker pens and spray bottle with water, or watercolor paints
  • green floral wire
  • two or three strands of raffia
  • two sticks
  • sewing machine or needle and thread
  • scissors
  • leaves to use as patterns (optional)
  • pen (I used a silver pen, but any type will do)

Create Your Gratitude Leaves
IMG_7527

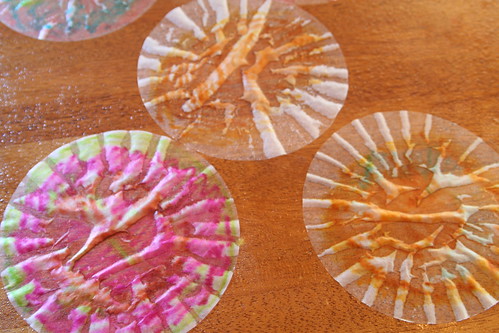
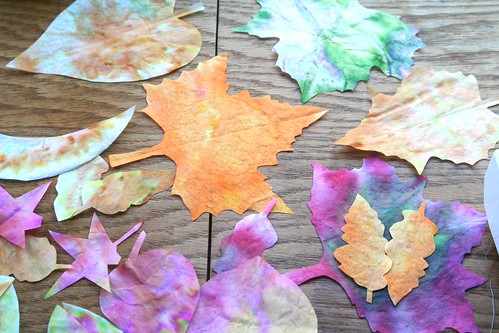
Begin by coloring your paper coffee filters with washable markers. I suggest you use mostly autumn colors. You don’t have to color anything fancy and you don’t have to worry about white spaces in between the strokes of the marker pen.

Now lay your colored coffee filters on a clean dry surface and spray them gently with water from your spray bottle. Because you are using coffee filters, the water will wick throughout the paper, spreading out your ink. The colors of the marker pens will blend together, making a beautiful wash. (Alternatively paint your coffee filters with watercolors.)

IMG_7523

Let the filters dry. Once dry, they won’t adhere to the work surface.
IMG_7531

Now, fold each coffee filter circle in half and cut out a leaf shape, using real leaves as patterns, if you wish. You may want your leaves to be all the same type, varying only in size. Or, you might like to have many types of leaves. Cut out a bunch of paper leaves (I made 31).

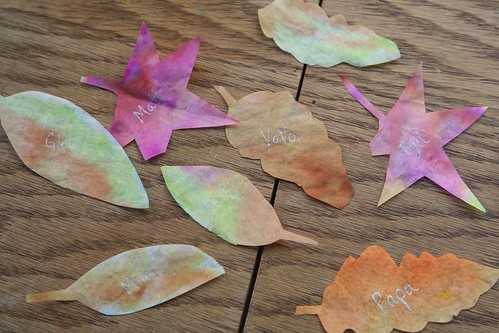
With your family’s help, write what you all feel thankful for on the leaves. Write the name of each family member and pet on leaves. Write down the material things you enjoy, such as a house, a car, and food to eat. Also write abstract concepts such as safety, peace, harmony, education, freedom, friendship, and health. You may be surprised by what your children are grateful for, when they give you their ideas.
IMG_7539

I bet that once you start counting your blessings, you’ll have no trouble creating many gratitude leaves.

Create Your Thanksgiving Leaf Mobile
 IMG_7536

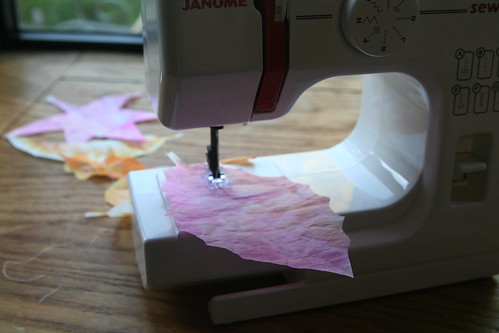
Your leaves are ready now. It’s time to sew them into a long string or banner that will hang vertically from your mobile. The simplest and fastest way to do this is by using a sewing machine set on a long stitch or very wide zigzag stitch. (You don’t want a short stitch because many needle holes very close together may actually cut your leaf into halves as you sew it.)

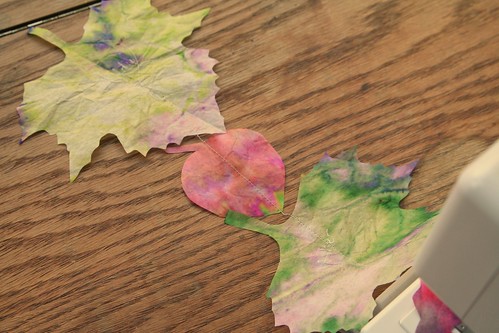
You want a fairly long “tail” of thread on your first leaf, as this thread will tie the whole sewn string of leaves to your mobile. While you’re sewing, allow the machine to continue sewing even off of the leaf. This results in a string of interlocked thread that provides some spacing in between your gratitude leaves and allows for additional motion in your mobile. Consider feeding the leaves into the sewing machine in a variety of orientations. If you do this, you’ll create a windswept look instead of a static look that would result in leaves pointing all the same direction.
IMG_7533

See how the leaves come off the back of the sewing machine, with some space in between them? Sew several strings of leaves. Four or five strands works very nicely. Remember not to trim your threads yet! (You can also create these leaf strands by doing a running stitch by hand with a narrow needle and thread.)

IMG_7540

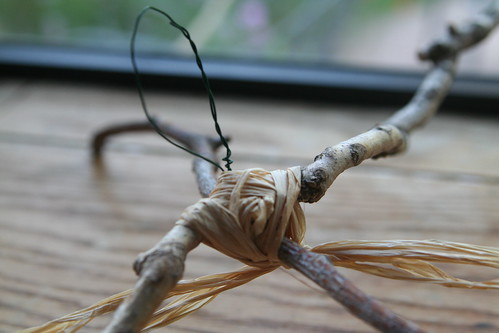
Next, construct your stick hanger. Cross your two sticks in the centers and use the floral wire to bind them together. Wrap the wire around both twigs in all directions until they feel securely bound together. This is also the time to make a wire loop that will serve as a hanger for your mobile.
IMG_7542

You can get fancy here if you want by adding some real or artificial fall leaves and berries to the top by poking them into the wire. Just keep in mind that the most beautiful part of your mobile should be your gratitude leaves. Whether you choose to add decorative items or not, disguise the wire by wrapping some raffia strands around the joint.
IMG_7631

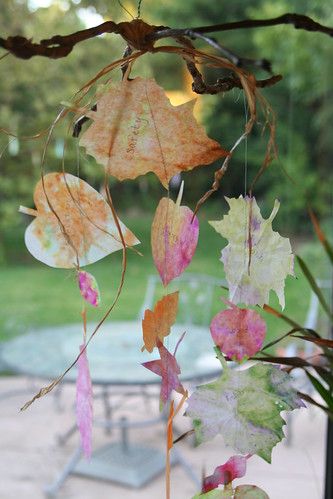
Find a place to hang your crossed sticks at about shoulder level so you can work on the mobile with both hands, or get a helper to hold it for you. Now tie your leaf strands to the ends of each stick by their extra long top threads. If you have enough, also tie a strand to the center of the mobile. Last of all, clip any extra thread from the tops and bottoms of your leaf strands.
IMG_7638

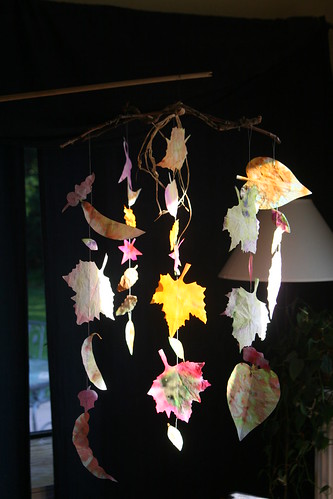
Hang your mobile somewhere prominent in your home, perhaps where some airflow may move it or where autumn sunshine might make it shine. When you look at it, you’ll see how very blessed and grateful you and your loved ones are. Blessed be!
Halloween Fairy Goodies

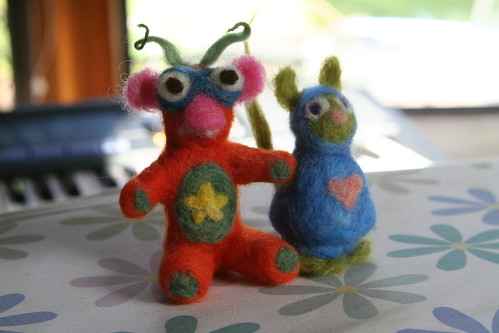
Needle-Felted Monster Friends

We have a tradition in our home, and I know we’re not the only ones who do this. After Halloween every year, my children set a good portion of the candy they have collected trick-or-treating in our backyard. We shout into the night, “Halloween Fairy! Halloween Fairy! Come and get our candy sweet. Trade us for a little treat!” And then we go to bed.
The next morning we usually find that the candy has been whisked away, and in its place are small goodies or treasures that our children can play with and enjoy much longer than they could enjoy a sweet.

Some years the Halloween Fairy brings books, sometimes toys. Sometimes the toys are handmade—perhaps the Halloween Fairy has a little workshop where she and some Halloween Sprites make treasures for children? You might be wondering, What happens to the candy? Well, the Halloween fairy left us a note once that explained that she gives all the candy to the Sugar Sprite, who needs help to feed her family. She finds it pretty difficult to gather sweet nectar from flowers at this time of year, so she instead feeds candy to her Sugar Babies to keep up their strength in the cold months. In exchange for your child’s generosity, the Halloween Fairy will leave a small gift for your child to play with.

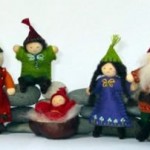
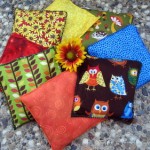
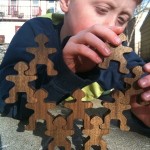
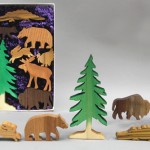
I’ve done a bit of looking, on the Fairy’s behalf, and I’ve discovered all of these wonderful treasures to be purchased at A Toy Garden. I thought I’d share them with you, in case you can help the Halloween Fairy choose a special treasure for your child. *

Mushroom Knitting Spool  /  Peekaboo Pixies – Orange and Black  /  Blank Book – Set of 4 – Red, Yellow, Green, Blue  

 The Harvest Story  /  Autumn Gnome Set  /  Autumn: A Collection of Poems, Songs and Stories for Young Children

Forest Spirit Wand  /  Treasure Pumpkin Wet Felting Kit  /  Felted Pumpkin Pair

Forest Gnome Family Kit  /  Autumn Garden Gnome Pair  /  Forest Friends Herbal Beanbags

Stacking Gnomes  /  Earthtone Silks  /  Forest Animal Box Set

In a Nutshell  /  Felt Mushrooms  /  Carved Wooden Heart Nesting Bowls

There is something for everyone in this collection (open-ended playsilks, dolls, crafting kits, nature table finds, toys), and far more at A Toy Garden’s beautiful website. I know the folks from A Toy Garden personally and I can assure you they take great pride in sourcing toys, craft supplies, clothing, books, seasonal decorations, dolls and much more from the very finest makers and suppliers around. Many of their products are Fair Trade or made in the U.S.

* Now, here’s a little note from me, the Reluctant and Often Confused Webmistress of Love in the Suburbs: I’ve done the best I can with this technology stuff. If you click a photo, you unfortunately won’t go to the website where you can buy the item. (Trust me, I tried!) To be whisked off to the AToyGarden.com website item page, you have to click the text link below the pretty pictures. Thanks!

Michaelmas in the Waldorf Kindergarten

IMG_1647

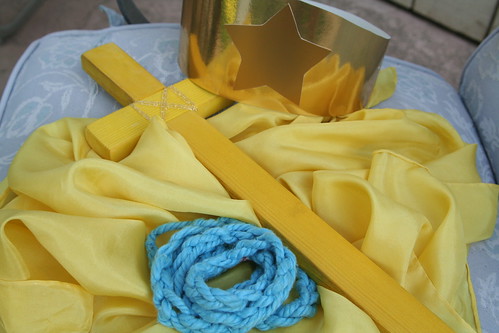
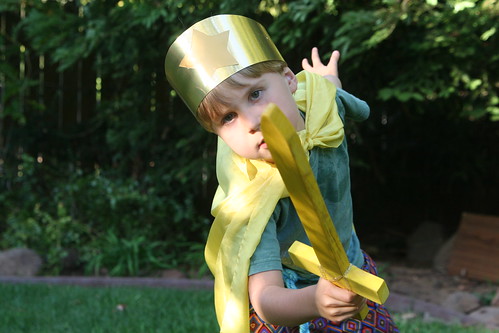
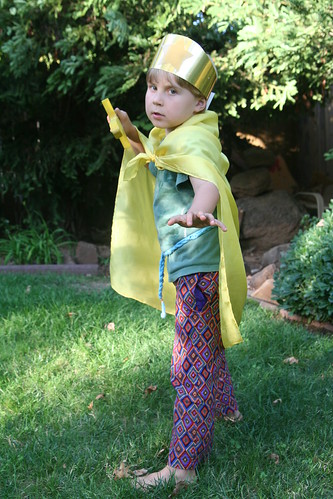
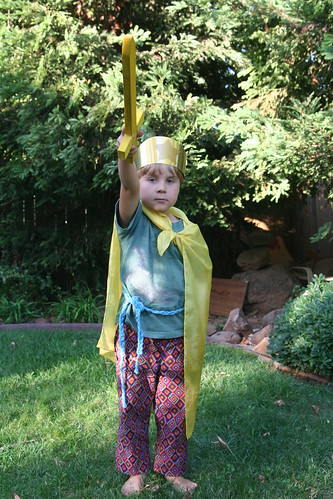
This is what Asher’s Waldorf Kindergarten has been working on for the last couple of weeks to celebrate Michaelmas: a cape of light dyed with marigolds (and a little dye to boost the color), a finger-knitted belt he made, and his sword.

He sanded the wood carefully three times, each time making it as smooth as he could. Then he stained the pieces a golden yellow. Then he assembled it, placing two little bits of silver paint (iron) into the blade where it meets the hilt. Older children in the (mixed-age, two-year) Kindergarten get to make their swords. The younger children have to wait until next year.

Making a sword at school is a big deal and a big responsibility. This is his first sword and he made it himself.

IMG_1656

All the while, the children were learning Michaelmas songs and were told the story of the humble boy, George, who, with Archangel Michael’s help and a sword forged from iron from the stars, defeats a dragon and saves the all the people of the land.

IMG_1660

And this is what he was told when he was given his finished sword to take home:

“Listen, Asher, to the words I say.
Your sword you may take home today.
We know your heart is brave and true.
Courageous, strong in all you do,
Michael will always be with you.
Now you are a knight of Michael.”

I am a knight, kind and good,
Helping others as I should.
I am a knight, gentle and true,
Bringing love to all I do.

I’ll use this sword for the right,
Not for some silly quarrel or fight.
But to drive away evil, I will try,
And protect those who are weaker than I.

IMG_1662

(I had to give Asher a small piece of chocolate to get these photos. It was worth it.)

Pumpkin Globe Lantern Tutorial

IMG_5700

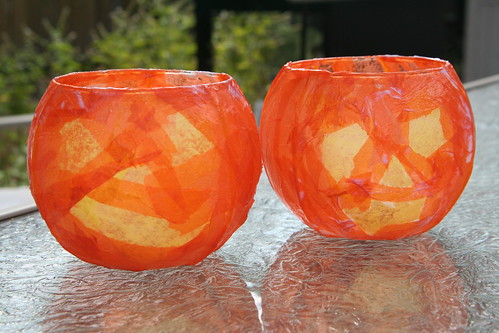
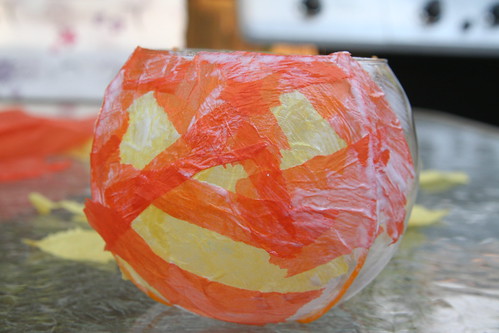
Candlelight is favorite way to illuminate October evenings, and what says October more than jaunty, glowing pumpkin faces? These pumpkin globe lanterns can be made by children of all ages with your supervision. The process is simple and the materials are inexpensive. Why not create a jack-o-lantern that you can enjoy year after year?

IMG_5662

Materials

  • tissue paper in yellow and orange
  • wax-coated strings in yellow or orange (brand names are Wikki Sticks and Bendaroos)
  • globe glass candle holder
  • mod podge and a paintbrush or foam applicator

IMG_5689

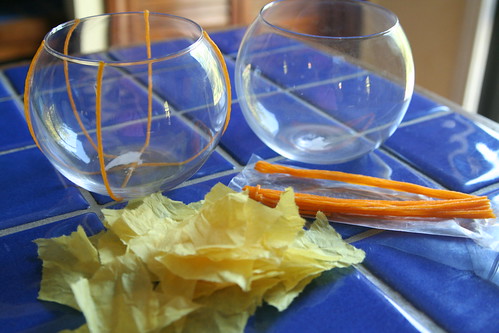
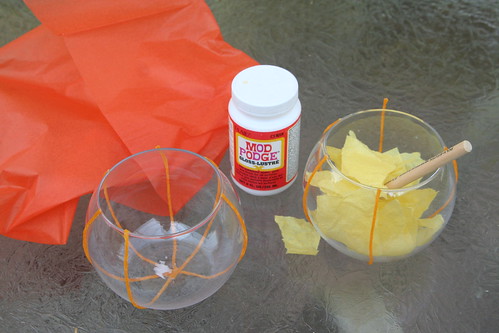
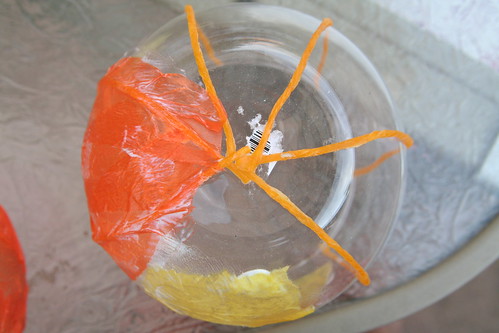
Begin by gathering your materials. The first step in the project is optional. If you want your pumpkin globe lantern to have the iconic vertical rib lines of a real pumpkin, gently squish the end of a wax string to the top edge of the globe. Guide it down the side and squish the other end to the bottom of the globe. Repeat this for as many lines as you like, placing the wax stings equidistant to each other. You might want to omit one line that would naturally appear at the pumpkin’s face. These lines will be visible when the candle is lighted in the finished pumpkin.

IMG_5690

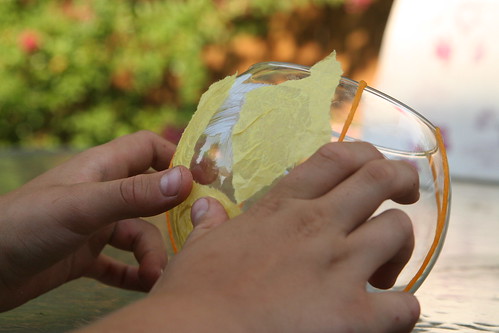
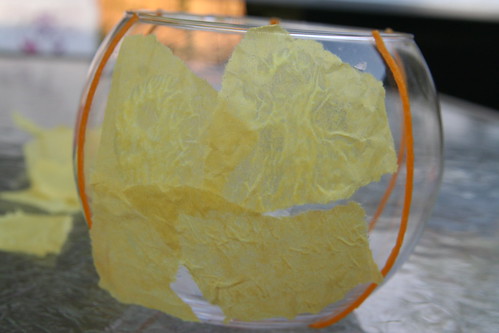
Rip your yellow tissue paper into small pieces. You won’t need much. Now apply a small amount of mod podge to your glass and apply a small piece of yellow paper. This is your first eye. Smooth the paper with more mod podge and the applicator or paintbrush. Add a second eye, a nose, and a long mouth. The shapes of these pieces of tissue don’t matter all that much. Smooth them all down.

IMG_5692

At this point, your face might not look much like a face. You’ll use your orange tissue paper to define your pumpkin’s features next. Rip your orange tissue paper into small pieces. (Alternatively, rip some small pieces and then rip some into strips about 6 inches long.)

IMG_5693

Using your small pieces of orange tissue paper, apply them around your pumpkin’s eyes, nose, and mouth. Now is your opportunity to define your pumpkin globe lantern’s personality. Small children may prefer smiling, happy pumpkins. Older children might enjoy figuring out how to make theirs spooky. Does the pumpkin have squinty, frowning eyes or a snaggletoothed grin?

IMG_5695

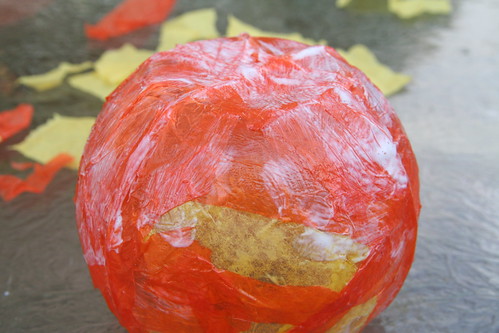
When your pumpkin is mostly découpaged with tissue, turn it over and cover the bottom of the glass globe. You’ll have to let it dry in this position, setting on its top rim.

IMG_5696

If you wish to use long strips of paper, your in-progress pumpkin lantern will look like this photo above. You’ll add adjoining strips, working your way around until the whole globe is covered.

IMG_5701

Now you have to wait patiently while the mod podge dries. Examine your pumpkin for any thin spots or places uncovered by tissue. Add or patch as needed. The more layers of paper you add, the better defined the pumpkin’s features will be.

IMG_5706

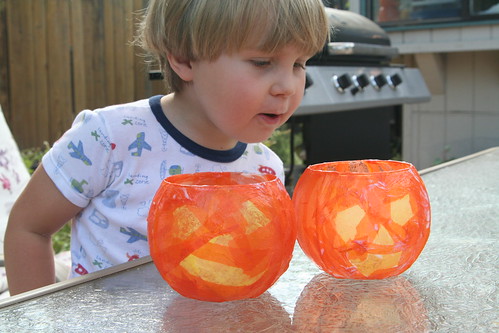
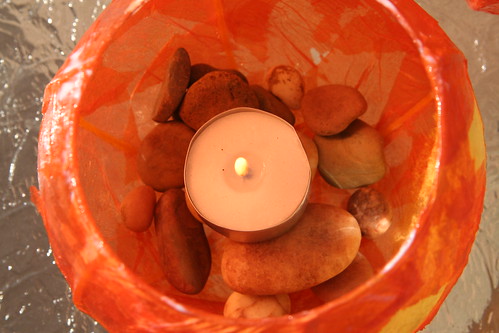
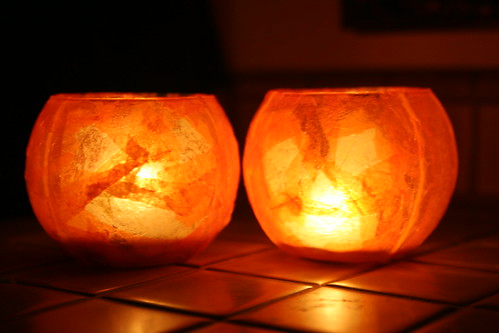
Fill your pumpkin globe lantern with some rocks, gems, or sand, add a tea light or votive, and wait for nightfall to meet your pumpkin friend in all his glowing glory. It will happily share its light during chilly autumn nights.

IMG_5720

It’s nice to have a friend in the darkness.

Tough Mudder 2012

IMG_0630

IMG_0631 IMG_0925

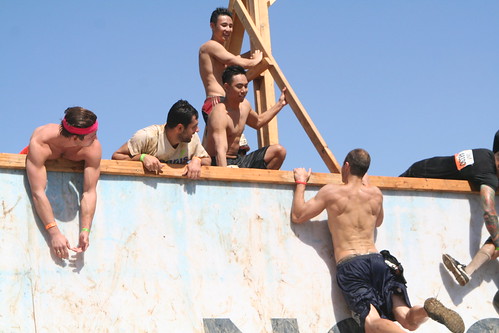
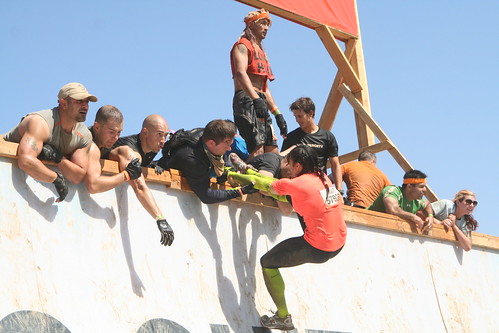
Once again, my dear husband tackled a huge dragon and completed the Tough Mudder in Patterson, California. He trained hard for it and had a great time. Somehow this was a kind of birthday celebration for him. I don’t know. He’s kind of weird. (That is a safety pin in his mouth, not a piercing. He was pinning his number onto his shirt when I snapped the photo above.)

IMG_0792

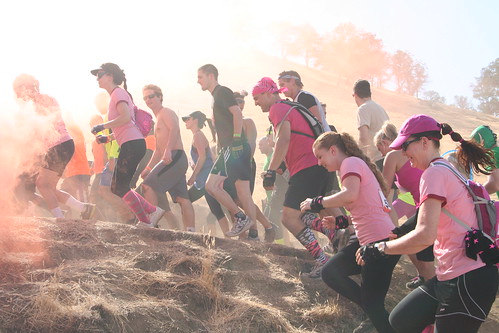
Ian joined our friend Cherylyn and her family’s team, the Jog-or-Naughts. They were all in pink, and Ian gamely donned their color for the event. I was able to follow them from the start and to the first couple of obstacles.

IMG_0901

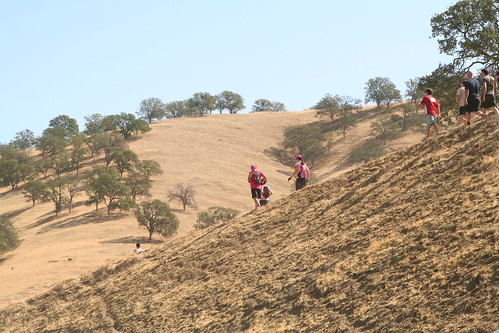
We mistakenly thought it would be relatively flat terrain. Wrong. Tons of climbing through hot, dusty hills.

IMG_0879

I soon lost track of Ian and the team because I couldn’t follow. I spent my time eating a hot dog, drinking a beer, and taking photos of hunky hot athletes. That was just fine. The mud spatters on my clothes were worth it. I got some terrific photos.

IMG_0715

IMG_1005

IMG_1315

IMG_1209

IMG_1437

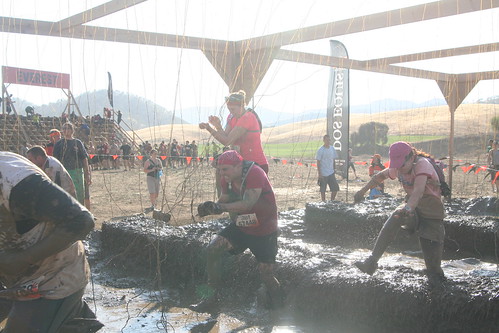
It was a very hot day, 95 degrees or more. I never really could check because I had no Internet connection. Unlike the previous Tough Mudder he did in Squaw Valley up on Tahoe, in Patterson the water/mud events were actually a little refreshing, and not freezing cold. I sat a very long time by this muddy pond to wait for my Mudders to swim and wade through here and to get this one close-up photo of Ian. I also got a stinky, muddy kiss for my troubles. After hours of waiting while my friends were miles away, climbing hills, slogging through mud, going over and under umpteen yucky, dangerous obstacles, I was very relieved to see them coming down the hill and entering this gross pond, hale and safe.

IMG_1476

Here is the last obstacle, named “Electroshock Therapy.” Those are electrified wires hanging down and the Mudders have to run (or fall, slip, crawl, and slide) through them, getting shocks all the while. This was the second obstacle with electricity. Ian had already gotten shocked pretty bad, which he says felt like being kicked in the head.

IMG_1490

IMG_1492

All six of our Mudders completed the course. What I like about this event is the emphasis on camaraderie and helping one another through it. Our Jog-or-Naughts stuck together and everyone tackled the obstacles that were right for them.

IMG_1536

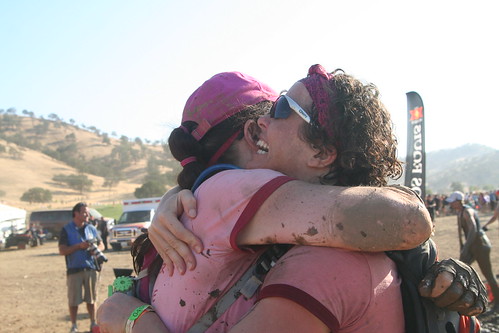
Here is their celebratory beer, which I am told, never tasted so good. I am terribly impressed by all of them! Congratulations, Ian, Cherylyn, Kimberly, Cybil, Susan, and Nina!

School Community Michaelmas Festival

dragon

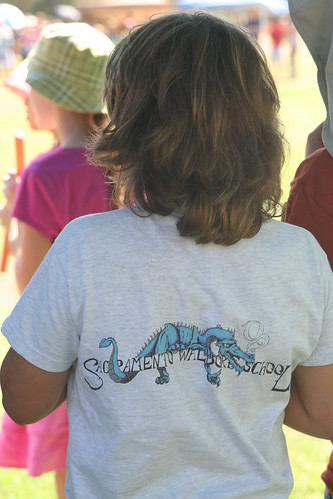
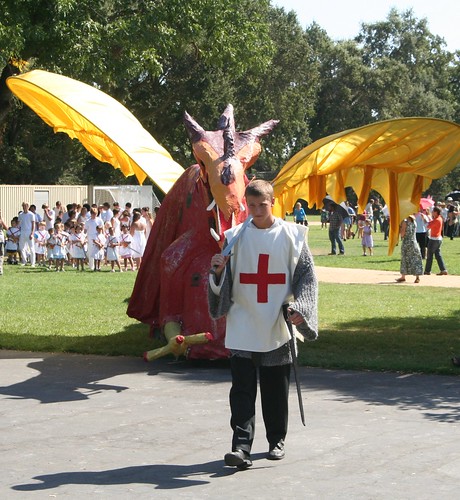
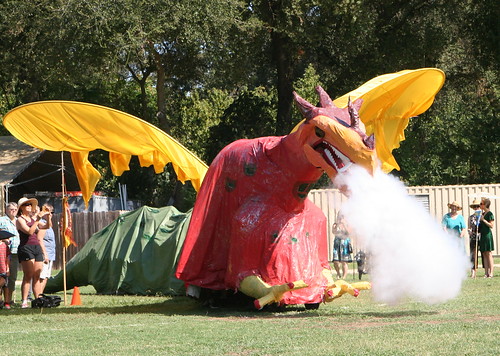
Last Friday was our school Michaelmas festival and we really go all out at Sacramento Waldorf School. While the pageant take the same form each time, every year there is a new dragon to conquer. I think this is an interesting metaphor. Aren’t we always facing some new dragon or other, along with our familiar ones, of course.

The sixth grade class creates and then mans the dragon. This year’s beast was magnificent! Those kids and their teacher should be very proud.

IMG_0498

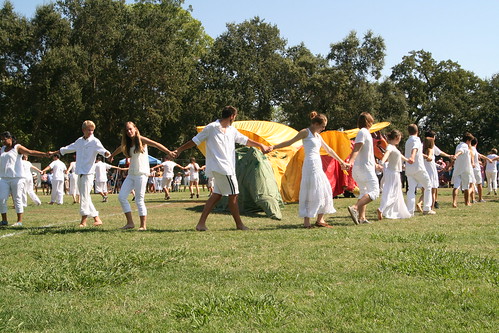
The fifth graders, Lucas’s class, played the folk music (flutes and xylophones) while the village children (the third graders) did their folk dance.

IMG_0567

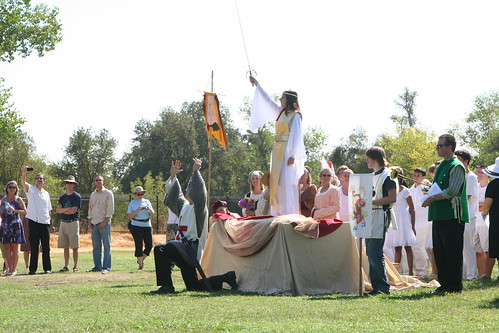
Here is a shot of George kneeling and receiving the blessing of the Archangel Michael.

IMG_0577

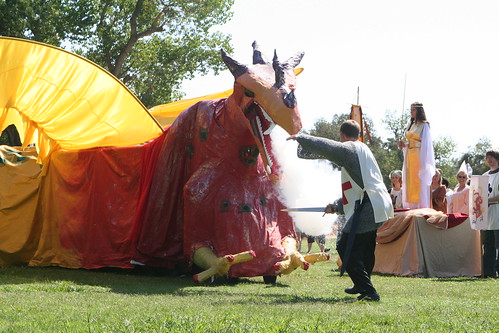
And then George must face the ferocious dragon, for it is threatening the villagers and the peace of the land.

IMG_0581

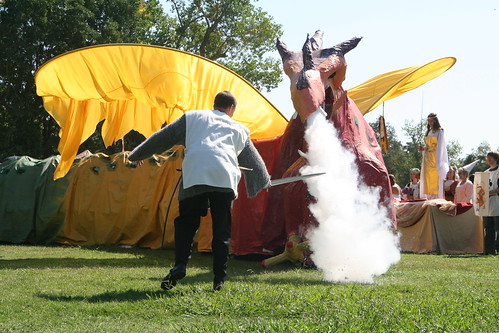
This year’s “battle” was particularly dynamic with all that hot dragon breath.

Each class has a verse they say and I wish I knew them all but I certainly do not. This year I learned that the fifth grade verse is the one that suggests the plan for bringing the dragon under control.

“Keep your courage from shrinking!
This beast requires some thinking.
Let’s make a geometric plan;
Surround the creature, if we can.
With courage, strength, and balance,
We’ll make a strong alliance.”

IMG_0586

The the older students surround the dragon and the youngest students (second graders) join them, wearing their knight tunics and with wood swords they have made. It is a powerful alliance, indeed.

IMG_0605

After the dragon is tamed with communal commitment and cleverness, and not might, George manfully leads the dragon away from the town. He has done his job well.

This festival never fails to inspire me because of its message and the great effort the school and each class puts in to make it so wonderful. Each year I get something new out of it. I hope your Michaelmas was full of shining courage and deep meaning.

  • About Sara

    Thanks for visiting! I’m Sara, editor and writer, wife to Ian, and mother of two precious boys. I am living each day to the fullest and with as much grace, creativity, and patience as I can muster. This is where I write about living, loving, and engaging fully in family life and the world around me. I let my hair down here. I learn new skills here. I strive to be a better human being here. And I tell the truth.

    Our children attend Waldorf school and we are enriching our home and family life with plenty of Waldorf-inspired festivals, crafts, and stories.

    © 2003–2018 Please do not use my photographs or text without my permission.

    “Love doesn’t just sit there like a stone; it has to be made, like bread, remade all the time, made new.” —Ursula K. LeGuinn

  • Buy Our Festivals E-Books


  • Archives

  • Tags

  • Categories

  •  

  • Meta