Tutorial: Create a Mermaid Crown and Wrist Ribbons

Mermaid Crown

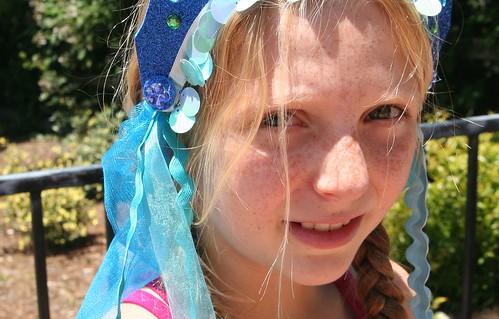
Who wouldn’t want to be as graceful as a beautiful mermaid or noble merman, living in an underwater wonderland? This play costume—a mermaid crown and wrist ribbons—is something you can create in stages, or do only the part you like best. Mermen might prefer just the crown, without the veil. The wrist ribbons encourage so much imaginative play for boys and girls alike. They can be water flowing while your merfolk swim. They can be magical water powers made visible.

Materials for Mermaid Crown

  • a craft-foam visor
  • jewels, beads, and/or small seashells (Tip: look for packages of jewels and rhinestones for decorating flip flop sandals! Craft stores have inexpensive kits.)
  • low temperature glue gun and glue sticks
  • ½ yard of veil fabric (tulle, netting, etc.)
  • scissors, sewing pins, hand-sewing needle and thread
  • sewing machine
  • notions and ribbons

Materials for Mermaid Wrist Ribbons

  • ¼ yard satin or acetate fabric
  • ½ inch wide elastic
  • notions and ribbons

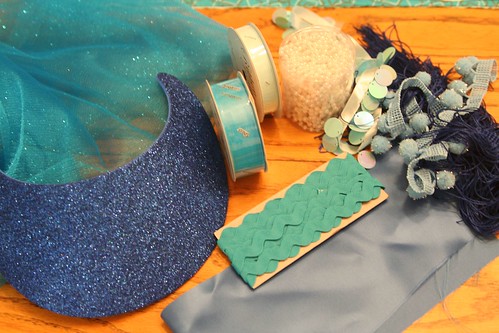
Materials

Make Your Mermaid Crown

Begin by gathering your materials. You will need a clean, flat surface to work on. First, remove the elastic or plastic coil that is the back of your foam visor. You will put it back on later.

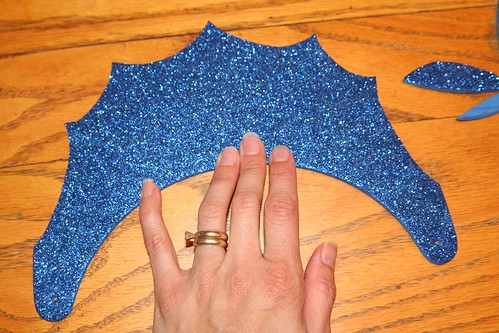
Now decide how you want your headdress to look. Will it have points like a queen’s crown? Will it be scalloped like a seashell? Turn your craft-foam visor over and sketch the shape you want. When you’re happy with what you see, cut your foam with scissors.

Cut the Visor into a Crown Shape

Now play with your notions and jewels, beads, and/or shells, placing them on the visor here and there, until you have an idea how you want them to be arranged. Take some time with this part because once you glue the items to your visor, it will be hard to remove them if you change your mind about their placement.

Adding Fringe

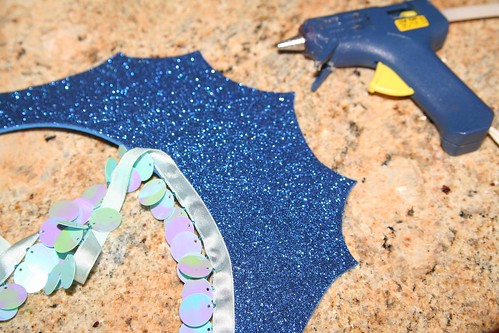
With your low-temp glue gun, glue on any trim (such as in this photo) and your decorations.
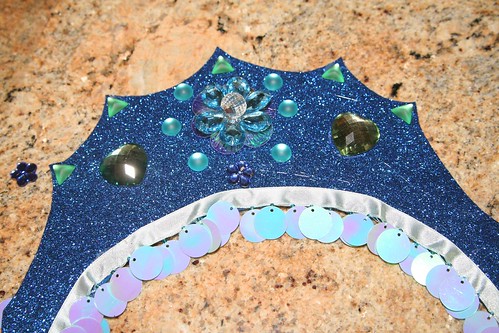
Gluing on Gems
It’s a good idea to measure to find the visor’s center. Try to arrange your biggest, most impressive or most special decorative item in the very center.

Using your glue gun and the smallest drops of glue, begin by gluing the special center item. Other smaller jewels or seashells can then be glued on. If your design is symmetrical, do the same item on both sides before moving on to a different jewel. You’ll have to pull off the strings of glue that may result from gluing on the jewels.

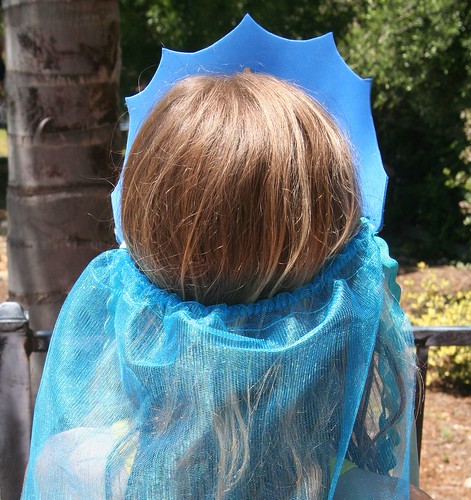
Have you decided to make a veil for your mermaid crown? (If you’re making this for a boy to play a merman, you may wish to skip this part.) Take your veil material (tulle, netting, etc.) and fold it in half so that it has two layers. You might measure your child to decide how long you want the veil to be. I decided I wanted the top layer of the veil to be shorter than the bottom layer. (Depending on the fabric you chose, you may wish to hem the bottom edges of your veil.) Pin the layers in place and then sew a seam about 1 inch from the top fold. This creates a tube through which you can pull the visor’s back elastic or plastic coil.

Mermaid Crown Back

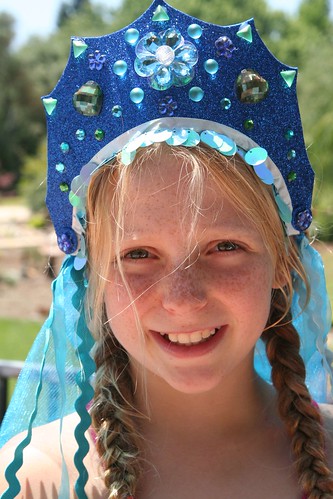
Measure the visor on the head of your child, and shorten the elastic or plastic coil accordingly, so that it fits. (The coil on my visor is visible in the photo above.) You might wish to glue this part onto the visor so that it’s permanently attached. This spot, where the crown attaches to the back can be decorated with another jewel if you wish (see below at the child’s temple).

Mermaid Crown Detail

If you have ribbons or notions for decoration or long mermaid locks, fold them in half and with a needle and thread, sew them on to the corner of your veil, where the elastic attaches to the visor, so that they are firmly attached and can trail either in front of the shoulder or behind like hair. Keep in mind the age of the child who will wear this costume. The more decorations you add, the harder it will be for the child to put the crown on herself. (I ended up not using several items that are in the photo at the beginning of the tutorial.)

Congratulations! You’ve made a beautiful headdress for a lucky mermaid, or a handsome crown for a merman.

Sew Your Mermaid Wrist Ribbons

Wrist ribbons are a huge part of dress-up play in our home. You might be surprised at how well your child takes to these simple accessories. There is a bit of sewing involved, but it’s pretty easy.

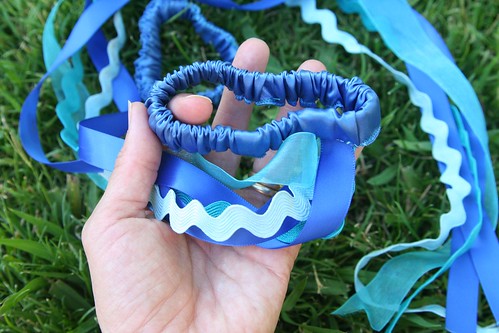
The first step is to measure your child’s wrist using the elastic. You want the elastic band to be snug enough not to fall off the wrist, but not too snug as to feel tight. You also want to have about a 1 inch overlap, so that you can sew the elastic securely closed.

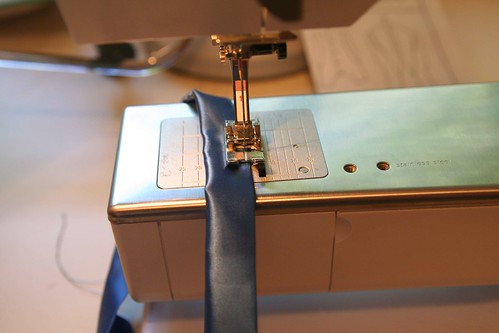
Now that you know how long it needs to be, cut two pieces of elastic that length. Lay out your covering fabric (satin or acetate). You could be very careful and measure this, but you don’t really need to do so. The object is to cut two strips of fabric so that they are twice as long as your elastic pieces and about 2 ½ inches wide. Turn in ¼ inch on both sides of your fabric strip and the ends and iron it flat. Sew the flat rectangle’s ends together to make a ring. Now fold your wide ring in half to make a long skinny ring with the right side of the fabric out. Make sure the width of your skinny ring will accommodate your elastic, but don’t actually put the elastic into the ring yet.

Sewing the Wristband

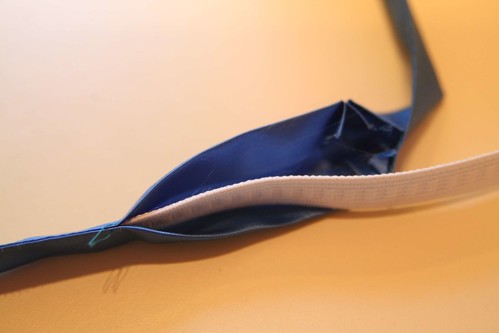
Top sew along the very edge of the long skinny ring to make a skinny tube. Don’t sew the ring completely closed. Leave an opening of a few inches so that you can insert your elastic.

Insert the Elastic

With a safety pin on one end of the elastic, insert your elastic into your skinny tube of fabric. Bunch up the tube and join the ends of your elastic together with the appropriate overlap. Sew the elastic ring securely with a good zigzag stitch. You don’t want the elastic ring to pull apart when the child is putting the band around his or her wrist. At this point you have what looks like a hair scrunchie with a small opening in the side.

Gather up your ribbons that will be trailing and, with a few stitches, tack them all together at one end. I used the same notions as on the mermaid headdress, but you can use any ribbon. Consider painting some white satin ribbon with watercolors to create a watery effect.

Painted Ribbon

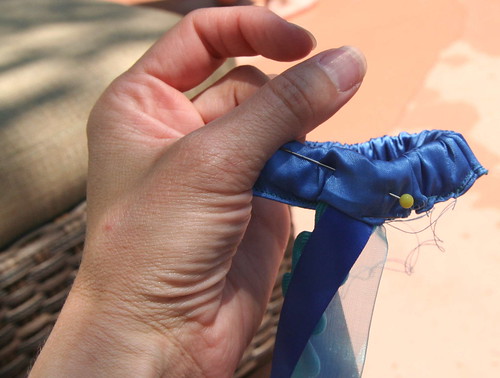
Now, insert the tacked end of your trailing ribbons into the hole of your ring and pin them in place.

Wrist Ribbon Detail

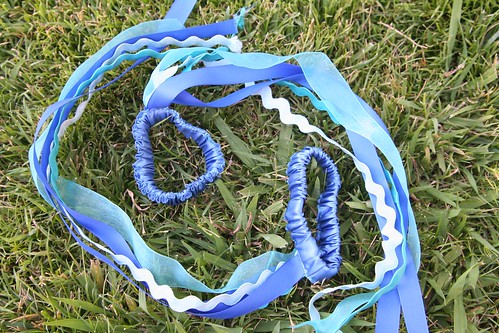
By hand, with needle and thread, sew the ribbons in place to the elastic and sew the satin ring closed around them. I simply whip-stitched the opening closed and sewed the ribbons in firmly.

Finished Wrist Ribbons

Repeat all the steps so that you have two wrist ribbons.

Finished Wrist Ribbons

If the ends of your ribbons want to fray, you can sometimes use a match and carefully melt the fibers at the ribbon ends to seal them. I suggest you first test this out on a ribbon scrap before you try to melt the ends of your finished wrist ribbons. You don’t want to harm your creation.

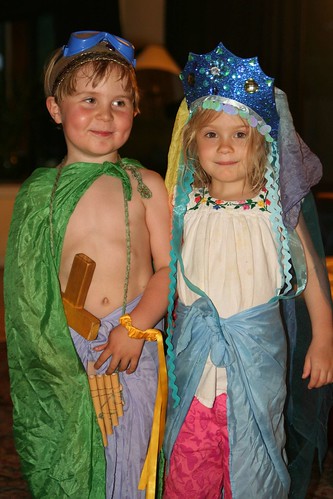
Now all you need to complete your mermaid or merman costume is a play silk tied around the child’s waist for a tail!

Merboy and Mermaid

You might be surprised at how your child uses these costume pieces. Perhaps the headdress or crown and the wrist ribbons you make will be used all together, or in different ways at different times. In this final photo, you can see that my son and his friend felt like using some of them at that moment, and found plenty of extra accessories (sword, goggles, pan pipes, cape) to transform themselves into a happy merfolk couple!

Happy sewing!
Family Clay Camp

Family Clay Camp

Right at the beginning of summer vacation, my boys and I participated in Family Clay Camp, which was offered through our local Parks and Rec. Michelle Leuth was our wonderful teacher. Lucas and I had taken a clay/pottery class from her a few years ago. Now that Asher is 5, he can start doing some of these fun activities, too!

We had a blast. Camp was four days, for two hours each day. Some friends from the boys’ school were also enrolled, so that made it extra fun. We had unlimited clay to play with for three days. On the fourth day, we painted everything. Then our pieces dried and were fired, and we picked them up a couple weeks later.

IMG_7426

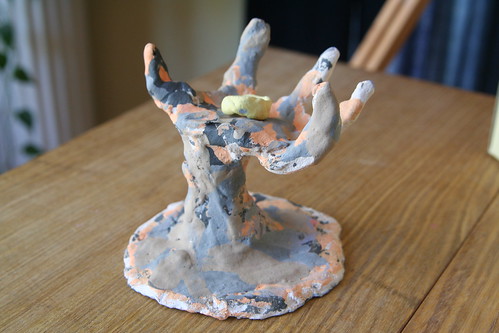
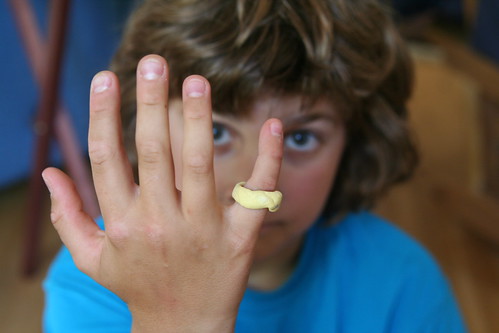
This is Lucas’s piece de resistance: A hand reaches up out of the ooze to clasp a golden ring. The ring is separate from the hand.

IMG_7446

(It’s been a good, long season of reading The Lord of the Rings books in our home and these stories have clearly  fired up my children’s imaginations.)

IMG_7429

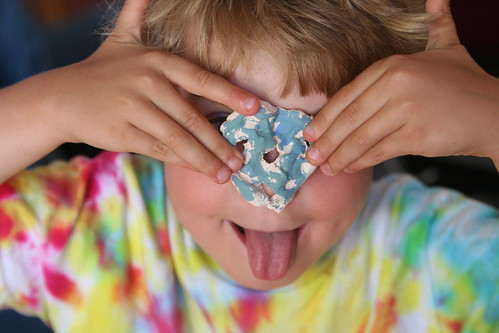
Asher thoroughly enjoyed this class, and got really into the feel of the clay and the fact that it took impressions. He spent a lot of time pressing textures of all kinds into his clay objects.

IMG_7427

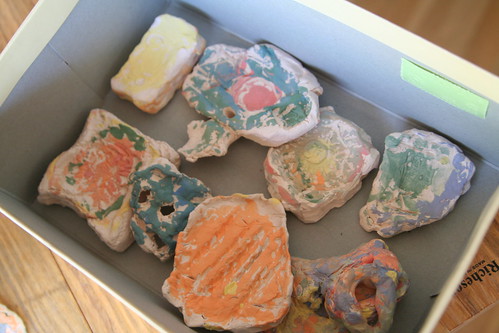
This is Asher’s “design collection”—a series of clay objects with many textures. They are right in keeping with Asher’s appreciation for treasures.

IMG_7431

This is a small mask he made. I noticed that Asher had little interest in painting his creations—for him it was all about the forming of the objects.

IMG_7436 IMG_7433

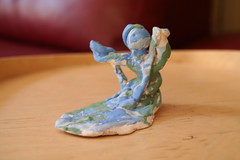
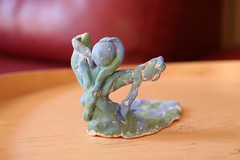
This is a kind of creature sculpture that Lucas made for his father as a Father’s Day present. The back view is on the left, front view is on the right. Asher made a lovely, lumpy candle-holder for his daddy for Father’s Day.

IMG_7439

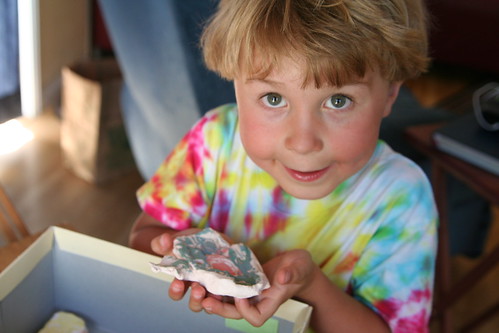
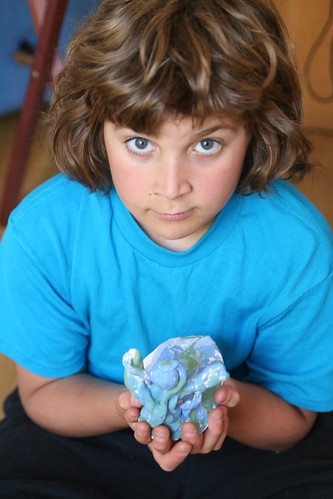
The expressive artist holding his sculpture.

IMG_7451

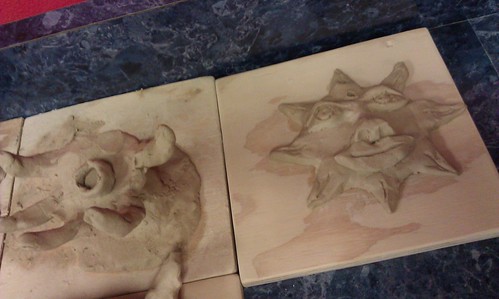
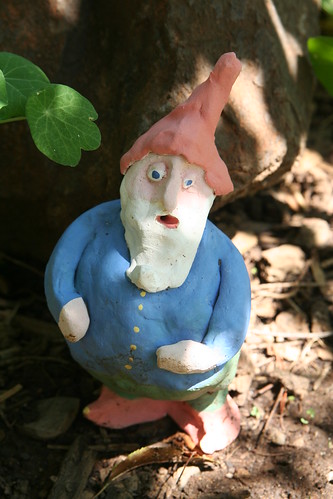
I made this little gnome, using the coil method. I started at his feet and worked up, taking care to avoid having any air spaces inside the figure without a means for the air to escape during the firing process. My gnome now stands in my garden and I am rather fond of him. I also made a sunshine face and a pinch-pot style bowl. It catches my earrings on my bedside table at night.

I like making art with my boys!

Mermaid Aquarium Tutorial

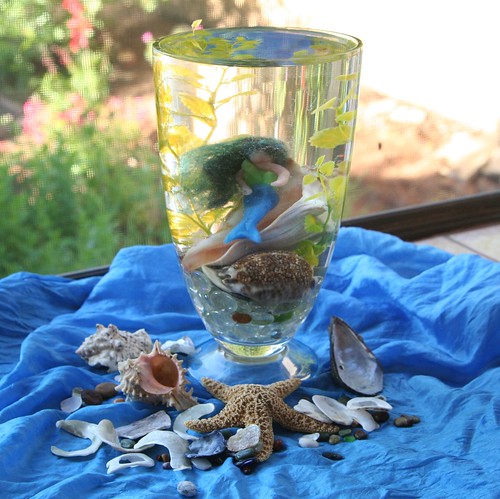
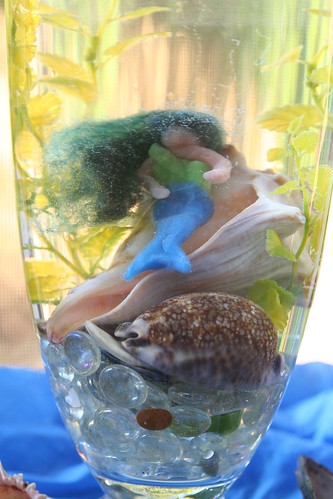
Mermaid Aquarium Finished

Have you ever wished that a mermaid would visit your home and be your best friend? You might get your wish, if you set up the perfect place for her to stay: a mermaid aquarium in your home or school! This is a simple project that older children can create by themselves or with a little help from you, and which may truly enchant younger children. While you’re assembling your mermaid aquarium, dream up some stories that feature your mermaid friend. With your mermaid visitor beside your child’s bed, tell mermaid bedtime stories.

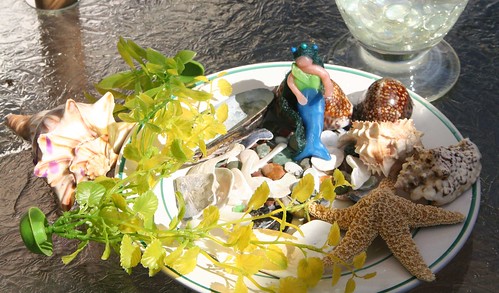
Mermaid Aquarium materials

Materials

  • beeswax (color choice is up to you; I used blue, green and flesh colors for my mermaid)
  • wool roving (any color you like works for mermaid hair)
  • fishing line or thread
  • straight sewing pins
  • a large, clear-glass vase (a gold-fish bowl or small aquarium would also work very well)
  • seashells
  • found beach glass, beach pebbles, or glass gems from the craft store
  • a plastic aquarium plant (if your container is very large, you might want two of these)
  • water

Begin by gathering your materials together. This is a nice project to do outdoors, especially since you may spill some water, so craft outside and enjoy the fresh air. If you don’t have a plastic aquarium plant or would rather use a natural material, you can wet-felt or needle-felt some seaweed out of wool. There are many kinds of seaweed, so any shape of plant will do nicely.

Mermaid out of Beeswax

Model Your Mermaid

Your first task is to fashion your mermaid out of beeswax. Mermaids (and mermen) come in many different colors. Your child may have an idea of how this mermaid should look. If the beeswax is hard to mold, consider dipping it in warm water for a few minutes, or let the heat from your hands and breath soften it. Younger children find this very helpful when working with beeswax. Start by making the mermaid’s tail first, then create the mermaid’s upper body and arms. Finally, add on her head, making sure to let the wax from the body join the wax of the head. Your mermaid probably looks funny at this point. Mermaids are known for their gorgeous hair, right?

Use a shock of wool roving of any color you like and arrange it on your mermaid’s head to look like her luxurious locks. (You might want to do this next part out of the sight of younger children.) Now carefully take a few sewing straight pins and pin the wool hair to the mermaid’s head by aiming the pin down through her head and into her upper body. If you are careful, you can arrange the pins so that they look like hair decorations or a crown. Since children may be handling the mermaid, make sure the pins don’t stick out from her body to poke someone. Fortunately, if a pin’s tip emerges, you can just back it out and try again. The beeswax easily “heals”  if you rub out the hole. Perhaps the children would like to give the mermaid a name now.

IMG_2373

Assemble the Mermaid Aquarium

Now that your lovely mermaid is done, you can begin to assemble her underwater home. Fill the glass jar about a third of the way full with beach glass, pebbles, or glass gems. Your child may already have such treasures in his or her special collection, and may wish to contribute to the mermaid’s home. Consider adding seashells you have gathered from the shore (after you rinse them well). Real seashells will help your mermaid friend feel at home. Even the youngest children can easily add these special items to your vase.

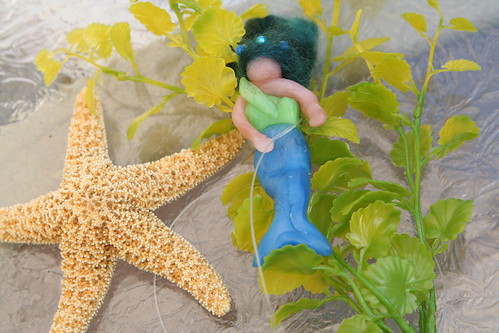
Beeswax Mermaid

Be Thankful

Talk about where these treasures from the sea came from. Thank Mama Ocean for being the home to such amazing shelled creatures, and for wearing down the pebbles until they are smooth as silk. Sing a mermaid song.

Your aquarium is beginning to look inviting, isn‘t it?

Mermaid Aquarium in progress

The Tricky Part: Beeswax Floats

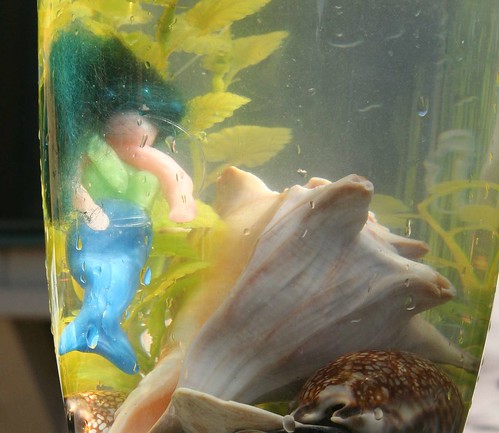
Now comes the only challenging part. Your beeswax mermaid at first wants to float on top of the water, but we know she will be more at home under the water. Take a small length of fishing line or thread and gently tie your mermaid to your plastic aquarium plant, or to a heavy seashell. We tried doing both, and found we were happiest with how she looked when anchored to the heavy shell. If you tie your mermaid to the plant, now is the time to plant the base of the plant into your pebbles or gems so that the plant looks like it’s growing there at the base of the aquarium. If you opt to tie your mermaid to a heavy shell, place your plant first, then add the shell and mermaid to the aquarium last. You probably won’t be able to see the fishing line or thread.

In thes photo above, it looks like our mermaid is swimming. In the next photo, she is resting atop a seashell. Feel free to move the objects around until you achieve a scene that you like.

IMG_2397

Enjoy Your Mermaid Visitor

Now place your mermaid aquarium on your summer nature table or at a child’s bedside. Arrange other beach treasures around her on an ocean-like silk. It will help her feel at home! If you tell a few mermaid stories, your child may become enchanted by the mermaid guest and may whisper secrets to her during the long twilight of summer evenings.
Perhaps the mermaid will tell the children stories of her life in the sea, the beautiful underwater merfolk cities, her fish friends, and water magic. Perhaps, if you‘re very lucky, the children will tell you these stories, too.

Please note: Your child may wish to touch the water and play with the mermaid, so your placement of the mermaid’s aquarium home may depend on whether spills are a problem. Also, if your mermaid visits for a long time, you may need to change the water to keep it looking clear. In doing so, you may need rinse the gems, pebbles, and shells. But then, you and the children get to remake it all over again!


Surprise Evening Picnic


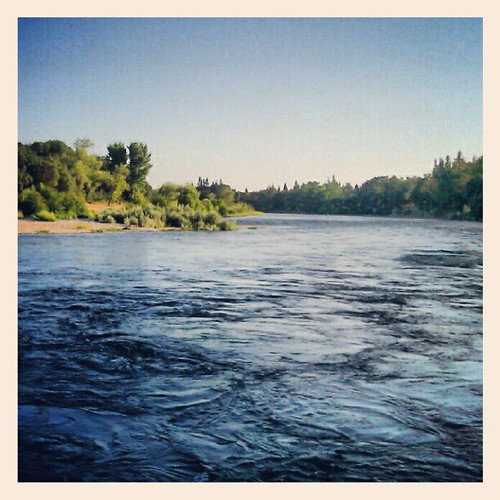
The River is FAST this Summer

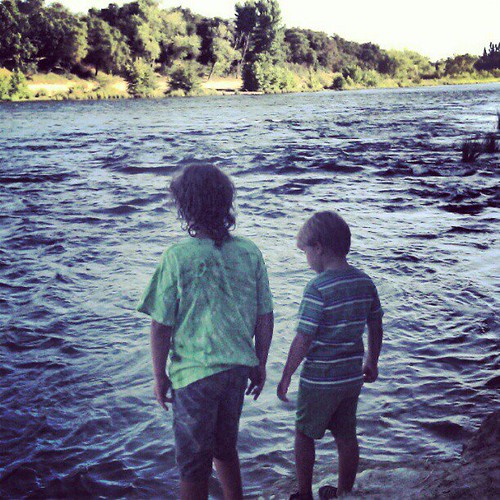
We surprised the boys with a picnic dinner the other night after swimming. We haven’t had a chance to leave town yet, so I’m trying to find little slices of heaven close to home. The river is running very high and very fast this summer. Although there was a small beach, I wasn’t comfortable letting the boys get in the water.

I read about this secluded little park on the American River and decided to check it out. Its entrance is sandwiched between two private residences in a ritzy neighborhood and the park is very small. They have the eleven-space parking lot closed during the summer, which I take to mean that the ritzy neighbors don’t want riffraff using their park.

Boys at River's Edge

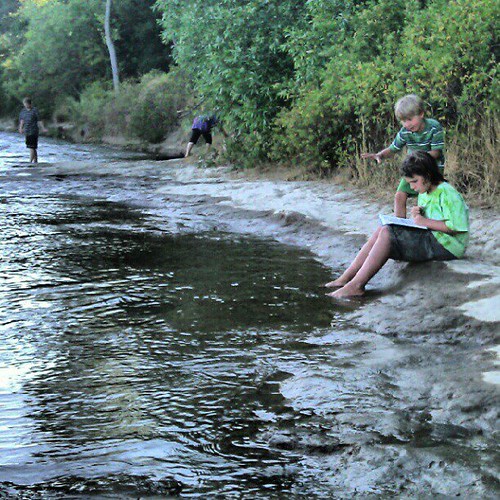
Nevertheless, we weren’t the only people there. One family was fishing. Another group brought their dog down for … well, they seemed to want him to get wet. He wasn’t too keen on that plan. One couple swam a while, which looked fairly risky to me.

Our Beautiful River

We waited for Daddy to bring Solstice dog and our picnic dinner, as the boys and I came here straight from swimming practice. It was a beautiful place for a picnic.

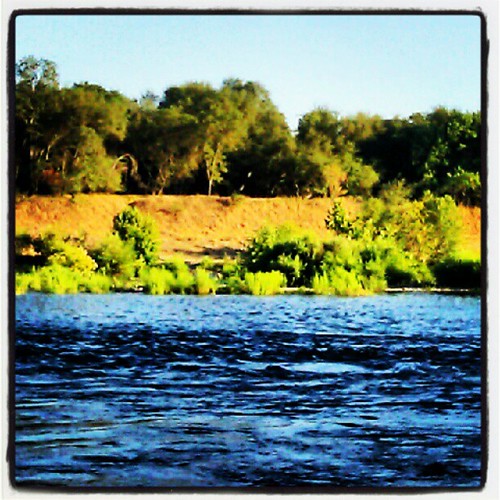
American River at Sunset

We watched the sun sink lower and light up the far bank.

Canada Goose

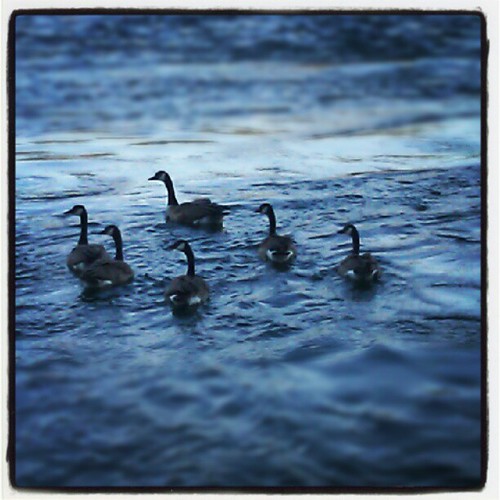
We watched the Canada geese and mallard ducks. Solstice dog wanted those ducks sooooo bad.

Canada Geese

I (obviously) played with Instagram on my phone camera.

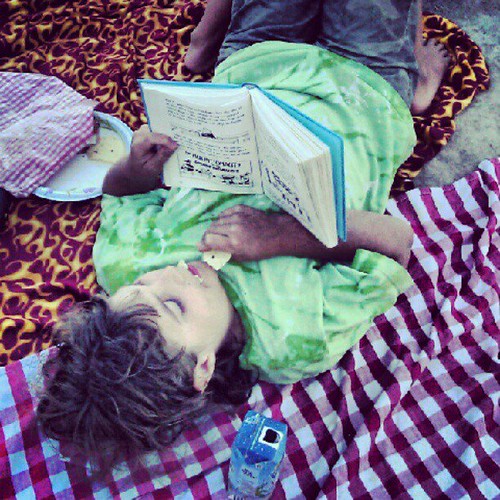
Picnic Reading

Lucas enjoyed some time with his Wimpy Kid book. Asher and Daddy explored a bit, and Asher tried to play with another little boy who was there. We ate ham sandwiches and apples and blueberries and corn chips. Simple. Perfect.

Fourth Grade Trip to Malakoff Diggins

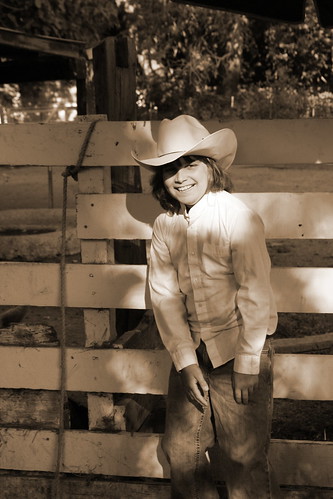
L at farm sepia

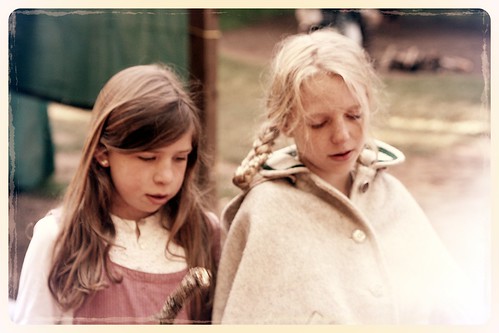
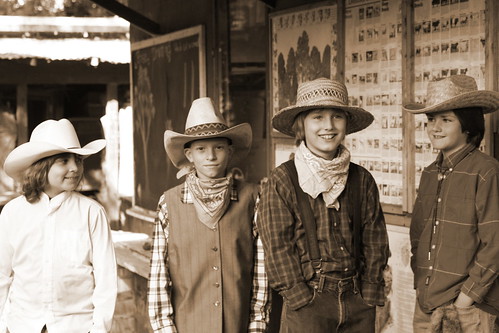
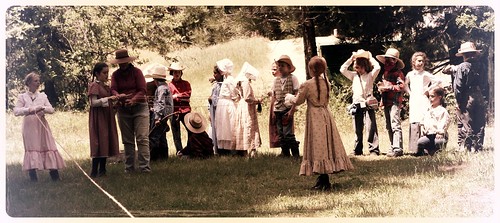
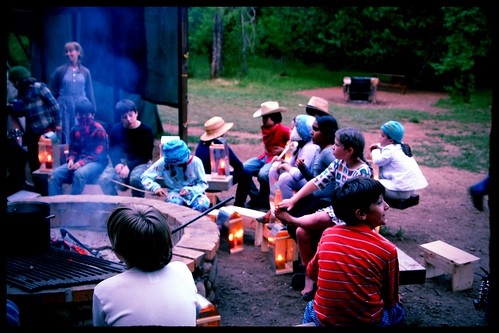
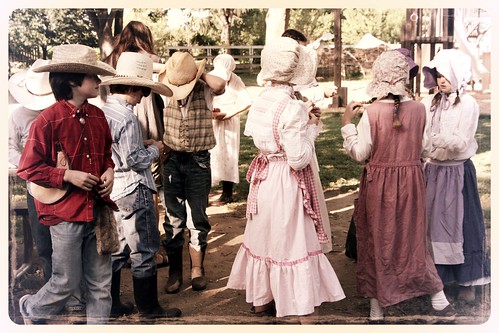
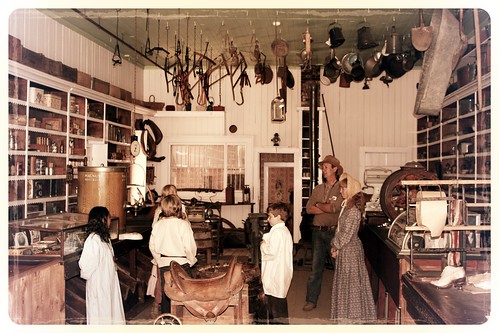
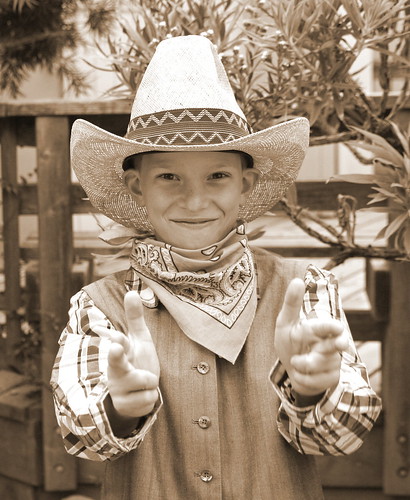
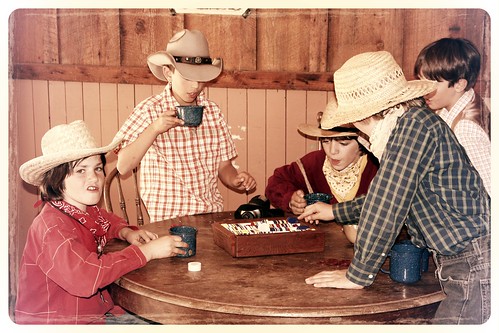
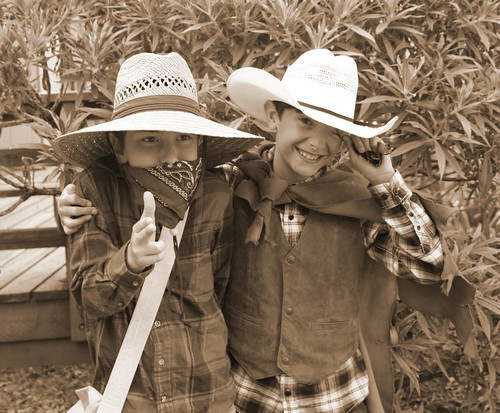
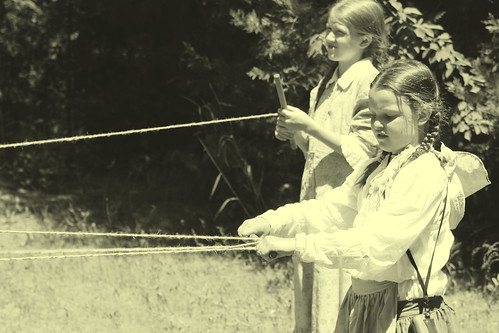
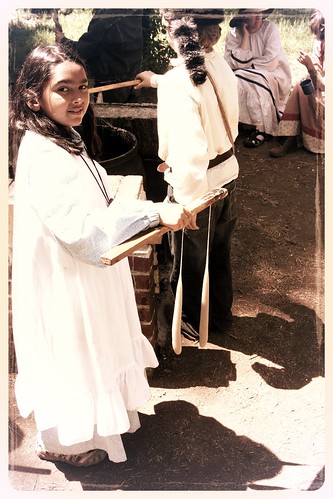
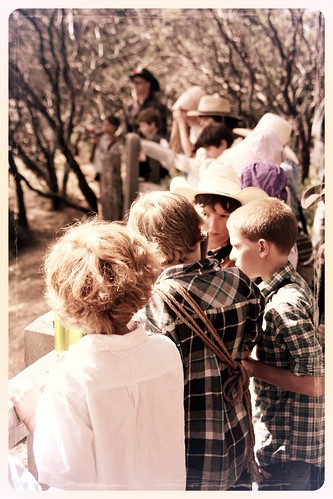
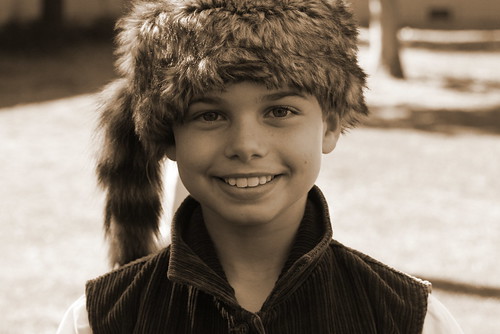
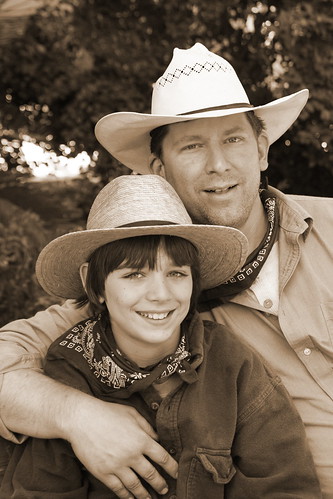
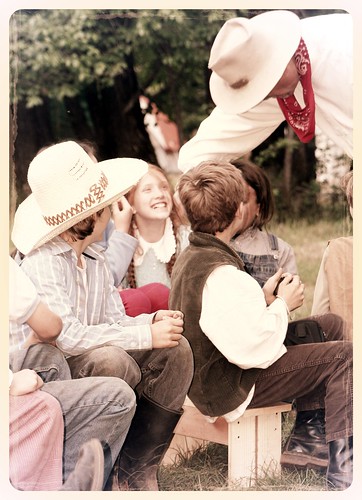
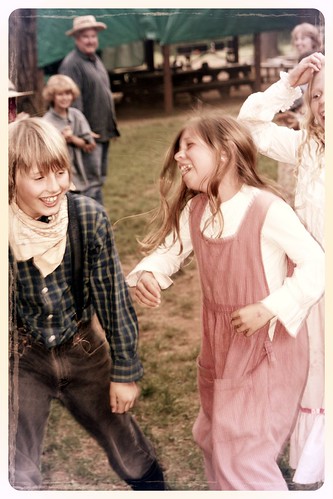
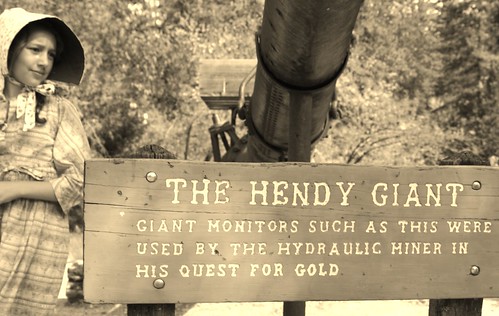
In May, before the end of the school year, Lucas and Ian got to go on the fourth-grade class trip to Malakoff Diggins, a California State Historic Park that was once a hydraulic mining operation in the Sierra Nevada mountains. Twenty-eight students, one class teacher, one Spanish teacher, and about ten parent volunteers/chaperones went for two and a half days. They dressed in Gold Rush period clothing, cooked their meals over an open fire, hiked, made rope, made candles, built their own benches for sitting around the campfire, learned about gold mining, danced, listened to a storyteller entertainer, and forged their own iron hooks. They had a marvelous time and came back filthy and tired, but very satisfied.

IMG_6003

Boys at farm

IMG_5887

IMG_5641

IMG_5859

IMG_5983

The class made wonderful wood, tin, and plexiglass lanterns in school, so they would have a way to see at night. I’m told that the food was wonderful the whole time.

IMG_5716

IMG_6170

IMG_6175

M gunslinger sepia

IMG_5961

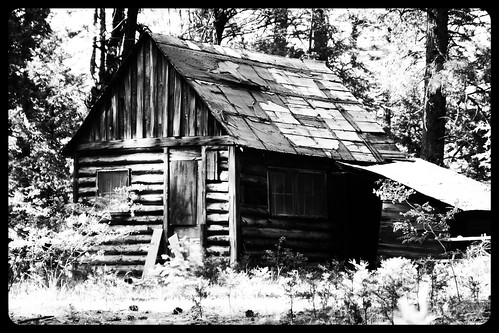
These are the cabins Ian stayed in when he was a boy, going camping with his mother and sister. Malakoff Diggins is very special to him and he jumped at the chance to chaperone. I’m so glad he got to do it, both for his sake and for Lucas’s sake. For Lucas, it was fun having his dad there to share in the adventure.

IMG_6198

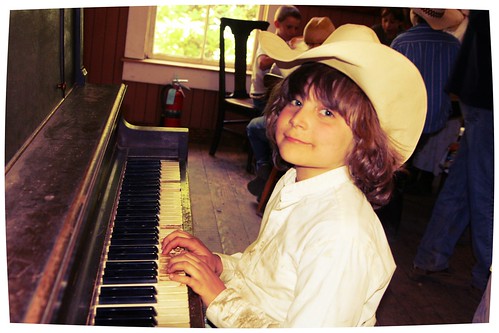
There was an old, old piano in the saloon. Lucas and some other students got to play it. They also played cards and ordered root beer from Ian, the barkeep. To get their second root beer, they had to tell Ian a joke, a fact, or a riddle.

IMG_6187

IMG_6171

I and S gunslingers sepia

Girls making rope

IMG_6129

IMG_5959

IMG_6126

IMG_6059

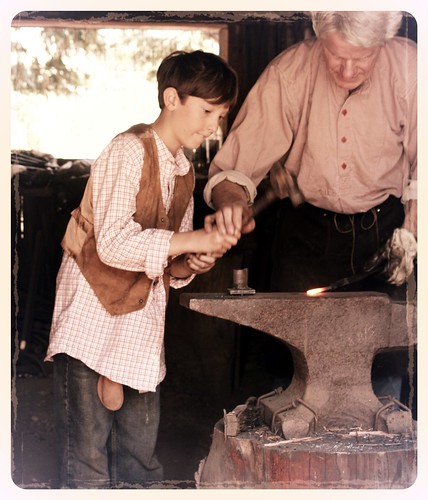
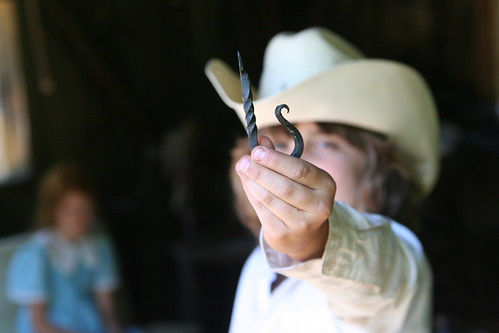
The blacksmith was amazing, according to Ian. He was a volunteer who, in his time of working with children at Malakoff Diggins, had helped over 10,000 kids make iron hooks like this one. He had his system down pat, with every child getting the opportunity to both work the bellows and hammer the iron hooks into shape. Isn’t Lucas’s hook terrific?

L trapper sepia

R and E sepia

The parents in attendance brought a wagon load of essential skills along to help: camping, cooking, nursing, building, child herding, and much more.

IMG_6249

IMG_6271

Everyone even tried square dancing and country dancing.

IMG_5942

IMG_5996

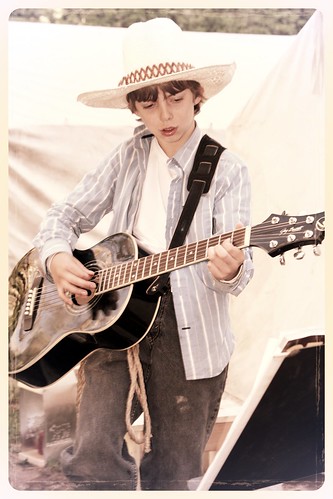
A few brave kids brought their guitars and played music around the campfire. I’m so impressed by this! These kids are so comfortable with each other, as they’ve been together since first grade (and some since preschool).

Lucas tired

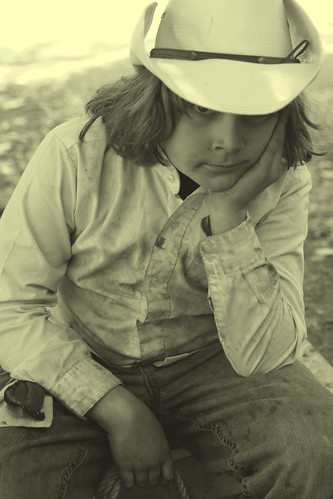
This is how Lucas looked when he returned home after two and a half days—filthy and soooo tired.

These photos are just some of my favorite shots. I took a bunch of “before” shots on the morning they all left town, when the kids were clean, fresh-faced, and eager. Ian took all the wonderful photographs of the kids at Malakoff Diggins, for which I am so grateful. I had a TON of fun editing the photos when they returned, adding filters and making them look old-timey—something altogether new to me. Anyway, aren’t they the most beautiful children in the Wild West?

I am so grateful that my son got to experience this! Although every child in California studies California history in fourth grade, few get to immerse themselves in a Gold Rush era town for a few days, living and working like people used to do. These children, because of their Waldorf background, took to this stuff so easily. Make our own rope? Of course! My heartfelt thanks goes to the teachers and brave parents to took them. And thank you to Malakoff Diggins for having such a terrific program.

Nature Walk in June

On the Trail

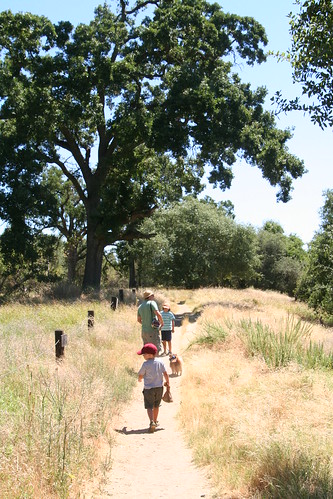
We all went on a nature walk yesterday to one of our favorite areas on the American River. We like it because it’s close, it’s beautiful in all seasons, and it’s a nature preserve. Lucas has done many day camps here over the years and he really knows the place well and feels very comfortable and confident there. The day was warm, but not too hot. We took Solstice along with us, but learned that we’re supposed to keep dogs out of the nature preserve. So we skirted the edges of it and made our way to the river and back again.

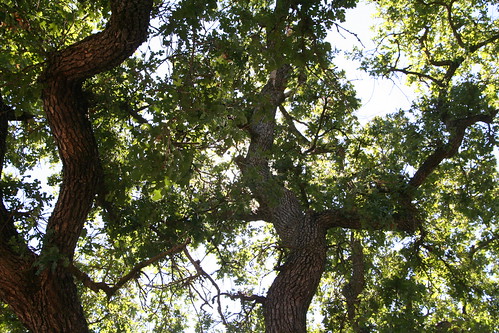
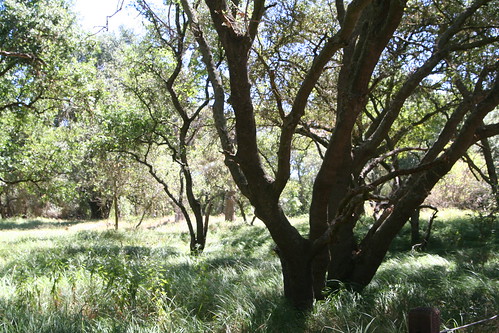
Woods

The sun was shining so beautifully through the trees. We saw many deer on our walk, and lots of butterflies, and some quail. Things scuttled away from our feet into the grasses—probably lizards although we didn’t see them.

Woods at Effie Yeaw Nature Preserve

Everything looks like a potential landscape painting to me now.

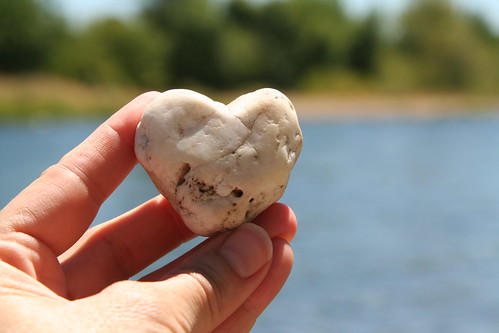
Heart

We found a treasure along the way.

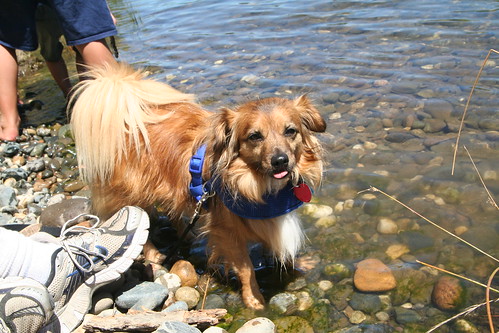
Solstice Gets His Paws Wet

Solstice is getting better at walking on a leash, but still has a lot to learn. I’ve never seen him touch the water on purpose before, so this was interesting. Usually he is fastidious about keeping his paws clean.

Grasses

We relaxed a while at the water’s edge.

Asher

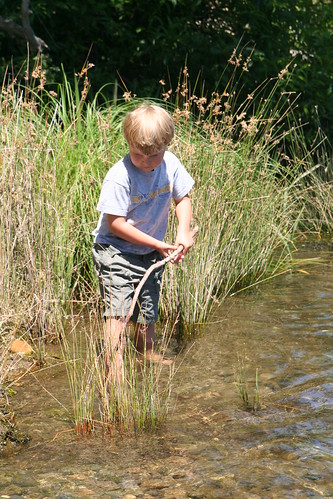
There were sticks to poke and rocks to throw. Lucas spotted a crawdad in the water.

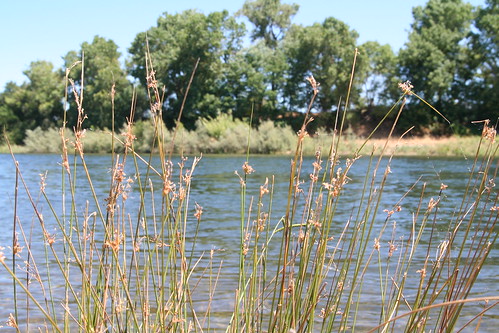
River View

Kayaker

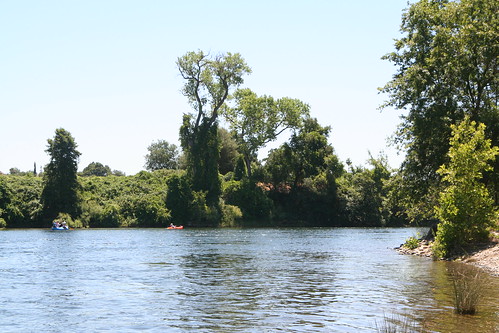
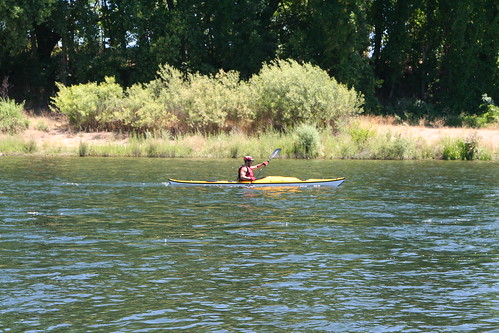
We watched the rafters and kayakers float by. Almost everyone waves from their little boats, which is a funny, friendly quality about being in nature and encountering other people. We seem to retreat into anonymity so much of the time while we go about our daily business, but out on a trail, under a big sky we tend to be better about saying hello and striking up conversation.

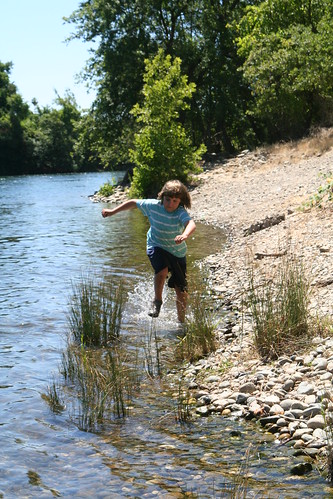
Lucas Splashing

We made that typical warning that parents make—If you get all wet, you might be uncomfortable on the hike back. It went entirely unheeded, as expected.

Now, we are new dog owners, you see, so we learned something important on this little hike. Ticks really do jump onto your dog and even people. This has never happened to me before. Three little buggers hitched a ride home with Solstice and one with Ian. We were able to treat the problem quickly, so all is well now. This info will be retained for future precaution.

Midsummer

IMAG0236

Happy Midsummer! It’s been a perfectly lovely weekend for our family. It looked like this:

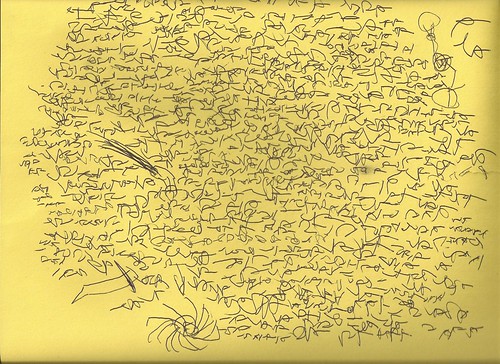
Asher's June 22 Writing

(Asher’s writing, 5 and a 1/2)

IMAG0240

598738_3435623614111_264728551_n

303516_3434018493984_380201588_n

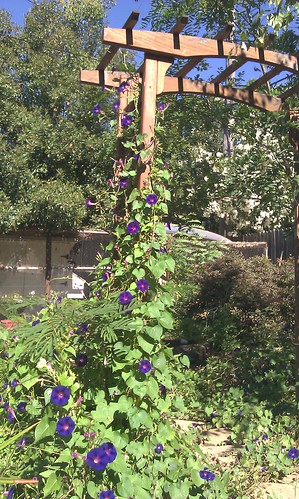
Morning Glories for Joyce

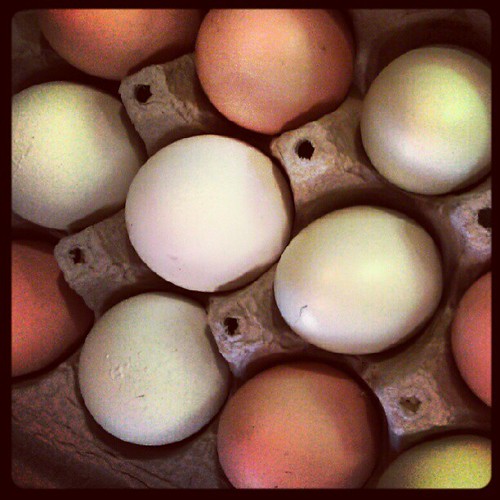
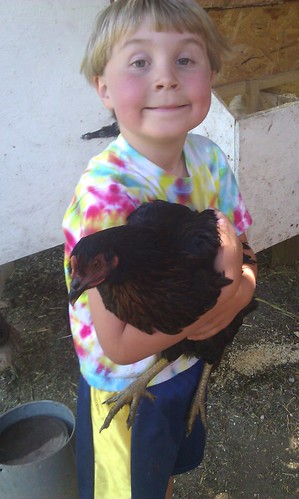
Asher Caught a Pullet

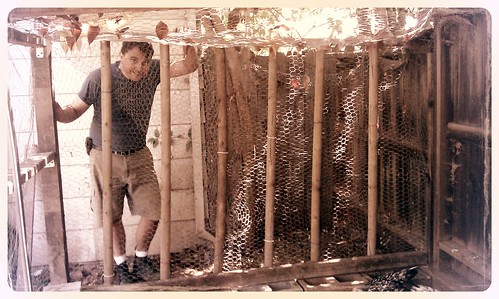
Remodeled Chicken Run

We had friends over for two spectacular meals—friends whom I adore and crave constantly.

Lucas went to a fantastic birthday party. He gave his friend a copy of Fellowship of the Ring, a thoughtful gift, as Lucas and Asher are thoroughly enjoying the Tolkien trilogy. Ian is reading The Two Towers to them now.

Ian got a spiffy new phone f0r work. The Star Walk app is awesome!

Friends from school rode their bikes over to play here with us on Saturday. They get along so beautifully with my kids.

I painted a tiny bit.

We did some shopping for home improvement stuff.

Ian shortened the chicken run a tad, as the first step to solving one part of our drainage problems. He built a new wall with tree stakes we already had laying about!

We worked on our drip system, fixing problems and adding drippers. The weather was so cool, we had to take advantage of the opportunity to work in the yard.

Lucas played in a piano recital, which was altogether wonderful. So many talented kids!

We grown-ups have been watching the Lord of the Rings films. All the boys’ talk of orcs and elves and dwarves made me want to see them again.

Our Midsummer days have been happy and full of food, friendship, love, useful work, and celebration! I hope yours have been, too!

Wishing Tree Tutorial

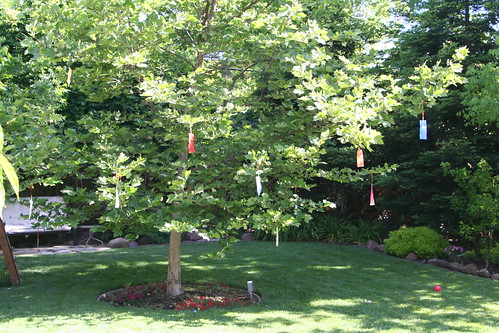
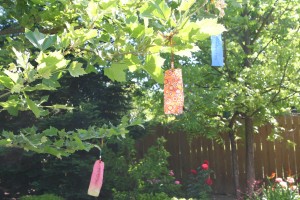
Wishing Tree

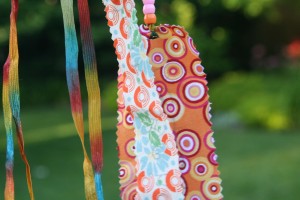
When cultivating optimism, which I posted about the other day,  it can be helpful to have a visual reminder of your intentions, hopes, and dreams. Make wishing flags to hang on a tree in your garden and sway in the breezes all summer long.

Materials
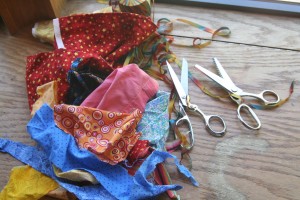
* assorted pretty fabric scraps, or watercolor paintings or pretty papers
* a permanent marker
* ribbon or yarn
* pinking shears (if using fabric)
* a hole punch (if using paper), or scissors
* beads (optional)

Tutorial
Take a moment to think of the good things you want to happen in your life. Your wishes may be as specific as you need them to be (new job for daddy, better health for grandma, college acceptance for sister, opportunity to homeschool, good teacher for brother, fun at camp, etc.). If you are doing this project with children, ask them, “What happy things will happen to us?” Chances are good that the children will have many joyful ideas to share. (Marvel for a moment at how easy optimism comes to them.) Write your ideas down in a list.

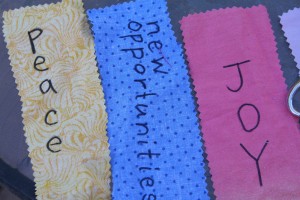
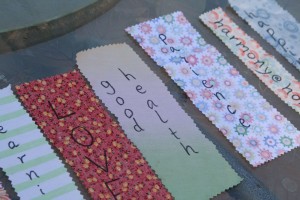
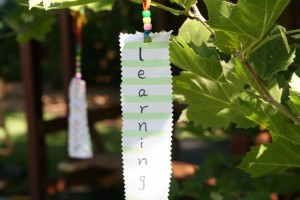
If you don’t have specific ideas or hopeful expectations, make a general list of positives, such as: joy, learning, rest, health, happiness, hope, peace, harmony, love, patience, safety, etc.  When my family and I did this project, we asked our friends and loved ones what they hoped and prayed for—we took their requests and made flags for them, too. It was a lovely way to share our goodwill with others.


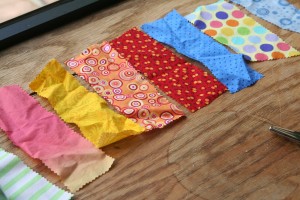
Cut your fabric into skinny rectangles (or triangles) with your pinking shears. If you are using paintings or other papers, you can use regular craft scissors. You’ll need one rectangle for each wish, and they can be measured and uniform or free form and varied, it’s up to you. If you want, you can think of them as custom-made prayer flags.

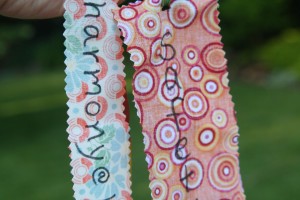
Using your permanent marker, write your wish on your rectangle. Make a hole with scissors (or a hole punch, if you’re using paper) at the top, and loop your ribbon or yarn through the hole and tie a knot. Now it will look a lot like a bookmark.

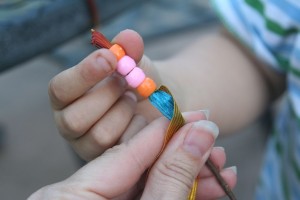
You may like to add beads to the top of your ribbon. If you do, the beads will add weight to the wish and give it a finished look. Make as many or as few of these wish flags as you like. If you’re doing this as a class or as a family, make sure that everyone contributes some wishes.

Now find a spot in your garden or playground where you will be frequently and tie your wishes to a tree. They will add color to your garden and flutter in the summer breezes. Perhaps your wishes will be carried by the wind up to heaven, or to the four corners of the world, spreading your love and optimism over the globe to people everywhere. Whenever you see them, you will be reminded of all the good that is in your future.


(This article was originally published in the Little Acorn Learning June Enrichment Guide in 2011. Check out all their many wonderful offerings at Little Acorn Learning.

Lucas’s Recent Artwork

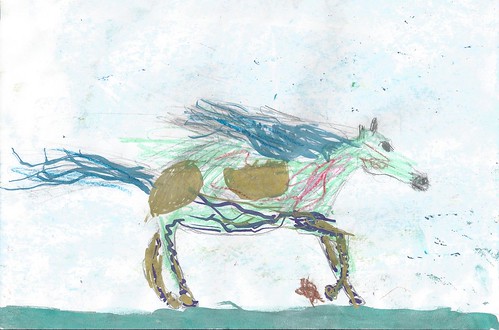
The Spirit of the Wind June 2012

My 10-year-old recently created these beautiful artworks. The one above is called “The Spirit of the Wind.” Colored pencils and metallic ink on paper.

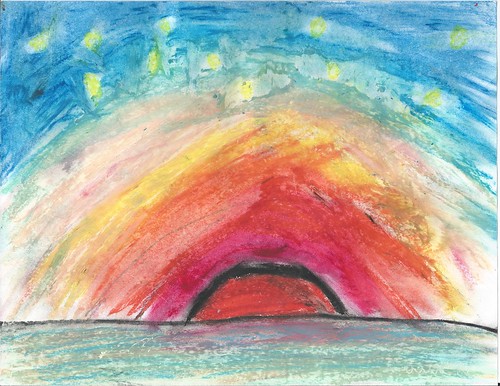
The Sun Sets Over the Water June 2012

This is “The Sun Sets Over the Water.” I believe it’s pastels on paper.

Usually he draws knights and ninjas and soldiers of fortune with all kinds of bad-ass weaponry and explosions. Those are awesome, too.

“Everything you can imagine is real.”  —Pablo Picasso


Summer Solstice Celebrating and Feasting

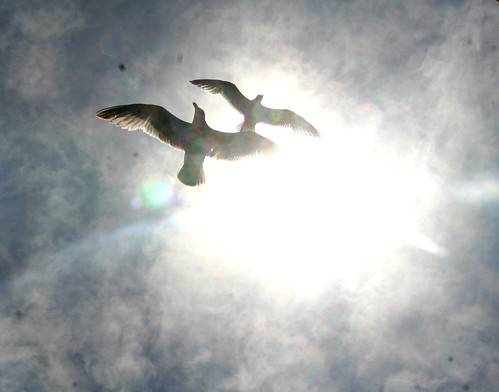
Seagulls

Sunlight is flooding
The widths of space
The son of the birds echoes
Through the realms of the air
The blessing of plants sprouts
From the being of the earth
And human souls lift themselves
In feelings of thankfulness
To the Spirits of the World.

—Rudolf Steiner

IMG_7106

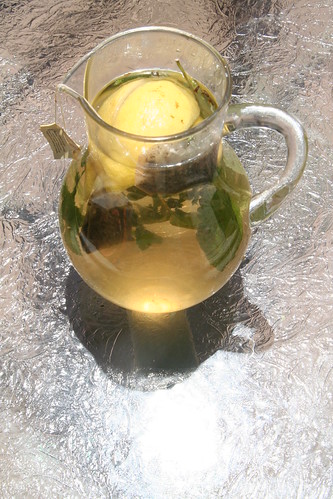
Happy Summer Solstice! Here is a little tea concoction I made and it was so yummy, we’ll definitely do this again:

  • two green tea bags
  • lemon slices, squeezed into the water
  • lemon balm leaves
  • sweetener of your choice

(Steep all day, strain, and then chill before drinking.)

We have had a marvelous day and I hope you have, too.

Forming the Giant Cookie

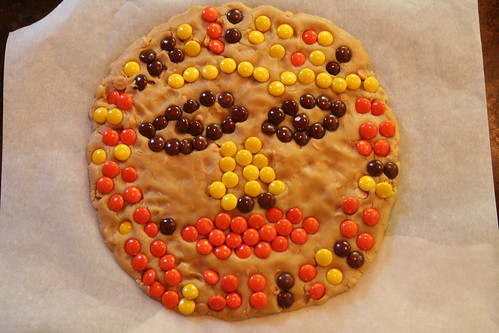
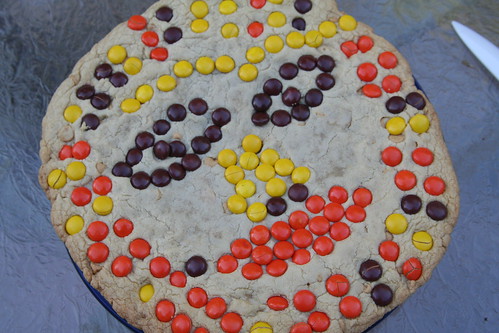
Summer Sun Mosaic Cookie Before Baking

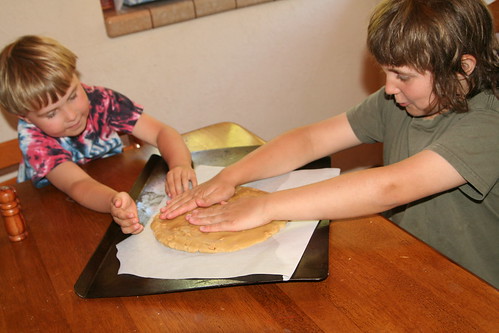
We made a giant summer sun mosaic cookie together. Here it is before baking. And here is the basic giant cookie recipe from Mel’s Kitchen Cafe. This kind of thing goes over really big with my children. Lucas made the face; Asher did the eyebrows and the sun rays around the outside. Since the boys got soooo excited about putting the Reese’s candies on top, I realize now that I didn’t need to put peanut butter chips into the dough.

IMG_7131

IMG_7141

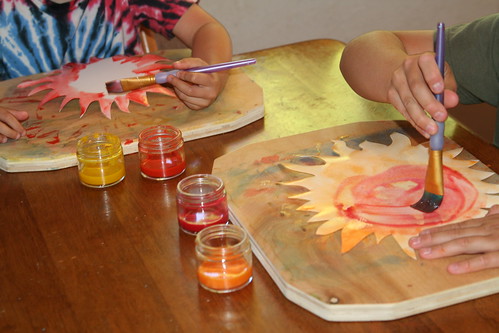
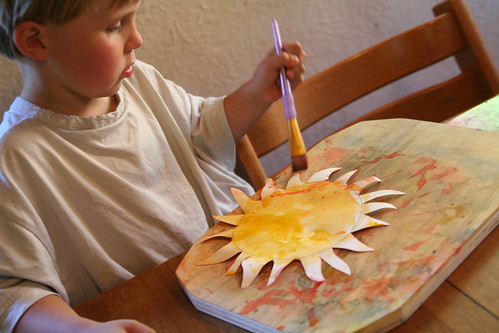
We painted suns, inspired by my co-author and friend Eileen Straiton’s project in our Midsummer Festival E-Book. I think once they’re dry we’ll hang them.

IMG_7149

IMG_7147

IMG_7148

IMG_7157

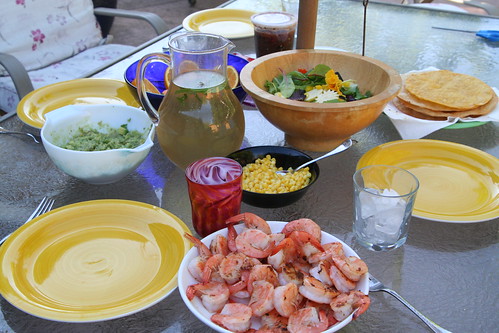
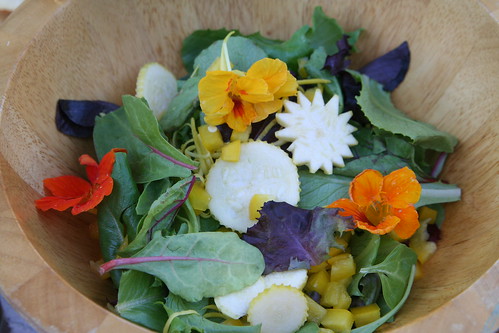
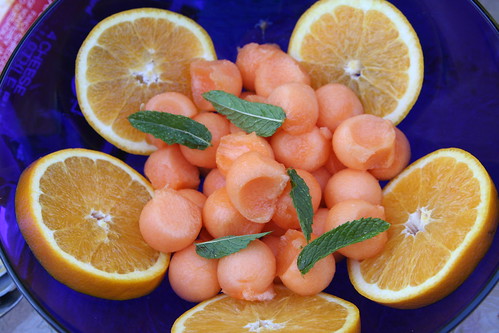
Then we had a beautiful Solstice feast of shrimp tostadas and several fresh salads. I needed lots of circles and colors and fresh veggies in this meal. We even added in some nasturtiums from our garden. We had so much gorgeous food, I wished we had guests to share it with! This is one of my favorite things: Eating amazing California food outside in summertime, when the day has been hot but the evening delta breezes pick up just in time.

IMG_7158

“Give me the splendid silent sun with all his beams full-dazzling.” —Walt Whitman

Solstice in a Sunbeam

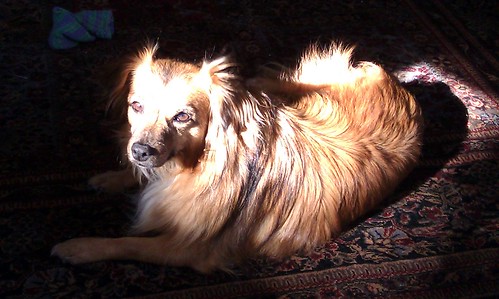
Also, today marks six months since our little dog Solstice came to our family. He followed our boys home on December 21 and hasn’t left our side since then. We love him so much, and we’re all grateful to have him.

Here’s to unexpected blessings that follow you home and take up residence in your heart.

Here’s to abundance of joy, nourishment, learning, and opportunity.

Here’s to family traditions carefully conceived and simply crafted.

Here’s to courage, doing good, and generosity.

Blessed Be.

  • About Sara

    Thanks for visiting! I’m Sara, editor and writer, wife to Ian, and mother of two precious boys. I am living each day to the fullest and with as much grace, creativity, and patience as I can muster. This is where I write about living, loving, and engaging fully in family life and the world around me. I let my hair down here. I learn new skills here. I strive to be a better human being here. And I tell the truth.
    Our children attend Waldorf school and we are enriching our home and family life with plenty of Waldorf-inspired festivals, crafts, and stories.

    © 2003–2018 Please do not use my photographs or text without my permission.

    “Love doesn’t just sit there like a stone; it has to be made, like bread, remade all the time, made new.” —Ursula K. LeGuinn

  • Buy Our Festivals E-Books


  • Archives

  • Tags

  • Categories

  •  

  • Meta