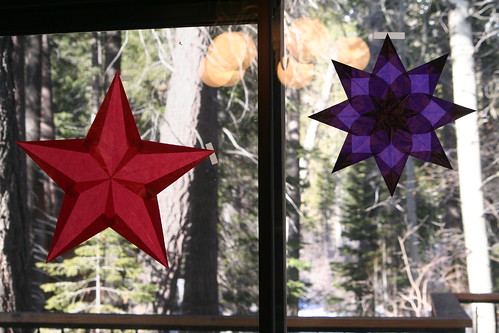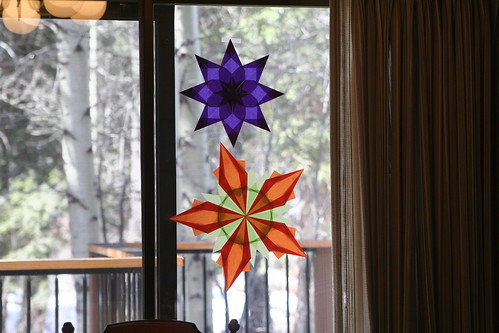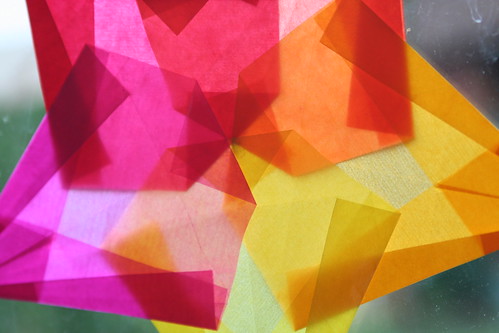
Happy Hanukkah!

IMG_3338

Hello!

I will spare you the details about how I’m behind on lots of stuff; it’s been a rough week. However, I’m feeling better and because of that my spirits are soaring! And all that stuff that’s piled up will get done eventually. More to come on Dickens Christmas Fair, tree hunting, St. Nick, and Santa Lucia.

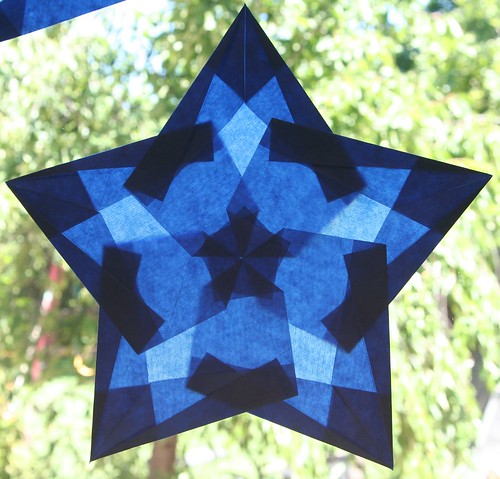
Here is a post I wrote a couple of years ago, in case you’d like to make my Star of David window stars this week. Click the link for a detailed tutorial.

I’m wishing everyone a joyful holiday season filled with light, laughter, and peace on earth. Shalom.

Tutorial: Patriotic 5-Pointed Window Star

IMG_7391

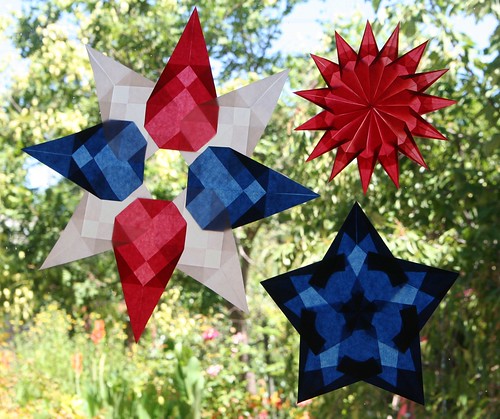
I am a freak for window stars. It’s been quite a while since I made any new ones, so I pulled out my kite papers and glue stick the other night. I wanted to make something red-white-and-blue to decorate for Independence Day, and five-pointed stars are always festive and patriotic in the U.S. Our family is almost never at home on this holiday, but crafting with this theme seemed like a fun thing to do anyway. If you are hosting a gathering for the Fourth of July (or for Bastille Day/La Fête Nationale in France on July 14), these would make lovely decorations. Make a bunch!

Incidentally, check out how many countries have flags made of red, white, and blue!

Materials

  • 5 sheets of square kite paper in red, blue, or white
  • glue stick
  • tape
  • ruler or straight edge for making crisp folds
  • large white piece of paper
  • protractor
  • pencil

Tutorial

IMG_7375

Fold your square into diagonals. Open it back up again.

IMG_7376

Now fold opposing corners to the center line (photo above). The top is now a horizontal fold that is parallel to your horizontal crease. Unfold the bottom corner; the crease you made will be used later.

IMG_7378

From the top, folded edge, fold the left side down to meet the center horizontal line (photo above). The top edge will now be vertical along the center line.

IMG_7379

The bottom edge now meets the line of the horizontal fold you made above and then unfolded.

IMG_7380

Do the same to the other side. Now you have a point at the top again.

IMG_7377

Fold the bottom corner up to the horizontal crease line.

IMG_7381

Now fold both sides in to meet the center vertical crease. This step looks like a sailboat. Do your best to keep the top point crisp.

IMG_7382

Open those sides out again.

IMG_7383

Now fold the left top side in again, allowing the corner to touch the horizontal crease you made in a previous step. Your top point is becoming more acute. Now do the same with the right side.

IMG_7384

Congratulations! You’ve make one point for your five-pointed star! Use tiny dabs of glue from your glue stick to tack down the parts that want to spring up. If you do this, your assembled star will look very precise hanging in the window and you’ll be able to see the beautiful pattern of lights and darks made by the folds of the paper.

Now repeat that folding process four more times, so that you have five of these points.

IMG_7385

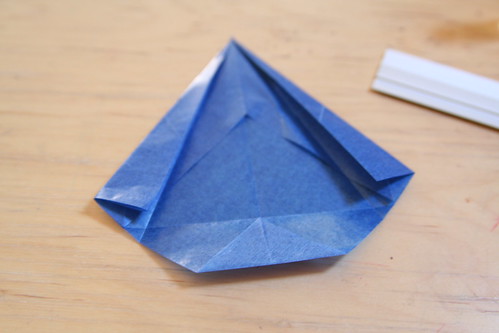
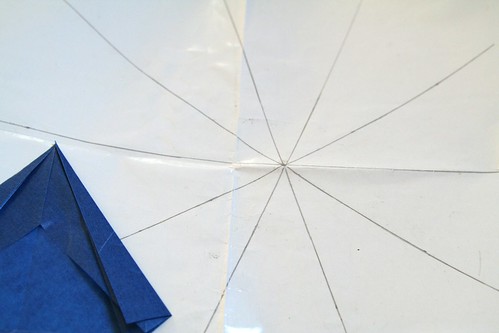
To assemble your star I recommend that you make a guide on a large spare piece of paper using a ruler and a protractor. Your five points need to connect at 72-degree angles. Draw nice long lines on your guide so that you can align your point and the center along the lines. My guide has lines for 10-pointed stars, so I skip one when assembling a five-pointed star.

IMG_7386

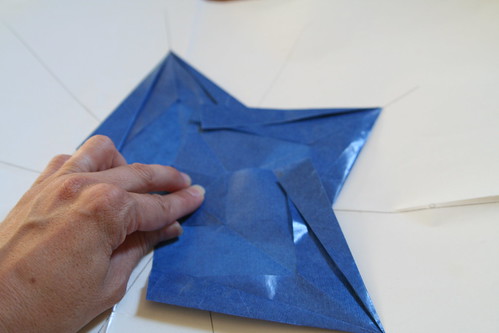
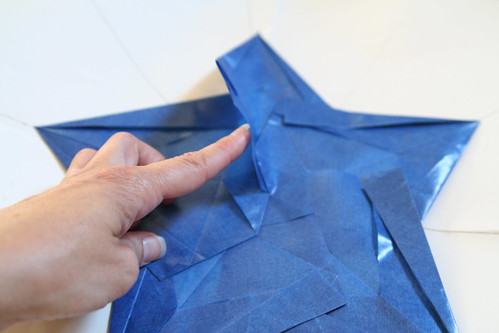
Start with the top point. Place it’s bottom center on the intersection point of all the lines on your guide. Align the center crease along the line. Now hold it firmly in place and add the next point so that its left side overlaps the first point. Align the second point’s bottom center on the intersection point and the center crease along the guide’s line. Place a dab or two of glue so that the two will stick together. Add the third point to overlap the second. Before you glue the third point, ensure that all three points are still lining up with your guide lines. Continue with the fourth and fifth points, but glue only the left side of the final point.

IMG_7387

Finally, lift the top point up so that the right side of the fifth point goes underneath it, and then glue.

IMG_7388

Voilà! Now hang your star in the window!

IMG_7389

They’re pretty all together in their red-white-and-blue glory, aren’t they? I love them!  I’m thinking of making another style of window star for Fourth of July. I’ll try to do a tutorial for it, too, if I can find the time.

Star of David Window Star Tutorial

IMG_3335

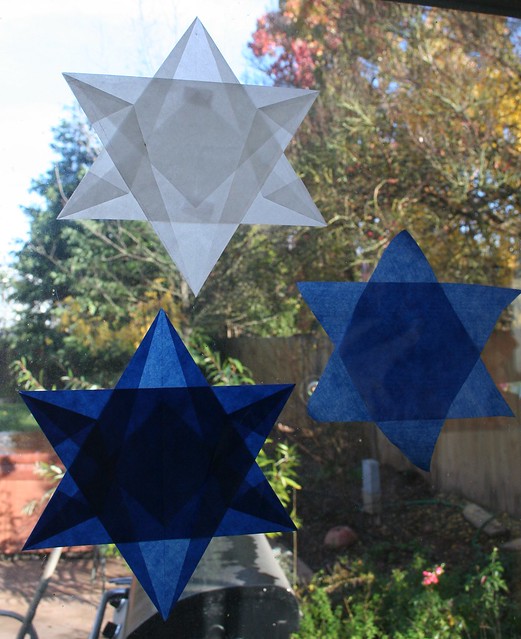
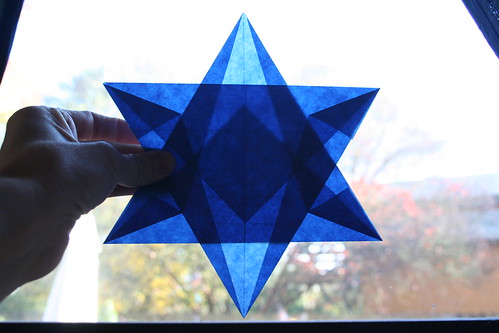
Today is the first day of Hanukkah, and although I am not Jewish, I found myself wondering about Hanukkah crafts and thought I might create something to share. I am very, very fond of (read “obsessed with”) window stars and I wondered if I could come up with a way of making one in the shape of the six-sided Magen David, or Star (or Shield) of David in celebration of Hanukkah.

Well, I have done so. I’ve never seen this window Star of David anywhere in Waldorf circles, so I believe I’ve invented this folding design. Here goes, humbly submitted with love:

Materials

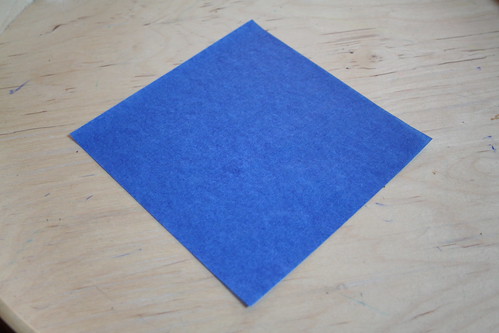
  • 2 sheets of 6 x 6 inch kite paper
  • glue stick
  • ruler
  • tape

Tutorial

IMG_3322

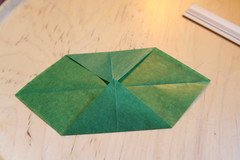
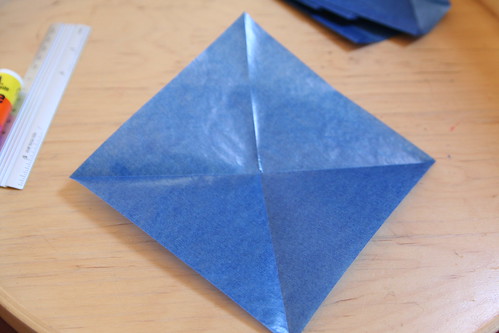
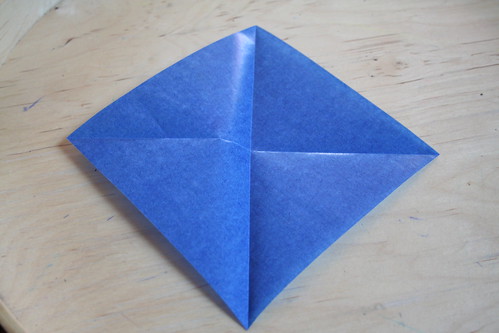
The aim here is to create two equilateral triangles without cutting your kite paper. Start by folding your first sheet diagonally, corner to corner. Open the paper into a square and fold it diagonally the other way, corner to corner. Your paper now has folds that make an X, or a cross when a corner is at the top.

IMG_3323

IMG_3331

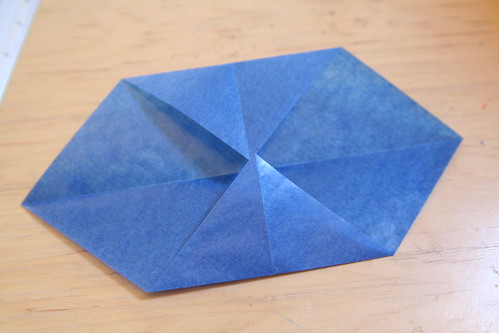
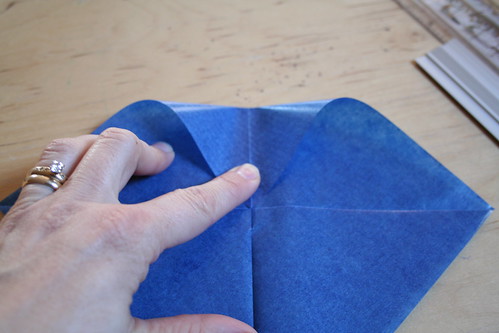
Hold the paper with one corner at the top, in a diamond shape. Fold the top corner down to the middle, where the two diagonal folds you made meet. Crease the paper there, but do not firmly press the fold down all the way. You want a little crease mark halfway in between the top corner and the middle of the square. Unfold the sheet into a diamond shape again.

IMG_3325

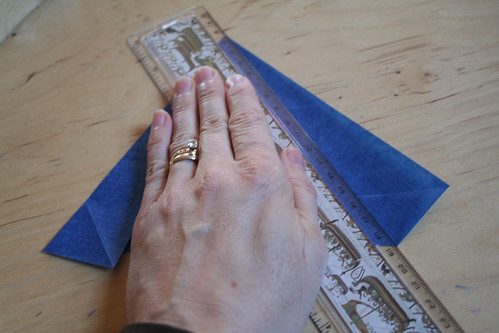
Now fold the bottom corner up to the crease you just made. Firmly press the fold; this one is permanent. You now have a fold on the bottom. This bottom fold is one side of your equilateral triangle.

IMG_3326

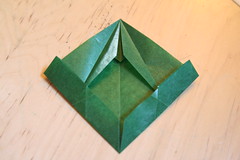
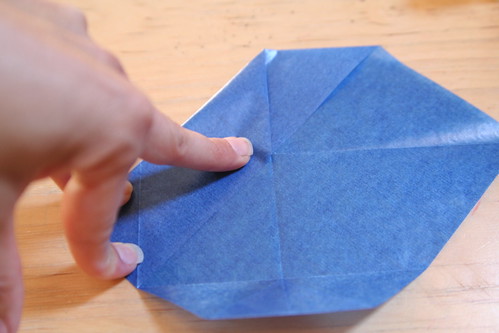
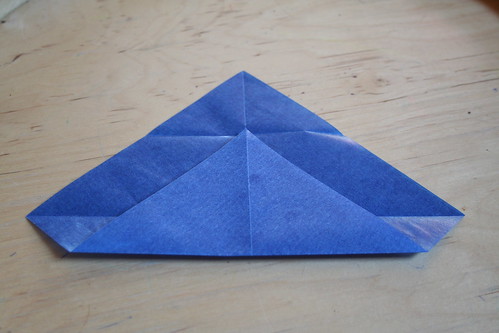
Hold the top point and fold the left side of the kite paper toward the center fold line. The bottom left corner will be where the bottom of the triangle begins. The top of this fold will be very narrow and the bottom will be pretty wide.

IMG_3327

Now do the same thing on the other side.

IMG_3328

IMG_3329 IMG_3330

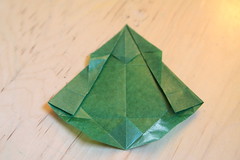
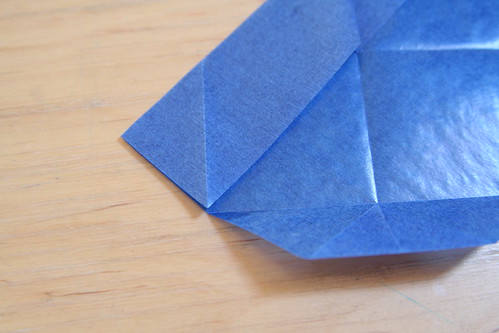
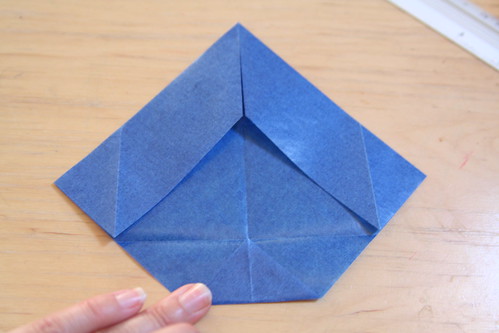
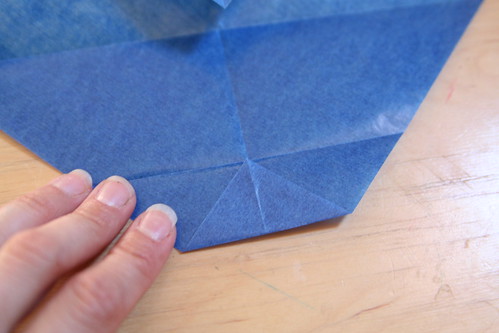
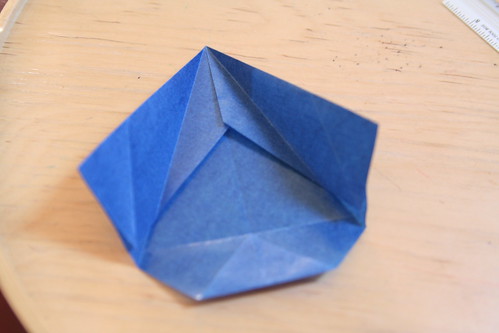
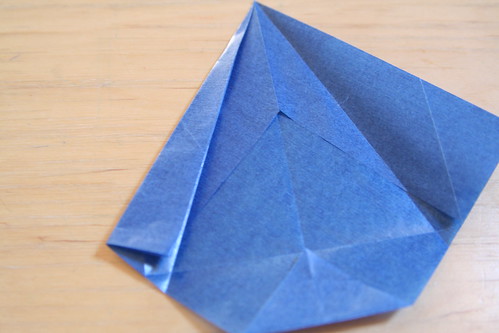
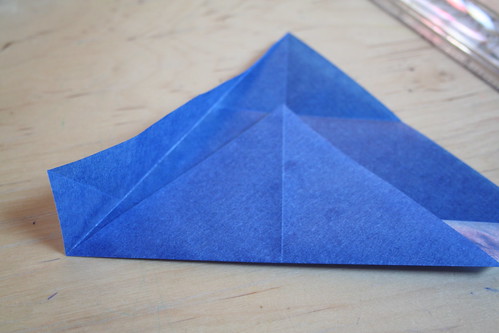
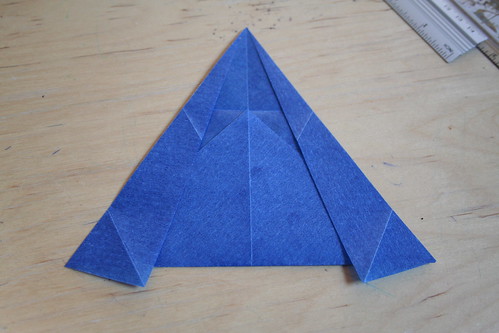
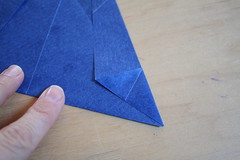
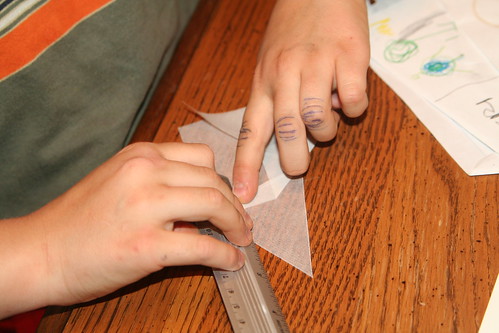
You have two little corners that extend down beyond the bottom edge of your triangle. Fold the left corner up until it meets the left edge of the triangle. Do the same on the right side.

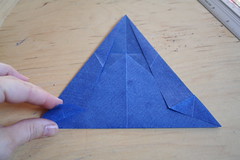
Get out your ruler and let’s see how we did. The bottom of your triangle should be 17 cm long. The left and right sides should be 16.5 cm. That’s not a perfect equilateral triangle but it’s really close. It will do.

Repeat all of the above with your second piece of kite paper.

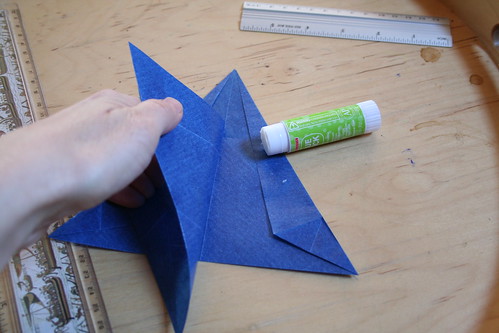
To assemble your Star of David window star, you want one triangle pointing up and one pointing down. They will overlap such that six points of equal size are visible. It doesn’t matter which triangle is on layered on top of the other. Be sure to align the center fold lines of both triangles.

IMG_3337

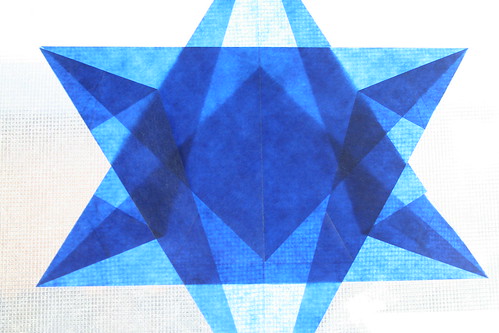
When you layer them together and hold them up to a light source, you should see a hexagram in the center, as well as other details created by your folding pattern. You want the distance from the bottom of each triangle to the tip of the point of the other triangle to be 4.5 cm. If you’ve got that measurement right, then the other four side points of the star should also be 4.5 cm from their tips to the sides of the other triangles.

IMG_3333

Use your glue stick to dab a very small amount of glue to fix the two triangles in place.

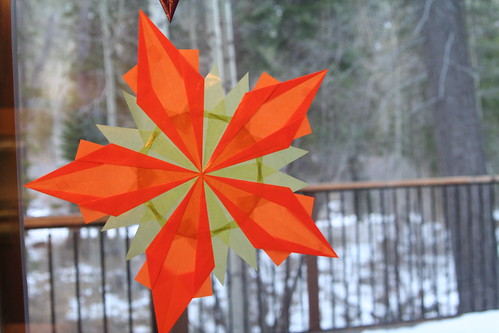
IMG_3338

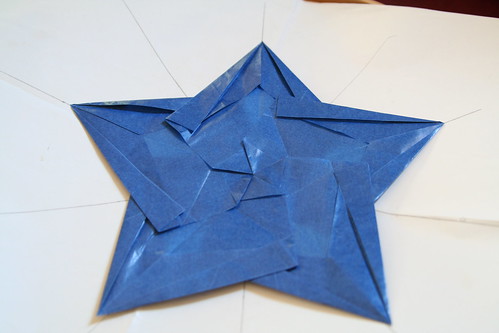
Tape or glue your Star of David to the window. Voilà!              (c) Sara E. Wilson

IMG_3341

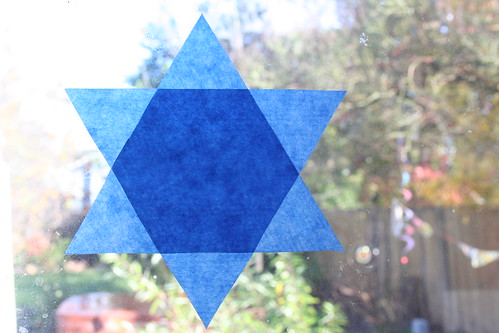
If you don’t mind cutting your kite paper, you can make a very simple Star of David that also looks beautiful with the light shining through it. This one is good for kids in older grades to make on their own because they can practice measurements and angles. Use one side of the kite paper to be a side of your equilateral triangle. With a protractor, measure a 60 degree angle, make a pencil mark near the center of the opposite side of the square. Then draw the line. Measure 15 cm. That’s your side length. Make another 60 degree angle and draw another line to intersect the first line you drew. All sides must be the same length: 15 cm. Now that you’ve got your equilateral triangle drawn, cut it out. Repeat these steps to cut a second triangle and then layer one over the other to make the six-pointed Star of David. In this version, the center hexagon is very visible. Simple and lovely. (And the truth is, even if your triangles aren’t perfect equilateral triangles, this star will still look terrific!)

There are other nifty Hanukkah crafts in the Winter Festivals E-Book, created by myself and Eileen Straiton and published by Little Acorn Learning. In it you can find poems, crafts, songs, caregiver meditations for celebrating a number of festivals of light, including Santa Lucia, Hanukkah, Solstice, Yule, and Christmas. We’d be very happy if you checked out our e-book and help us spread the word.

Happy Hanukkah! May we all enjoy the love and light of true friendship during this beautiful season.

Glorious Saturday

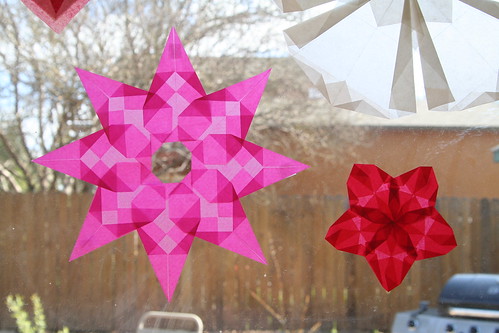
Pink Open-Center Star and Red Flower

Oh, Saturday. How I love you! I swoon with love for you!

Any day that starts with an extra hour of delicious morning sleep is tops. Why does morning sleep feel better than any other sleep?

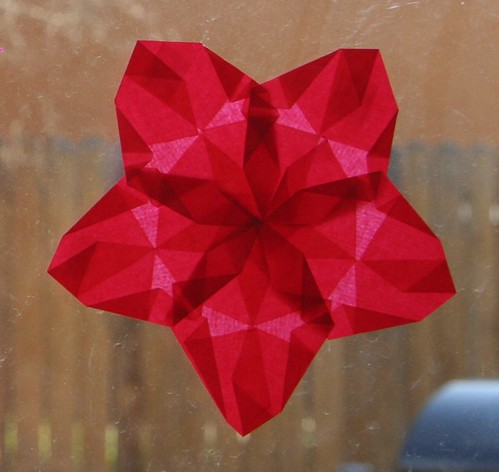
My day started with coffee and some new window stars. Both of these are first attempts at new patterns.  The red flower was tough because I had to trim my small 6 1/4 inch square kite paper into teeny-tiny rectangles with a particular height-to-width proportion. Like, with MATH.

Pink Open-Center Star and Red Flower

It would have been easier with bigger paper, as the instructions call for. But I’m happy with the result. See the little red star in the middle?

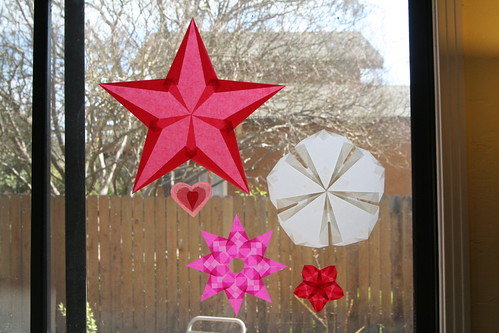
Grouped Window Stars

The pink one with the open center is kind of a showstopper, I think.

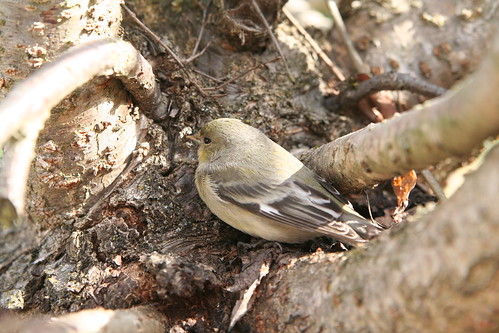
Stunned Goldfinch(?)

This little darling accidentally flew into our window today. She stunned herself pretty badly, and allowed Ian to pick her up and place her into this tree. At first her eyes were closed and her eyelids were kind of twitchy. Later on, she was like this, eyes open but not ready to fly away. Then, she was gone. I hope she’s OK now. She might be a goldfinch, but I’m not sure.

New Chicks

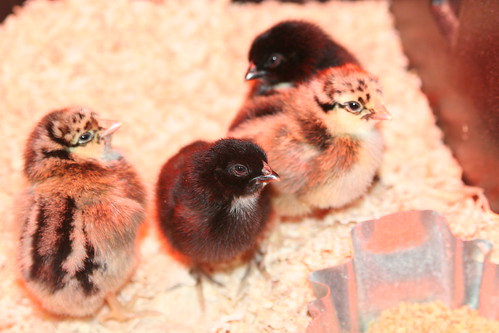
We have four two-day-old chicks in our home again. Here they are at one day old. We got two Black Sex-Link chicks (who are certain to be female because the male chicks look different at hatching) and two Silver Laced Wyandotts. At first I was sure I’d play it safe and get four Black Sex-Link chicks to guarantee we were getting females, but then the Silver Laced Wyandotts wooed me with their gorgeous adult plumage and I succumbed to temptation. Let’s all hope together that they’ll turn out to be hens, OK?

Lucas and New Peep (Silver Laced Wyandott)

The chicks are much more sturdy on their pins now. Lucas is enjoying them a lot. We are debating about their names. Ian wants to name them after sci-fi space princesses. Lucas is in favor of Norse goddess names, although he also likes the idea of calling them Bear, Raven, Duck, and Chipmunk because, well,  that’s funny. Asher seems to want to keep with the theme of nature oriented names like our other hens. He has thoughtfully suggested Moon, Star, Rain, and Tornado.

Japanese Maple Buds

My garden is coming alive again in small ways.

Forsythia

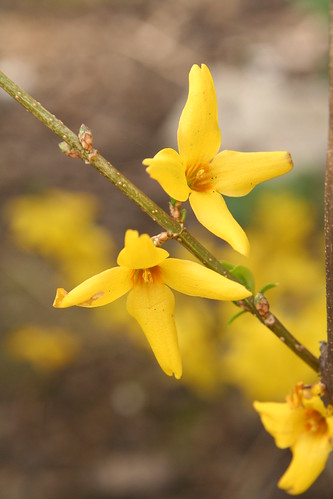
This new forsythia was allegedly a flowering quince when I bought it and planted it late last spring. I’m not sad because it’s gorgeous.

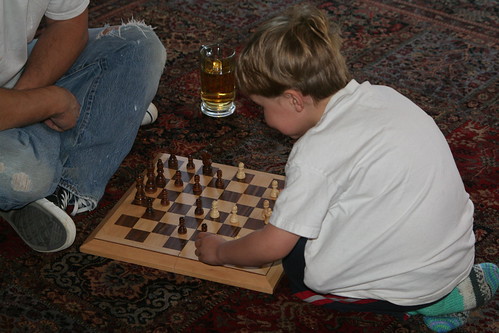
First Chess Lesson

Asher received his first lessons in chess today. My heart skipped a beat when I saw this. Is he really old enough to start learning chess?

Practicing

Lucas practiced piano and cleaned his room today. We also went to the library and got him his own library card.

And although I don’t yet have a photo, I spent some time today painting my kitchen door turquoise. I’ve been wanting to paint this door for twelve years now. Ridiculous, but true. And why turquoise? Well, why ever not?

We had yummy French onion soup and steak and asparagus for dinner. We read leprechaun stories at bedtime.

Life is good. I love Saturdays.

Shamrock Window Transparency Tutorial

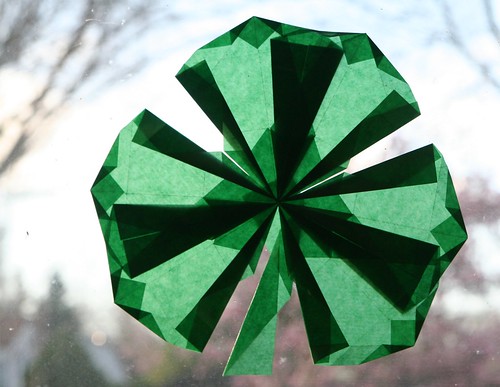
Finished Window Shamrock

Are you excited about Saint Patrick’s Day? I am because we can do anything we want to celebrate. I’m a big fan of “minor” holidays for this reason. We can be creative and silly and spontaneous, and even do something different every year, if we want.

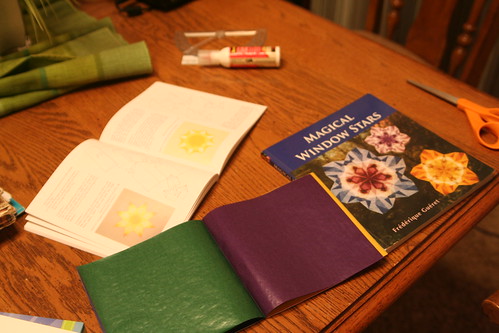
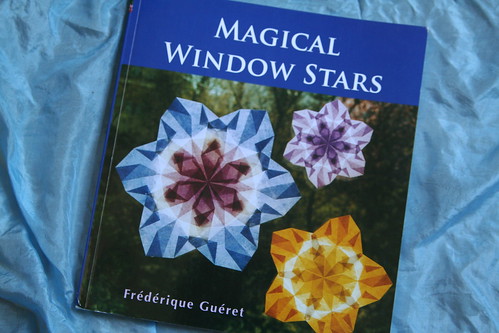
I thought I would share this with you. I made up this shamrock window transparency, building on what I’ve learned from Magical Window Stars by Frédérique Guéret. Although there is a beautiful clover leaf design in the book, this is not it. This design that I’ve created uses the square kite paper that is most commonly available. The basic point I teach below is Guéret’s invention, but the configuration and the assembly of the shamrock was my idea. I hope you like it. In any case, I fully recommend this book if you love window stars like I do.

Materials

  • 7 sheets of square kite paper in dark green
  • scissors
  • glue stick
  • tape
  • ruler or straight edge for making crisp folds

Tutorial
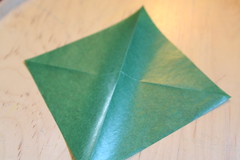
IMG_2205
Fold your square into diagonals.

IMG_2207
Now fold opposing corners to the center line (photo above). The top is now a horizontal fold that is parallel to your horizontal crease.
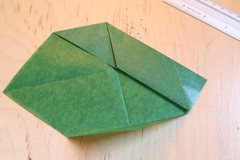
IMG_2208
Unfold the bottom corner; the crease you made will be used later. From the top, folded edge, fold the right side down to meet the center horizontal line (photo above).
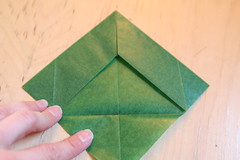
IMG_2211
Do the same to the other side. Now you have a point at the top again (photo above).
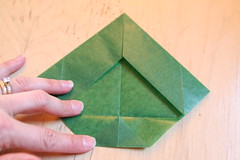
IMG_2212
Fold the bottom corner up to the horizontal crease line (photo above).
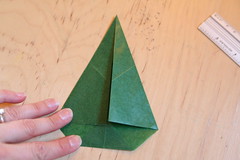
IMG_2214
Now fold both sides in to the center vertical crease. This step looks like an airplane or maybe a sailboat. Do your best to keep the top point crisp.
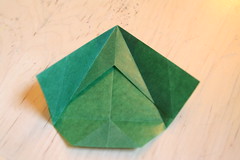
IMG_2215
Open those sides out again.

IMG_2216
Now fold the bottom sides up so that the flat bottom edge aligns with the center vertical crease (photo above). Unfold those bottom sides again.
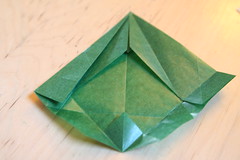
IMG_2218
Now fold the left top side in again, allowing the corner to touch the horizontal crease you made in the previous step. Your top point is becoming more acute.
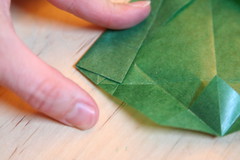
IMG_2219
Above is a detail of this step. See where the left edge folds in and meets the crease? The corner touches the horizontal crease.
IMG_2220
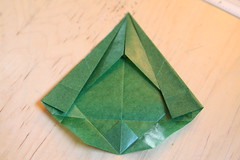
Now do the same with the right side.

IMG_2221
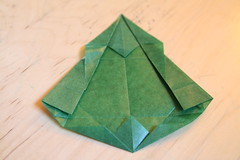
Open out the innermost flaps of the top point, allowing their “wings” to extend beyond the edges of the sides.
IMG_2223
From the bottom center, you have two diagonal creases. Fold the very bottom edge on both sides up, aligning the bottom edge with the diagonal creases.
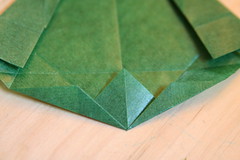
IMG_2224
This photo above is a detail of that final fold. Congratulations! You’ve make one point. Now— sorry about this part—you repeat that process five more times, so that you have six of these points. Two points will make one lobe of your shamrock.
IMG_2153
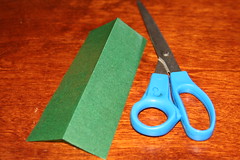
Once you have six of those points, you can make the stem. Take another square of kite paper and fold and cut it in half. Now fold and cut piece in half again and cut along the fold. You should now have a skinny, rectangular strip that is one-quarter the width of the original square.

IMG_2154
This long strip is the stem of your shamrock. Fold the bottom of the strip like the photo above.
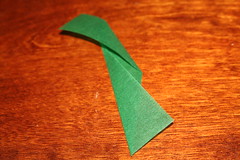
IMG_2155
And fold the top of the strip in the opposite direction, like so. This makes it kind of curve. You now have all the pieces you need and you can assemble the shamrock window transparency.
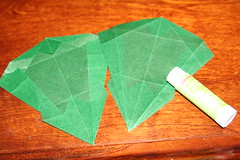
IMG_2156
For each lobe of the three-lobed shamrock, you’ll need two points. The sharpest point—what I was calling the top in the photos above— goes in the center. The front side of each piece is the side with the points. If you run your fingers across the front, they will catch on the little triangles created in the folding process. The back side is smooth; your fingers won’t catch on any part. Turn one of the two points over so that the back side is up, as in the picture above. Run your glue stick along the right edge (where the glue end of the glue stick is in the photo above).
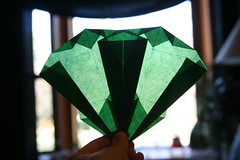
IMG_2159
Align the points at the bottom as close together as you can, hold your two points up to the light, and align the darkest edges side by side, as you see in this photo above. They make a very dark upside-down triangle in the middle. The broad (formerly bottom) end of your two points will be overlapping. You now have one lobe of your shamrock done. Do the same thing two more times to make two more lobes of your shamrock.
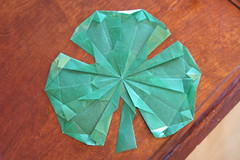
IMG_2161
If it helps, hold up each lobe to the light before gluing them together. You should see a medium green triangle in the center when all three points are aligned. Now put all the center points together on top of your stem. Glue them to the stem with your glue stick so that the points of the center are just barely touching and the three lobes are almost touching halfway up, just beyond the edge of that inner triangle. The stem should extend down in the gap between the left and right lobes of the shamrock.
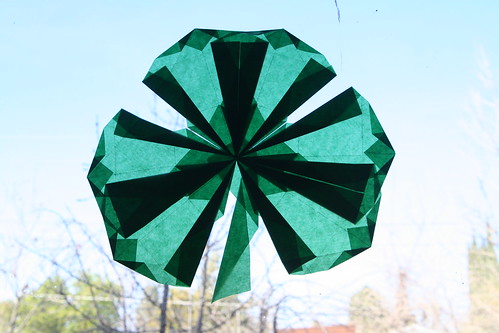
Finished Shamrock Window Transparency
Now you can hang your shamrock in the window. Make three or four loops of tape and put at least one on the back of each lobe to stick it to your window. Perhaps your window shamrock with bring you good luck!

The Dear Little Shamrock

There’s a dear little plant that grows in Ireland.
‘Twas Saint Patrick himself sure that set it.
And the sun on his labor with pleasure did smile.
And a tear from his eyes oft-times wet it.
It grows thro’ the bog, thro’ the brake, and the mireland,
And it’s called the dear little Shamrock of Ireland.

That dear little plant still grows in our land,
Fresh and fair as the daughters of Erin,
Whose smiles can bewitch, and whose eyes can command,
In each climate they ever appear in:
For they shine thro’ the bog, thro’ the brake, and the mireland,
Just like their own dear little Shamrock of Ireland.

That dear little plant that springs from our soil,
When its three little leaves are extended,
Denotes from the stalk we together should toil,
And ourselves by ourselves be befriended.
And still thro’ the bog, thro’ the brake, and the mireland,
From one root should branch, like the Shamrock of Ireland.

—Andrew Cherry

More Window Stars

Or, What I Did on My Vacation

IMG_1860

OK, I admit I’m completely obsessed with window stars lately. I think I mentioned that here a little while ago. Anyway, we had some time off last week and I took all my kite paper and window star books along with me to the mountains. I was determined to challenge myself to make some of the more complex stars. While I was there, in between working, eating, and playing outside, I made eight new stars.

IMG_1402

I also accidentally wrecked one, but shed only a few tears about that.

IMG_1857

The more you make them, the easier it becomes. I guess I got into a kind of flow.

IMG_1593

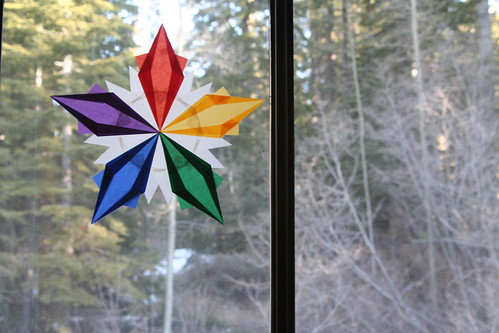
Lucas helped me make this beautiful multicolored star. He did most of the white center. I’m hoping he’ll want to make some more with me. I think stars like these may be our birthday gifts for everyone this year.

IMG_1597

I love the way the light shines through them and I confess I’m crazy about the colors.

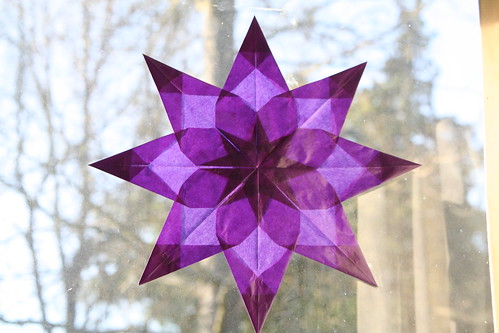
Purple Eight-Point Window Star

Window Stars in Boys' Room

My boys wanted one for their room in their favorite colors, blue and green. Now that we’re home again, the stars have all found spots on our windows here, sharing space with the Valentine window transparencies I made last month, which are still up because I adore them.

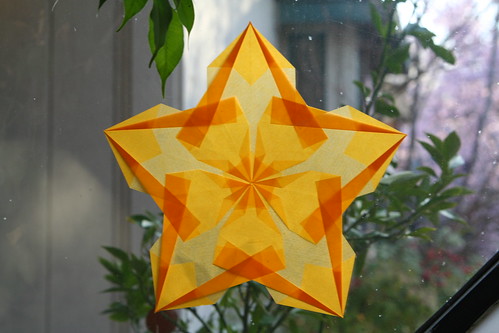
New Window Star

I’ve also been experimenting and will share my results very soon, if it all works out the way I think it will.
 

Snow Days

IMG_1728

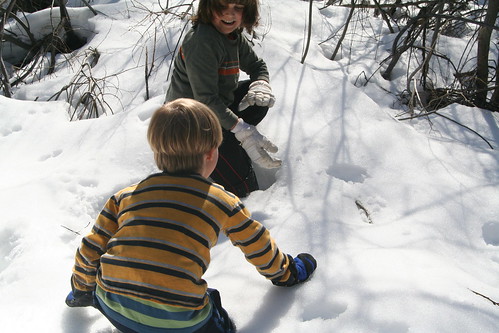
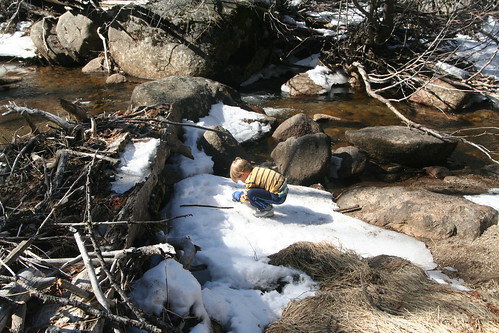
We were on a school vacation last week, and Ian carved a few days off his work week. So we were able to leave town for one of our delicious, infrequent snow vacations.

IMG_1763

IMG_1787

We had a new family member along with us this time. I fell even more in love with Solstice. What an intrepid snow dog he is!

IMG_1748

IMG_1519

IMG_1813

IMG_1701

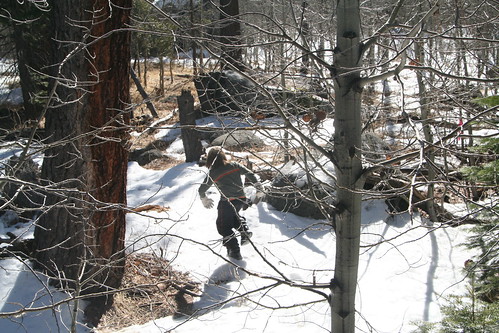
I love to see my children roaming, to see them march off on their own mission in whatever direction they choose. I love to see them free.

IMG_1580

IMG_1598

IMG_1593

IMG_1590

IMG_1475

IMG_1467

IMG_1465

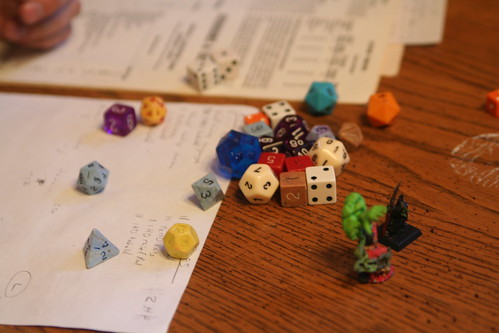
We had plenty of time for games and new hobbies, and that was enchanting, too.

IMG_1809

IMG_1371

IMG_1868

IMG_1815

IMG_1823

IMG_1843

IMG_1921

IMG_1929

IMG_1423

IMG_1793

IMG_1464

IMG_1666

What more can I say? It was perfect.

Window Stars

I have long coveted the window stars I’ve seen at the Waldorf school and in photos. I bought a book of how to make them a while back and got so overwhelmed by the complex instructions that I didn’t attempt one for a year.

Eventually, in my combing the Internet, I stumbled upon the right kind of transparent “kite paper” and bought it. My paper is square, so I can now make all the stars that require squares.

Window Star

Magical Window Stars

Many of the stars in this book require rectangular tissue paper cut to specific sizes and I haven’t tried that yet. I guess my rotary fabric cutter would do the job, but I don’t know if that would be bad for the cutter.
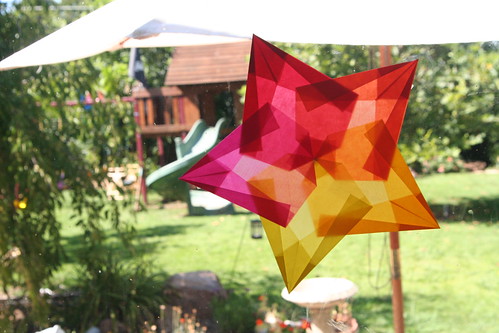
First Window Star Close-Up

This star was pretty easy to make, although I had to ask Ian help me figure out how to assemble the five points into the star. It was confusing because the instructions were wrong in a couple of places. The book could use a good editor in its next revision, I think! Still, I’m looking forward to making more of these. They’re pretty.
  • About Sara

    Thanks for visiting! I’m Sara, editor and writer, wife to Ian, and mother of two precious boys. I am living each day to the fullest and with as much grace, creativity, and patience as I can muster. This is where I write about living, loving, and engaging fully in family life and the world around me. I let my hair down here. I learn new skills here. I strive to be a better human being here. And I tell the truth.

    Our children attend Waldorf school and we are enriching our home and family life with plenty of Waldorf-inspired festivals, crafts, and stories.

    © 2003–2018 Please do not use my photographs or text without my permission.

    “Love doesn’t just sit there like a stone; it has to be made, like bread, remade all the time, made new.” —Ursula K. LeGuinn

  • Buy Our Festivals E-Books


  • Archives

  • Tags

  • Categories

  •  

  • Meta