Tutorial: Patriotic 5-Pointed Window Star
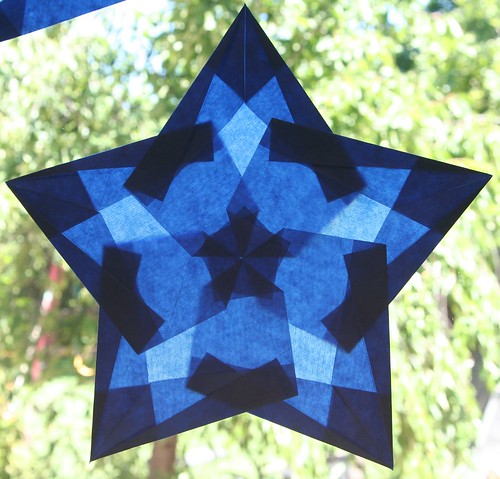
I am a freak for window stars. It’s been quite a while since I made any new ones, so I pulled out my kite papers and glue stick the other night. I wanted to make something red-white-and-blue to decorate for Independence Day, and five-pointed stars are always festive and patriotic in the U.S. Our family is almost never at home on this holiday, but crafting with this theme seemed like a fun thing to do anyway. If you are hosting a gathering for the Fourth of July (or for Bastille Day/La Fête Nationale in France on July 14), these would make lovely decorations. Make a bunch!
Incidentally, check out how many countries have flags made of red, white, and blue!
Materials
- 5 sheets of square kite paper in red, blue, or white
- glue stick
- tape
- ruler or straight edge for making crisp folds
- large white piece of paper
- protractor
- pencil
Tutorial
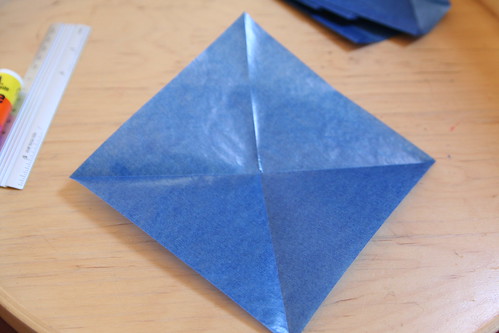
Fold your square into diagonals. Open it back up again.
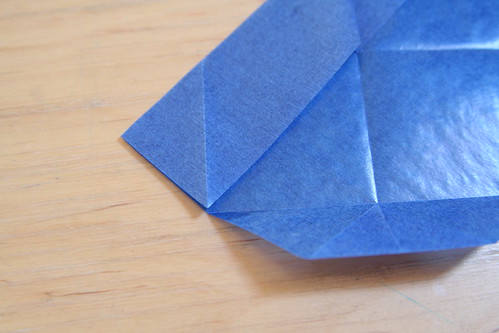
Now fold opposing corners to the center line (photo above). The top is now a horizontal fold that is parallel to your horizontal crease. Unfold the bottom corner; the crease you made will be used later.
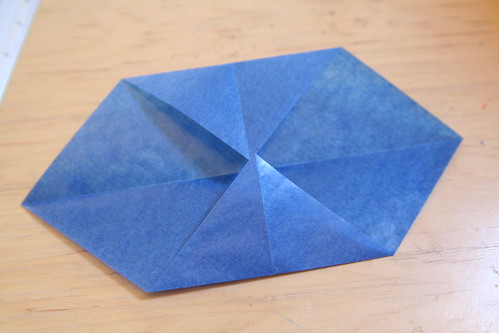
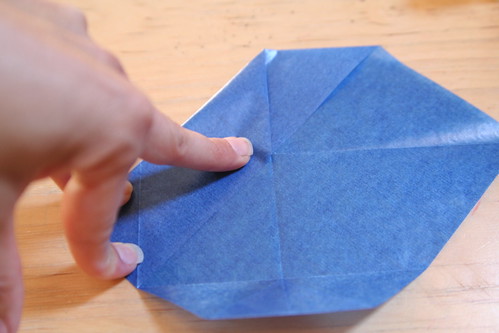
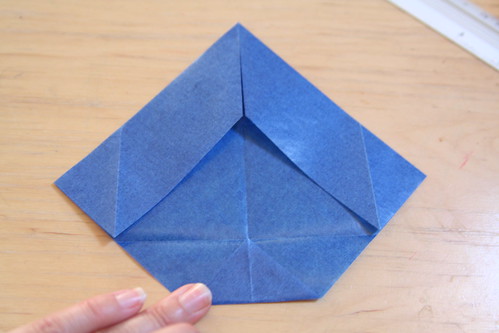
From the top, folded edge, fold the left side down to meet the center horizontal line (photo above). The top edge will now be vertical along the center line.
The bottom edge now meets the line of the horizontal fold you made above and then unfolded.
Do the same to the other side. Now you have a point at the top again.
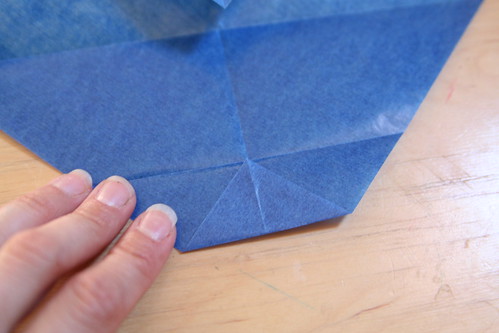
Fold the bottom corner up to the horizontal crease line.
Now fold both sides in to meet the center vertical crease. This step looks like a sailboat. Do your best to keep the top point crisp.
Open those sides out again.
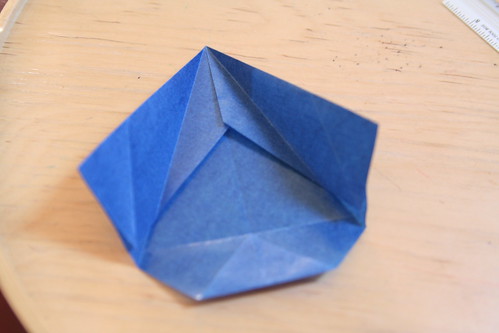
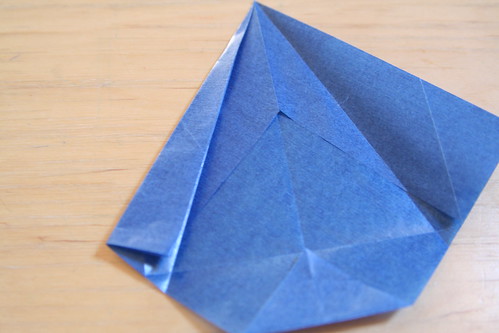
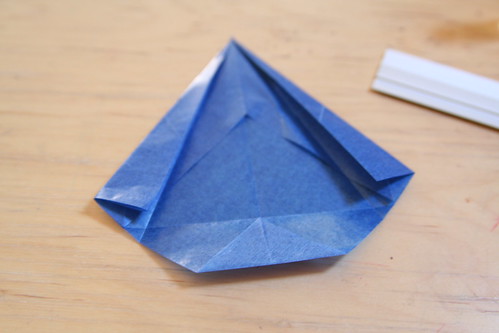
Now fold the left top side in again, allowing the corner to touch the horizontal crease you made in a previous step. Your top point is becoming more acute. Now do the same with the right side.
Congratulations! You’ve make one point for your five-pointed star! Use tiny dabs of glue from your glue stick to tack down the parts that want to spring up. If you do this, your assembled star will look very precise hanging in the window and you’ll be able to see the beautiful pattern of lights and darks made by the folds of the paper.
Now repeat that folding process four more times, so that you have five of these points.
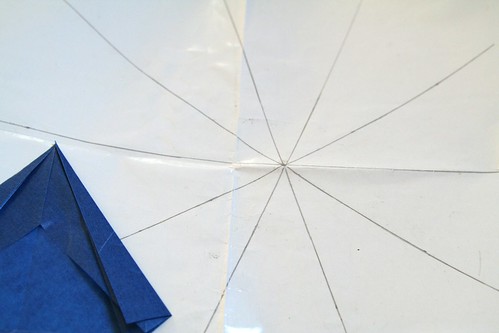
To assemble your star I recommend that you make a guide on a large spare piece of paper using a ruler and a protractor. Your five points need to connect at 72-degree angles. Draw nice long lines on your guide so that you can align your point and the center along the lines. My guide has lines for 10-pointed stars, so I skip one when assembling a five-pointed star.
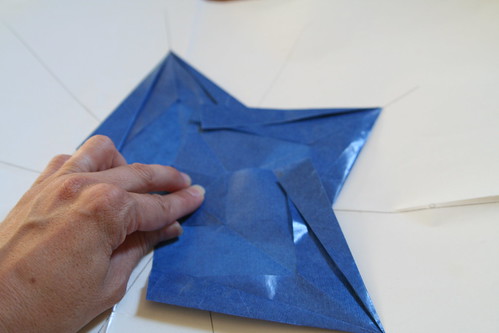
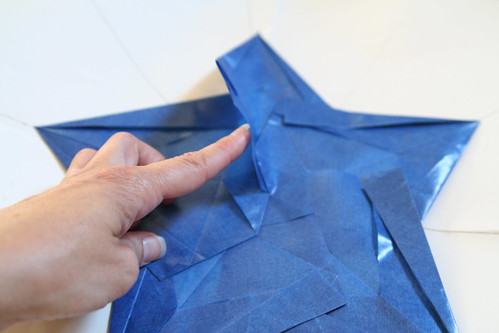
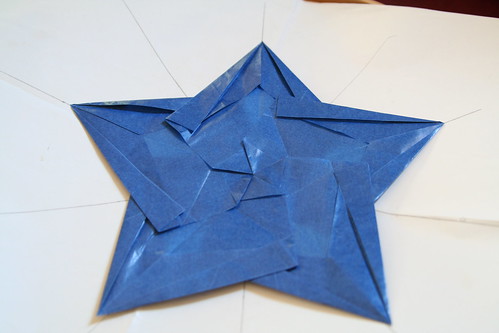
Start with the top point. Place it’s bottom center on the intersection point of all the lines on your guide. Align the center crease along the line. Now hold it firmly in place and add the next point so that its left side overlaps the first point. Align the second point’s bottom center on the intersection point and the center crease along the guide’s line. Place a dab or two of glue so that the two will stick together. Add the third point to overlap the second. Before you glue the third point, ensure that all three points are still lining up with your guide lines. Continue with the fourth and fifth points, but glue only the left side of the final point.
Finally, lift the top point up so that the right side of the fifth point goes underneath it, and then glue.
Voilà! Now hang your star in the window!
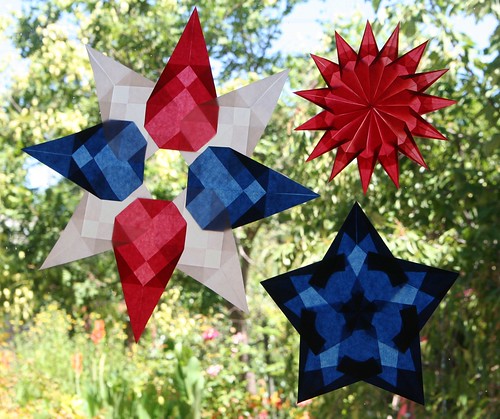
They’re pretty all together in their red-white-and-blue glory, aren’t they? I love them! I’m thinking of making another style of window star for Fourth of July. I’ll try to do a tutorial for it, too, if I can find the time.



July 2, 2013 at 4:31 pm
These are lovely & so festive. I really enjoy decorating our windows with kite paper stars and look forward to trying your tutorial.
December 17, 2025 at 12:25 pm
I’ve been making these for 20 years and this is by far the most complicated pattern I’ve encountered! After finally figuring out the folds, the final step of gluing together was like an impossible math problem
!!!