Wishing You a Blessed Spring

upload

upload

upload

2015-04-04_04-38-59

20150404_152350

20150405_093511

20150405_122035

upload

20150405_142721

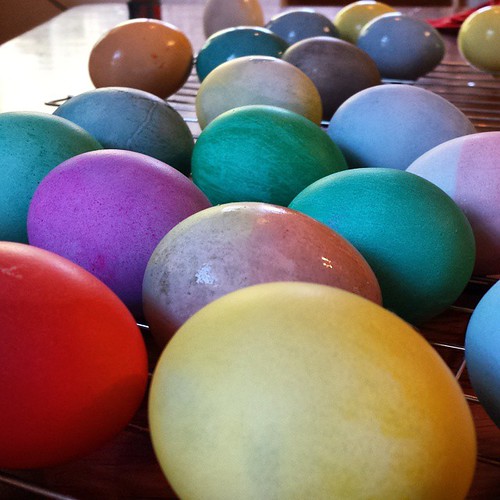
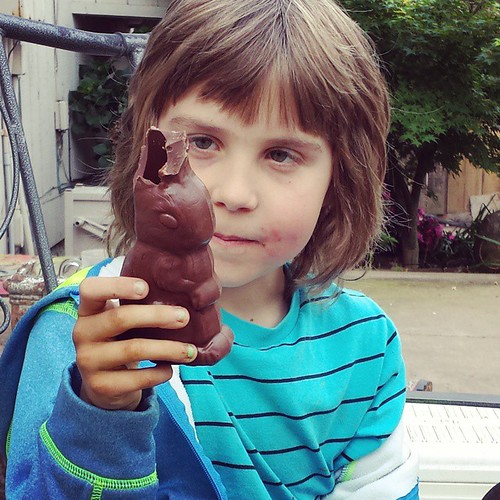
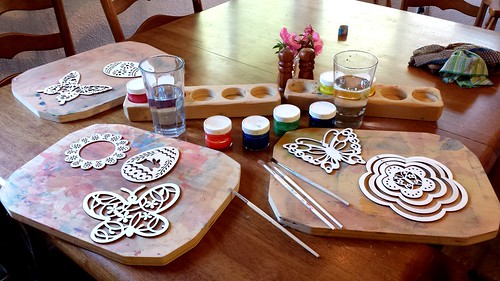
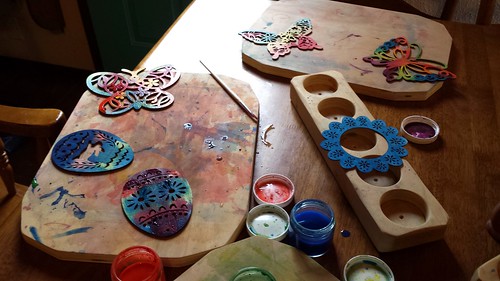
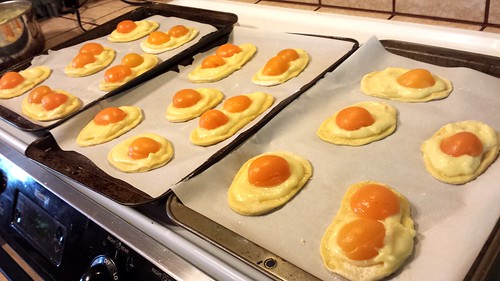
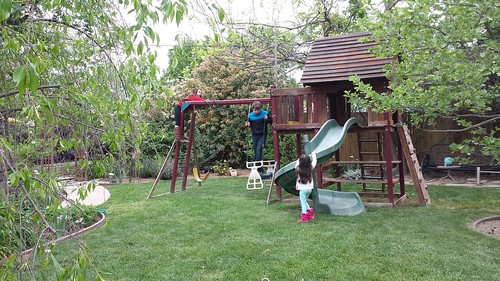
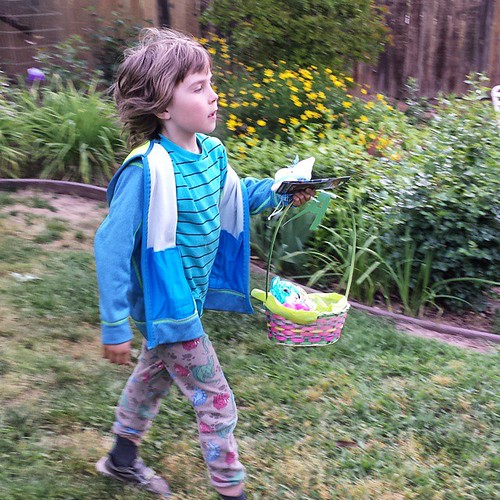
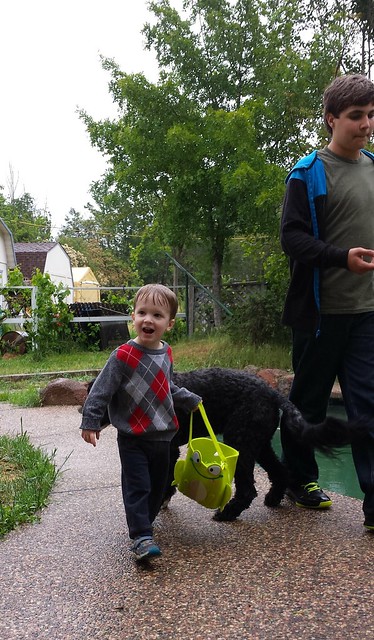
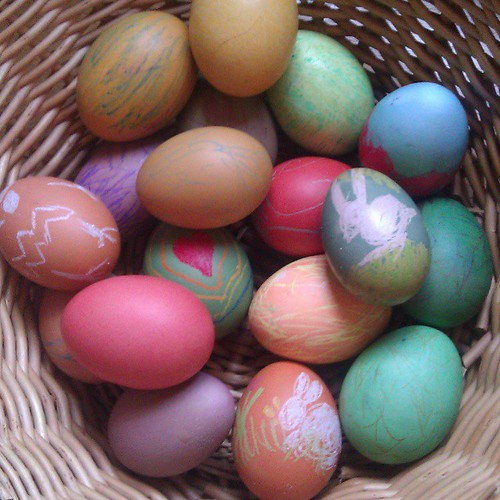
We had a lovely Easter, celebrating with family both here in our home and at grandma and grandpa’s house. We enjoyed dyeing and hunting for eggs, did some easy crafts, and ate some delicious food together. My kids took advantage of the rare glut of available candy. We played with cousins on both sides of the family. And Grandma makes amazing ribs! It rained just a little bit, which was a gift. I wish it would rain lots more, but we are nevertheless enjoying the flowers and sunny days we are having during this spring vacation.

My children have another week off from school. Today is a slow day for my workwise, so we’re heading out for a while.

Many blessings of renewal and abundance to you and yours this spring.

Tutorial: Michael’s Sword Napkin Holders for Michaelmas

IMG_8617

Can you feel it in the air? Michaelmas is coming!

This craft project is one that I created for the Autumn Equinox and Michaelmas Festival E-Book published by Little Acorn Learning. I’m posting it here courtesy of Little Acorn Learning. Please take a moment to look at all the fun projects and crafts and celebration ideas offered in our e-book. It provides so many wonderful, Waldorf-inspired ideas for enjoying this early fall season.

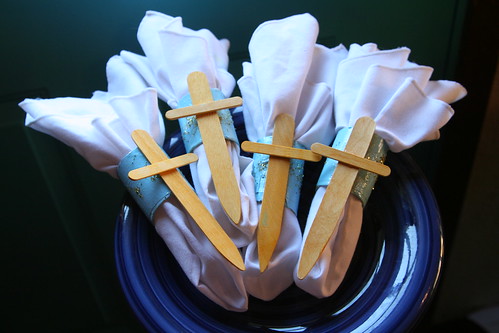
Michael’s Sword Napkin Holders

This simple craft project is one that the kids can do mostly on their own, with a little supervision. The napkin holders are a perfect special touch for your holiday table and a special Michaelmas meal.

Materials

  • toilet paper rolls (each makes two napkin holders)
  • masking tape
  • wide popsicle sticks
  • narrow half-size popsicle sticks
  • heavy-duty scissors
  • sandpaper
  • blue acrylic paint (or your preferred color)
  • yellow watercolor paint
  • paintbrushes
  • mod podge
  • gold glitter (optional)
  • low temperature glue gun and glue stick

Tutorial

Cut your toilet paper holders into halves. Try not to squish them too much. Wrap each ring with masking tape. It can be smooth or bumpy.
IMG_8556

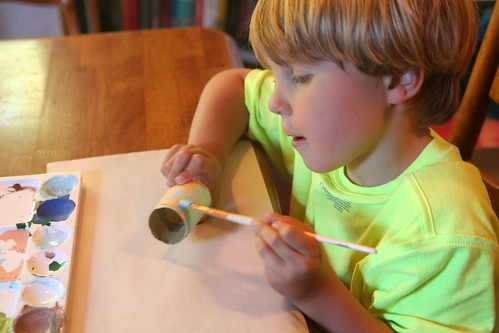
With your blue acrylic paint, paint the tape covered rings thoroughly and let them dry.
IMG_8564

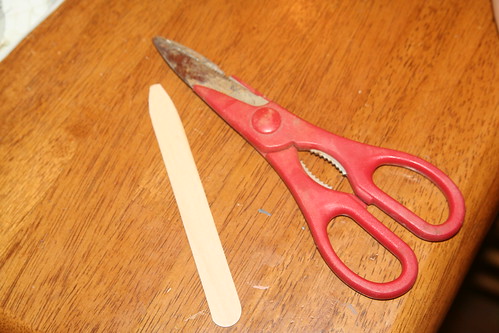
With heavy-duty scissors, cut one end of a wide popsicle stick to a point. If your stick splits, discard it and try another.
IMG_8565

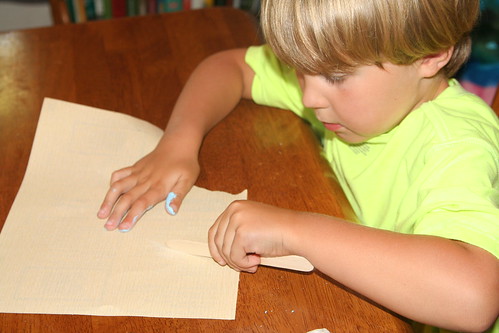
With sandpaper, sand the pointed end so that it’s smooth and without splinters. This is the sword blade.
IMG_8574

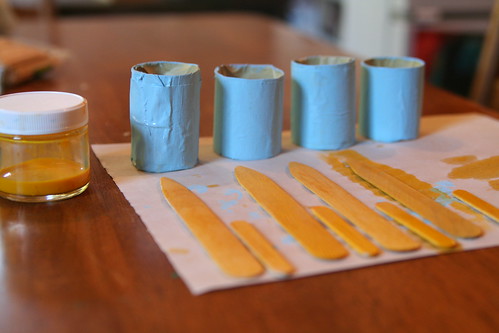
Paint all of the sword blades and the same number of short popsicle sticks with a wash of golden watercolor paint. Let the pieces dry. When the blue rings are completely dry, coat them with a coat of mod podge. Paint it on just like paint. Let them dry again.
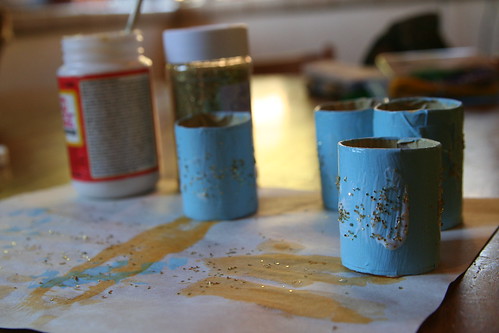
IMG_8600

With a little mod podge, you can add just a little gold glitter to your blue rings. Less is more for this step, or simply skip this part, if you prefer. Let the rings dry completely.
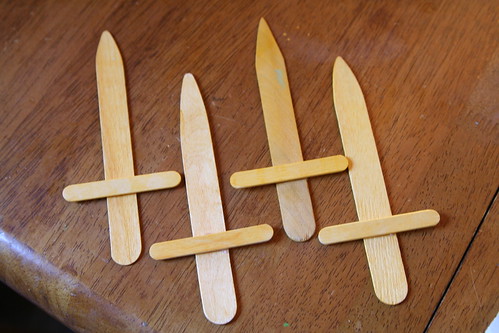
IMG_8603

Meanwhile, arrange your sword blades and cross pieces. Be sure all the wood pieces are completely dry before attempting to glue them. Apply a small dot of hot glue to the sword blade, add the cross piece, and press firmly. Repeat this for all the swords. (Supervise the kiddos during this stage. The little swords may be VERY exciting!)
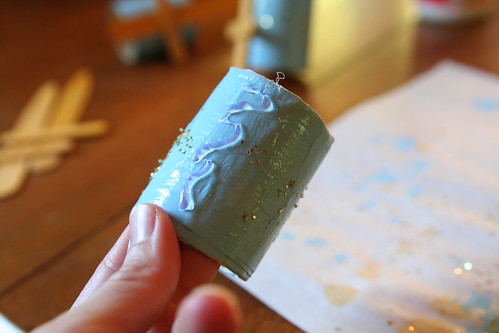
IMG_8604

Add a little wavy line of hot glue to your dry blue ring.
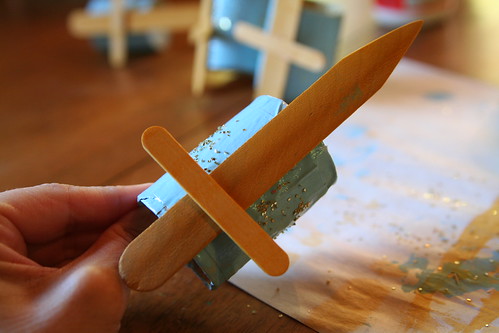
IMG_8605

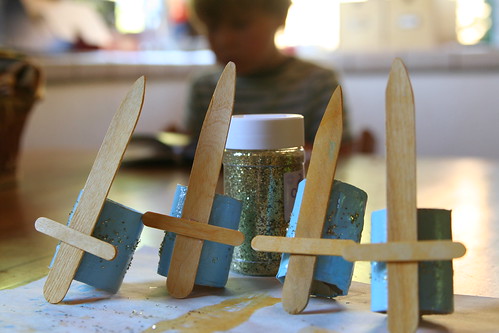
Quickly add a sword and press it down firmly.
IMG_8607

Let them set. Store the napkin rings someplace safe until the Michaelmas festival arrives.
IMG_8620

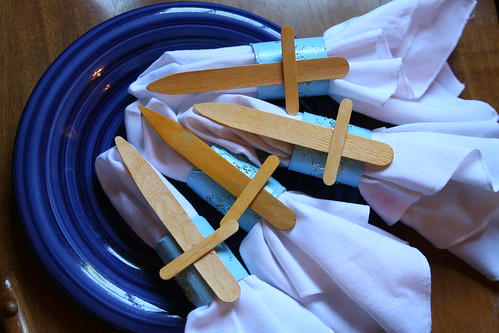
For your special Michaelmas meal, ask the children to pull a pretty napkin through each Michael sword napkin ring and set the table.

Check out the other ideas for a special Michaelmas meal in the Autumn Equinox and Michaelmas Festival E-Book published by Little Acorn Learning. Here is a teaser of all the sweet projects you’ll find in the e-book. Click on the link or the mosaic picture. Eileen Straiton and I would be honored if you would share. xo

Taste of the Contents of Our Autumn Equinox & Michaelmas Festival E-Book

133 PAGES of verses, fingerplays, poems, song, crafts, meditations, book recommendations, circle times, recipes, and much more to guide you in celebrating the Autumn Equinox and Michaelmas

in your home or school!
  • Needle Felt a Beautiful Apple Mother Doll
  • Go on an Apple Picking Field Trip and Learn
    About Different Varieties of Apples
  • Design a Breathtaking Early Autumn Nature Table
  • Read Books with the Children Celebrating
    Autumn and Michaelmas
  • Make Your Own Apple Stamps
  • Enjoy Homemade Applesauce Together
  • Crochet an Apple for Your Nature Table or Play Kitchen
  • Create a Beautiful Autumn Candle Holder Centerpiece
  • Make an Archangel Michael Mobile
  • Harvest Natural Dye Materials from Outdoors and
    Make Capes of Light Playsilks
  • Hold a Michaelmas Family Feast
  • Create Dragons out of Nature Items
  • Bake Dragon Bread with the Children
  • Make a Dragon Tree Block Checker Set
  • Sculpt Dragons out of Modeling Material
  • Cut Out Paper Flying Dragons to Display on Your Wall
  • Make a Michaelmas Felt Play Set
  • Paint an Autumn Leaf Stencil Painting with Watercolors
  • Crochet Beautiful Autumn Leaves for Your Nature Table
  • Paint Your Own Interpretation of Michael and the Dragon
  • Look Inward and Face Your Own Dragons with our Caregiver Meditation
  • Share Verses and Songs About Autumn and Michaelmas
  • Meditate on Quotes from Steiner and Other Inspirational Individuals
  • Enjoy Pinecone Weaving
  • Share Circle Time Together
  • Make Michael Sword Napkin Holders
  • Sculpt Michaelmas Worry Beads
  • Craft an Autumn Equinox Wreath

So, if you’re wondering how to make this time of year feel magical, this e-book may be just what you need. Thanks for peeking!

Only $24.99

Authors:
~ Eileen Straiton,
Little Acorn Learning

~ Sara Wilson, Love in the Suburbs

With Guest Contribution from Jennifer Tan, Syrendell


Spring Is Here!

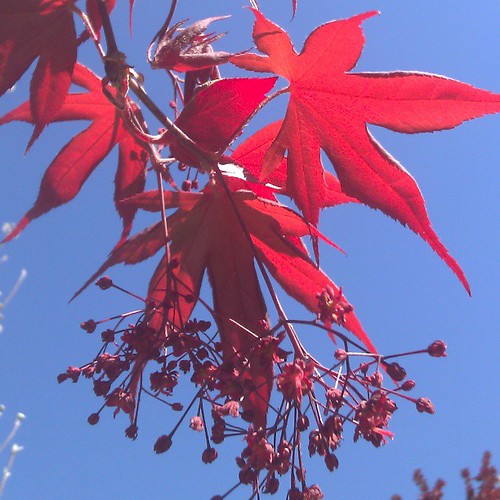
Flowers and new leaves

Everything is flowering now, it seems, in joyous celebration of the start of spring. How did you celebrate?

upload

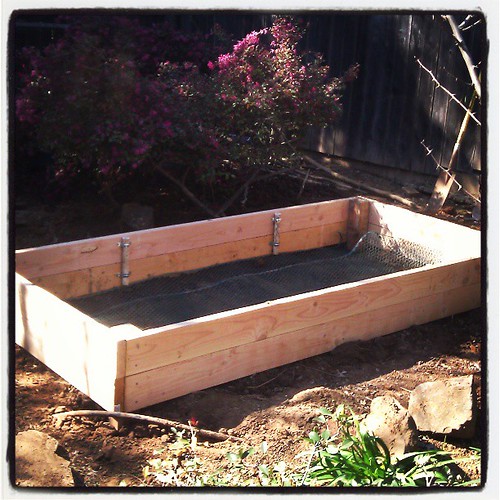
My love made me a raised bed!

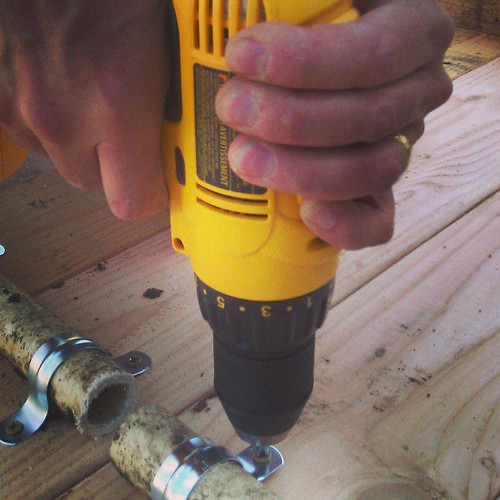
My darling husband built me a raised garden bed this past weekend. It’s glorious and 8 ft. by 4 ft. It took a couple of hours to build. I still need more soil to fill it. Seven 2 cubic ft. bags wasn’t enough, but that’s all that would fit in my car. It meant I got to go to my happy place for a brief while, and I refrained from buying much—

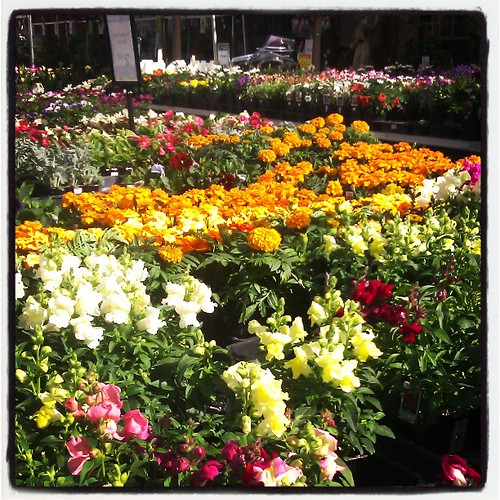
Happy place

Just a tiny six-pack of red snapdragons and one of orange marigolds … you know, for luck.

It’s spring break now and my children have two weeks off school. Today’s project was Clean the Bedroom. (It looks pretty good now.) Yesterday’s projects were more fun:

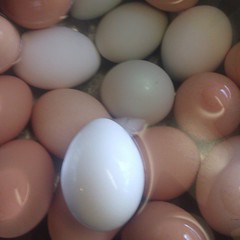
Before During dyeing

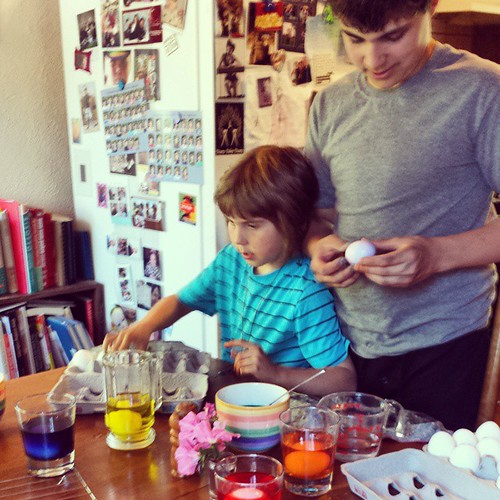
We dyed Easter eggs, using our hens’ eggs. We started, as you can see, with an assortment of colorful eggs, and only one white one.

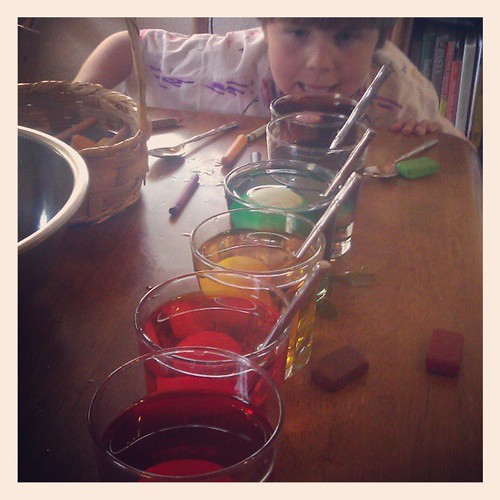
During

It’s good rainbow fun, you know.

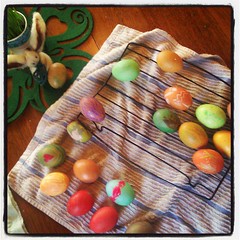
After, no filter; we dyed brown, green, and one white egg.

Brown eggs and green eggs turn lovely, gentle colors when you dye them.

We also did another springtime project as a surprise for Daddy that I’ll tell you about tomorrow.
Wood-burned Garden Markers Tutorial

IMAG2978

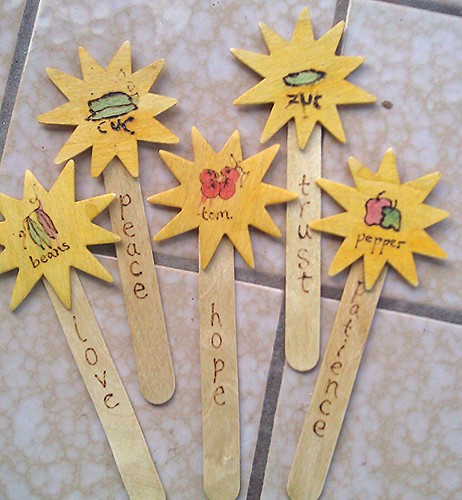
Are you poring over seed and flower catalogs, itching to get your fingers dirty by planting your garden? Are you still stuck inside, or unable to plant because of cold temperatures? Here’s a little project to help you while away the time until you can get out there and start growing: Make wood-burned garden markers. We made these as a Christmas gift for grandparents and they were a hit. They are simple, inexpensive, and sweet.
Materials

  • wide craft sticks (tongue depressor size)
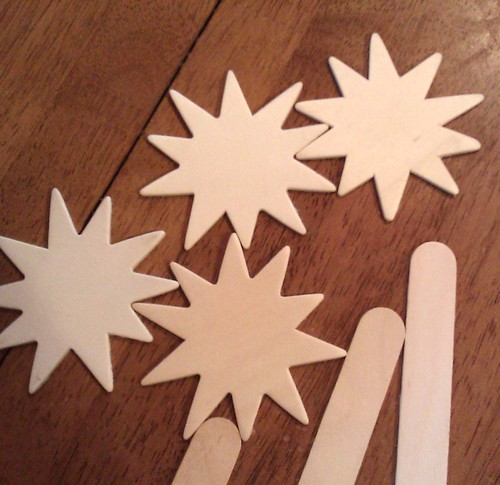
  • wood sun shapes
  • wood glue
  • watercolor paints or craft acrylics
  • wood-burner tool and tip
  • wood varnish

IMAG2949

Tutorial

These materials can all be found at a craft store such as Michael’s. We liked the sun shapes; we thought garden markers with sun shapes would be most appropriate for making garden plants grow big and strong and bountiful.

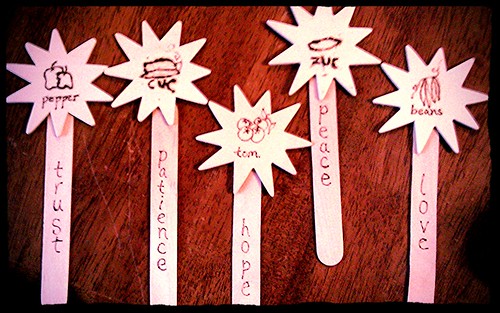
Start by deciding what plants you want markers for. Summer veggies or herbs are great. Practice drawing the fruits on paper a time or two, so you know how you want your wood-burned markers to look. Keep your drawings very simple because the wood-burner tool is more difficult to draw with than a pencil. We decided it was OK to abbreviate some of the longer vegetable names.

IMAG2950

My 10-year-old son did a couple of these, so I know a careful, older child can successfully use a wood-burner. Just stay nearby and encourage safe habits. The wood-burner gets very hot! (Be sure to protect your work surface, especially if it’s wood!) While using a wood-burner, you have to draw slowly, allowing the tool to make a mark on your pale wood. Be patient and go slow.

We decided that the marker stakes should also have words of inspiration for gardeners. We wrote “trust,” “patience,” “hope,” “peace,” and “love.” These are some of the qualities people need to make a garden grow, of course. Other virtues might be “caring,” “tenderness,” “gratitude,” “faith,” “prosperity,” “sufficiency,” “serenity,” and “tenacity.” Or maybe “sweetness,” “juiciness,” or “plenty.”

Glue your sun shapes to the craft sticks. Now you can choose to paint them with your watercolors or other paint, or you can leave them plain. We wanted ours to be colorful. If you’re using watercolors, be careful and put only a little moisture in your paint to color the vegetables. Too much water can make it run (like on our tomatoes). After you paint your veggies, paint the rest of the sun gold.

When all parts of your garden markers are dry, give them a good coat of varnish. This will protect the wood a bit from the elements. Now you just need to plant!


Handmade Wooden Toys

Two Girls

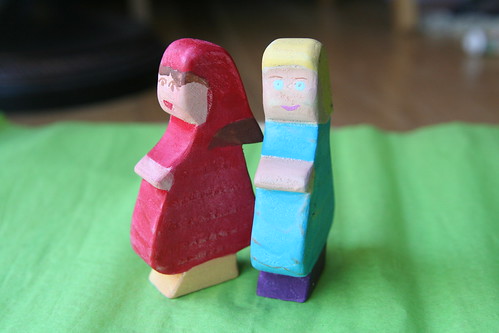
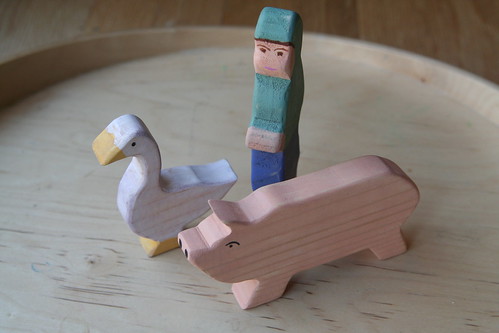
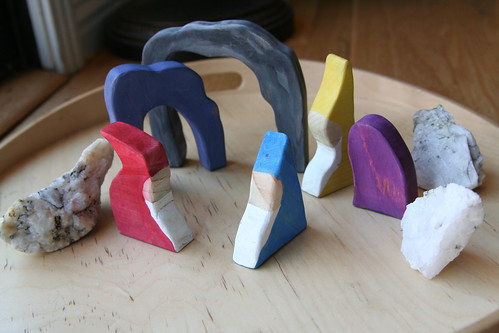
Ian and I made some wooden toys for Asher for his birthday. We learned a lot last December when we made his wooden dragon, knight, and horse, and his rainbow gnomes—not the least of which is that sanding wooden toys takes forever. We wanted to practice these new toy-making skills some more, so we made Asher two girls, an older boy, a pig, a goose, and a gnome cave. We ran out of time and didn’t finish goose woman and the other older boy we cut out. But they’ll be along someday.

Older Boy, Goose, and Pig

I drew these figures after looking at some old illustrations by Blanche Fisher Wright that were recently republished in a Barnes and Noble collection of Mother Goose nursery rhymes. I liked their simplicity and their old-fashioned clothing (kerchiefs and knickers and so on). Ian did a marvelous job with the scroll saw, which is the part that scares me not a little.

Gnome Cave and Gnomes

The gnomes in this photo were made last month, but the stacking cave pieces are new. They can be fitted together or separated out to form a gnome scene.

Now, the truth is, I don’t know if Asher will ever play with these items. Often plastic gifts grab a child’s attention quicker, and Asher got some of those for his birthday. For the most part, he prefers to play pretend and transform himself into someone new, whether human or animal. He doesn’t often sit and play with items the way they are intended by adults to be played with. A screwdriver toy becomes a sword, or a pen, or a magic wand. A firefighter’s helmet becomes a bowl or an astronaut’s gear. A stethoscope becomes a communication device or an air tube.

I will just sit back and see what he does with these wooden toys, just as I do with everything else, and be proud that we made them from scratch. They will be for him whatever he needs or wants them to be. And if nothing else, and if I’m very lucky, maybe someday I’ll see them in the hands of my grandchild.

Thar Be Dragons

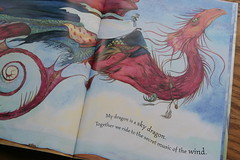
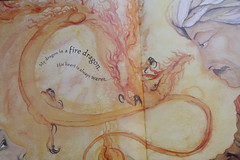
Asher is really into dragons. He has been playing dragon for quite some time, but we were recently inspired by this book, Tell Me a Dragon, by Jackie Morris. It is simply beautiful and I fully recommend it. It was published in 2009 by Frances Lincoln Children’s Books.

IMG_2303 IMG_2302 IMG_2304 IMG_2305

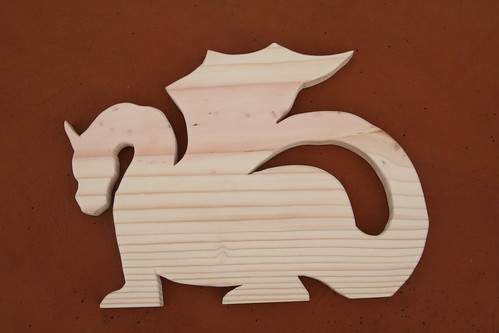
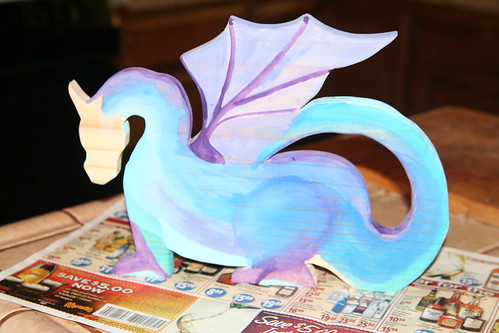
We have been wanting to make some wooden toy figures for a long time, so making him a dragon for Christmas seemed like just the right thing. We used a scroll saw with a blade that turned out to be too lightweight for the job, and yet, it got the job done.

Christmas Projects: Wood Dragon in Progress

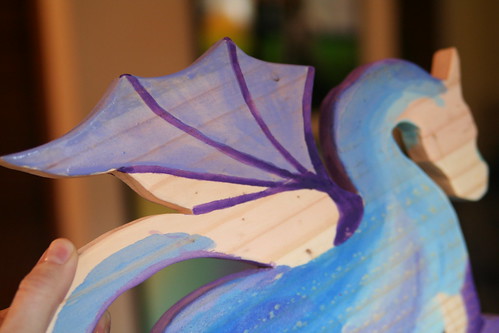
I drew the dragon on paper and cut it out, then I traced it onto a piece of pine. I wish I had paid more attention to the back side of the board, as the back was flawed and we didn’t notice until our dragon was cut out. (Thank you, Ian, for doing the scary work with the saw.) At this point, we were so pleased with our cutout that there was no turning back.

Christmas Projects: Wood Dragon in Progress

I used regular old acrylic craft paints, slightly watered down, to make a kind of color wash. The wood absorbed the wetness quickly, but there were a few seconds with each application when the colors would blend nicely like watercolors. I painted this dragon in several sessions because I needed to let it dry in between.

Christmas Projects: Wood Dragon in Progress

The face was last, and I’ll admit I was really scared I’d mess up on the face! I was hoping to achieve a face that looked both friendly and fierce—kind of a tall order! (I am really pleased with how the tail works like a handle. It feels really sturdy.)

Christmas Projects: Horse, Dragon, and Knight

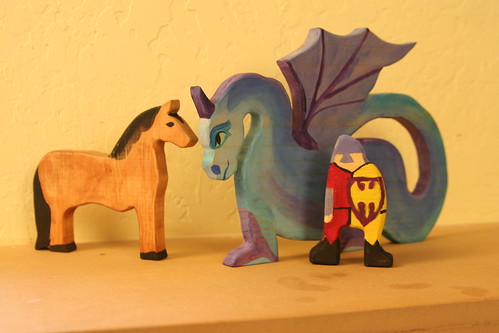
Of course, what do you do with just a dragon? Along the way, we created a knight and gave him a horse to ride. The horse had to be to scale to the knight, who was done first, but couldn’t be as big as the dragon. Tricky!

Ian was really clever with the knight’s paint job, I think. They look marvelous together. The figures were sanded lightly after painting to smooth them, then finished with a beeswax and lavender furniture polish. They smell and feel delightful.

Now, let’s hope Asher plays with them!

  • About Sara

    Thanks for visiting! I’m Sara, editor and writer, wife to Ian, and mother of two precious boys. I am living each day to the fullest and with as much grace, creativity, and patience as I can muster. This is where I write about living, loving, and engaging fully in family life and the world around me. I let my hair down here. I learn new skills here. I strive to be a better human being here. And I tell the truth.

    Our children attend Waldorf school and we are enriching our home and family life with plenty of Waldorf-inspired festivals, crafts, and stories.

    © 2003–2018 Please do not use my photographs or text without my permission.

    “Love doesn’t just sit there like a stone; it has to be made, like bread, remade all the time, made new.” —Ursula K. LeGuinn

  • Buy Our Festivals E-Books


  • Archives

  • Tags

  • Categories

  •  

  • Meta