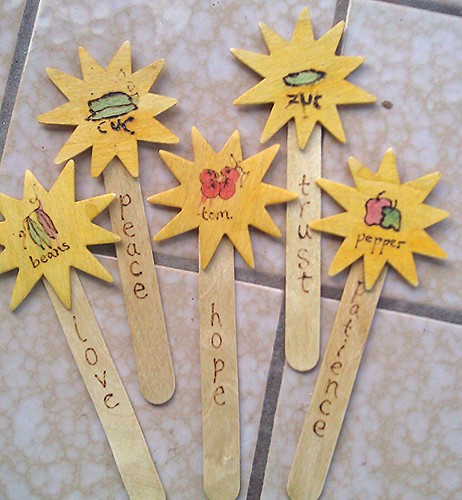
Wood-burned Garden Markers Tutorial
Are you poring over seed and flower catalogs, itching to get your fingers dirty by planting your garden? Are you still stuck inside, or unable to plant because of cold temperatures? Here’s a little project to help you while away the time until you can get out there and start growing: Make wood-burned garden markers. We made these as a Christmas gift for grandparents and they were a hit. They are simple, inexpensive, and sweet.
Materials
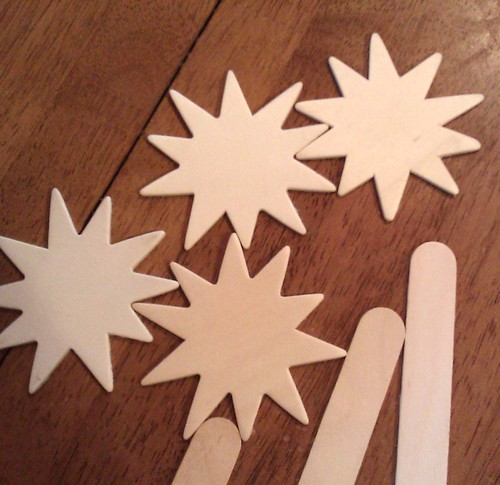
- wide craft sticks (tongue depressor size)
- wood sun shapes
- wood glue
- watercolor paints or craft acrylics
- wood-burner tool and tip
- wood varnish
Tutorial
These materials can all be found at a craft store such as Michael’s. We liked the sun shapes; we thought garden markers with sun shapes would be most appropriate for making garden plants grow big and strong and bountiful.
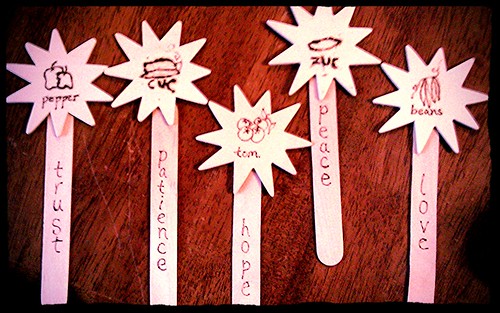
Start by deciding what plants you want markers for. Summer veggies or herbs are great. Practice drawing the fruits on paper a time or two, so you know how you want your wood-burned markers to look. Keep your drawings very simple because the wood-burner tool is more difficult to draw with than a pencil. We decided it was OK to abbreviate some of the longer vegetable names.
My 10-year-old son did a couple of these, so I know a careful, older child can successfully use a wood-burner. Just stay nearby and encourage safe habits. The wood-burner gets very hot! (Be sure to protect your work surface, especially if it’s wood!) While using a wood-burner, you have to draw slowly, allowing the tool to make a mark on your pale wood. Be patient and go slow.
We decided that the marker stakes should also have words of inspiration for gardeners. We wrote “trust,” “patience,” “hope,” “peace,” and “love.” These are some of the qualities people need to make a garden grow, of course. Other virtues might be “caring,” “tenderness,” “gratitude,” “faith,” “prosperity,” “sufficiency,” “serenity,” and “tenacity.” Or maybe “sweetness,” “juiciness,” or “plenty.”
Glue your sun shapes to the craft sticks. Now you can choose to paint them with your watercolors or other paint, or you can leave them plain. We wanted ours to be colorful. If you’re using watercolors, be careful and put only a little moisture in your paint to color the vegetables. Too much water can make it run (like on our tomatoes). After you paint your veggies, paint the rest of the sun gold.
When all parts of your garden markers are dry, give them a good coat of varnish. This will protect the wood a bit from the elements. Now you just need to plant!


March 9, 2013 at 4:31 pm
those are great! what a wonderful idea.