10 Earth Day Activities for Families

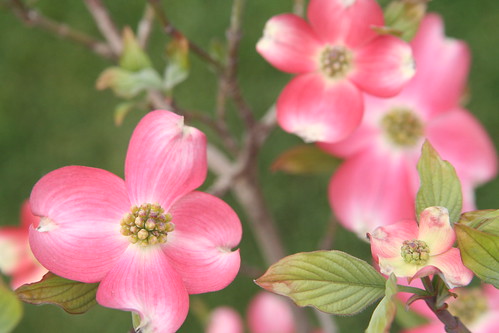
Pink Dogwood

Earth Day is Friday, April 22—tomorrow! Even if this holiday isn’t something you grew up celebrating, you can bet that your kids are aware of it and eager to participate. Over the last few years, we’ve been doing a bit more to honor the ideals of this day and our kids just eat it up. Here are a few ideas from our family to yours.

1. Plant a tree: This is every bit as appropriate on Earth Day as Arbor Day. This year we’re planting a tree for two reasons: My great-aunt Nana passed away last fall, and we will plant a tree in her honor and in honor of Earth Day. We have chosen a beautiful pink dogwood for our back yard.

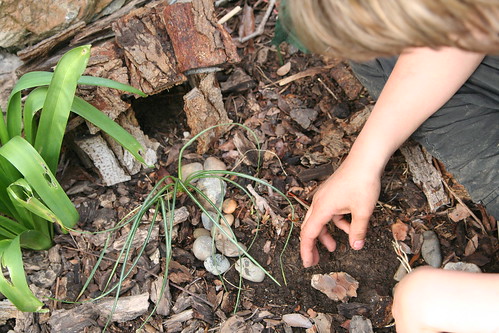
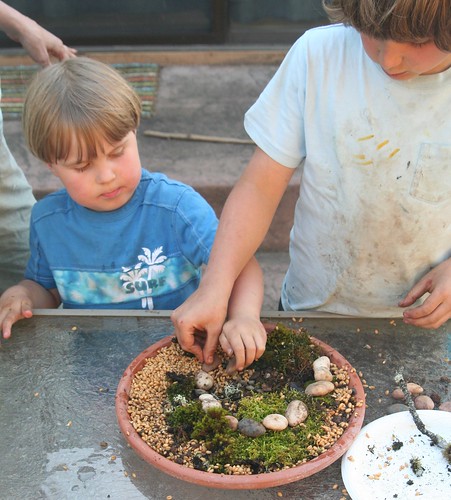
2. Make a terrarium or a dish garden: I wrote a tutorial about how to make a moss terrarium for Little Acorn Learning’s April Afterschool Enrichment Guide, which is full of amazing activities, recipes, poems, and much more. You can find it here: http://www.littleacornlearning.com/.  Here is an in-progress shot of the dish garden we made yesterday. We used moss we collected on a recent trip to the foothills and wheat grass seeds. Lucas included a spiral of small stones we found in our yard. We are adding beeswax bunnies and Easter eggs to it.

Dish Garden in Progress: Lucas Making a Stone Spiral

3. Go on a hike, take along a trash bag, and pick up any garbage you may spot along the way. (Kitchen or latex gloves come in handy for this activity.) Recycle those things that you can. Note: don’t let children pick up certain kinds of trash, especially anything that looks like it might be medical waste. Many communities have park or creek cleanup days that need volunteers.

4. Do a science experiment. For young children, seed projects are great because they are fast. Here’s what we did last year. Some of our pumpkin seedlings even survived the transfer out into our summer garden and we harvested pumpkins in the fall from our Earth Day experiment! I don’t know about you, but I love cycles like that.

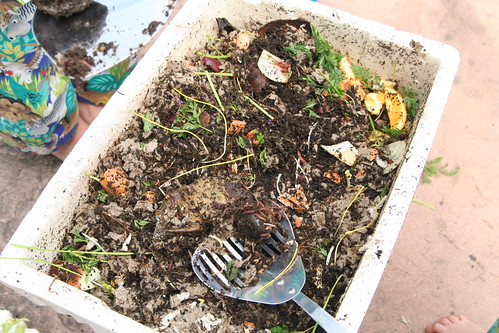
5. Start a worm farm: All you need is a boxy container (a styrofoam cooler does the trick nicely—I know styrofoam is lame, but it works well for this project), and a container full of red worms from the bait store, or else dig up the worms yourself. Put some normal garden soil into your container, shred some newspaper into small strips, wet it all down, and add your worms. Poke a few holes into the container for air circulation. Then put in your vegetable kitchen scraps daily. Stir once in a while and keep it moist but not wet. Before long you’ll have loads of worms (and worm babies!) and great soil for your garden. (It helps to have a plastic or metal container underneath the whole worm bin, to catch any drippings. These drippings make excellent fertilizer.)

Worm Farm: Compost on Bottom Layer

6. Learn about the weather or the water cycle. Check your local parks and recreation department for children’s nature classes or day camps. Try this page of links at The Water Project for science experiments for kids.

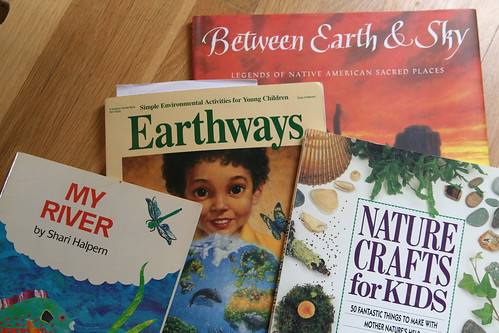
7. Read books about caring for the environment with your kids. Last April, I wrote about quite a few children’s books we recommend for Earth Day. Adults can check out the works of Richard Louv, Rachel Carson, David Sobel, Robert Micahel Pyle, and Bernd Heinrich.

More Favorite Books for Earth Day

8. Start a vegetable garden! Good Friday (also Earth Day this year) is a traditional day for planting seeds and seed potatoes. Lucas is outside preparing his garden plot. We have worked into it our soil full of worm castings  from last’s year’s worm farm. That should give our garden a good start!

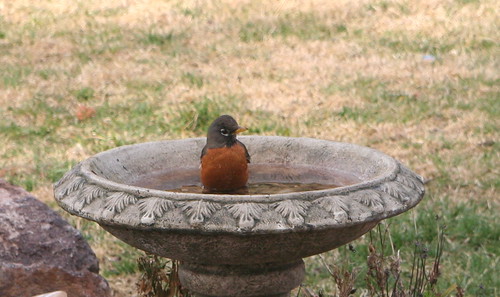
9. Make space in your yard for wild creatures: add a birdbath, places wild creatures can use for cover, and plants that attract bees, butterflies, and birds. This spring I’ve seen birds actually bathing in and drinking from my birdbath. It was very cool!

Robin Bathing March 1

10. Take your recyclables in and redeem them for cash; donate your family’s proceeds to a charity such as NRDC or National Wildlife Federation, or any number of other worthy charities. Better yet, if you can support wildlife and habitat restoration efforts in your own community, do that.

That’s 10. I bet you can think of dozens more. If you have a nifty idea to share, please do so! Happy Earth Day!
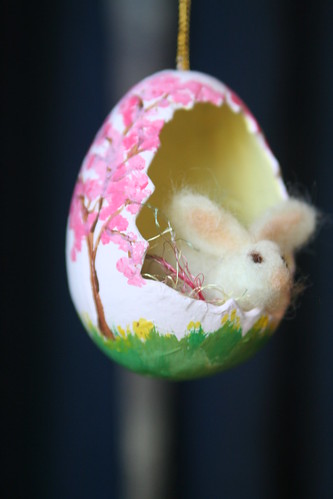
Eggs and Bunnies

Cherry Blossoms

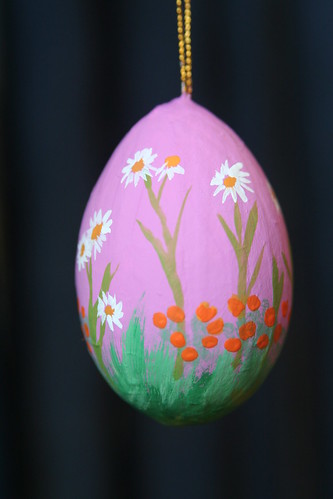
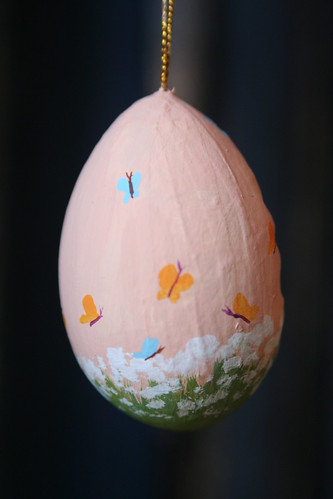
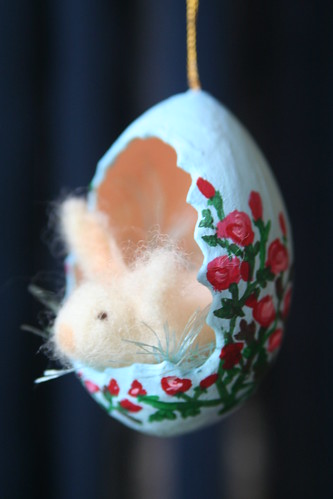
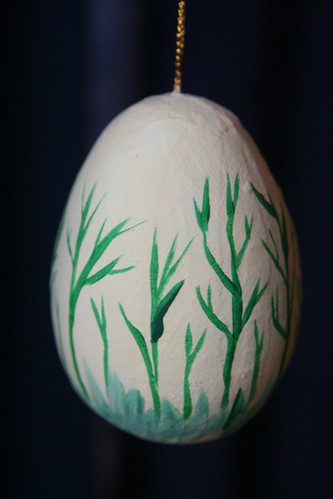
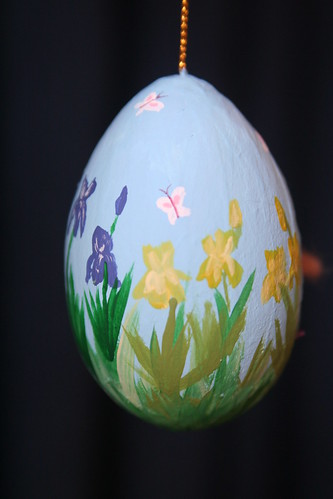
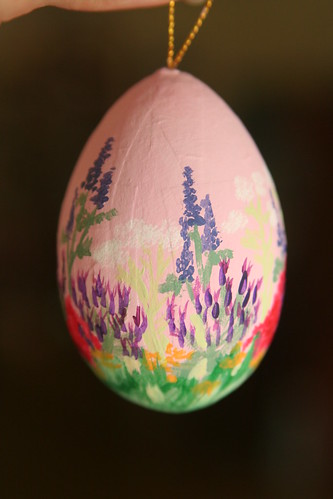
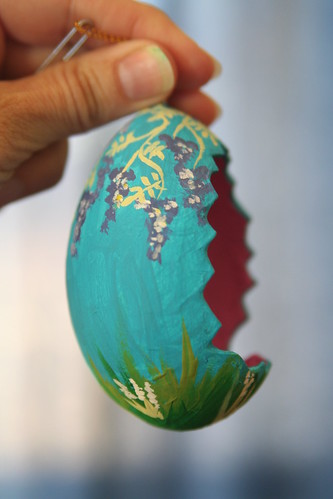
A darling old friend of mine asked me to make some Easter eggs and bunnies for her to give as gifts for Easter. The 2.5-inch egg bases are a paper mache with a cutout and are from the craft store. The needle-felted bunnies I made from scratch fit nicely inside, with a bit of colorful eyelash yarn that looks rather like Easter basket grass. Making these has been an exciting project and super fun, but also a little bit nerve-wracking. I mean, what makes me think I can paint well enough for someone else? (Hear that? Those are the Weasles of Doubt and Fear talking.) The above design is cherry trees in blossom.

Wildflowers: Daisies and California Poppies

Here is a kind of wildflower design, with daisies and California poppies.

Meadow with Butterflies

A low-key meadow with butterflies. This one isn’t quite as girly, in my opinion.

Roses

Here is one with red roses that wrap all the way around the egg.

Bamboo

A kind of stylized bamboo design, meant for a male recipient. Simple and elegant, I hope.

Irises

More butterflies and bearded irises, which are now in bloom.

English Garden

English country garden in spring, with azalea, Spanish lavender, and white Queen Anne’s lace.

Wisteria

Wisteria vines in bloom.

I also have two others that feature bright tulips and delphinium flowers. There are ten egg and bunny pairs in all. I am shipping them out to my friend today. I hope she likes them!

St. Patrick’s Day Festivities

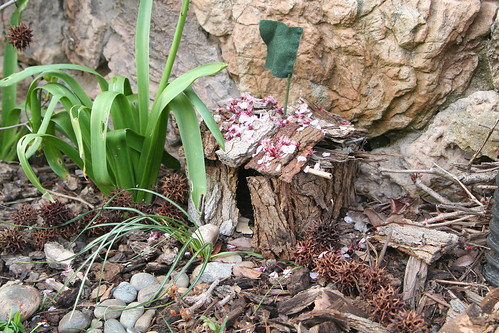
Leprechaun House! (with Flag)

May your pockets be heavy and your heart light.
May good luck pursue you each morning and night.

Yesterday afternoon, on the eve of St. Patrick’s Day, we did some fun things to prepare for the coming of the Leprechauns. Asher and I made brownies together. We happen to know for a fact that Leprechauns LOVE to eat brownies, particularly if you cut them into shamrock shapes!

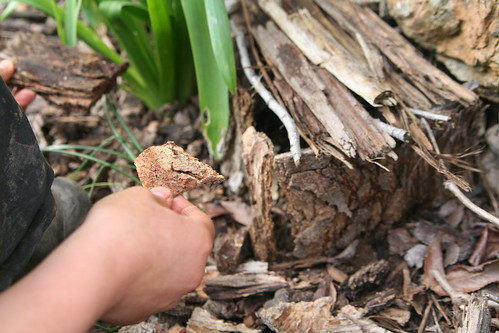
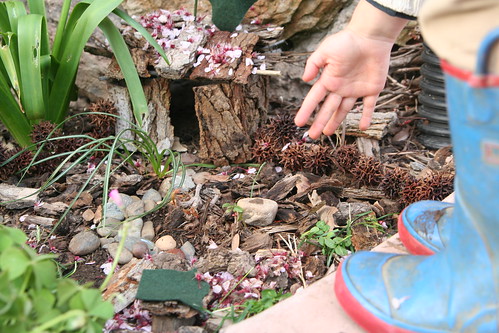
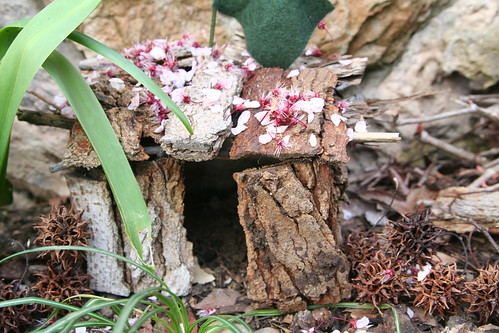
Then we set about finding natural materials in our yard from which to make a Leprechaun house. Is it hard to see there, up against the “rock” wall of our house? It has a flag on top of the roof.

Lucas Roofing the Leprechaun House

We found some lovely squarish sections of bark that worked beautifully for walls. Then with short sticks and long pieces of bark found in our garden beds, we roofed the house. Lucas came home with Daddy just in time to help with the construction.

Lucas Creating a Place for the Outdoor Table

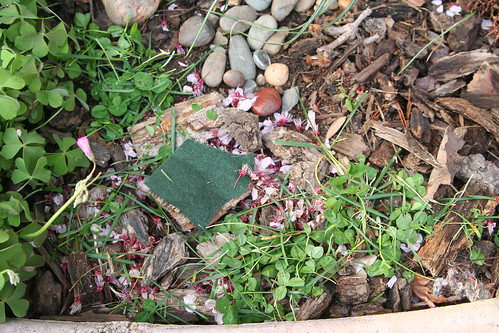
He carefully cleared an area for an outdoor picnic table, and gently placed small stones that Asher gathered to make a cobblestone pathway leading from the door of the Leprechaun house to the picnic area.

Asher Getting Spiky Balls "Let's put this jewel in the path!"

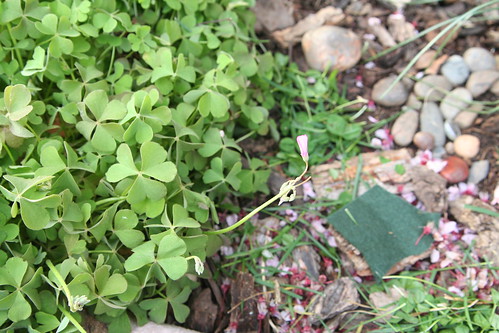
Asher especially enjoyed gathering items to use for our project. He gathered stones, spiky balls from our liquidambar tree, flower petals, and clover. He even found a small fairy jewel that we set into the cobblestone path. The spiky balls became a kind of garden fence.

Asher Gives the Leprechauns Clover

Asher picked lots of “salad” clover for the Leprechauns to eat. We all thought the flower petals gave everything an attractive, magical ambience.

Leprechaun House with Spiky Ball Fence

Isn’t that a handsome house? We thought it looked very cozy and perfect for little fairy folk.

Leprechauns' Picnic Table with Bark Benches, Petals, and Covers

This is the picnic area, complete with bark table and tablecloth, plenty of salad, and bark benches for sitting on.

"Shamrock" and the Leprechauns' Picnic Table with Tablecloth

Our Leprechaun house is right beside our “shamrock” plant and right where we always leave out treats for the Leprechauns. So we knew they would check that exact spot. We hoped that they’d enjoy the house and have a party there!

Greenish Dinner

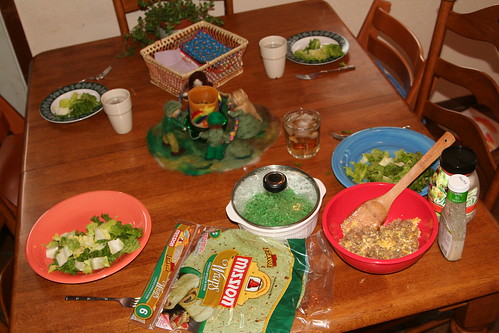
Then we feasted on a greenish dinner of sausage and egg wraps (green, spinach tortillas) with green (brown) rice and salad. The boys enjoyed the wraps a lot! Fortunately, the Leprechauns never eat all the brownies, so there were enough for us to enjoy for dessert.

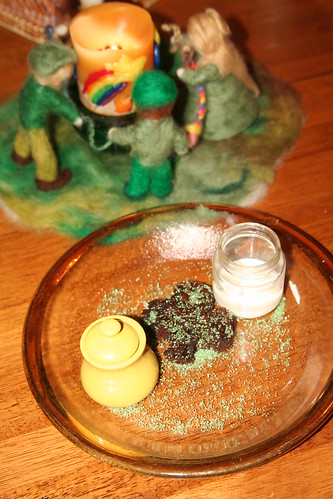
Treats for Leprechauns (Milk, Honey, and a Brownie)

We always give the Leprechauns milk, honey, and a brownie on the night before St. Patrick’s Day. Leprechauns can be so tricky, and we find that if we leave them yummy treats, they don’t pull pranks on us. Usually, they leave gifts in return.

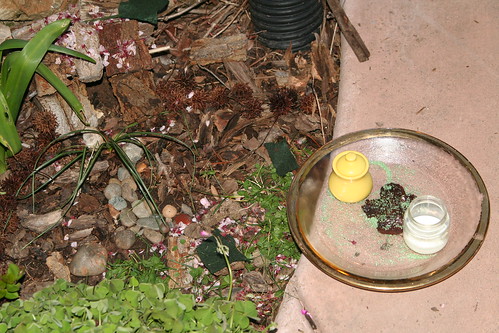
Milk, Honey, and a Brownie: Offerings for Leprechauns

We were pretty confident that they would be nice this year. Doesn’t that venue look inviting?

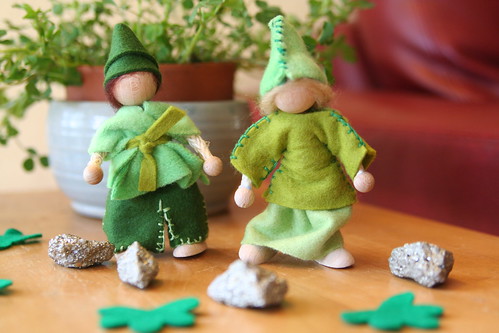
The Leprechauns Brought Leprechaun Dolls and Gold for Asher and Lucas

This morning, Lucas and Asher found GOLD NUGGETS on the cobblestone path. The milk and honey and brownie were all nibbled. Only crumbs and drops remained on the plate outside. But inside! The boys found Leprechaun dolls on their breakfast plates, with new notebooks for writing in! So I guess the Leprechauns liked our treats and the house we made for them. It seems, however, they couldn’t resist being a little bit tricksy after all. We found all of our shoes in a huge pile by the front door!

I figure we got off lucky, though. Leprechauns can cause all manner of mischief. In fact, Lucas was excited to get to school to see what naughty pranks the Leprechauns did there during the night! (I confess, I think they looked around in our messy house and figured, what’s the point? It already looks like a tornado hit this place!)

Tonight we’ll be having an Irish stew for dinner with some Irish deedly-deedly-dee music. We have some fun Leprechaun stories to enjoy after dinner, too. How will you celebrate? How will you invite magic and good luck into your home?

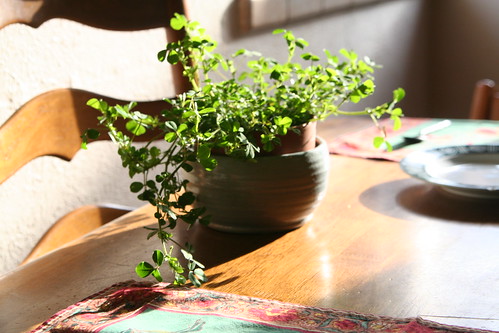
Clover in Morning Sun

May good luck be with you wherever you go,
and your blessings outnumber the shamrocks that grow.

Tutorial: Make a Leprechaun Ring

I decided I wanted to make a new decoration for St. Patrick’s Day this year, and since Lucas was home sick for a couple of days, I took some time to work on it. Although it’s probably too late for anyone to make this for this year, I’m going to walk you through the steps to make a jolly ring of dancing leprechauns. Because this project has multiple pieces to it, this will be long.

I would say that anyone with a medium amount of needle-felting experience can make one of these, as I consider myself to be an intermediate-level needle-felter. So, without further ado, let’s get started.

Materials

* wool roving in plain white and multiple greens and browns; you may also want scarlet (leprechauns in some Irish stories wear scarlet caps or scarlet vests)
* foam base and felting needle (any guage)
* chenille stems for crafts (aka pipe cleaners)
* multiple-needle felting tool (optional)
* carding brushes (optional)

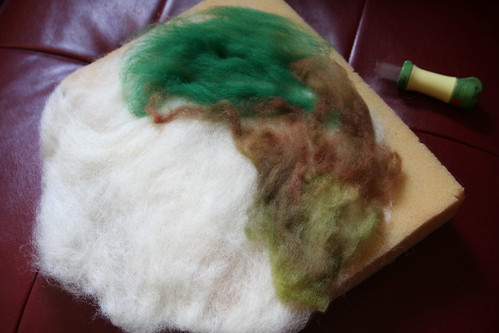
Step 1: Fashion a round mat of white wool. Use your multineedle felting tool if you have one, for it will make the creation of the wool mat faster. You want your mat to be a good 1/2 inch thick, when it’s firmly felted.

Leprechaun Ring Base in Progress

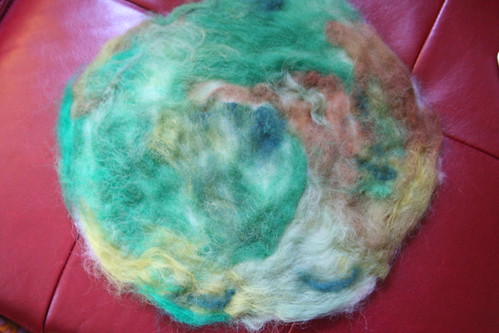
Step 2: Now add thin layers of colored wool in any arrangement you like to the top of your white mat. I used a mix of greens and browns to create a realistic patch of earth.

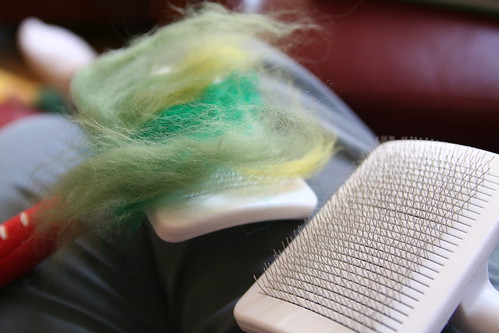
Carding Green Wool

You’ll get more realism if you card some greens and browns together to create a blend of colored wool for your mat. Occasionally lift your round mat off the foam felting pad and needle it from the back for a while. Flip it again, working the wool from both sides to felt the fibers together.

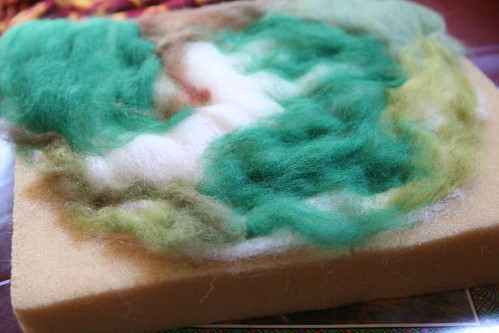
Leprechaun Ring Base in Progress

Keep felting until the whole mat is fairly firm and holds together when you lift it up. Here’s how my mat looked when I felt it was done.

Leprechaun Dancing Ring Base

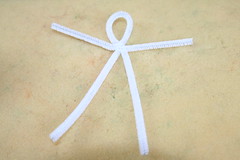
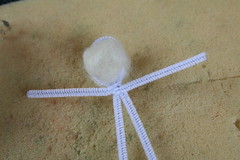
Step 3: Begin your first leprechaun. Bend one whole chenille stem (I like to use white) in half gently. Now hold it about an inch down from the top bend and twist the top using your other hand. You’ve just created a loop at the top. Open it out into an oval shape of wire. Cut another chenile stem in half. This will be your figure’s arms. Just where the neck is, twist your small chenille stem so that it anchors onto the neck like you see in the photo below. Now you have a wire skeleton. Bend over the ends where the feet and hands are a tiny bit so that there’s no pointy wire sticking out. Roll a small ball of wool and place it inside the wire oval. Begin felting it into a nice head shape.

Skeleton Leprechaun in Progress

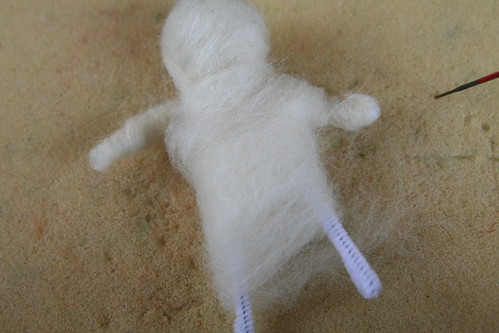
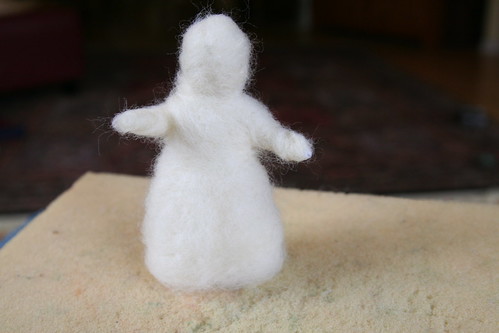
Step 4: Now begin wrapping your skeleton with small bands of wool roving, needling it down into place so that it stays together by attaching the fibers. Wrap more and more wool and continue needling until your Leprechaun has a “body” of white wool. The hands are the trickiest part, in my opinion. You have to wrap them enough so that the chenille stem is invisible, but not so much that you have big, puffy hands.
Leprechaun in Progress

Here’s my lady Leprechaun in progress. She is just about ready for clothing. The more you needle your figure, the denser the wool will become. By focusing on certain parts, you can sculpt the wool to be dense and narrow where you want it to be, such as at the figure’s neck and arms.

Leprechaun Woman in Progress

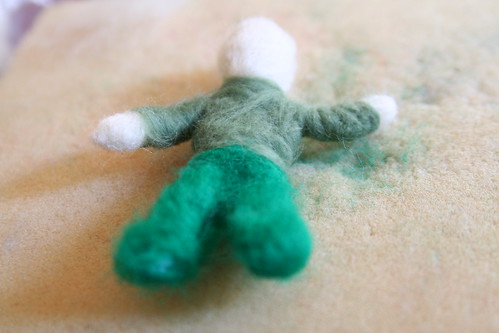
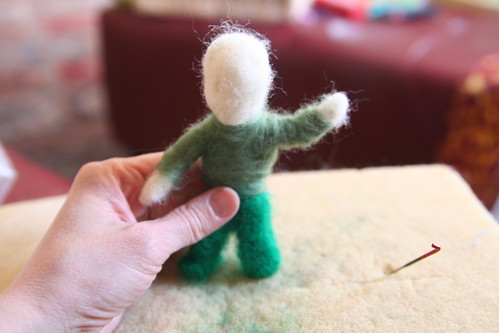
Below is a male Leprechaun in progress. For male figures (or female figures wearing trousers), you have a choice: You can fashion the legs together (just like you would for a skirt for a female form) and then create the impression of separate legs by needling a line down the front of the figure, or you can wrap each leg separately. The advantage to creating separate legs is that your Leprechaun will look more like he’s dancing. The disadvantage is that it’s much harder to get the Leprechaun to stand upright and not fall over. (More about that later.) If you intend for children to handle or play with your Leprechauns, you should create a sturdy base by keeping the legs together.

First Leprechaun in Progress

Step 5: Dress your Leprechaun with bits of colored wool, needled down into the white body. I decided my Leprechauns would all wear greens, but in my reading about Leprechauns, I’ve found a number of stories that refer to little men in scarlet caps or red vests, too. Obviously, if you are making gnomes or fairies rather than Leprechauns, your “clothing” can be in any colors you wish to reflect their characters.

First Leprechaun in Progress

Step 6: Now give your figure some hair and/or a beard. My Leprechaun men didn’t look complete to me until I gave them caps for their heads also. It’s easy to create elaborate hairstyles for your lady Leprechauns, if you want. If you prefer your soft sculpture dolls to be in the Waldorf style, then leave their faces blank. Your child’s and your imaginations will fill in their features. If you’d rather give your Leprechauns faces, feel free to do so. Your needle can even sculpt delicate or bulbous noses, eyes, mouths, and eyebrows, if you like. Hmmm … I wonder what color eyes Leprechauns have.

First Leprechaun in Progress

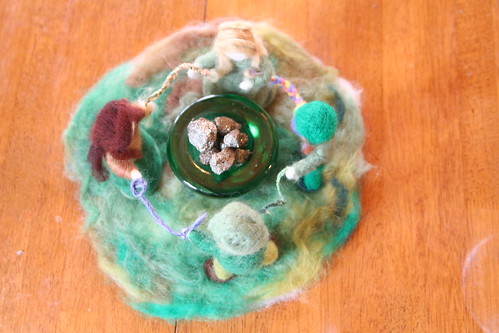
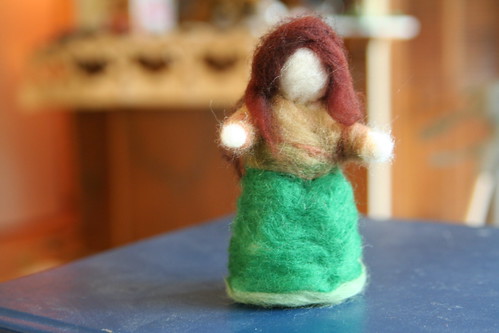
Step 7: Repeat steps 3 through 6 until you have as many Leprechauns as you want! I managed to make four, two men and two women. I think I’d like to craft two Leprechaun children to add to my group, but I ran out of time this year.

Finished Leprechaun Woman

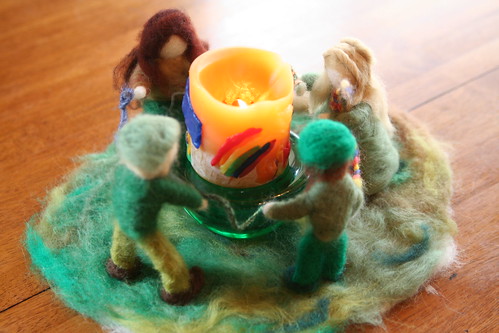
Step 8: Now arrange your Leprechauns in a ring on your needle-felted mat, and begin needling their feet into the mat. You may have to do this a long time to get them to stand, especially if you made the male Leprechauns with separated legs. Mine wanted to fall over a lot (that’s the disadvantage I mentioned earlier). I opted to place “ribbons” or cords in their hands, to help complete the ring. My son Lucas enjoyed braiding bits of roving to create the cords for the figures to hold. If there were more than four figures, I don’t think the ribbons would be necessary. Once you get them balanced, you may want to leave them be! Will your Leprechauns face outward or face into the ring?

Leprechaun Ring

Here’s my finished Leprechaun ring. I also took a shot of them dancing around a pot of gold.

Leprechaun Ring with Pot of Gold

Now put on some Irish music and dance like your Leprechauns! Please let me know if this tutorial is helpful to you.

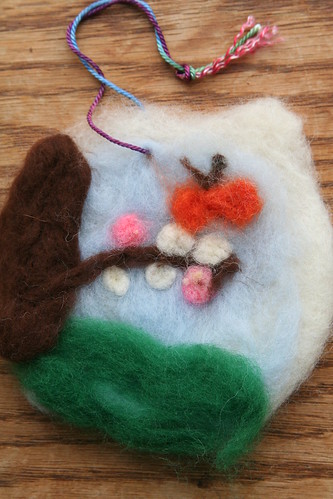
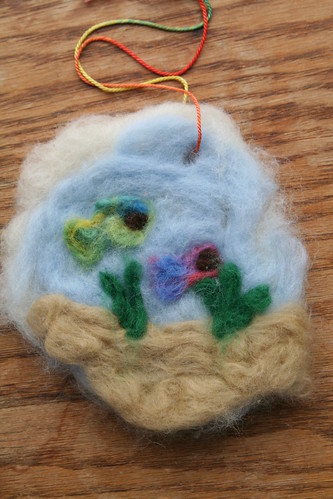
Needle-Felted Tapestries by Lucas

Lucas's Needle-Felted Picture: Butterfly

Here are two needle-felted tapestries that Lucas recently made to give as gifts. The above tapestry was given to Aunt Kellie for her birthday. These were both wholly conceived and executed by my darling almost-9-year-old. Both are about six inches in diameter.

Lucas's Needle-Felted Picture: Fish

This one of tropical fish is a belated birthday gift for another family member. We still have to give it, though, so I won’t say who the recipient will be.

I’ve been crafting a bit myself in fits and spurts, but I’m not ready to show my creations yet. I also have a big fat book edit going on now and it’s eating up my time. I am grateful for my glorious weekend spent among friends; I am trying hard to let it buoy me up this week.

I don’t have many words right now. I’m shocked and grieving for the people of Japan, and I wish I had resources to send.

Doctors Without Borders is taking donations here.

The American Red Cross is accepting donations here.


March Afterschool Guide from Little Acorn Learning

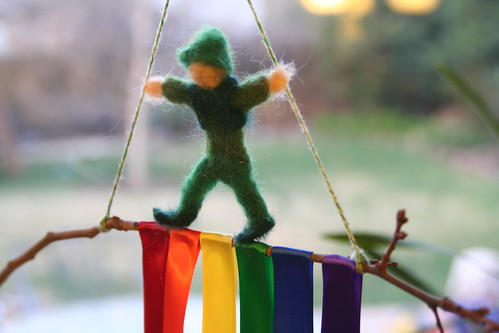
Leprechaun Mobile

I’m taking this opportunity to crow a moment and say how pleased I was to be invited to contribute to the March Afterschool Enrichment Guide ebook, published by Little Acorn Learning. Publisher Eileen Foley Straiton creates marvelous ebooks that are perfect for homeschooling, preschool programs, and families. They are full of crafts, stories, poems, songs, activities, caregiver meditations, recipes, holiday celebration ideas, and more. Little Acorn Learning also publishes seasonal and festival ebooks, childcare menu guides, and lesson plan guides.

For this March Afterschool Enrichment Guide ebook, I created two original craft project tutorials and wrote an article on observing Lent and the concept of sacrifice.

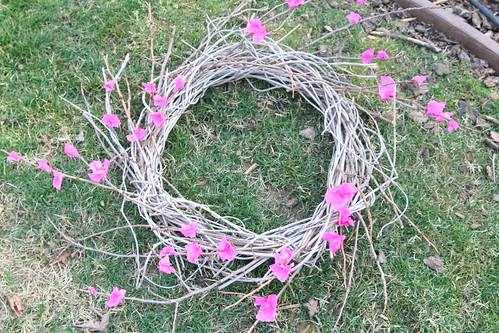
Blooming Winter Wreath

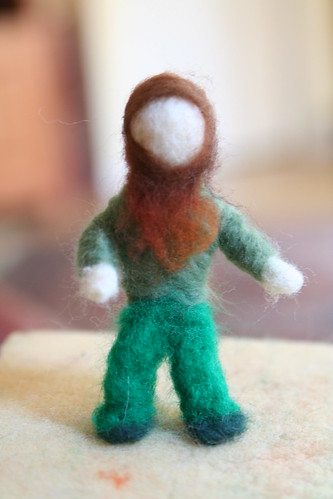
I was surprised and happy to see that my little leprechaun is featured on the front “cover” of the ebook.

By all means, check out the Little Acorn Learning website and see the week-by-week activities; here is a brief list of the themes for March.

Week 1: Fairies and Dragons, Magic

Week 2: the Season of Lent, Sacrifice

Week 3: St. Patrick’s Day, Luck

Week 4: Spring’s Return, New Life

Week 5: Rainbows, Creating Color

You can also download a FREE 23-page ebook all about rainbows (from Week 5). Who doesn’t love rainbows? It’s a sample of what you’ll get if you buy the March Afterschool Enrichment Guide. It’s fun for the whole family!
It was tons of fun to work on these projects and I’m honored to have my work presented alongside that of so many talented, creative, wise women! Thank you, Eileen!
 

Third Grade Shelter Project

Lucas has been very busy for the last week and a half working on his major project for third grade. In the Waldorf schools, third graders study lots of practical things like cooking, measuring, building, and making clothing. They also study shelters—the various types of homes people made or make for themselves in different parts of the world throughout history. The students have to choose a people with a particular type of shelter, build a diorama of their shelter, and write a report about it.

This the first big homework project, and it synthesizes what the students are learning in school with all kinds of other awesome qualities of third graders: their practicality, their extensive experience of modeling, their creative thinking, and their love of measuring, using tools, and building. It also calls into use their developing writing skills, their recent study of grammar and parts of speech, their artistic ability, their awakening to the real world around them and awareness of others, and their blossoming love of realism.

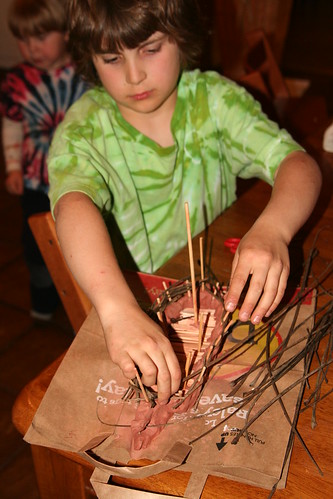
Making the Gunwales

Lucas wondered if he could make a house boat for his shelter project—after all, some people live on house boats. After some research, he and Ian hit upon a people indigenous to the Andaman Sea called the Moken, and we checked in with Lucas’s teacher to get her okay to proceed.

The Moken live on their handcrafted boats, called kabang, most of the year, and travel around the islands off the coast of Thailand. During the monsoon season, they live on land, but that’s only about three months of the year. They fish and trade fish for rice. Their kabang keels are dug-out logs that are passed down from father to son. “It can take a family four months to build a kabang. The traditional boats have sails and oars, but the new boats run on diesel engines” (from Lucas’s report).

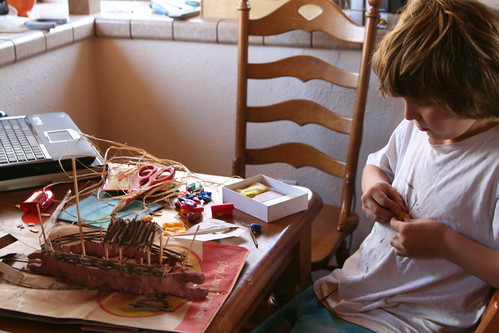
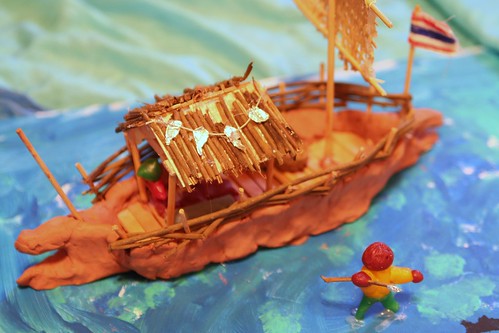
Lucas used clay to make his kabang keel. Bamboo skewers were used as struts on which to weave the boat’s gunwales, which are traditionally made from zalacca wood. Lucas made his from garden twigs. He built the shelter on the deck of the kabang and thatched it with more twigs.

Making Beeswax People

Lucas modeled two Moken people out of beeswax. (Whole families live on these kabang, and the boats travel in groups of six or more.)

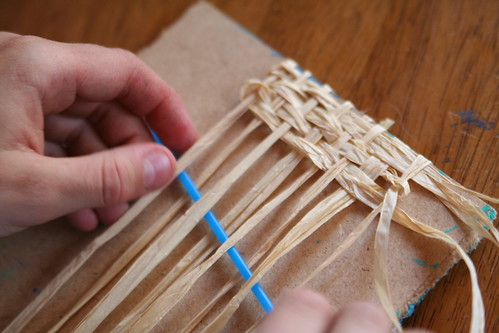
Lucas Weaving the Kabang Sail

Then Lucas wove a sail from raffia. The Moken use pandanus leaves to fashion their sails.

Third Grade Shelter Project: Mr. Moken Spearfishing

Here is the finished kabang shelter. Mr. Moken is standing in the sea, fishing with a spear. The kabang flies the Thai flag. The Moken people spend much of their time in the sea diving for shellfish, and studies show they’ve developed better underwater eyesight. “The sad thing is that there’s only about 1,000 Moken living on the sea today because the Burmese and Thai governments are trying to get them on land.”

“I want to go there and help them out. I also want to build a kabang with a Moken,” Lucas concluded.

This was a tough project, but one that was very rewarding, I think. Making something with his hands helped Lucas engage with the material, much more so than simply writing a report would have done.  It was also great to see Lucas work so hard over so many days, with his dad’s careful support and supervision.

Lucas and his classmates will also present their shelters to their class and talk about them. They will answer questions from the teacher and classmates as well. I’m proud of all of these kids for accomplishing something that took two weeks or so to make; perseverance is an important trait to develop.

Valentine’s Day Blessings

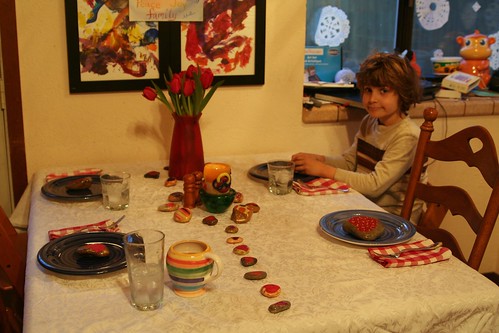
Valentine's Day Breakfast Table

Happy Valentine’s Day from our family to yours!

Valentine's Day Breakfast Table

May you be filled with the love that surrounds you, take it into yourself, and let it inspire you.

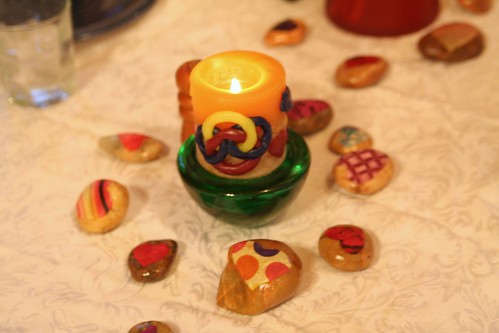
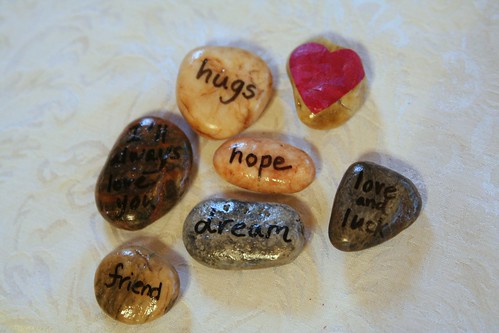
Valentine Stones

May you love deeply and truly, with honesty, courage, and compassion.

Valentines for Third Grade

May you enjoy life, take big bites, and savor small pleasures and everyday delights.

Valentine's Day Nature Table

May you see and appreciate the beauty in the world and in people everywhere.

Valentine Tree

May you cultivate your creativity and capacity to love, for whomever you love, every day.

Blessed be!

Making Valentines

Watercolors on Coffee Filters

We have a class set of valentines to make this weekend for third grade, in addition to a big school project. (Lucas has to build a traditional shelter diorama and write a report—his first major homework assignment ever.) We have opted to make some kitchen valentines for his classmates this year. I’ll tell you about those after we’ve made them. This is what we did last year and it was super fun.

Valentines from Repurposed Gift Bag

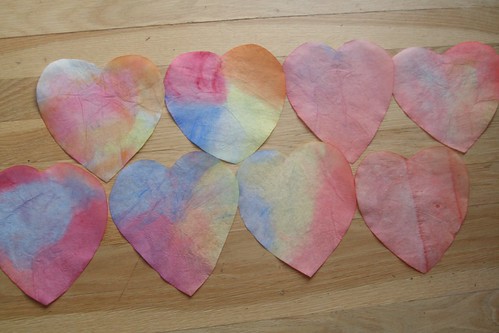
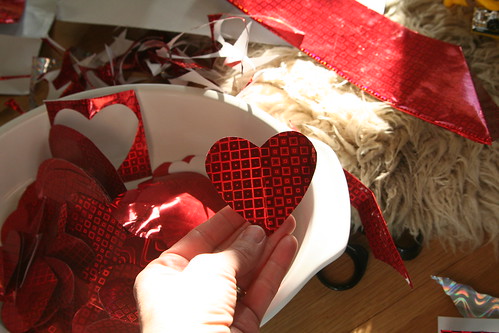
In the meantime, Asher and I had some fun painting coffee filters with watercolor paints (above). The filters really soak up the paint, and the hearts are equally beautiful on both sides. We haven’t decided exactly how to use these yet: window decorations, cards, mobiles … there are so many possibilities! I spent a few moments the other day hacking up a shiny red gift bag into hearts. You can never really have too many of these, just in case.

At preschool, Asher and his classmates have been making valentines for a couple of weeks now. It’s hard work for a 3- or 4-year-old to make enough valentines for all of his friends!

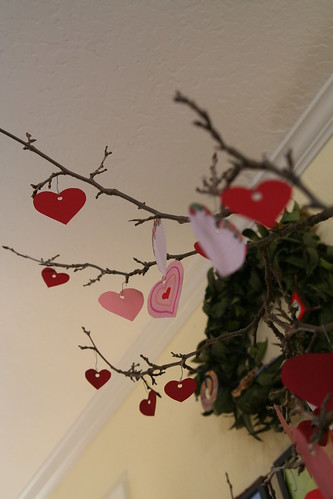
Third Grade Valentine Tree

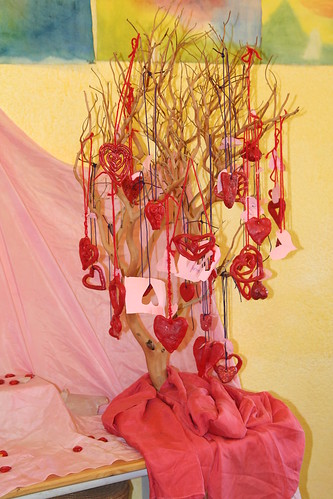
This Valentine Tree is on the third grade nature table at Lucas’s school. The hanging hearts are all made by the students from modeling beeswax.

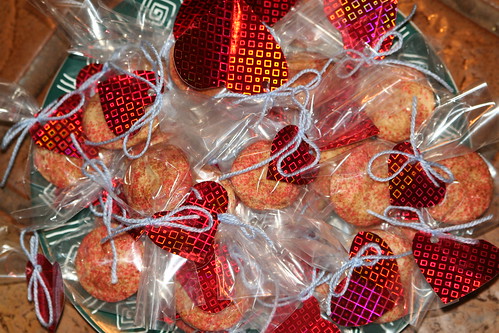
I still want to come up with some kind of gift for the children, as I do every year. We always have a small breakfast-time celebration on holidays and I like having a wee something to surprise them with. I have loads of paper hearts that I keep year to year, and one thing I always do is to make a pathway of paper hearts leading from their bedroom door to the holiday breakfast table.

Strawberry Muffins with Honey-Sweetened Cream-cheese Topping

Just might have to make these again! How do you celebrate Valentine’s Day with your family?

This Moment: Some Handmade Play

This Moment: Some Handmade Play

Inspired by SouleMama {this moment} – A Friday ritual. A single photo – no words – capturing a moment from the week. A simple, special, extraordinary moment. A moment I want to pause, savor and remember.

  • About Sara

    Thanks for visiting! I’m Sara, editor and writer, wife to Ian, and mother of two precious boys. I am living each day to the fullest and with as much grace, creativity, and patience as I can muster. This is where I write about living, loving, and engaging fully in family life and the world around me. I let my hair down here. I learn new skills here. I strive to be a better human being here. And I tell the truth.

    Our children attend Waldorf school and we are enriching our home and family life with plenty of Waldorf-inspired festivals, crafts, and stories.

    © 2003–2018 Please do not use my photographs or text without my permission.

    “Love doesn’t just sit there like a stone; it has to be made, like bread, remade all the time, made new.” —Ursula K. LeGuinn

  • Buy Our Festivals E-Books


  • Archives

  • Tags

  • Categories

  •  

  • Meta