Kitty, Kitty

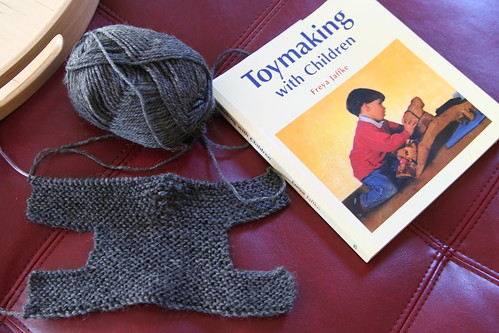
This knitted kitty I made is far simpler than the knitted donkey I made a couple of weeks ago. Seriously, it’s all rectangles and all garter stitch. Easy, even for me.

Knitted Kitty

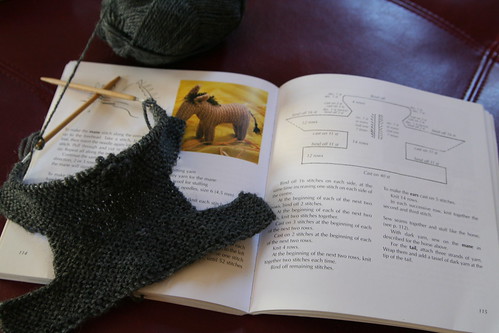
My cat is about 2 inches high and 3 inches long. The pattern I used is from Toymaking with Children by Freya Jaffke, but all you have to do to make this little cat is to knit a rectangle that’s almost a square (for the body). Then cast on half as many stitches as you used for the body to make a head, which you will knit until it is a long rectangle (almost three times as long as wide). Last, cast on less than half as many stitches as you used to make the head, to make a tail. Knit about the same number of rows as you knit for the head rectangle. Then sew up the tail into a long tube. If your cat will be small like mine, then no stuffing of the tail will be necessary. If your cat will be bigger, you might have to stuff the tail with wool roving. Fold your head piece in half, sew up three sides, stuff it with wool, and sew up the final side. You may wish to make a few stitches to accentuate the ears. For the body, pinch a corner of your rectangle and sew it into a cone (leg), then move to the next corner and do the same thing. Repeat for all four corners to make for legs. Stuff all of the legs and body and sew up the body at the cat’s tummy. Now attach head and tail in a way that looks appropriately catlike. Voilà! A kitty!

First Clam Diggers of the Season

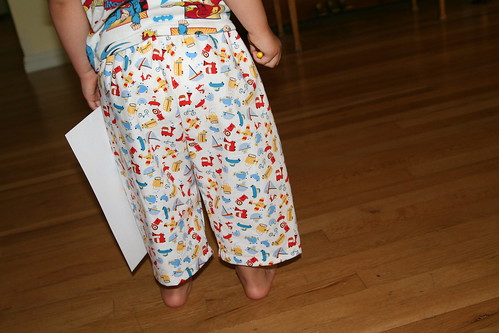
I have this stash of fun fabric for making Asher pants, clam diggers, and shorts and today I finally had all the pieces in the same location and a little time to get started. I haven’t sewed clothing like this since last summer, so I wasn’t entirely sure I’d remember what to do, but it all worked out pretty well. We’ll call these a “proof of concept.” I’m still using the pattern that my mother bought in 2008, I just cut them a trifle bigger. Now that I’ve got them all together, I can see that they’re pretty baggy and could be skinnier in the legs. But baggy clothing is cooler on hot days, no? I may choose to hem them up another inch….

Clamdiggers for Asher

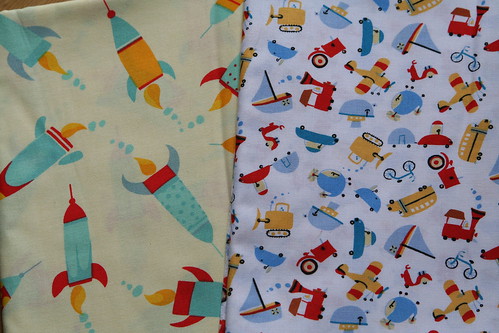
And because these clam diggers are roomy this year, they will probably fit him again next summer, too, only they will be a little shorter. (Ahser is still able to wear the pants and shorts mom and I made last summer.) These are made from “Vehicles Allover” fabric from “Oh Boy!” by David Walker for Free Spirit Westminster Fibers. Fun!

Lucas’s Woven Pouch

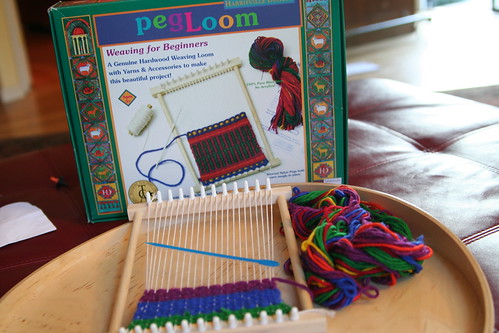
My dear Lucas has been sick this week. Monday night, after a day of feeling low and opting to sleep with his head on his desk at school, his fever when sky-high and stayed there for a couple of days, with small breaks, thanks to the children’s ibuprofen I give him. So Tuesday and Wednesday, he worked diligently on the couch with a peg loom that Ian and I brought him from Seattle. (It seemed way more appropriate to bring Lucas an open-ended toy or craft rather than a silly Space Needle statue. And we were right!)

Harrisville Peg Loom Kit

The Harrisville Designs Peg Loom kit comes with a long plastic needle to make weaving easy. The frame is wood; the pegs are plastic. It also comes with cotton warp string and 100% wool yarn in bright colors.

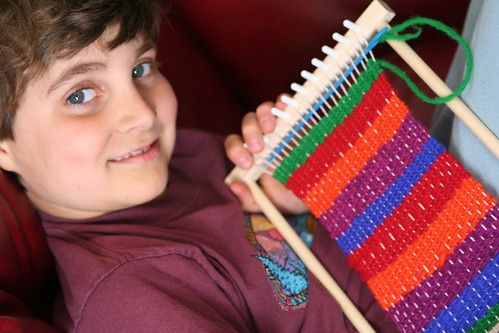
Almost Done: Two Sick Days' Work

See how sick he looks? Kind of hollow around the eyes. But he worked hard on this and you can see he’s proud of it.

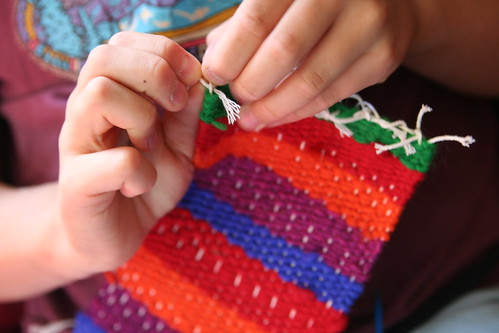
Binding Off the Warp Threads

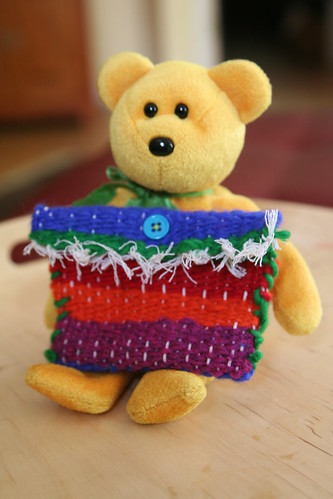
Binding off the warp strings was a bit tricky because they were quite short. I helped a little with this. But then he folded his woven piece in half, sewed up the sides, and sewed on a button. I showed him how to make a button hole and he did that with some embroidery thread. Now there is no mistaking where the button should be pushed through to close his pouch. He opted to finger-knit belt loops (instead of making a purse-like strap) and attached the loops to the back of his pouch.

Finished Belt Pouch—Kid-Made

Here’s Asher’s Yellow Bear modeling the finished pouch. It’s tremendous!

For a final step, Lucas “finger-wove” a belt. That’s what he calls it; I don’t know if this technique of “knitting” a wide belt using only one’s three fingers as pegs has another name. The technique he used is similar in principle to using a knitting nancy, AKA knitting tower or spool knitter. But that’s where my knowledge ends.

Waldorf kids are cool!

Sturdylegs the Donkey Is Done

The knitted donkey work in progress that I wrote about last week is finished. Here he is!

Sturdylegs the Donkey

Sturdylegs the Donkey

We decided our newest mom-made toy is named Sturdylegs the Donkey. Other name contenders—all great suggestions from Lucas—were Nightsky, Faithful, and Chimney. His names were so perfect and creative, it makes me want to knit three more donkeys just to use them all. (I doubt any family of four needs four knitted donkeys, however.)

Sturdylegs is all one piece, knitted from wool yarn and stuffed with wool roving. His mane and tail tuft is black acrylic because that’s what I had. The pattern is from Toymaking with Children by Freya Jaffke.

I’ve started knitting a cat, which is far easier than the donkey.  😉

WIP: Knitted Donkey

Why a donkey? I don’t actually know, except that it’s small and doesn’t matter. I think that appealed to me. And this pattern is more challenging that the lamb and duck that I’ve knitted in the past. I’d been feeling a lack of handwork even though I’m discouraged because the sweater I was knitting for Asher would no longer fit him if I actually finished it—yes, it takes me THAT long! (Oh, and he hates sweaters.)

Anyway, this donkey has been a good way to practice (remember) how to increase and decrease stitches, and to read a pattern. The trickiest part was increasing in the center of the rows to produce the neck of the animal. There was MATH and everything! It was a great boon to have my friend Dakini_Grl (an accomplished knitter) over for dinner the night I first attempted that! She’s the BEST. It’s actually looking like a donkey now.

WIP: Knitted Donkey

WIP: Knitted Donkey

Stash

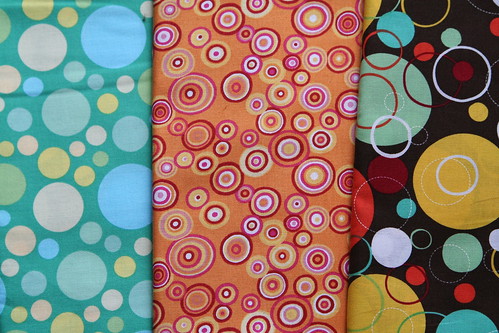
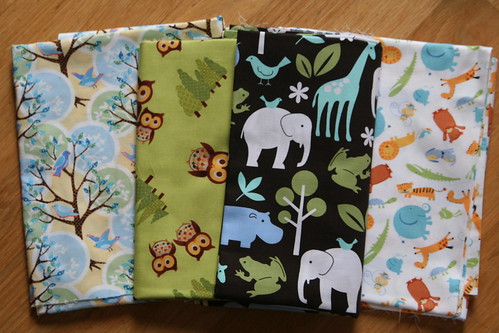
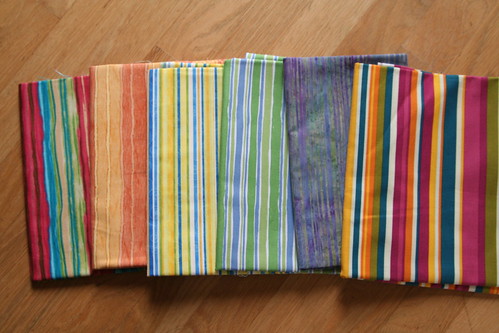
I can see why fabric collecting is addicting, especially to someone like me who is totally invigorated by color. This is most of the stash I’ve gathered little by little over the last year. Via the Glorious Internet, I’ve come to find that I actually have some favorite designers. Wacky!

My Rings and Dots Stash

My Animals Stash

Diamonds, Stars, and Cogs Stash

I’m hoping to make some groovy new shorts and pants for Asher. The ones that I and my mother made in past years were such a success and fun to make. I bought these fabrics with Asher in mind. It’s more challenging that I realized at first to find fabrics suitable for boys. I now realize I have way more fabric for sewing than time for sewing.

My Stripes Stash

Fortunately, some shorts and pants we made last summer look like they’re going to fit another season. The pants are now clam diggers, of course, because Asher has grown so much taller.

My Vehicles Stash

I’m kind of waiting to see if this summer Lucas will grab for the shorts grandma sewed for him in the past, or if he’ll gravitate to the more conventional, mass-produced shorts instead. He is probably just on the cusp of not wanting to wear sewn garments anymore. Although, if Lucas wants some for himself, I’ll probably have him pick out the fabric, and most likely it will be much more subdued than these.

Flower Prints for Mother’s Day

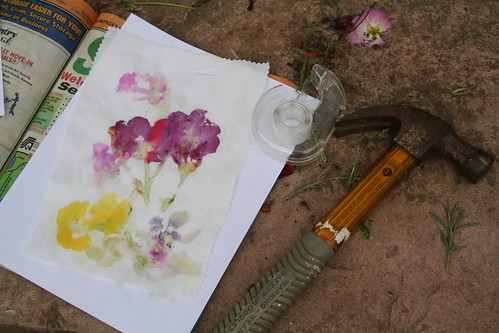
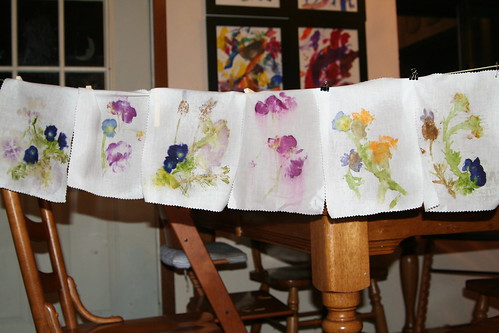
I’d been saving up this hammered botanicals project ever since I saw it on a blog I read, called Dim Sum, Bagels, and Crawfish, last March. (How could I not read it, with a marvelous name like that?) Oh, here it is! I was afraid I might not be able to find it. (The Internet is AWESOME!) Anyway, the Dim Sum author, Lucia, found it in a terrific book called Nature’s Art Box, which is on my wish list.

Anyway, I thought that these smashed flower prints would be a perfect project for my boisterous, bashing boys. I learned a lot during this project, not the lease of which was it’s best to follow directions. Alas, I’m the dive-in-and-figure-it-out sort of person.

We used:

  • white cotton fabric
  • scissors
  • pinking shears
  • hammer
  • scotch tape
  • flower cuttings from our garden
  • phone book
  • watercolor paper
  • watercolor paints and paintbrush
  • dollar store certificate frames, 8.5 x 11 size

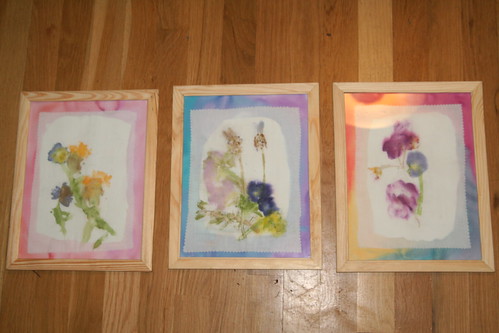
Flower Prints Art Project

Lucas enthusiastically helped with the hammering, but I couldn’t get Asher to join in. When dealing with a 3-year-old, timing is everything! And the time I had set aside to do this project was All Wrong. Asher wouldn’t even come outside to see what we were up to.

We found that the roses and pansies gave brilliant colors. The mallow flowers and Spanish lavender were subtler. Creating the watercolored mats fell to me. (Are they really mats if the fabric print goes on top of them?) I didn’t want to try to cut the mats precisely; laying the fabric on top of the watercolor paper seemed just fine.

Flower Prints Art Project

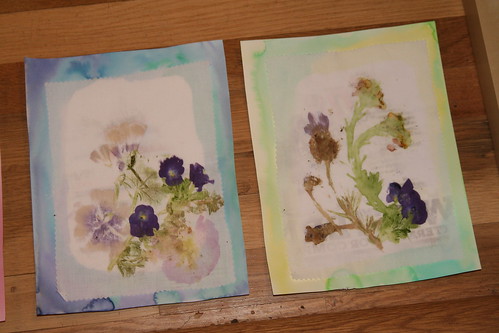
Originally we made six of these. Then I read online that a mixture of alum and water would help keep the colors fresh. Fortunately, our friends had some alum that we could borrow. Unfortunately, three unexpected results happened when I lightly sprayed the fabric prints with the solution.

  1. The color from the smashed roses bled like crazy, running down the hanging fabric (which you can see in the photo below in the center)
  2. The color from the dark purple pansies bled outward (I learned not to spray as much solution, and still the capillary action of the water caused the dye to spread)
  3. Unbeknownst to me, the fabric on two of the prints had actually taken up a tiny amount of newsprint from the phone book pages when we were hammering the cuttings. It was invisible before I sprayed the prints. Afterward, ack! Some of the newsprint words appeared in our lovely botanical prints. (You can see a big black W and other type on the right-hand print in the photo above)

Flower Prints Art Project

None of those three surprises made me happy. And if I were to do this project again, I’m not sure if I’ll bother with spraying them with alum. Perhaps the colors from the flowers and stems will oxidize or fade over time. I don’t know. Also, I’ll make sure to put white paper between my fabric and anything with newsprint on it.

When all was said (cussed) and done, and after two pieces of glass from our frames were broken (more cussing after the children were asleep), we ended up with three pretty prints, ready to give out to grandmothers on Mother’s Day.

Flower Prints Art Project

The grandmothers seemed pleased. 😉

Birthday Preparations

Oh, the wheels are turning!

Of course, my best ideas strike me at 11 p.m. and/or right at the last minute, when it’s way too late to get started or when I must rush like crazy to carry them out. I was having such an easy run up to this birthday, given that the roller-skating party was paid for a couple of weeks ago and they won’t let me bring food to the rink. The presents have arrived. Invitations sent out.

But then—BOOM! Oh! I should do/make/wrap/paint/buy/arrange/decorate/create/bake …

You get the picture. Yeah. I’m that kind of crazy.

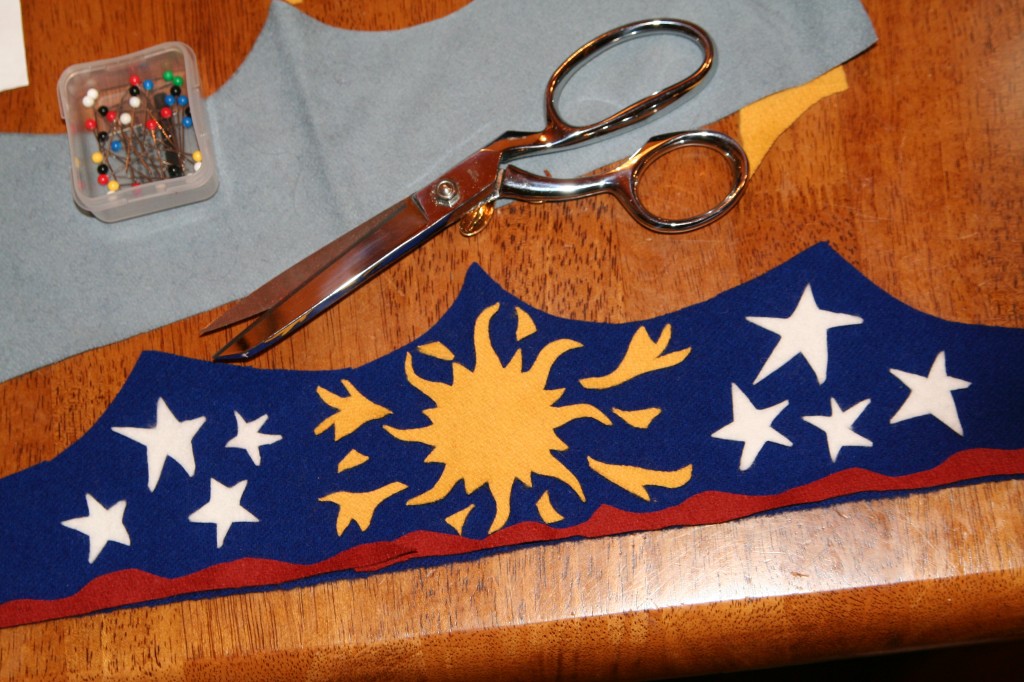
The Crown

When I made a birthday crown for Asher (also at the last minute back in January), Lucas was quite enchanted with it. I asked him if he would like to have a birthday crown of his own and he was all for it.

So, I vowed to make one for him.

Of course, the likelihood that he will wear it at 8 years old is fairly slim. Nevertheless … here is my design. Shh! He hasn’t seen it and I want it to be a surprise.

The Goodie Bags

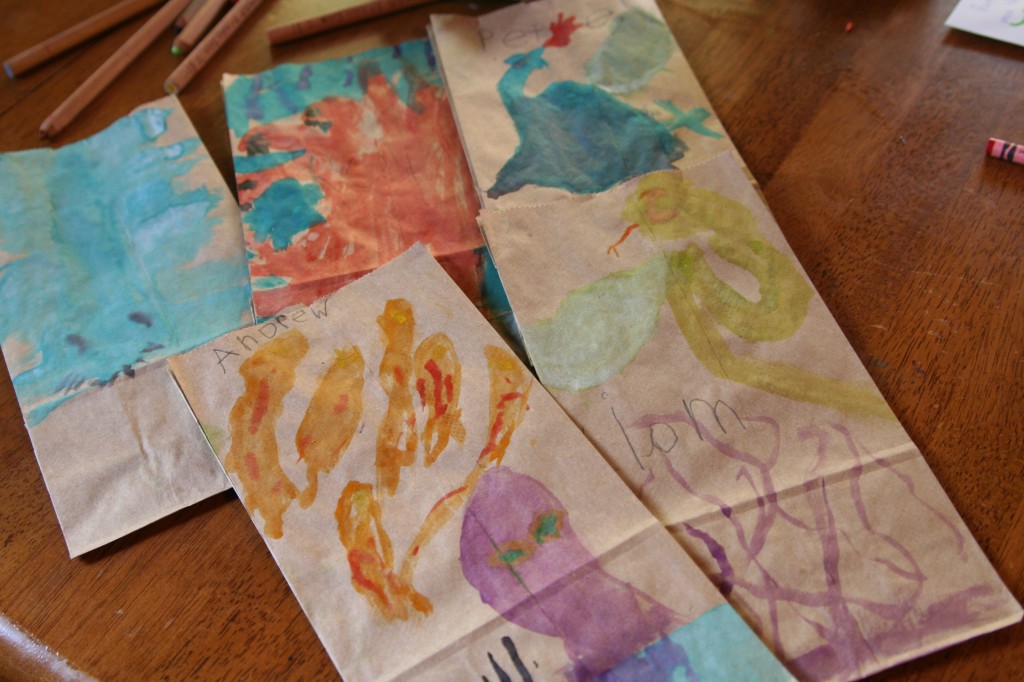
I don’t know when this children’s birthday party tradition began, but I don’t like it much. I think it kind of reeks of 1980s überparents fearing for their wee ones’ self-esteem and worrying that attending a birthday party and watching a birthday child open gifts when there are none for the wee guests would somehow scar them for life. But, I must live in my times. And so, we make goodie bags. We try to have a bit of fun with them and try not to spend a ton of dough. And lest you think I’m a complete curmudgeon, I am well aware of how thrilled Lucas is to come home from a friend’s party with a goodie bag of his own!

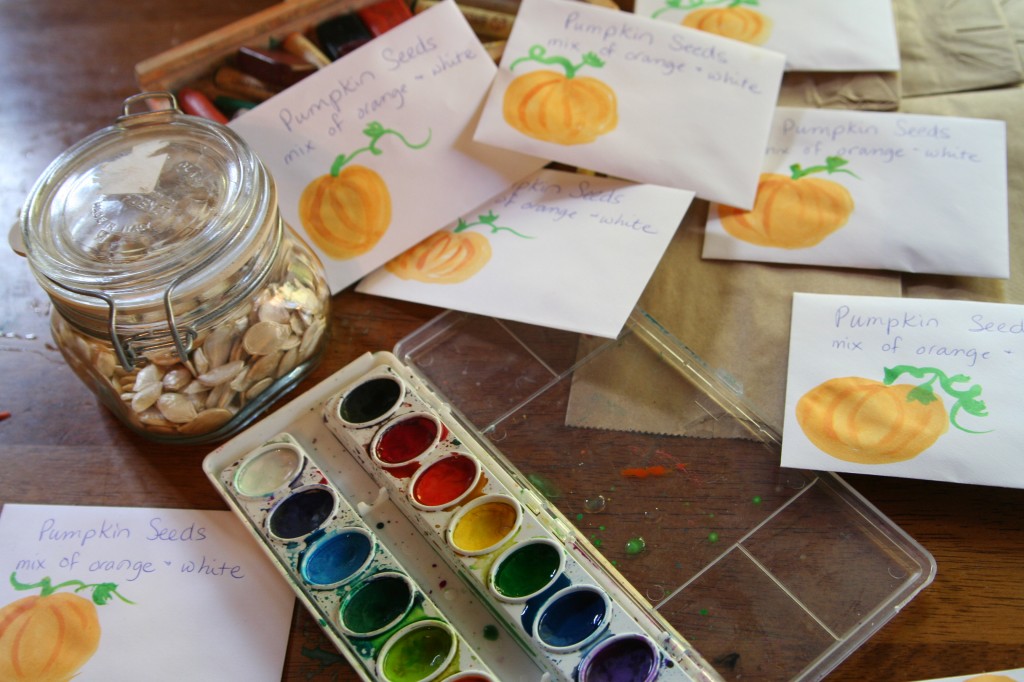
This year, we are giving out brown paper lunch bags, hand-painted by Lucas. He is painting whatever he pleases and I think that’s just fine. I think they are fighting dragons. We are putting  little envelopes of pumpkin seeds that we saved from our orange and white Halloween pumpkins in the bags. I bought lovely (and masculine-looking) blank books from the $1 bins at the craft store, so each guest will receive a book and a matching pencil. If the boys attending the birthday party are anything at all like Lucas, they will be pleased to have their own book to write whatever in. Let’s see … we also have a small tablet of origami paper for each guest, which comes with instructions to make animals, also from the $1 bins.

The Birthday Cake

Well, the roller rink is handling this. But I will make a cake for us to share with grandparents this weekend. I have a cool idea for this! We’ll see if I can pull it off.

A Gift

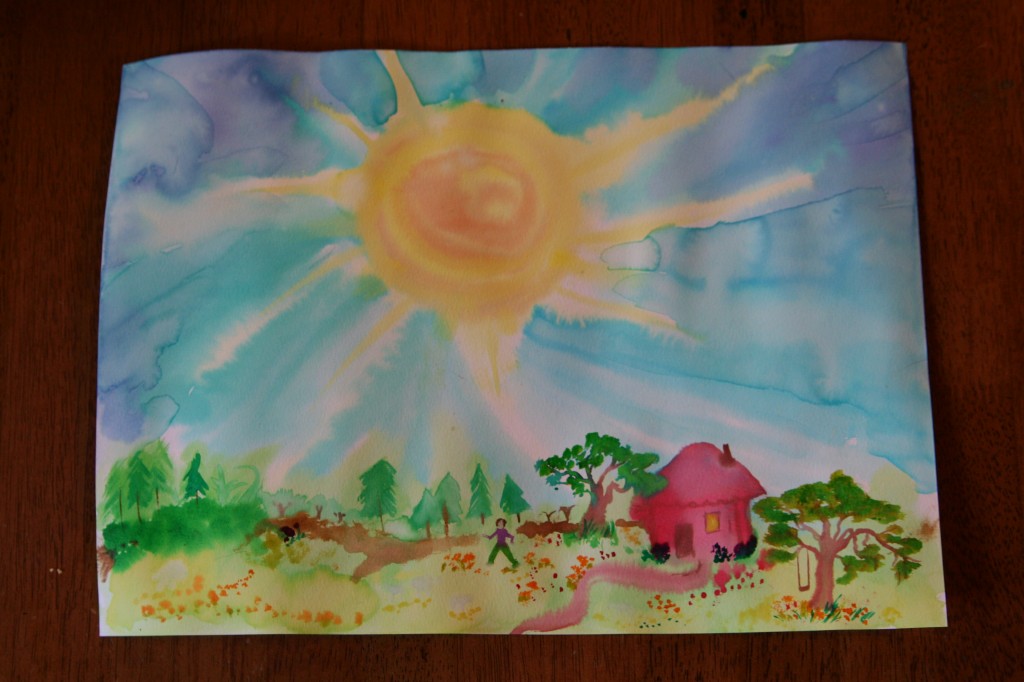
While Lucas was painting some goodie bags this afternoon, and Asher was painting a picture, I sat down and painted a gift for Lucas.

Asher’s Art

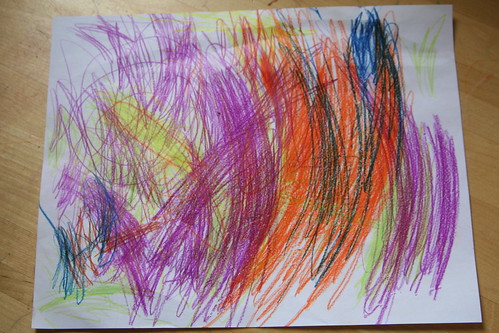
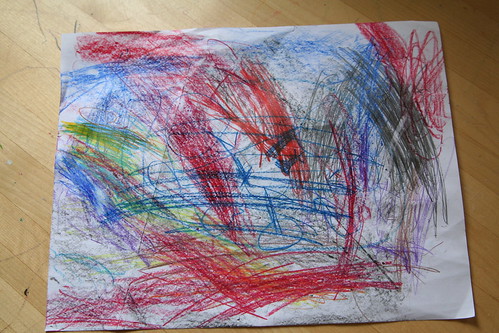
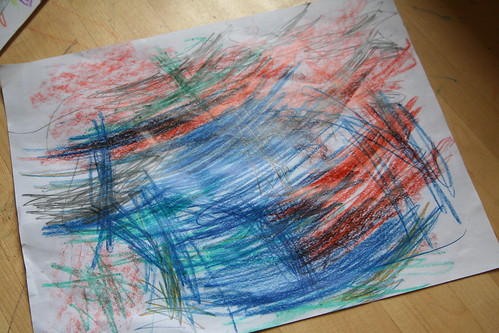
I took some photos of Asher’s recent artwork. I’m sure some would say that only a mother could love this, but I don’t care. I admire the energy of his art, the thoroughness and intensity it reveals. Asher seems to like to mix media and will work on the same piece for a long time, sometimes leaving it several times and then coming back to it later. He is strongly left handed. He uses the whole paper. I don’t know if this means anything at all about his self-expression or his personality, but I can tell you that Lucas’s art at this age was quite different—somehow less committed, less bold, and more delicate. Somehow, not quite so firmly on the earth. Or maybe that’s just my imagination …

Asher's Art (At 3 Years Old)

Asher's Art (At 3 Years Old)

3/13/2010 "Our Front Garden On Fire"

Asher's Art (At 3 Years Old)

Sun Bread

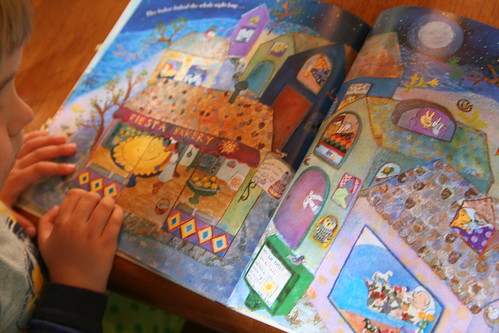
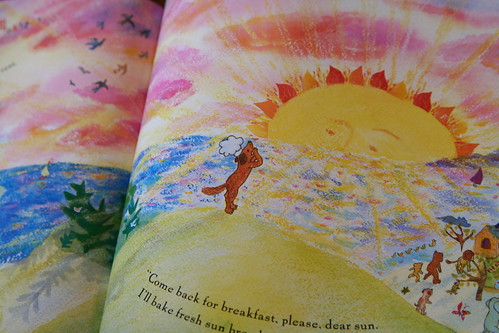
One of our favorite children’s books is Sun Bread, written and illustrated by Elisa Kleven. I’ve gushed about it (and other books of hers) before, and have given Sun Bread to many children over the years. Lucas still loves it. Asher loves it, and hears it both at home and at preschool. Yesterday morning he brought it to me and asked me to read the book to him. Of course I did.

When we got to the end, he asked if we could make sun bread. Um … of course we can. So, after school we started baking.

Asher Enjoys the Book

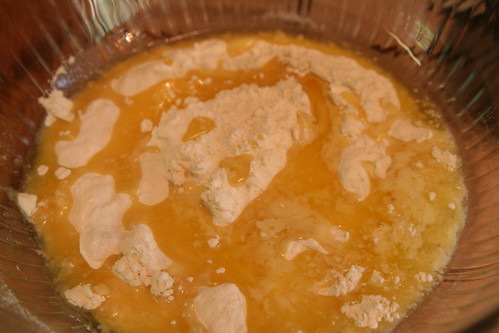
Asher looked at the book while Lucas and I mixed eggs and sugar, flour and yeast. I love Kleven’s illustrations!

Flour, Sugar, Eggs, and Yeast

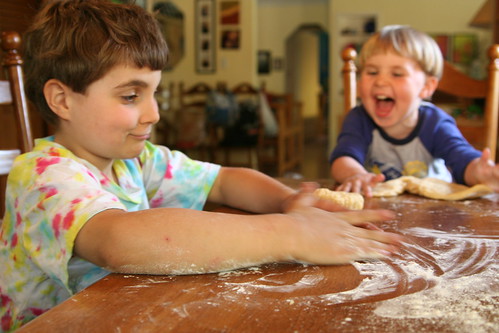
Lucas was a wonderful assistant, which is good because I’m not much of a cook these days. He stuck by me during the whole project, mixing ingredients, kneading the dough, shaping our sun … and eating it, too.

My Crew Kneading

They both enjoyed this part! Why don’t we do this more often?

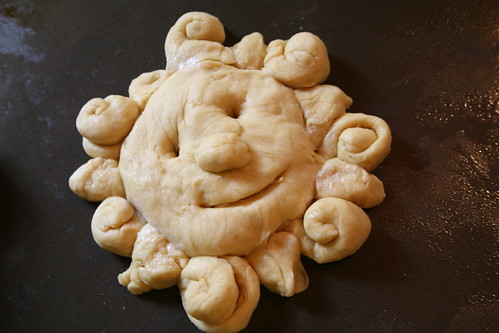
Friendly Sun Bread

Our super cute sun bread. Here it needs one more rise, then a short time in the oven. Since we started at 4 p.m., our bread wasn’t ready until after dinner and bath time, with the two, hour-long rising periods. But that was just fine, since a generous drizzle of local honey made it a yummy dessert. I think it was in the oven about two minutes too long, which gave it a darker crust than I would have liked to see. But the boys enjoyed it and it smelled heavenly! In fact, it was kind of torture for me and Ian, since we aren’t eating bread right now.

"Come Back for breakfast, please, dear sun."

“Bread so brilliant, bright, and sunny, Summer seemed to fill their tummies. Bread so fluffy and so fine, They felt themselves begin to shine …”

  • About Sara

    Thanks for visiting! I’m Sara, editor and writer, wife to Ian, and mother of two precious boys. I am living each day to the fullest and with as much grace, creativity, and patience as I can muster. This is where I write about living, loving, and engaging fully in family life and the world around me. I let my hair down here. I learn new skills here. I strive to be a better human being here. And I tell the truth.

    Our children attend Waldorf school and we are enriching our home and family life with plenty of Waldorf-inspired festivals, crafts, and stories.

    © 2003–2018 Please do not use my photographs or text without my permission.

    “Love doesn’t just sit there like a stone; it has to be made, like bread, remade all the time, made new.” —Ursula K. LeGuinn

  • Buy Our Festivals E-Books


  • Archives

  • Tags

  • Categories

  •  

  • Meta