Snow Days

IMG_1728

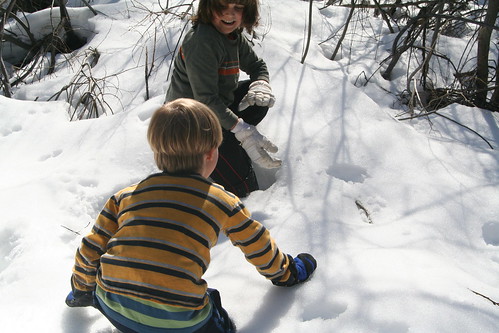
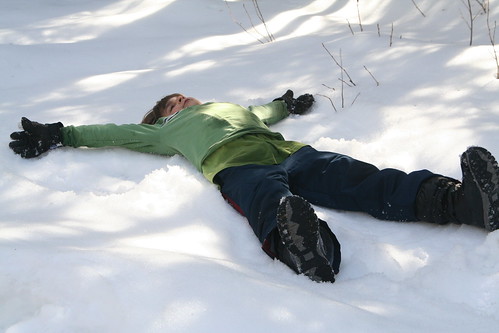
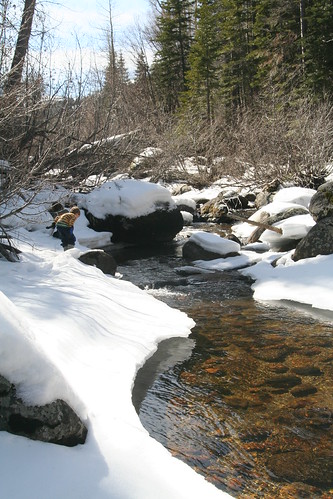
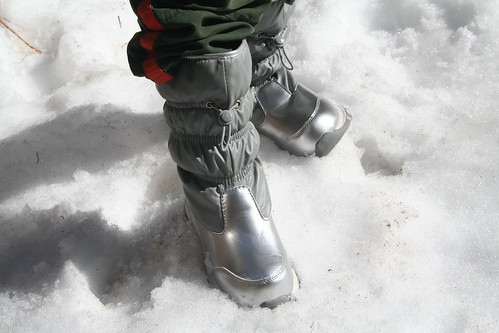
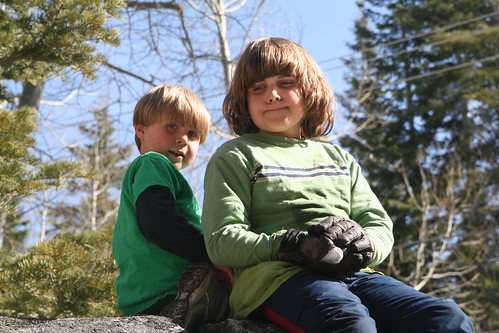
We were on a school vacation last week, and Ian carved a few days off his work week. So we were able to leave town for one of our delicious, infrequent snow vacations.

IMG_1763

IMG_1787

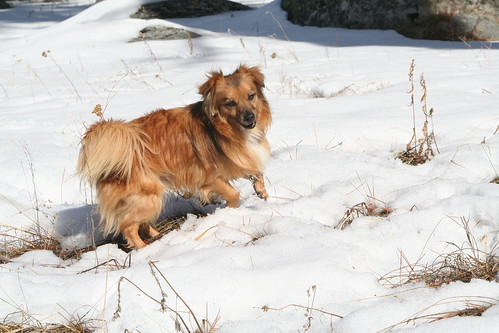
We had a new family member along with us this time. I fell even more in love with Solstice. What an intrepid snow dog he is!

IMG_1748

IMG_1519

IMG_1813

IMG_1701

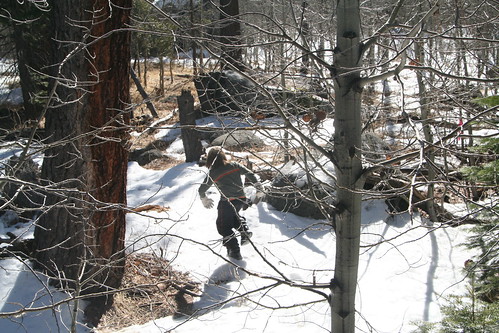
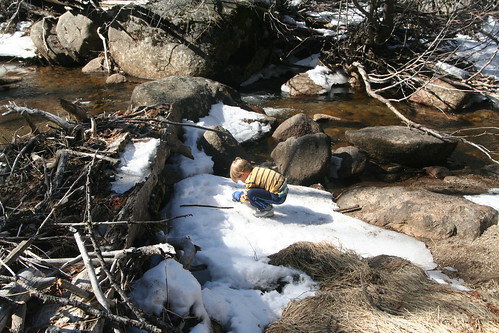
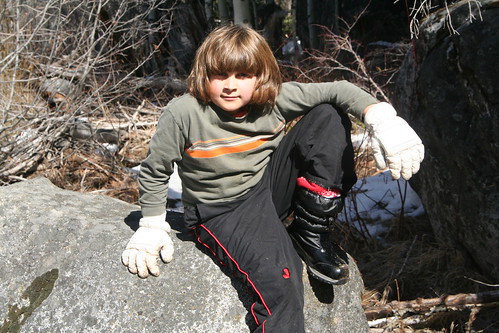
I love to see my children roaming, to see them march off on their own mission in whatever direction they choose. I love to see them free.

IMG_1580

IMG_1598

IMG_1593

IMG_1590

IMG_1475

IMG_1467

IMG_1465

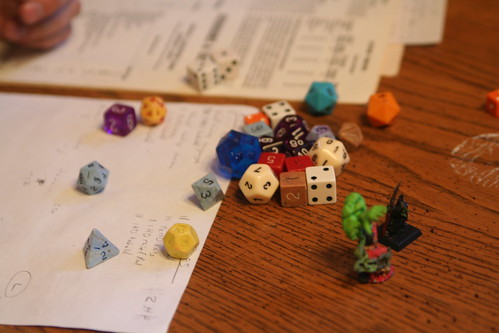
We had plenty of time for games and new hobbies, and that was enchanting, too.

IMG_1809

IMG_1371

IMG_1868

IMG_1815

IMG_1823

IMG_1843

IMG_1921

IMG_1929

IMG_1423

IMG_1793

IMG_1464

IMG_1666

What more can I say? It was perfect.

Spreading the Love

Valentine's Day Breakfast

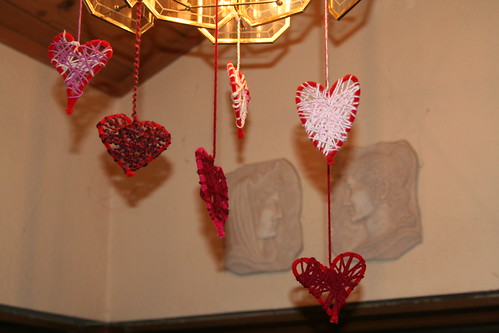
Decoration

Heart Composition Books

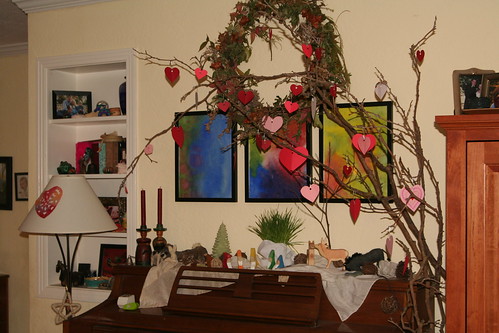
Valentine's Day Nature Table

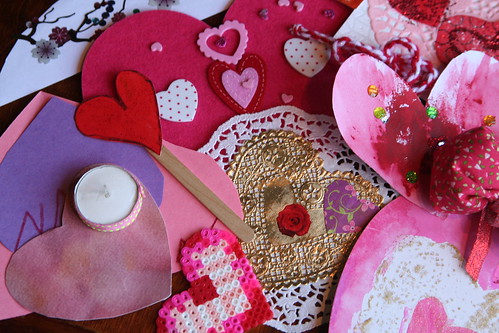
Valentines from Friends

Valentines from Friends

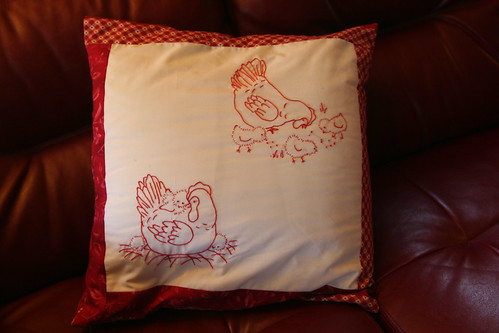
Redwork Pillow from Grandma

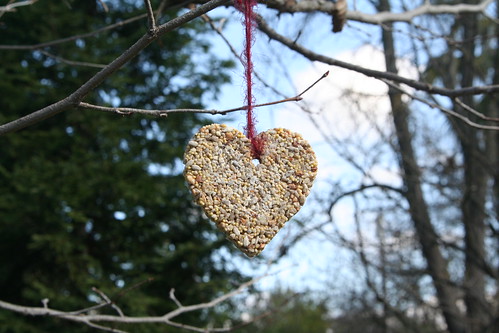
Valentine for the Birdies

Happy Valentine’s Day from our family to yours.

You can find this post also on Homespun Waldorf’s Winter Carnival
Homespun Grab Button

Valentine Window Transparencies Tutorial

Hello! [This post has been edited to remove a broken Pinterest link. 2-13-15]

10-Pointed Window Star

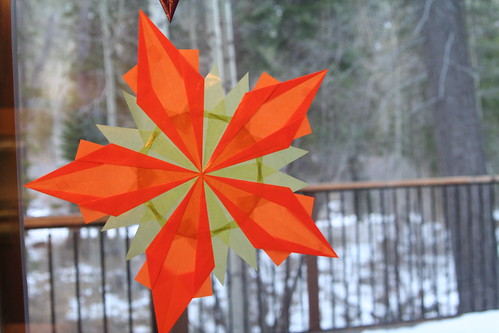
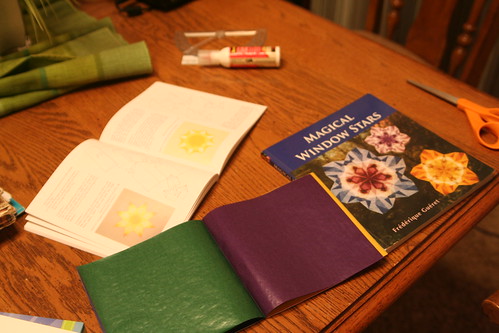
Anyway, I’m kind of obsessed with window stars lately. I got some new supplies for Christmas (kite paper and a new book and paper kit for making window stars). They are challenging for me and so rewarding when you get it right. I made a ten-pointed star the other day and I had to enlist Ian’s help to get the angles right when assembling the points. Then we had to buy a protractor!
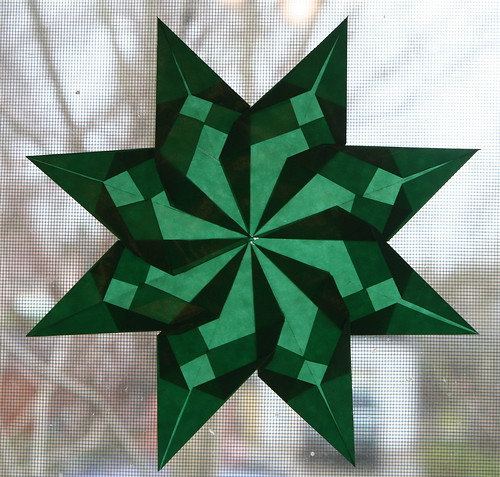
Green Window Star

This eight-pointed star I made is new.
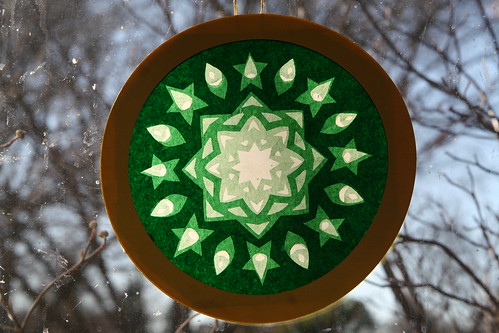
Rose Window, Not My Creation

And I accidentally-on-purpose bought this rose window transparency from an 11-year-old kid on Etsy, a shop named Knitting Momma. I couldn’t help myself. It’s so pretty and I like the gnome head shapes within it. See them? (Pay no attention to my dirty windows.)
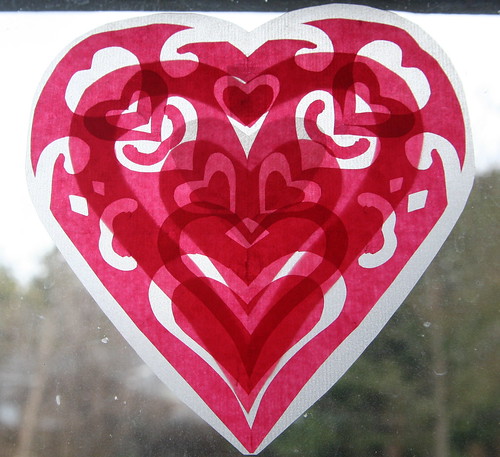
Heart Window Transparency Cropped

And that got me experimenting with my kite paper. I made this transparent window valentine using three pieces of square kite paper, two red and one white. I like this one a lot. The kite paper is only 6.25 by 6.25 inches, and I wondered if I could do something similar but bigger with tissue paper.
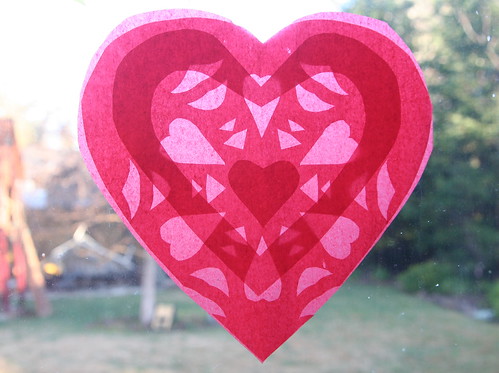
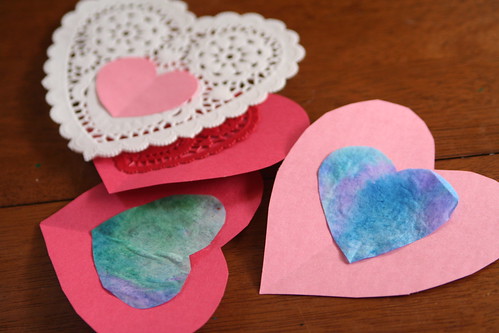
Red and Pink Heart Transparency

Now, I wouldn’t say my valentine window transparencies are perfect, but we learn in the doing, right? So here is what I did, and what I learned along the way, in case you would like to play along.

Materials

  • tissue paper or kite paper in valentine colors (red, pink, dark pink, white, purple)
  • scissors
  • iron on medium heat and ironing board
  • glue stick
  • tape

Tutorial

First, lay several pieces of tissue paper of different colors on top of each other. Iron them flat on your ironing board with the heat on medium. Any wrinkles should iron out nicely. Do not spray with water while ironing.
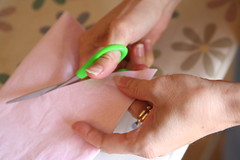
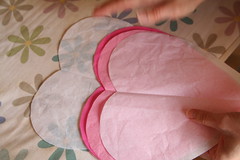
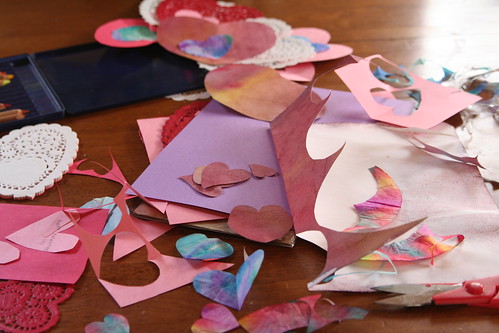
Cutting Hearts Tissue Paper Hearts
Then, with your papers still stacked, fold it once in half and then in half again. You should now have four stacks of tissue paper. Take one stack, fold it in half, and cut out a big heart shape. Iron out the center crease. Separate the hearts that you’ve just made. They are pretty much the same size, so they can be stacked up again in layers as you make your designs.
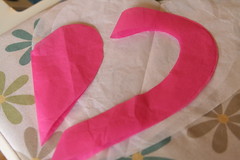
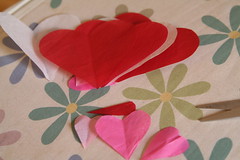
Cutting a Smaller Heart from a Bigger Heart  Assorted Sizes

Try cutting one heart into smaller hearts by cutting along the heart’s edge. You’ll end up with two usable pieces: the smaller heart and the heart-shaped edge with an open center. Do this a few times and also cut additional hearts out of the scraps from the big hearts.

Take one large heart layer and fold it into quarters or eighths, like you would if you were going to cut a paper snowflake. Along the main fold line, cut a small half heart. When you unfold, you’ll have four or eight cut out hearts. Be careful about where you’re cutting, as it’s easy to cut beyond the border of your heart since it’s not a symmetrical shape. This heart transparency shows the four small cutouts. (While it’s folded, you can cut additional shapes such as diamonds or triangles if you wish, like you would for a snowflake.)
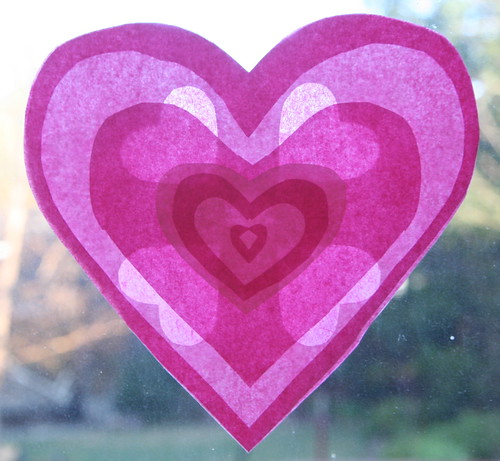
Pink Heart Transparency

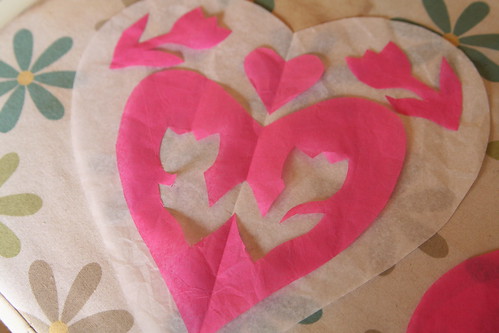
Cut Out Designs

Try folding one layer in half and cutting a simple design. Here is one with tulips.

Now play with the layers you have made. Put a whole heart on the bottom and start stacking other layers. Arrange them in a pleasing way, mixing the colors as you like. Hold them up to the window or a lamp to see how the layers affect each other when the light shines through them. The more layers you have, the darker the shapes will seem. You can also put layers on the back of your heart.
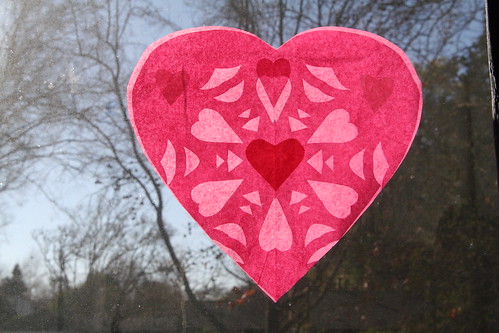
Pink and Red Heart Transparency

Keep in mind that you want the valentine window transparency to look nice both when the sun shines through it during the daylight, but also when it’s dark outside, when the interior light of your home will shine on the front of the heart.

When you have the papers arranged the way you like them. Use a small amount of glue from your glue stick to stick the layers together—and be very gentle because the tissue paper rips easily. Try to keep the outer edges lined up precisely. Gently add dabs of glue until all the layers seem sandwiched together. Now iron the valentine window transparency flat again. You can use a small dab of glue stick glue to stick the transparency to the window, or use tape.
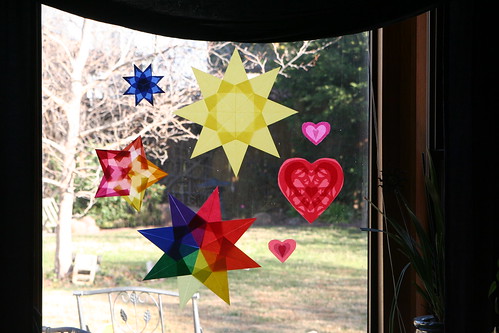
I Made These!

You most likely have small hearts leftover from making the big ones. You can make small transparencies as well. The smaller the valentine transparency, the simpler your design will probably be. Several sizes look great all together, I think.
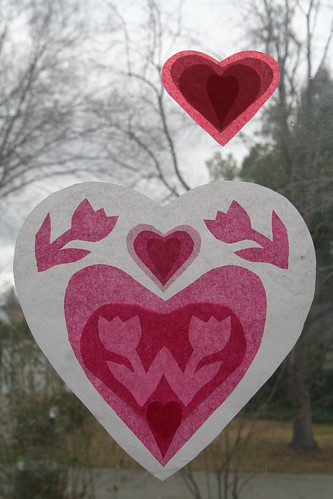
Valentine Window Transparencies

This Magical Window Stars book is terrific. Many of the designs are very complicated, which is a thrill for me. Maybe I’ll work up to them. The book has many star designs that require rectangular papers. In the meantime, you can find a wonderful free tutorial on folding a simple window star here at GardenMama’s blog.

This Origami Suncatchers kit is the one I got for Christmas. It contains the kite paper, a book of 20 star designs, and a glue stick. I find the instructions and photos in this kit to be easy to follow.

A Toy Garden sells both square and rectangular kite paper. This shop is where I buy lots of gifts for my children. A Toy Garden also sells the Magical Window Stars book and a book about rose windows called Rose Windows and How to Make Them.

And finally, if you want to purchase window stars, I recommend peeking in the Etsy shop of Harvest Moon by Hand. Ann is the best at making window stars. Her work is stunning.

Happy Valentine’s Day to you and your loves!
 

Valentine Stones Tutorial

Valentine Stones

I made these fun valentine stones for my guys last year. They’re better than sweets, in my opinion (my kids might disagree). They are very simple to make, but require a little time for drying, so give yourself a day or two.

Materials

Materials

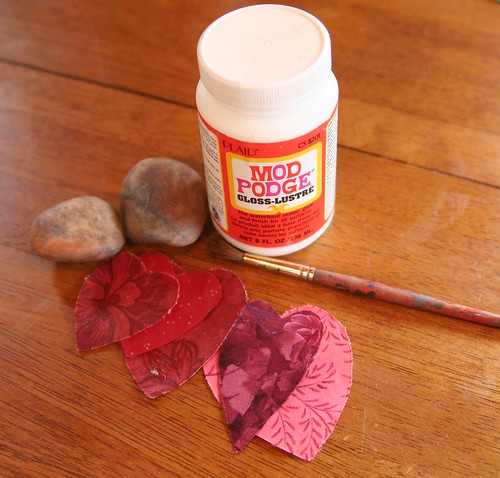
* flat stones from your yard or the craft store (any color)

* tiny fabric scraps in valentine colors (you decide)

* mod podge glue and a paint brush

* sharpie pen

Tutorial

Wash your stones and let them dry completely. Cut out small hearts from tiny fabric scraps. I admit that if you’re a quilter, you have advantage in the scraps department. Cut hearts that will fit on your stones; you may be surprised at how small they need to be—of course, this depends on your stones. For myself, I had stones of varying sizes and I like the variation.

Dab some mod podge on your stone, then place your fabric heart on it. With your paintbrush, coat the entire top of the stone with more mod podge. Smooth out any wrinkles in the fabric heart. Set it aside to dry for several hours or overnight.

Repeat as many times as you like! Frankly, I think these valentine stones make a big impact when you have lots of them.

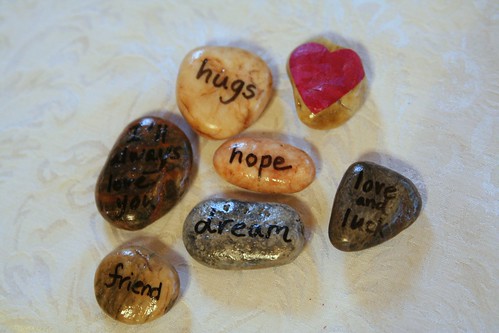
When the tops of your hearts are dry and shiny from the mod podge varnish, turn them over. Write a word or brief message on the other side of the stone with your sharpie pen. Remember the chalky valentine heart candies? What are those called? Conversation hearts?

Valentine Stones

If you or your child is giving these stone valentines as special gifts to friends or teachers, stock messages like “Be mine” work great. If you are making these for your family, you can get more personal. For example, I also used phrases like “I’ll always love you,” and “I’m so proud of you,” and “All we need is love.” Make a special valentine stone for each member of your family, with a message just for them. You know what they need to hear!

Do you have a meaningful family joke? A lyric to your family’s favorite song? A family motto or mission statement? Any of these would be perfect for your custom valentine stones.

Finally, paint the writing side of each stone with mod podge, too. This will give the stone a finished appearance when it dries.

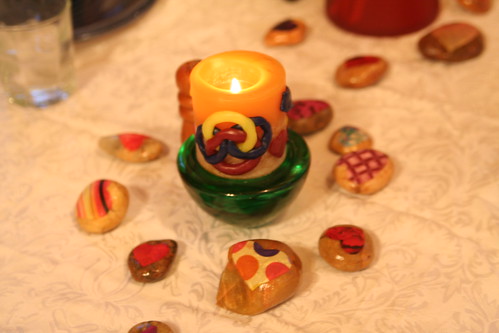
Valentine's Day Breakfast Table

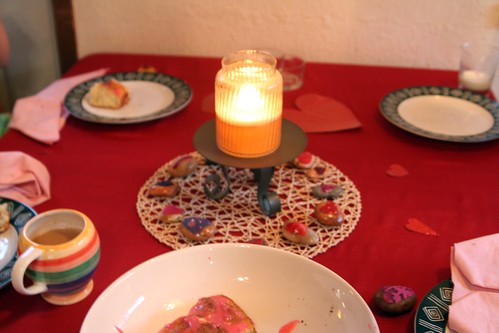
Now arrange the valentine stones artfully for Valentine’s Day, or wrap them as a Valentine’s gift. Your family will have fun holding the stones and turning them over to read all the messages. Mine did!

Happy Valentine’s Day!

Sick Day Together

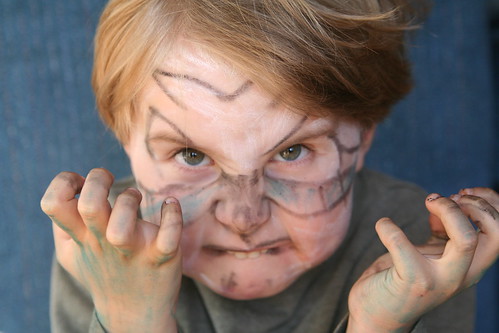
Face Paint Crayons: Dragon Boy, Very Fierce

My guys were home sick today. They’ve picked up a cold and Ian and I are trying to deny that we have a tickle of it, too. Despite it, we had a good day. The boys were surprisingly cooperative both with me and with each other. They played with some of Asher’s new birthday presents, invented a kind of D & D game with Ian’s old dice, and did some chores. Lucas read and Asher did a lot of singing, improvising a song about gnomes and magic and adventure. They both wrote and drew in their journals.

Later they enjoyed painting each other’s faces with some new face paint crayons. As you can see, they were very fierce. Asher was a mighty dragon with wicked claws.

Face Paint Crayons

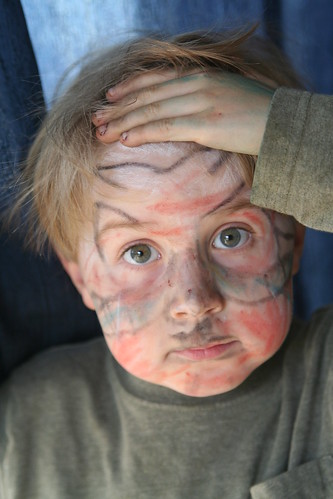
Lucas was a kind of magical warrior.

Face Paint Crayons

They were thorough. And cute.

Valentines in the Making

We also started the valentine making. This year, both Lucas and Asher need class sets of valentines for all their classmates. That’s 55 valentines, folks.

Valentines

Asher’s valentines are pretty simple. (Keep It Simple, Sara!) We might add glitter later if we feel like it, and I’ll have to write “Love, Asher” on each of them. Lucas is doing his own thing this year. He’s not so keen to do a project. Mostly he wants to make cards and write on them himself. So, yay! Independence! I get to help a little by cutting out hearts.

We also practiced spelling words today, even though Lucas missed his quiz. We had exciting fruit smoothies for snack, with fresh pineapple and blueberries blended in. Lucas and I worked on our Gryffindor scarf knitting project a little, too. And we watched some “Shaun the Sheep.”

I worked a bit, in between activities, but not enough. So, back to chapter 9 then.

Asher’s Fifth Birthday

5 Today: Nature Walk

Asher is 5! We have been celebrating in simple and joyful ways for several days now. This is how we celebrated his special day at home. Since it was a Tuesday and a school day, we had our normal rhythms to fit in, also.

Birthday Breakfast Table

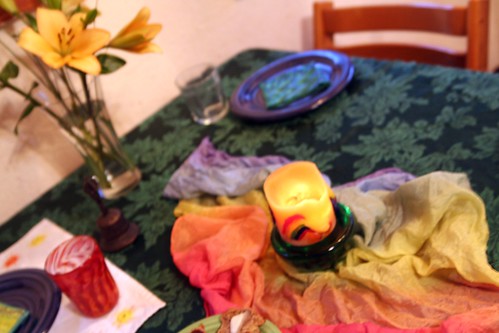
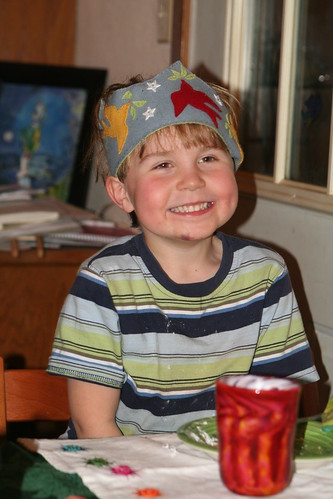
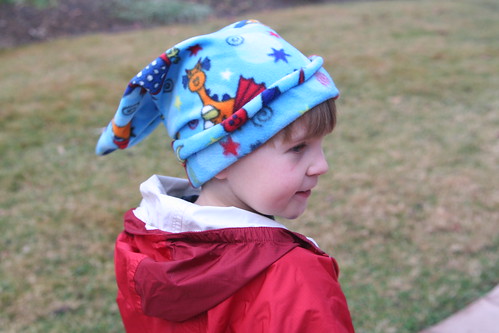
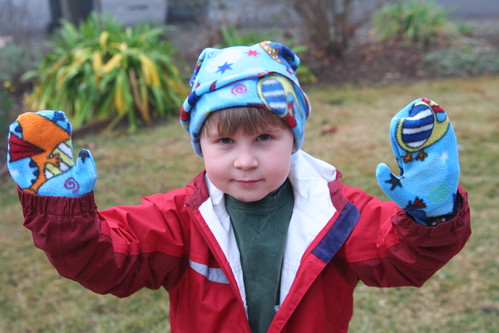
“Is I’m 5?” was the first thing we heard that morning. Daddy told him he was a big boy and Asher said, “No. I’m a medium boy.” Very well, then. Our breakfast table had a special place setting for Asher, flowers, rainbows, our Family Candle, and a beautiful bell. In our house, the birthday boy gets to wear his Birthday Crown and ring the bell as loud as he likes on his birthday morning. Asher got to open one gift, his mama-made fleece dragon mittens and hat.

5 Today: Nature Walk

After school, I picked him up and we went for a nature walk with Solstice the dog. We walked to the huge fallen oak tree that we call the Bee Tree because it has an active beehive way up high. You can see the bees going in and out. It’s a magical place with woods all around and the bike trail. Walking Solstice is not nearly as easy as walking with 5-year-old Asher.

Waldorf Birthday Cake

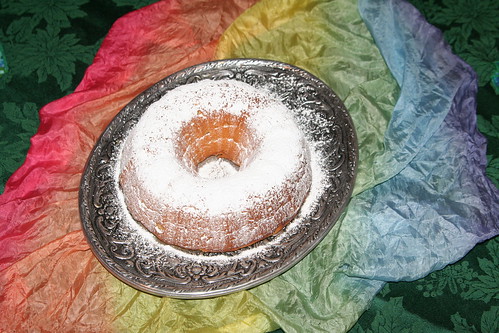
In the afternoon, we snuggled and he napped, we picked up Lucas from school, and then the boys played outside. Asher rode on Lucas’s old bike—we put the training wheels on it just the other day. Mama baked a cake using the Waldorf Birthday Cake recipe. Yum! It’s made with honey and yogurt—dense and moist. When Daddy came home, he made Asher’s requested dinner of stir fry with Chinese noodles.

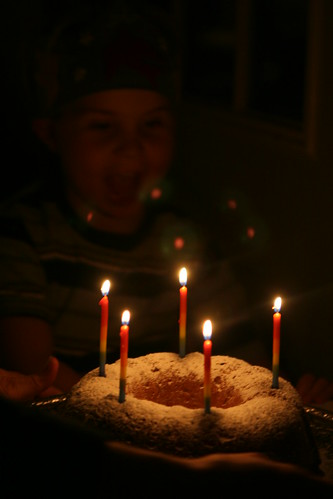
Birthday Cake for Asher, Rainbow Candles

Cake!

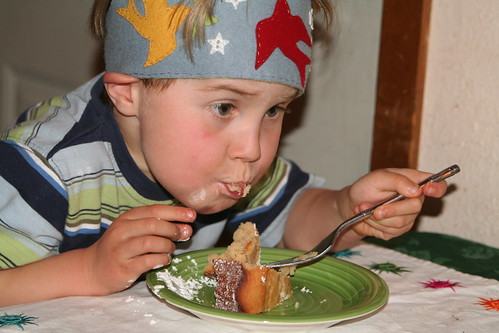
And then we had cake!

Birthday Boy

I’m pretty sure he felt special.

Opening Miss Rumphius Book

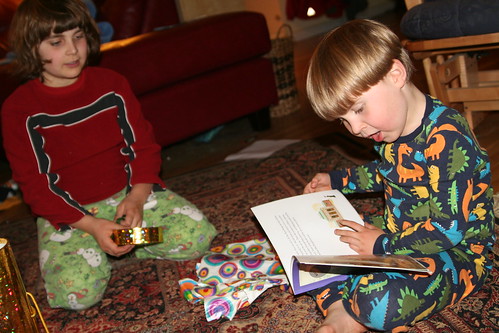
The kids got ready for bed, then Asher opened his birthday gifts—two story books (Miss Rumphius and Runya, the Fire Fairy) …

They Agree on LEGO

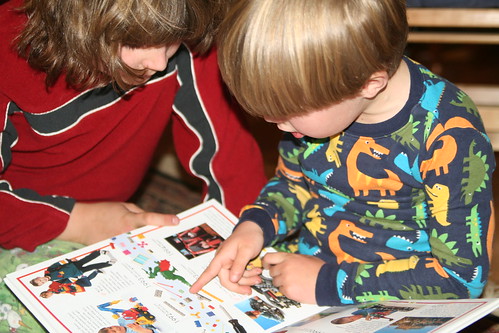
… and a LEGO idea book. And a build-your-own kaleidoscope kit and sun print paper.

Asher Opening His Crayon Holder

He opened his new Stockmar crayons and the crayon holder I made him …

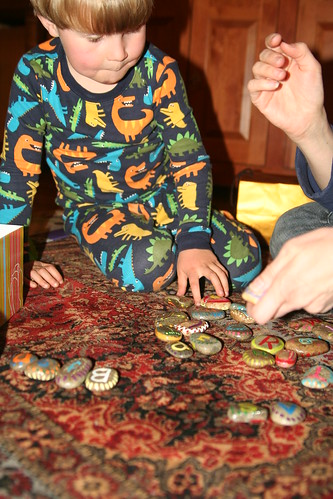
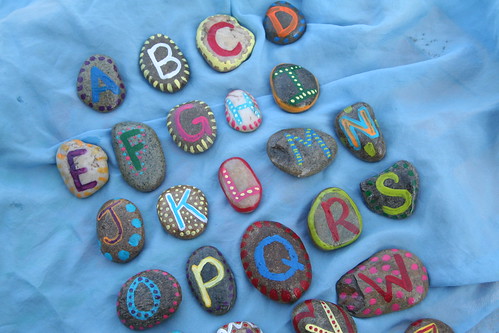
Alphabet Stones Birthday Gift

… and the alphabet stones, which we played with a bit.

Alphabet Stones Birthday Gift

(I kind of love these. They are nice to touch.)

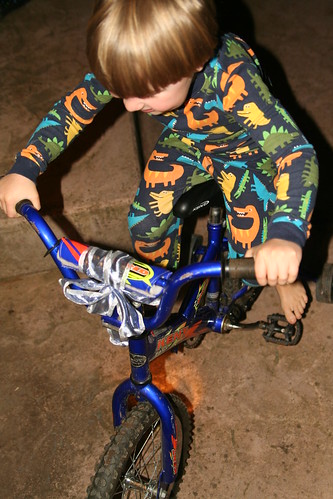
Lucas Gave Asher His Bike

And the marvelous evening culminated in this: Lucas GAVE Asher his old bike. Lucas washed it and polished it nicely and tied a big bow on it. Now Asher has a big-boy bike to ride outside with brother! What a perfect, thoughtful gift. Lucas got to be the hero. And that suits us just fine.


Handmade Birthday Gifts for Asher

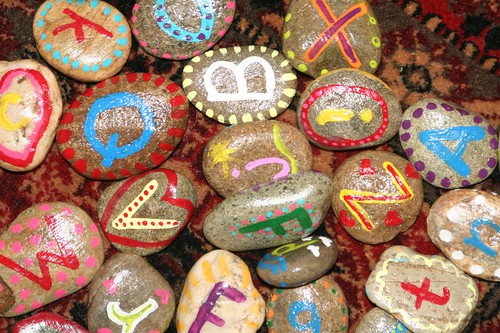
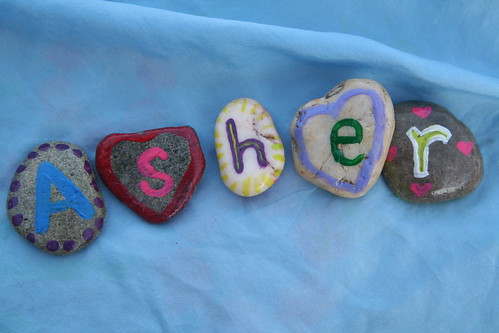
Mama-made Alphabet Stones

Today is my baby boy’s fifth birthday. I am over the moon with excitement for him. I live for this stuff, I think. Anyway, over the last several days, I’ve been scrambling to make some gifts for him.

Mama-made Alphabet Stones

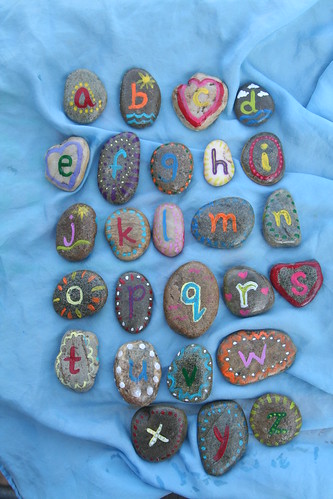
I made these alphabet stones for him using rocks from my yard and my paints. I got this idea from a photo I saw on Pinterest, which I believe is originally from this blog. I am grateful for the fun idea. Asher is five, so I don’t know how or if he will connect with these letters yet, but even if he doesn’t, they are still fun to hold and look at. I think manipulating them to make short words will be fun, and that’s all that matters at this age.

Mama-made Alphabet Stones

Each stone has its lowercase letter on the other side.

Mama-made Dragon Hat

Thanks to a lot of help from my mother and her nifty, first-class serger, I made this fleece dragon hat and a matching pair of mittens. I’ve never done anything like this before and the mittens in particular were challenging for me. But a more accomplished sewist (“sewer” just doesn’t look that great even though it’s correct, does it?) would have an easy time of it, I think. I just traced Asher’s hands and made a paper pattern, adding a good 1/2 inch for the seem. I also made the wrist portion wider to ensure that he could get his hand into the mittens. Fortunately, fleece is slightly stretchy and it’s pretty dreamy to sew because it doesn’t fray, so you don’t have to be as nitpicky as with other fabrics. BUT—like I said, we serged these! And my goodness, what a dream of a machine that is! This was the very first time my mama let me touch her serger. (Machines and I don’t always see eye to eye.)

Mama-made Dragon Hat and Mittens

OK, the back of the mittens look best. Anyway, he went off to school this morning wearing them!

Crayon Holder for Asher's 5th Birthday

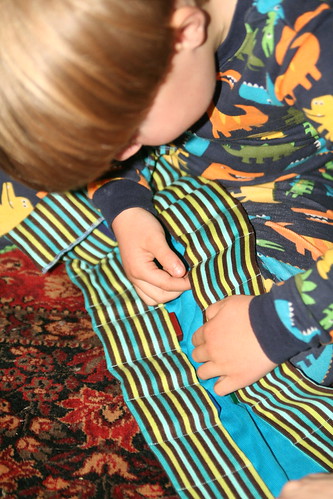
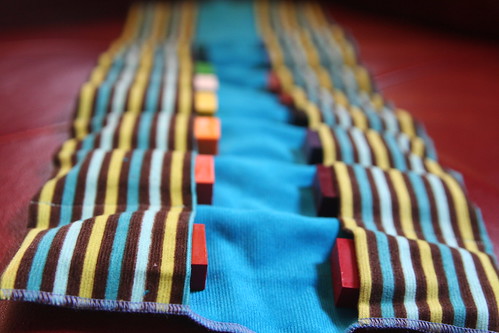
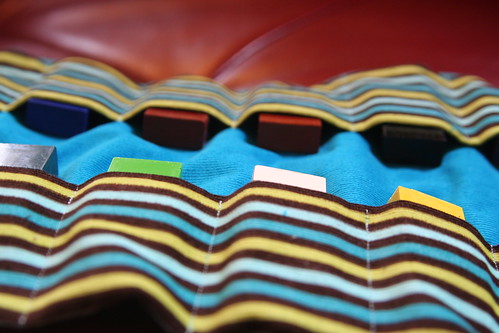
And finally, here is a crayon holder I made for his brand-new birthday block crayons. We have block crayons in this house, but technically they belong to Lucas. I thought Asher might like to have his own and a special place to keep them safe. (I don’t know if he WILL keep them safe, but with the crayon holder’s pockets he COULD.)

Crayon Holder for Asher's 5th Birthday

This item has 22 wee pockets, with six that are empty now so he could add to it later. And to be honest, I still have to sew a ribbon tie on one end of the crayon holder before I can wrap this up. So, I’d better go do that.

Today is for writing, wrapping, baking a cake, and baking a class set of muffins for tomorrow’s Kindergarten celebration. Tonight we’ll have a small family celebration with Asher’s choice of dinners—Daddy’s stir fry with Chinese noodles.

Chinese New Year Celebration

Paper Lanterns

Gung Hay Fat Choy! Last night we celebrated Chinese New Year or the Lunar New Year. It was the first time for us, and it was a bit last-minute, but we had enough red construction paper on hand to make it fun.

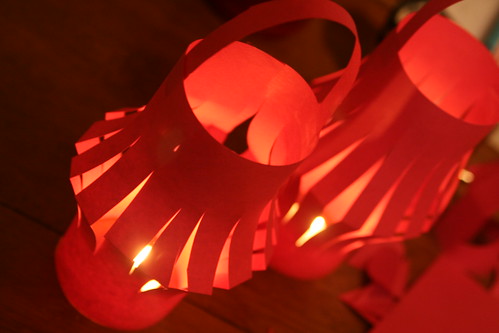
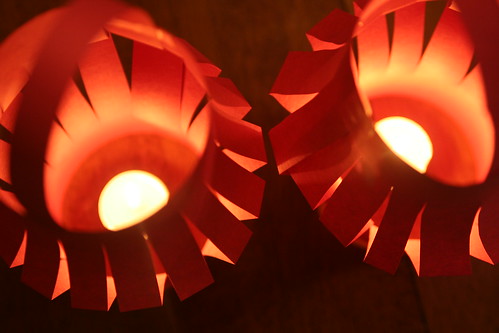
Paper Lanterns

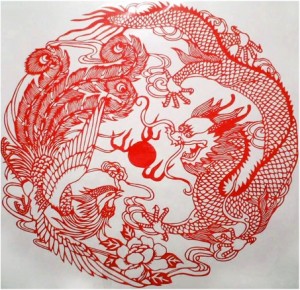
We made these sweet and simple paper lanterns and lit candles. They were very festive. I did some reading about Chinese paper cutting arts and watched a couple of YouTube videos (like this simple tutorial). I didn’t know about this beautiful art form before. Go to Google and search for “Chinese paper cutting” and then click “Images.” The examples you’ll see there are amazing. I fell in love.

These are just two examples I found and I’m sorry I can’t credit the artists who made them. This year is the Year of the Dragon, but you already know that.

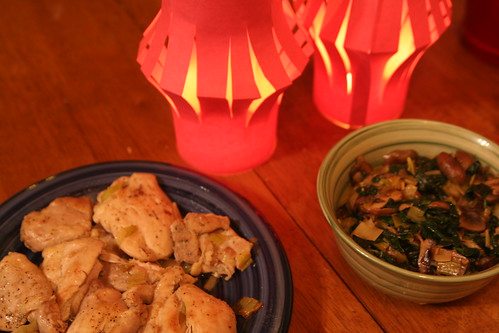
So while Daddy made us a gorgeous chicken and stir-fried vegetable dinner over brown rice, we started cutting. Our paper lanterns glowed merrily beside us.

Making

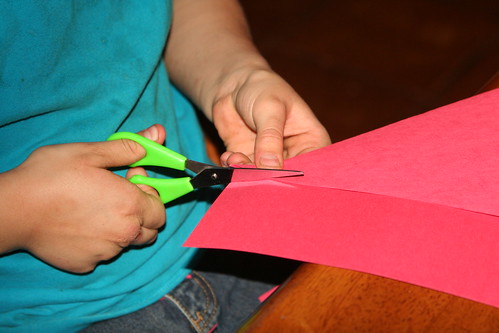
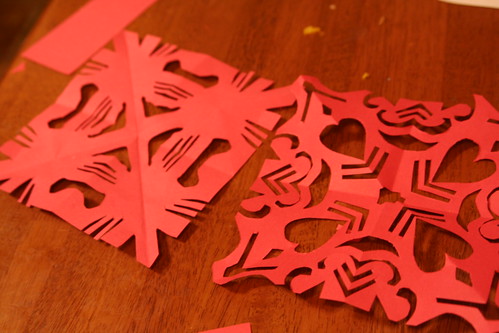
To make this yourself, simply trim your paper into a square, fold in half and fold in half again. Now fold it into a triangle, just like you would if you were making a paper snowflake. Now begin cutting. Chevrons, parallel lines, swirls, squares, triangles, hearts, diamonds, etc. are all good shapes to cut. When you are finished cutting, simply unfold your paper. Voila!

Red Paper Flags

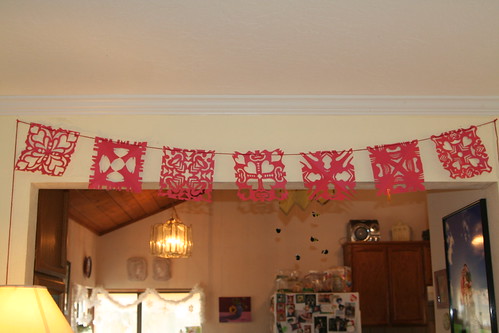
It is always such a delight when the children decide to go along with one of my harebrained crafting schemes. Lucas and I both enjoyed this “paper flower” making a lot and we decided to make enough  flags to create a banner. We made seven square flags.

Lucas's Luck Envelope

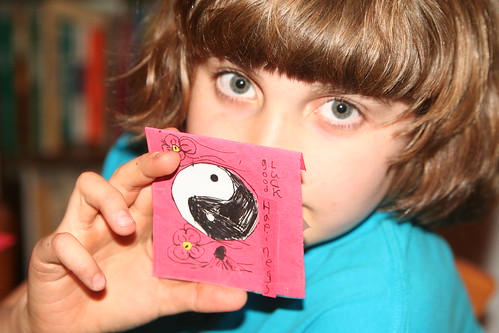
Lucas also made his own good luck envelope and filled it with an origami swan, some coins, and a blessing. He used his special fountain pen that he got from Santa. It seems he knows rather more about Chinese New Year than I realized, with some cultural mixing at play.

Dinner for Chinese New Year

Asher Showing Where He Helped

Asher helped a bit, too, but he doesn’t like to be told how to make things. Mostly he wants a chance to use the scissors. To make our banner, we just threaded a piece of red yarn through the holes along the top of each flag.

Red Paper Banner

And this is how our lucky banner looks this morning, hanging near our kitchen. I think it looks terrific and feel that it’s going to do great double duty for Valentine’s Day, too. I can’t help but cut hearts, I guess. (Now I see I’d better cut that extra long piece of yarn.)

Completed Red Paper Banner

I think I’m going to try making some “window flowers” out of translucent red kite paper. Maybe I can try making one that isn’t symmetrical, as most examples I see from this Chinese art form are not. I’ll let you know how that goes. Also, I found that you can buy pieces of Chinese paper art on Amazon.com if you want something authentic.

Back to School and January Roses

January Rose

Monday morning. The boys went back to school today after a two-week winter vacation. Suddenly the house is quiet and the little dog is wandering around. He’s gone back to Asher’s bed to snooze five times now.

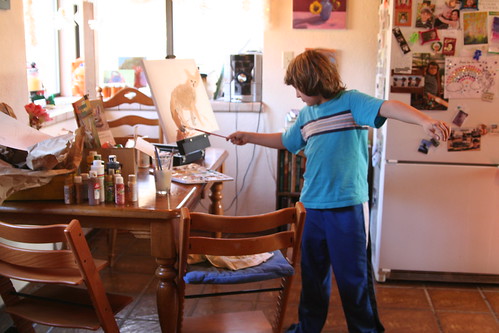
It has been a marvelous two weeks. Plenty of rest and play, plenty of knitting and painting and gardening, plenty of little brown dog.  We have also had plenty of bickering, having to share, and learning how to get along and what to do/not do when you’re not getting along. Although this part isn’t sweet and peaceful and the stuff of most blogs, it’s also important family work.

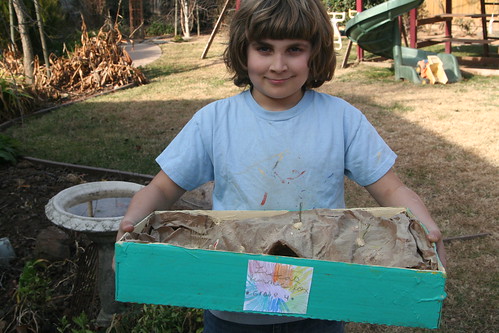
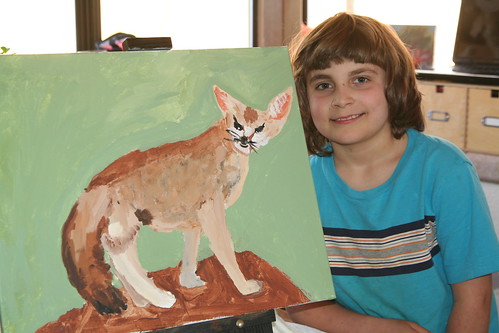
Lucas bravely walked out the door this morning with all his fourth-grade animal report and two eager helpers (Daddy and Asher) to carry it all. It is a paper report, a 16 by 20 acrylic painting and a diorama of the fennec fox in its habitat. It turns out the report is actually due tomorrow, but I think he’s so happy and relieved to have it done.

My Boy

Fennec Fox Diorama

Fennec Fox Diorama

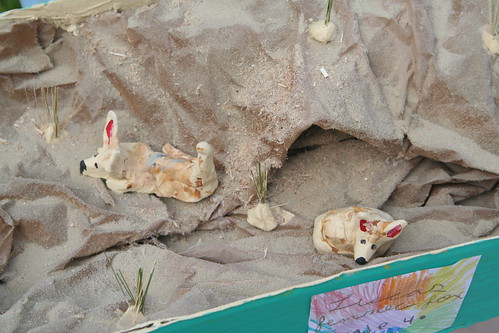
For his diorama he used brown paper (which came to us in a package as packing material) to simulate desert sand dunes of the Sahara Desert in Africa and a fennec fox burrow. He sprayed the paper with spray adhesive and then carefully sprinkled sand over the whole thing and a little bit of sawdust. The fennec foxes are made from Sculpey clay and painted with craft acrylics. More (unbaked) Sculpey clay and some grasses complete the environment. I think it looks great!

This weekend we did a lot of project work and also quite a bit of household reorganization. We weeded out some books for the used book store and Ian tackled the craft/game closet and reorganized it. It’s lovely that he did that because I sometimes have a hard time letting go of things “that we might someday need.” My office needs the same kind of attention. I worked in the garden a bit, pruning the roses and other shrubs, watering, etc. We’re having such a warm winter (I guess to balance our cool 2011 summer?) that I’ve had to water. No rains have come yet and we have roses blooming in January. I have some more planting to do and hope to pick up a few bare-root roses that typically appear in the shops this time of year.

I’m starting a new work project today. The timing couldn’t be better. The quiet of today feels blissful. I can hear myself think again.

Fourth Grade Animal Report

Fennec Fox Report

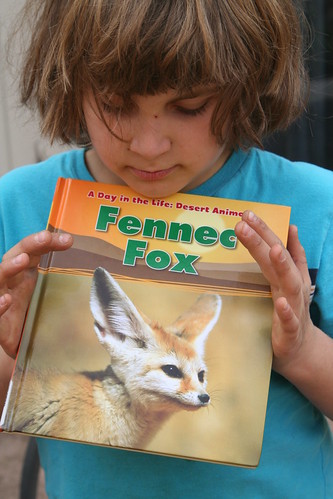
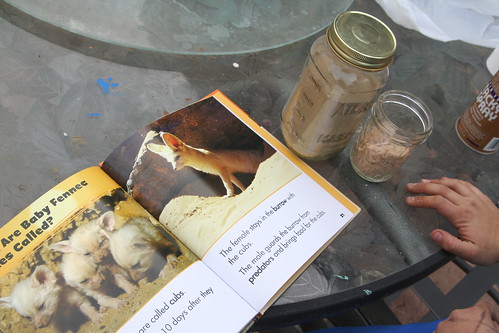
Lucas is deep into his fourth grade animal report. He is actually done with all the hardest parts. The research is done, the report is written, edited, and the final draft has been done. It’s illuminated beautifully and lacks only an illustration and a cover design. Lucas consulted three books and a website to learn about the African desert fox.

Fennec Fox Report

These last two days before his deadline are dedicated to the art of his report. He has to model his animal in 3-D and create a diorama of the animal in its environment. We are working on how to make a desert scene.

Fennec Fox Painting in Progress

Lucas also has to paint his animal so the painting can be displayed at the front of the class during his oral presentation. He considered watercolors but elected to use acrylics and canvas for his painting. I didn’t see anything in the instructions barring this option, so that’s what he is working on today.

Painterly

He paints with a sort of flair, I think. I love this kid!

He has lots more work to do still, but I’m so proud of how he has approached this extensive, multipart, multimedia project. I am proud of his skill and his artistic eye. I’m also delighted with how easily the writing portion went. I watch him unfolding and expanding and becoming more every day with astonishment and gratitude. Imagine—this amazing, soulful being came to us! And I am honored.
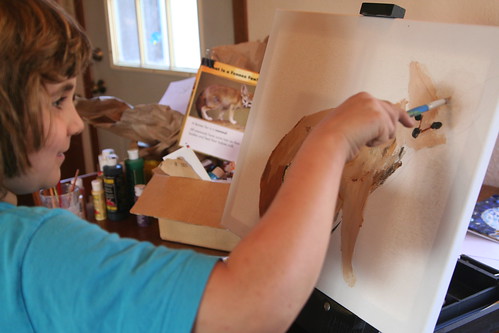
Finished Fennec Fox Painting

  • About Sara

    Thanks for visiting! I’m Sara, editor and writer, wife to Ian, and mother of two precious boys. I am living each day to the fullest and with as much grace, creativity, and patience as I can muster. This is where I write about living, loving, and engaging fully in family life and the world around me. I let my hair down here. I learn new skills here. I strive to be a better human being here. And I tell the truth.
    Our children attend Waldorf school and we are enriching our home and family life with plenty of Waldorf-inspired festivals, crafts, and stories.

    © 2003–2018 Please do not use my photographs or text without my permission.

    “Love doesn’t just sit there like a stone; it has to be made, like bread, remade all the time, made new.” —Ursula K. LeGuinn

  • Buy Our Festivals E-Books


  • Archives

  • Tags

  • Categories

  •  

  • Meta