Writing and Crafting

Paper Stars

I’ve been doing quite a bit of writing and crafting for Little Acorn Learning these last few months, which has taken me away from blogging some. (Or maybe that was the nine weeks and counting of summer vacation.) Still, it’s been a fun challenge to be creative, learn new skills, and write tutorials and know someone might read it, might even try an activity inspired by my creation. I hope that’s happening somewhere …

I’ve gathered herbs, felted, sewed, made soap, folded and cut paper designs, made banners and wreaths for decorating a home or classroom for the changing seasons. I’m channeling my best Waldorf mama self for this and I hope I am being a good role model for my kids in the process. I’ve written poetry and even a song—like with music! These things are stretching me and fulfilling me in some exciting new ways. I never dreamed I could write a song, even one so simple as I wrote for May Day. (I’ll tell ya, that software was challenging!) I’ve tackled thorny themes such as solitude, sacrifice, optimism, and letting go. In my career as a magazine writer, I was rarely asked for my own opinion on anything; rather the focus was on finding an expert to voice their opinion and then writing it up all spiffy. This work is different and difficult and feels grand.

Asher's Ladybug Bracelet/Cuff

Homemade Mint Soap

Calendula Petals

(These photos are ones that didn’t make the cut for my recent articles.)

The August Enrichment Guide can be purchased here. There’s tons of great stuff for families and homeschoolers, and I’m honored to be featured alongside some really amazing, creative contributors. If you buy one, please let me know what you think of my work.

What I haven’t managed to do much this summer is sew for my kiddos. My mother has made four or five pairs of shorts and pants for my boys during her summer break. I managed to sew only one pair of shorts for Lucas, but I did them all myself (with her advice and supervision). They have dragons. They even have pockets, which I’ve never done before. And he wears them. Win!

Sewing

I have another pair cut out and ready to sew. I am hoping to work on those a bit this coming week. Fortunately here in California, we have a very long shorts season. Maybe I’ll even manage to finish those skirts I started for myself last summer. I hope so.

Oh, and there’s the next round of crafting and writing articles for September.  🙂

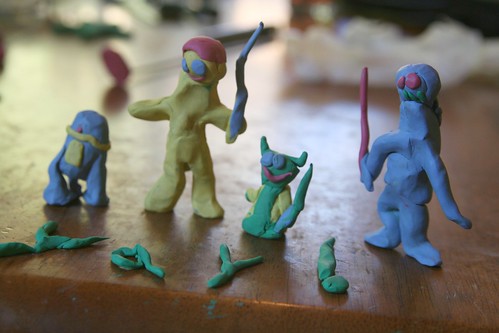
Clay Star Wars Figures

Lucas's Star Wars Figures

Lucas was playing the other day and made Star Wars figures out of modeling clay. That’s R2-D2, Luke, and Yoda (left to right), with “Yay!” underneath them. The figure on the right is Darth Vader, and his clay text said “Bad Guy!” I moved the figures together for the photo. Lucas definitely wouldn’t want anyone to think he was rooting for Vader.

Which brings me to realize I never wrote about one of the things we did to celebrate Lucas’s 9th birthday. At our request, our dear friends hosted a surprise party for him on May 6th—a Star Wars: A New Hope viewing party. Prior to that, he had not been allowed to see any Star Wars film. For a young boy with an instinctual and cultural understanding that Star Wars is the quintessential hero movie, friends his age who have already seen it, and a blooming fascination with all things sci-fi, nine years is a long time to wait! (And waiting was totally the right thing to do, too. I have no regrets. We got babysitting for Asher that night.)

Lucas Learns He Gets to Finally See Star Wars

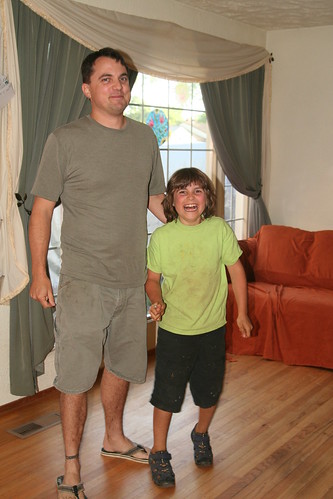
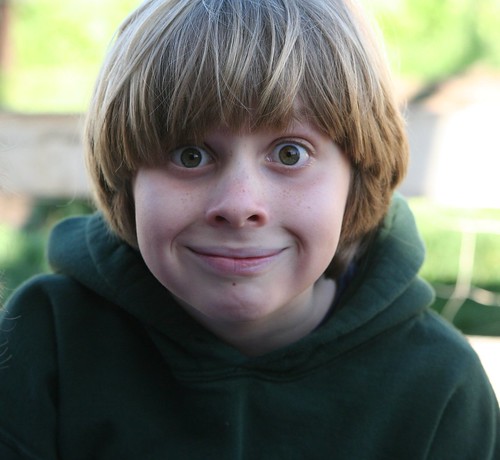
When we arrived at our friends’ house for the party and finally told Lucas what this was all about, this was his reaction. Yep, over the moon!

Lucas Learns He Gets to Finally See Star Wars

We invited grown-up friends to come and watch the film with us, and I was amazed at the turnout. Everyone wanted to be a part of Lucas’s first Star Wars experience. (Thank you, darlings.)

The event was every bit as wonderful as we had hoped. Lucas felt honored and special. He wasn’t frightened by the film. Instead, he understood it and all its powerful themes: good versus bad, loyalty, honor, friendship, and coming of age.

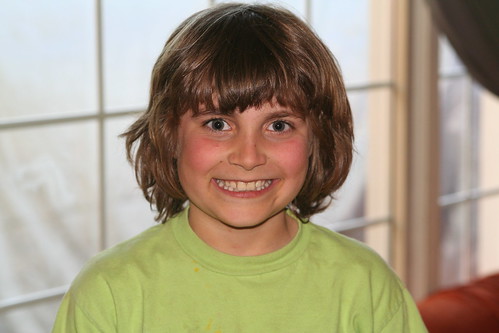
It was a Big Deal and as you can see from the photos, he was THRILLED! Many, many thanks to our generous hosts.

Ways to Celebrate the Summer Solstice: Part 2

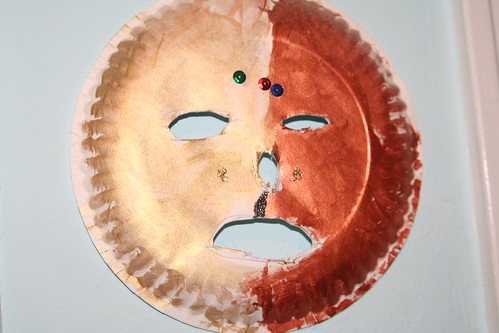
Mask

Here are a few more ideas of how to celebrate the summer solstice. Please feel free to check out the first installment here. I guess perhaps it was the very cold, very wet spring we had this year; somehow this year I’m extra motivated to bask in the sunshine. I’m so looking forward to the summer solstice. It feels right to go big this year.

Make a Sun Mask

The mask you see above is one that Lucas made in summer camp a couple of years ago. It’s very simple—just doubled paper plates painted with copper and gold metalic paints and decorated with a few sequins. It’s iconic and it speaks to me, so it’s still on display in my home office. Your sun mask could be more elaborate, if you like, but a project like this could be enjoyed by even the smallest members of your family and for little investment in materials.

Make a Sunshine Banner

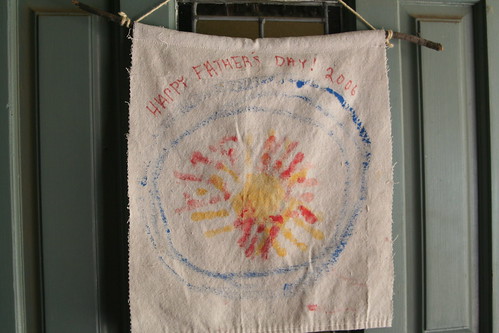
Father's Day Sun Banner

For me, Father’s Day and the summer solstice are two sides of the same coin. (That’s not the case for everyone; in China and Japan, the summer solstice is when the divine feminine forces are celebrated.) I guess I always think of Mother Earth and Father Sun (or Father Sky). Anyway, here is a project that Lucas made a number of years ago with his summer camp teachers. The kids and I are going to do this again for the solstice this year, only this time, we’ll have both Lucas’s and Asher’s handprints to make our sunshine. We’ll only need some fabric, twine or ribbon, a twig or dowel, and some washable tempera paint. And soap!

Crochet Sun Medallion Necklaces

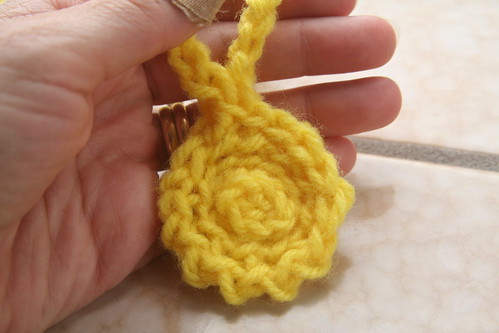
Crochet Sun Medallion

I wish I was good enough at crochet to write a proper tutorial for this, but I fear I’d get the vocabulary wrong. I’m just a beginner, you see. But I managed to work out how to create a flat circle that looks sunshiny. I think I used single and double crochet stitches and just felt my way along, endeavoring to keep the sun round. When it was approximately 2 inches in diameter, I started chaining a chain. The acrylic yarn is leftover from another project, and it’s stretchy enough to just pull over the head to make a necklace. I’ve made two of these for my boys, and promised two more to some friends. This worked up in about 30 minutes, so someone who actually knows what they’re doing with a crochet hook could probably quickly pound out these sun medallion necklaces. Wear them at your solstice party!

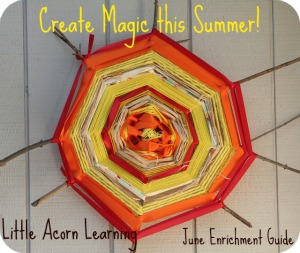
Find more of my solstice ideas (and tons more) in Little Acorn Learning’s June Enrichment Guide. Click the button to go there.

Sheep Shearing at the Waldorf School

Misty (Before)

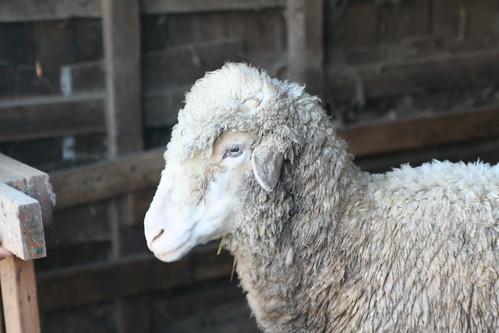
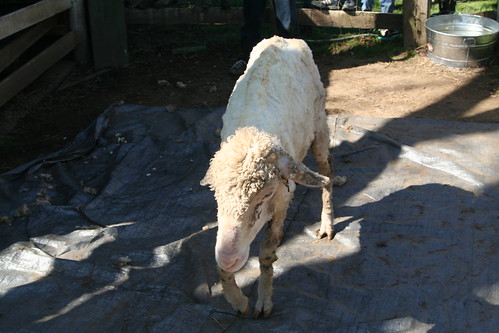
Our third-grade class at Sacramento Waldorf School recently completed a bock of study on clothing. As part of this block, they helped to shear one of the school’s sheep, Misty. Then they carded the wool and spun it into yarn. This is Misty and I must say, she is a good sport.

Mrs. C Greets the Children

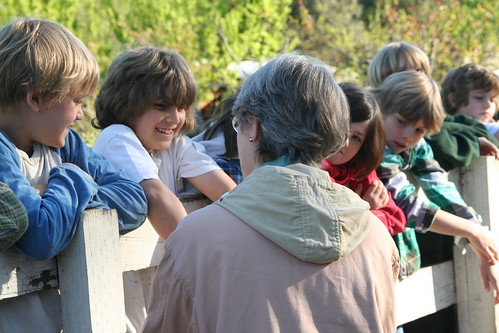
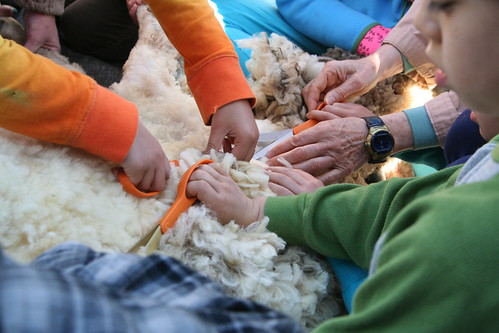
The March morning dawned beautifully on the school farm. The children lined up along the fence rails of Misty’s pen. The former handwork teacher, Ms. C, greeted the children and shook their hands. Farmer S instructed them on how to behave around Misty. In small groups the children cooperated to shear her. Some children held Misty’s legs, while Farmer S, Mrs. P, and several children began shearing, using scissors.

Mrs. P Teaches Lucas

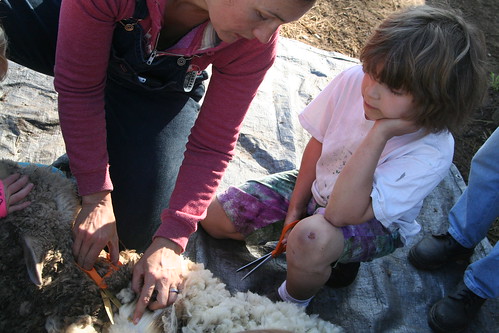
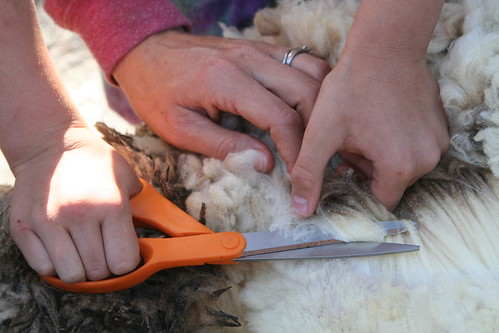
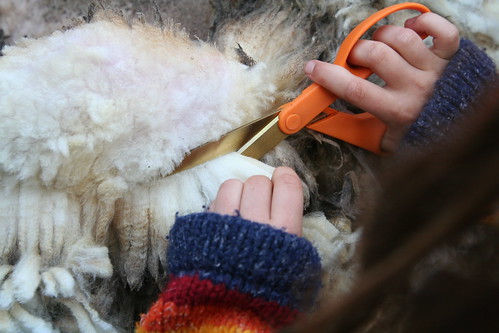
Mrs. P instructed each child how to use the scissors so that Misty wouldn’t be cut and so that the fleece was cut very close to her skin, preserving the long fibers so that they could be used for handwork.

Mrs. P Teaches Lucas

She taught Lucas what to do. One must hold the scissors horizontally and be able to see the points before cutting. One mustn’t tug on the fleece while cutting because that can endanger Misty’s skin.

Lucas Shearing

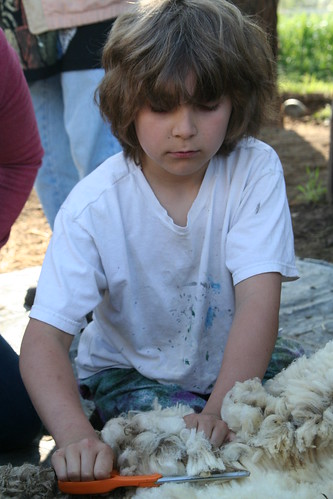
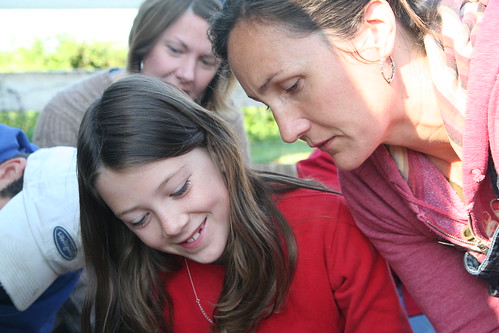
Every child in the class got a turn to shear and to help hold Misty, who patiently endured all their busy hands.

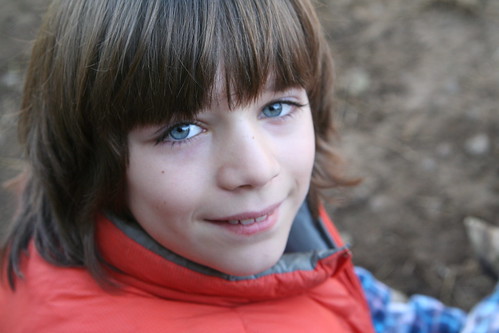
Smile

It was truly an amazing thing to watch these normally rambunctious children behaving so quietly and moving carefully.

K Holds a Leg

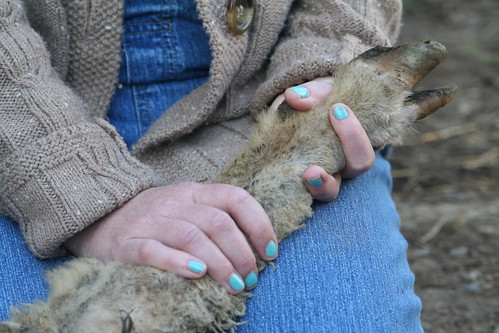
Several parents were there to assist. We all got a chance to shear a bit, and hold Misty, too. Touching the fleece made my hands so soft from the lanolin in the wool.

T

Ram Balboa the Llama

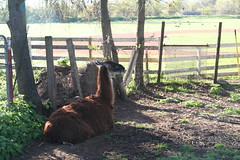
These animals were the lucky ones: a ram and Balboa the llama. No shearing for them this day. Also spared was the ewe with two spring lambs to care for.

R

R and N

T Shearing

R

Careful Hands

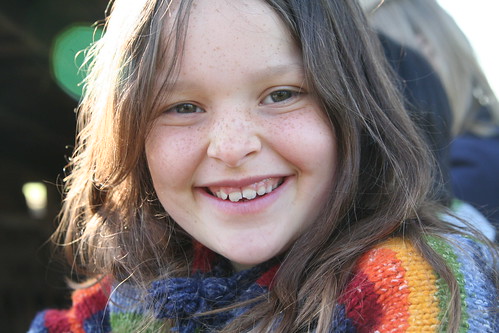
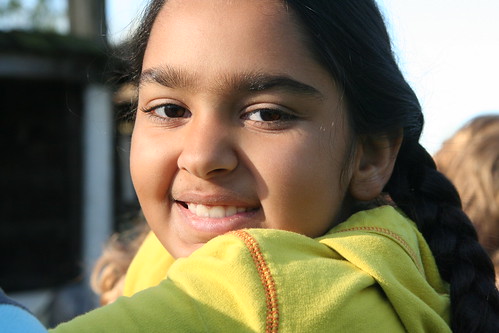
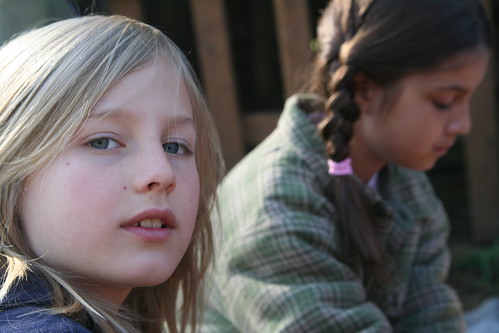
A rainbow of third-graders. Honestly, what a lot to endure! I think I’d freak out if that many hands were on me. Farmer S cut Misty’s hooves and did all the delicate, tricky shearing around her hindquarters.

R Soothing Misty

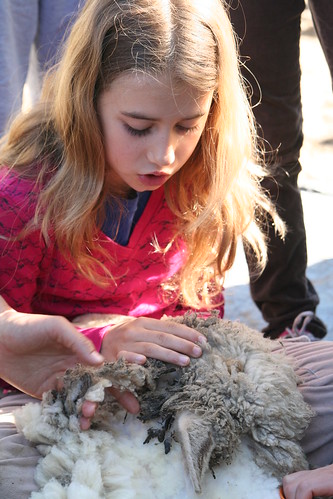
Some of the kids sat cross-legged, holding Misty’s head in their laps. Here’s R covering Misty’s eye with her hand and whispering to her that everything is OK.

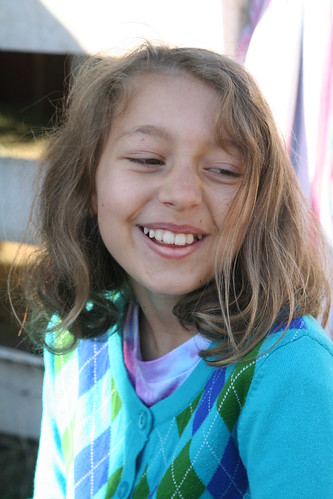
A in Argyle

The kids really had a great time, I think.

Goofy M

Misty Survived!

Not so sure Misty did, but she survived!

9th Birthday Party

Balloon Fight Madness

Lucas’s first-ever sleepover birthday party started with an epic balloon fight.

Balloon Fight Madness

Six 9-year-olds and a determined-to-keep-up 4-year-old is a what you might call a cacophany of boys. The dozen balloons lasted almost 8 minutes.

Birthday Boy

The theme— “No theme, Mom! Just a sleepover.” The cake— “No cake, Mom! I want a homemade apple pie.”

Dinner Shenanigans

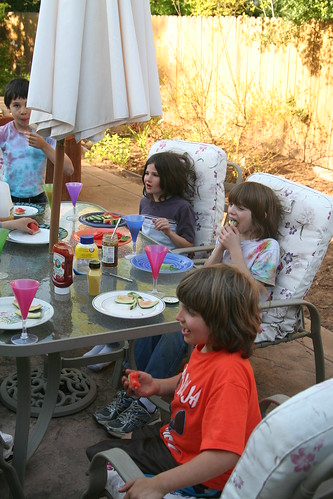
There were antics of all sorts. There was talk of how girls trying to kiss you is the grossest thing ever. There was plenty of belching words. There were stick fights and spy-on-the-parents games. After they inhaled the watermelon, there was a rind fight.

Watching Mythbusters

There were two episodes of “Mythbusters,” at the special request of the birthday boy, with extra explosions.

Opening Gifts

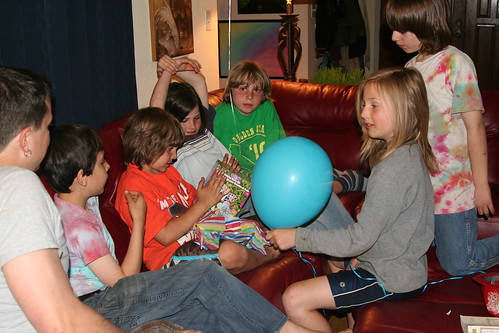
Lucas received marvelous gifts, like a mosaic stepping stone kit, a solar cooker, a Hex Bug, paintbrushes, LEGO, and more.

Lucas Birthday Boy

He greatly enjoyed being the star of the show for a full evening, night, and morning. The boys stayed awake talking and laughing until about midnight, before they finally all fell asleep.

Opening Birthday Presents

After the guests left on May 1, we spent some time with just the four of us. We gave Lucas our gifts, such as a solar kit, books, a basketball, wool roving and needle-felting tools, extreme dot-to-dot and puzzle books, North American animal fact cards—just the sort of things a 9-year-old needs.

6-in-1 Solar Kit

39 Clues, Book 1 The Name of this Book is Secret

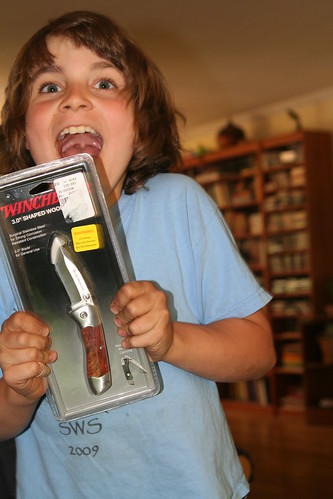
But best of all—most desired of all possible birthday gifts—was this:

Pocket Knife!

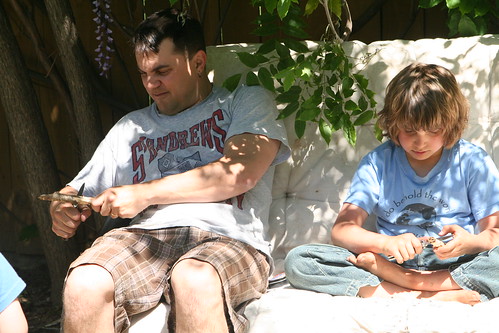
Whittling Together

And thus he spent much of the day whittling. We were all a bit worn out from the festivities of the night before and so we elected not to attend the May Day festival at Lucas’s Waldorf school. (The third grade had no part to play in the festival this year, and so we left the choice up to Lucas. He wanted to whittle.)

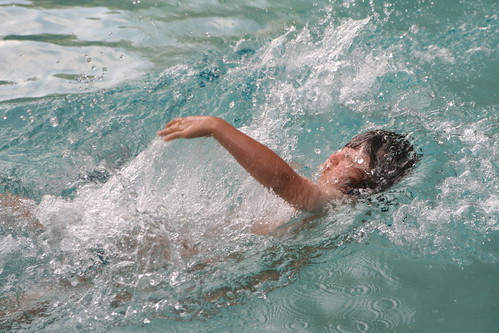
Later that evening, we went to Grandma’s and Papa’s house for dinner. We enjoyed tacos and salad and birthday brownies for dessert. The boys wanted to go swimming—on May Day! And although it was not exactly warm, well—it was his birthday. May Day is traditionally the “first day of summer.”

Swimming on May 1

The next day, which was a day off from school, Lucas got to visit with his other grandmother and his auntie. He came home with a set of woodcarving tools and more LEGO. Bliss!

It’s two weeks later now, and I can tell Lucas is supremely happy to be 9, and is really enjoying all his gifts. He has finally (and briefly) caught up to the age of his classmates, some of whom are soon to turn 10.

Tutorial: Earth Day Art Project

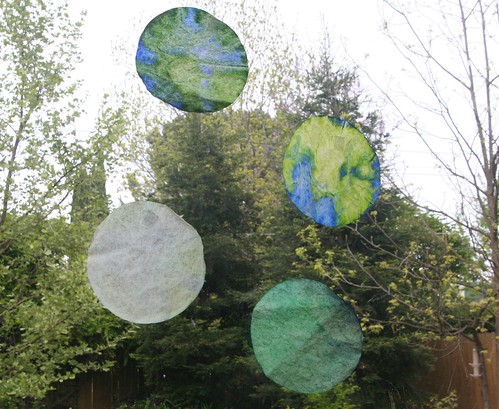
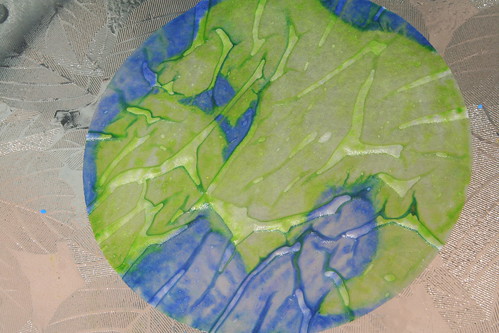
Finished Earth Art

We did a lickety-split Earth Day art project today. This is a quick, fun project for all ages. It couldn’t be easier and chances are pretty good you have these items on hand.

Materials

paper coffee filters
washable markers
spray bottle with water

Tutorial

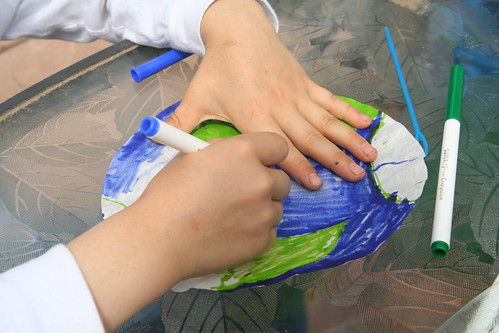
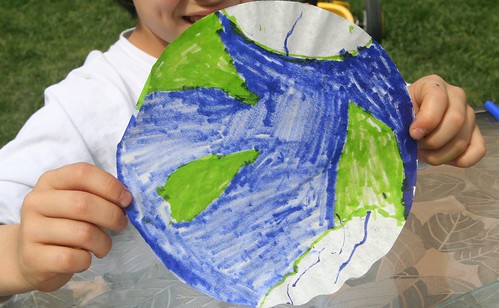
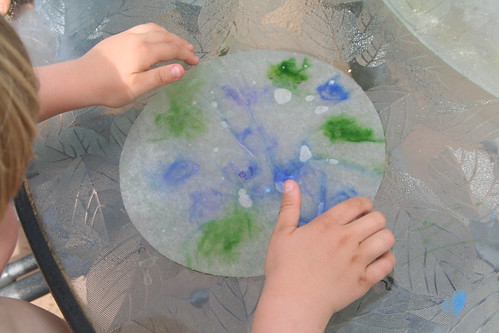
Using washable marker pens in blues and greens, color your coffee filter with continents and oceans. Although it can be fun to think about the shapes of the Earth’s real continents and try to draw them accurately, this isn’t at all important. You just want to create a “blue-green marble,” like our planet as seen from outer space.

Earth Day Art Project

Marker ink seeps quickly into the coffee filter, which is meant to absorb moisture. You don’t even have to worry about the white space in between marker pen strokes.

Earth Day Art Project

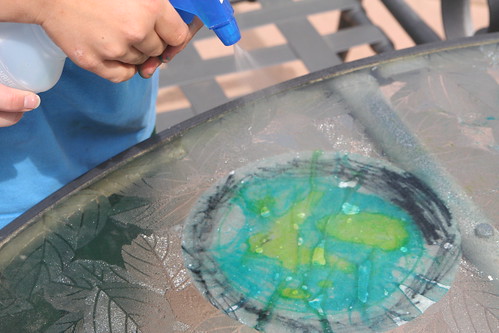
When you are satisfied with your continents and oceans, lay your coffee filter down flat on your table surface and spray it lightly with water from the spray bottle.

Earth Day Art Project

The ink will begin to run together and spread, like a watercolor painting.

Earth Art

I recommend that you don’t spray too much water on the earth; if you do, the colors may get very mixed and muddy. Stop while you’re ahead, as soon as the earth is saturated. This is difficult for children, because spraying is so much fun! My kids kept picking up their earth. I think this contributed to their colors mixing so much.

Earth Art

Leave your wet earth on the table top to dry. We did ours outside and they were dry within 20 minutes or so. As they dry, they may try to blow away.

As soon as your earths are dry, they can be taped up in a window. If they are too wrinkly for your taste, gently iron them on medium heat (and without any water spray or steam). Of course, you may wish to make a whole solar system, or perhaps yet-to-be discovered planets of your children’s own invention. Have fun!

10 Earth Day Activities for Families

Pink Dogwood

Earth Day is Friday, April 22—tomorrow! Even if this holiday isn’t something you grew up celebrating, you can bet that your kids are aware of it and eager to participate. Over the last few years, we’ve been doing a bit more to honor the ideals of this day and our kids just eat it up. Here are a few ideas from our family to yours.

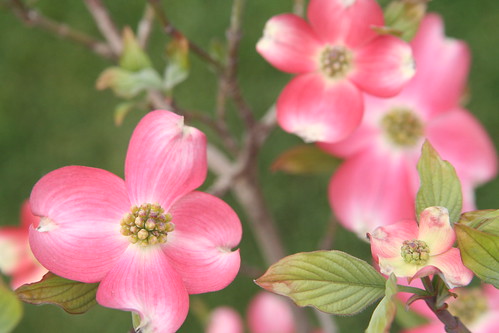
1. Plant a tree: This is every bit as appropriate on Earth Day as Arbor Day. This year we’re planting a tree for two reasons: My great-aunt Nana passed away last fall, and we will plant a tree in her honor and in honor of Earth Day. We have chosen a beautiful pink dogwood for our back yard.

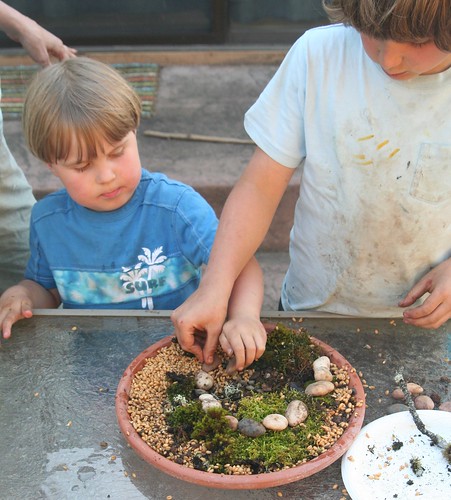
2. Make a terrarium or a dish garden: I wrote a tutorial about how to make a moss terrarium for Little Acorn Learning’s April Afterschool Enrichment Guide, which is full of amazing activities, recipes, poems, and much more. You can find it here: http://www.littleacornlearning.com/.  Here is an in-progress shot of the dish garden we made yesterday. We used moss we collected on a recent trip to the foothills and wheat grass seeds. Lucas included a spiral of small stones we found in our yard. We are adding beeswax bunnies and Easter eggs to it.

Dish Garden in Progress: Lucas Making a Stone Spiral

3. Go on a hike, take along a trash bag, and pick up any garbage you may spot along the way. (Kitchen or latex gloves come in handy for this activity.) Recycle those things that you can. Note: don’t let children pick up certain kinds of trash, especially anything that looks like it might be medical waste. Many communities have park or creek cleanup days that need volunteers.

4. Do a science experiment. For young children, seed projects are great because they are fast. Here’s what we did last year. Some of our pumpkin seedlings even survived the transfer out into our summer garden and we harvested pumpkins in the fall from our Earth Day experiment! I don’t know about you, but I love cycles like that.

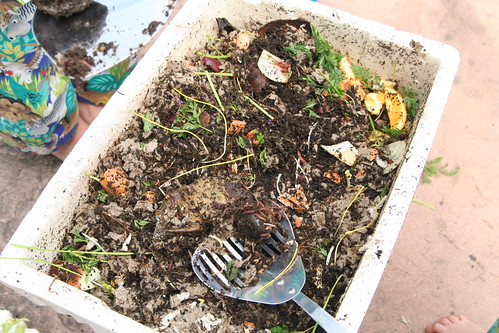
5. Start a worm farm: All you need is a boxy container (a styrofoam cooler does the trick nicely—I know styrofoam is lame, but it works well for this project), and a container full of red worms from the bait store, or else dig up the worms yourself. Put some normal garden soil into your container, shred some newspaper into small strips, wet it all down, and add your worms. Poke a few holes into the container for air circulation. Then put in your vegetable kitchen scraps daily. Stir once in a while and keep it moist but not wet. Before long you’ll have loads of worms (and worm babies!) and great soil for your garden. (It helps to have a plastic or metal container underneath the whole worm bin, to catch any drippings. These drippings make excellent fertilizer.)

Worm Farm: Compost on Bottom Layer

6. Learn about the weather or the water cycle. Check your local parks and recreation department for children’s nature classes or day camps. Try this page of links at The Water Project for science experiments for kids.

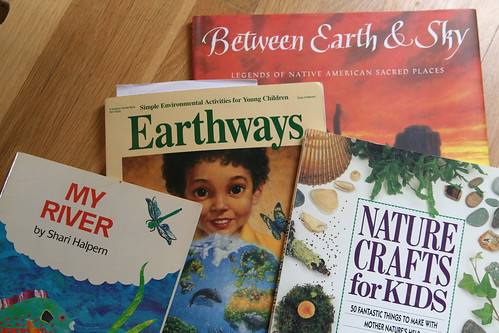
7. Read books about caring for the environment with your kids. Last April, I wrote about quite a few children’s books we recommend for Earth Day. Adults can check out the works of Richard Louv, Rachel Carson, David Sobel, Robert Micahel Pyle, and Bernd Heinrich.

More Favorite Books for Earth Day

8. Start a vegetable garden! Good Friday (also Earth Day this year) is a traditional day for planting seeds and seed potatoes. Lucas is outside preparing his garden plot. We have worked into it our soil full of worm castings  from last’s year’s worm farm. That should give our garden a good start!

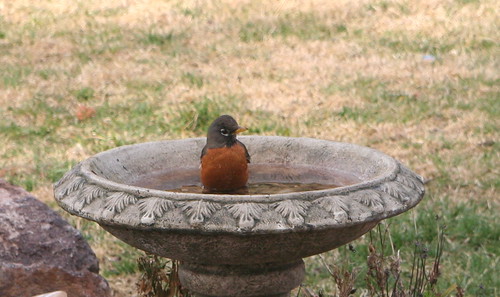
9. Make space in your yard for wild creatures: add a birdbath, places wild creatures can use for cover, and plants that attract bees, butterflies, and birds. This spring I’ve seen birds actually bathing in and drinking from my birdbath. It was very cool!

Robin Bathing March 1

10. Take your recyclables in and redeem them for cash; donate your family’s proceeds to a charity such as NRDC or National Wildlife Federation, or any number of other worthy charities. Better yet, if you can support wildlife and habitat restoration efforts in your own community, do that.

That’s 10. I bet you can think of dozens more. If you have a nifty idea to share, please do so! Happy Earth Day!

Eggs and Bunnies

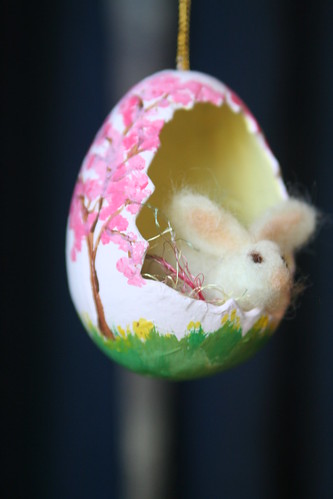
Cherry Blossoms

A darling old friend of mine asked me to make some Easter eggs and bunnies for her to give as gifts for Easter. The 2.5-inch egg bases are a paper mache with a cutout and are from the craft store. The needle-felted bunnies I made from scratch fit nicely inside, with a bit of colorful eyelash yarn that looks rather like Easter basket grass. Making these has been an exciting project and super fun, but also a little bit nerve-wracking. I mean, what makes me think I can paint well enough for someone else? (Hear that? Those are the Weasles of Doubt and Fear talking.) The above design is cherry trees in blossom.

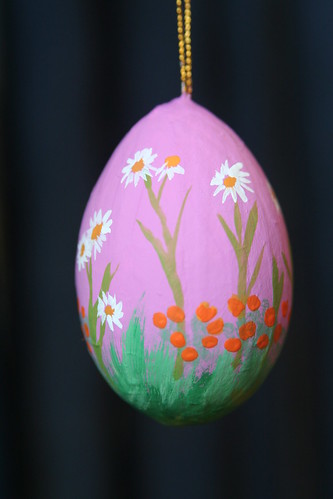
Wildflowers: Daisies and California Poppies

Here is a kind of wildflower design, with daisies and California poppies.

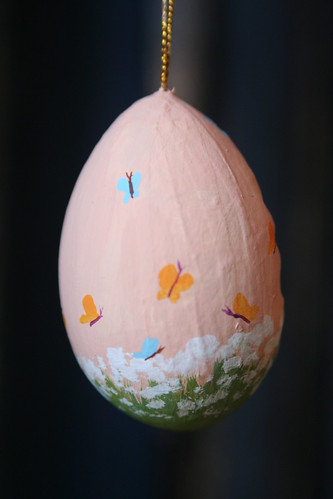
Meadow with Butterflies

A low-key meadow with butterflies. This one isn’t quite as girly, in my opinion.

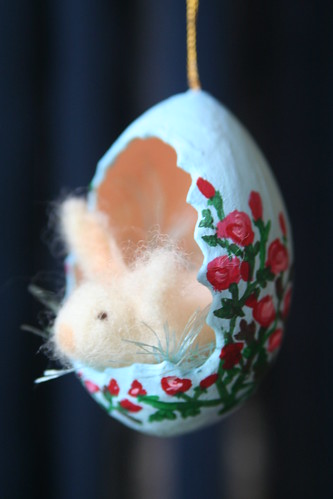
Roses

Here is one with red roses that wrap all the way around the egg.

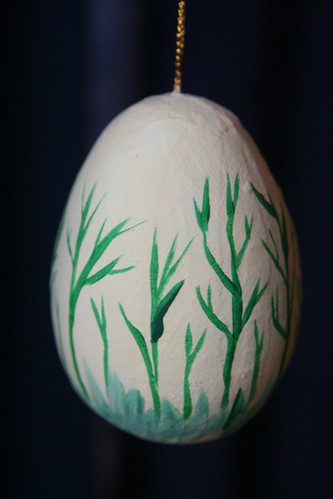
Bamboo

A kind of stylized bamboo design, meant for a male recipient. Simple and elegant, I hope.

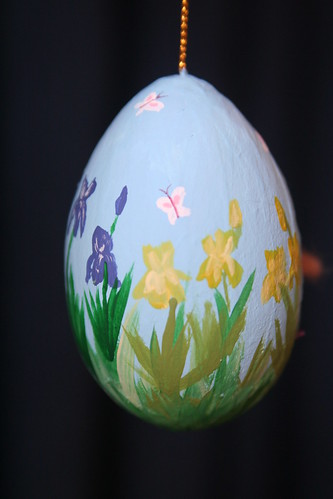
Irises

More butterflies and bearded irises, which are now in bloom.

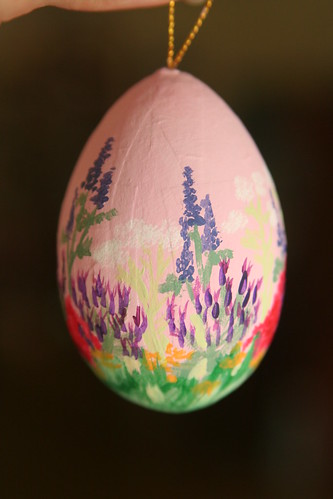
English Garden

English country garden in spring, with azalea, Spanish lavender, and white Queen Anne’s lace.

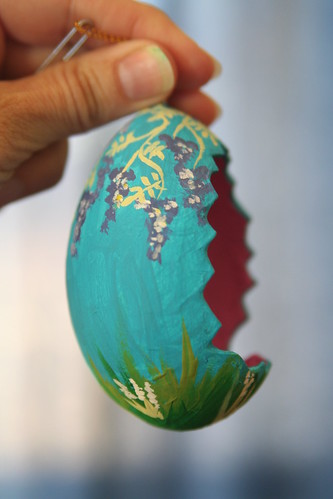
Wisteria

Wisteria vines in bloom.

I also have two others that feature bright tulips and delphinium flowers. There are ten egg and bunny pairs in all. I am shipping them out to my friend today. I hope she likes them!

St. Patrick’s Day Festivities

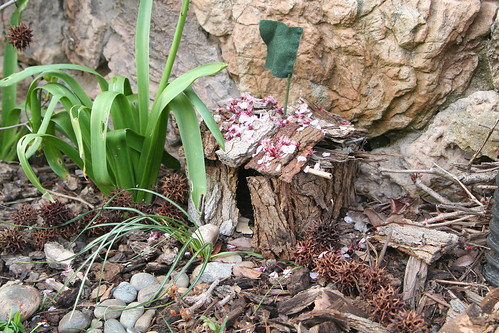
Leprechaun House! (with Flag)

May your pockets be heavy and your heart light.
May good luck pursue you each morning and night.

Yesterday afternoon, on the eve of St. Patrick’s Day, we did some fun things to prepare for the coming of the Leprechauns. Asher and I made brownies together. We happen to know for a fact that Leprechauns LOVE to eat brownies, particularly if you cut them into shamrock shapes!

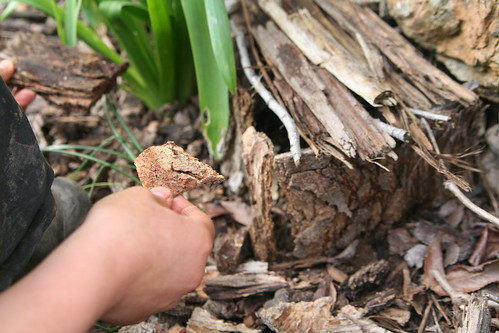
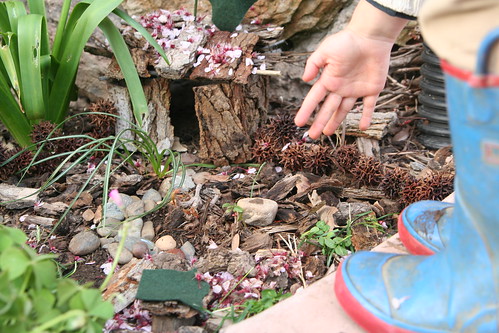
Then we set about finding natural materials in our yard from which to make a Leprechaun house. Is it hard to see there, up against the “rock” wall of our house? It has a flag on top of the roof.

Lucas Roofing the Leprechaun House

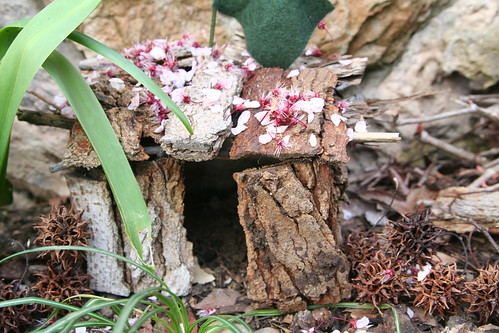
We found some lovely squarish sections of bark that worked beautifully for walls. Then with short sticks and long pieces of bark found in our garden beds, we roofed the house. Lucas came home with Daddy just in time to help with the construction.

Lucas Creating a Place for the Outdoor Table

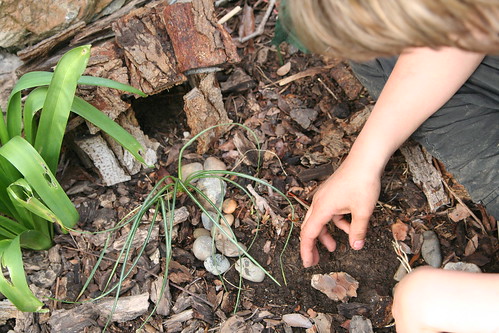
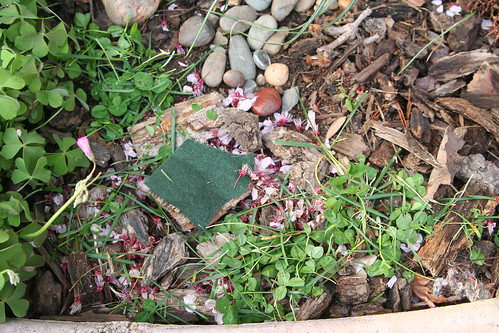
He carefully cleared an area for an outdoor picnic table, and gently placed small stones that Asher gathered to make a cobblestone pathway leading from the door of the Leprechaun house to the picnic area.

Asher Getting Spiky Balls "Let's put this jewel in the path!"

Asher especially enjoyed gathering items to use for our project. He gathered stones, spiky balls from our liquidambar tree, flower petals, and clover. He even found a small fairy jewel that we set into the cobblestone path. The spiky balls became a kind of garden fence.

Asher Gives the Leprechauns Clover

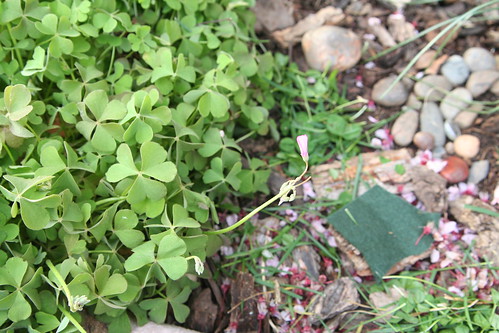
Asher picked lots of “salad” clover for the Leprechauns to eat. We all thought the flower petals gave everything an attractive, magical ambience.

Leprechaun House with Spiky Ball Fence

Isn’t that a handsome house? We thought it looked very cozy and perfect for little fairy folk.

Leprechauns' Picnic Table with Bark Benches, Petals, and Covers

This is the picnic area, complete with bark table and tablecloth, plenty of salad, and bark benches for sitting on.

"Shamrock" and the Leprechauns' Picnic Table with Tablecloth

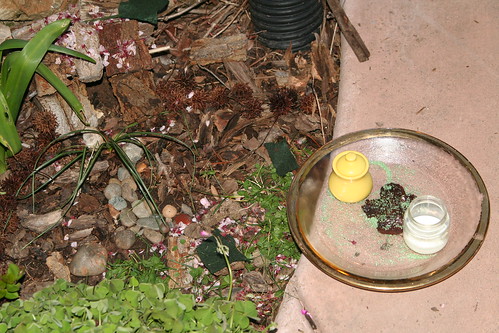
Our Leprechaun house is right beside our “shamrock” plant and right where we always leave out treats for the Leprechauns. So we knew they would check that exact spot. We hoped that they’d enjoy the house and have a party there!

Greenish Dinner

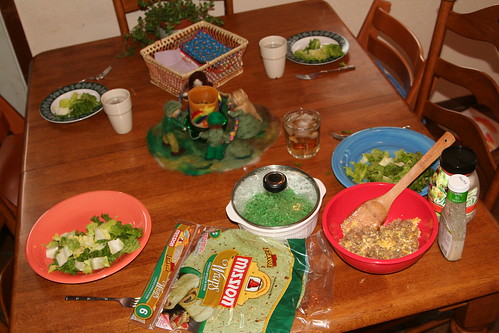
Then we feasted on a greenish dinner of sausage and egg wraps (green, spinach tortillas) with green (brown) rice and salad. The boys enjoyed the wraps a lot! Fortunately, the Leprechauns never eat all the brownies, so there were enough for us to enjoy for dessert.

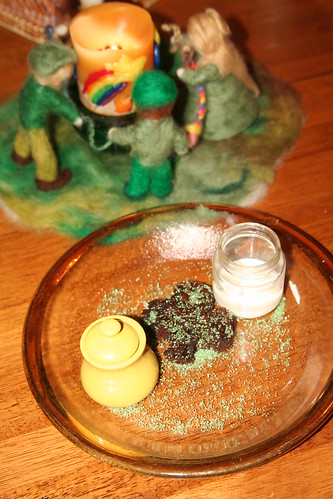
Treats for Leprechauns (Milk, Honey, and a Brownie)

We always give the Leprechauns milk, honey, and a brownie on the night before St. Patrick’s Day. Leprechauns can be so tricky, and we find that if we leave them yummy treats, they don’t pull pranks on us. Usually, they leave gifts in return.

Milk, Honey, and a Brownie: Offerings for Leprechauns

We were pretty confident that they would be nice this year. Doesn’t that venue look inviting?

The Leprechauns Brought Leprechaun Dolls and Gold for Asher and Lucas

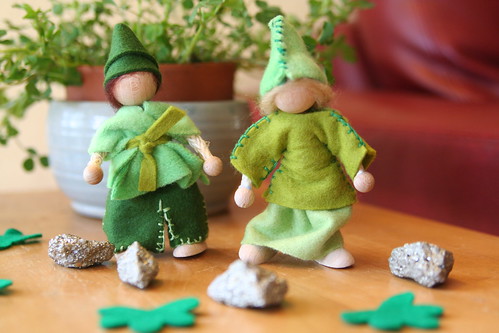
This morning, Lucas and Asher found GOLD NUGGETS on the cobblestone path. The milk and honey and brownie were all nibbled. Only crumbs and drops remained on the plate outside. But inside! The boys found Leprechaun dolls on their breakfast plates, with new notebooks for writing in! So I guess the Leprechauns liked our treats and the house we made for them. It seems, however, they couldn’t resist being a little bit tricksy after all. We found all of our shoes in a huge pile by the front door!

I figure we got off lucky, though. Leprechauns can cause all manner of mischief. In fact, Lucas was excited to get to school to see what naughty pranks the Leprechauns did there during the night! (I confess, I think they looked around in our messy house and figured, what’s the point? It already looks like a tornado hit this place!)

Tonight we’ll be having an Irish stew for dinner with some Irish deedly-deedly-dee music. We have some fun Leprechaun stories to enjoy after dinner, too. How will you celebrate? How will you invite magic and good luck into your home?

Clover in Morning Sun

May good luck be with you wherever you go,
and your blessings outnumber the shamrocks that grow.

Tutorial: Make a Leprechaun Ring

I decided I wanted to make a new decoration for St. Patrick’s Day this year, and since Lucas was home sick for a couple of days, I took some time to work on it. Although it’s probably too late for anyone to make this for this year, I’m going to walk you through the steps to make a jolly ring of dancing leprechauns. Because this project has multiple pieces to it, this will be long.

I would say that anyone with a medium amount of needle-felting experience can make one of these, as I consider myself to be an intermediate-level needle-felter. So, without further ado, let’s get started.

Materials

* wool roving in plain white and multiple greens and browns; you may also want scarlet (leprechauns in some Irish stories wear scarlet caps or scarlet vests)
* foam base and felting needle (any guage)
* chenille stems for crafts (aka pipe cleaners)
* multiple-needle felting tool (optional)
* carding brushes (optional)

Step 1: Fashion a round mat of white wool. Use your multineedle felting tool if you have one, for it will make the creation of the wool mat faster. You want your mat to be a good 1/2 inch thick, when it’s firmly felted.
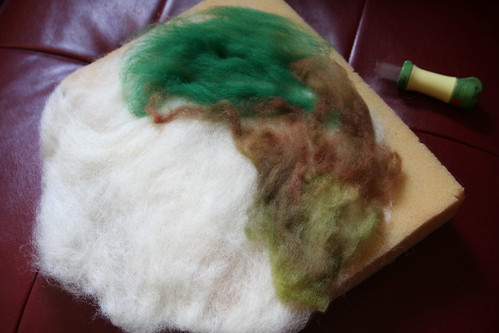
Leprechaun Ring Base in Progress

Step 2: Now add thin layers of colored wool in any arrangement you like to the top of your white mat. I used a mix of greens and browns to create a realistic patch of earth.
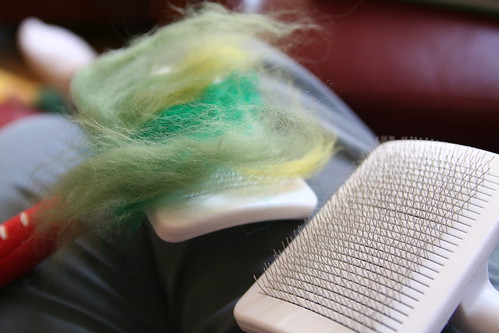
Carding Green Wool

You’ll get more realism if you card some greens and browns together to create a blend of colored wool for your mat. Occasionally lift your round mat off the foam felting pad and needle it from the back for a while. Flip it again, working the wool from both sides to felt the fibers together.
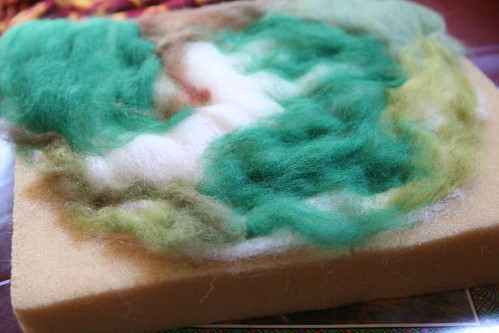
Leprechaun Ring Base in Progress

Keep felting until the whole mat is fairly firm and holds together when you lift it up. Here’s how my mat looked when I felt it was done.
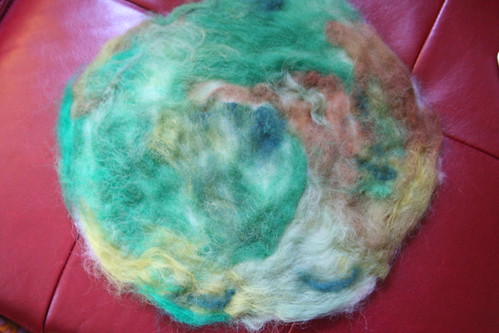
Leprechaun Dancing Ring Base

Step 3: Begin your first leprechaun. Bend one whole chenille stem (I like to use white) in half gently. Now hold it about an inch down from the top bend and twist the top using your other hand. You’ve just created a loop at the top. Open it out into an oval shape of wire. Cut another chenile stem in half. This will be your figure’s arms. Just where the neck is, twist your small chenille stem so that it anchors onto the neck like you see in the photo below. Now you have a wire skeleton. Bend over the ends where the feet and hands are a tiny bit so that there’s no pointy wire sticking out. Roll a small ball of wool and place it inside the wire oval. Begin felting it into a nice head shape.
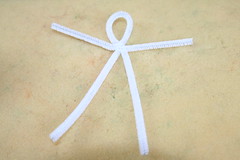
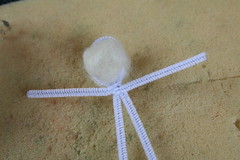
Skeleton Leprechaun in Progress

Step 4: Now begin wrapping your skeleton with small bands of wool roving, needling it down into place so that it stays together by attaching the fibers. Wrap more and more wool and continue needling until your Leprechaun has a “body” of white wool. The hands are the trickiest part, in my opinion. You have to wrap them enough so that the chenille stem is invisible, but not so much that you have big, puffy hands.
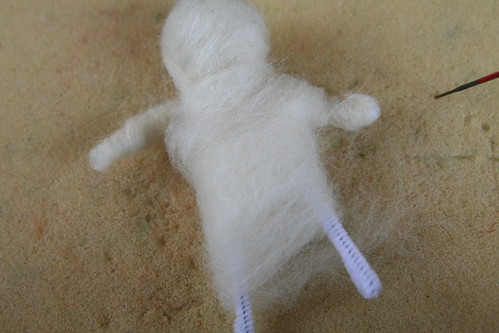
Leprechaun in Progress

Here’s my lady Leprechaun in progress. She is just about ready for clothing. The more you needle your figure, the denser the wool will become. By focusing on certain parts, you can sculpt the wool to be dense and narrow where you want it to be, such as at the figure’s neck and arms.
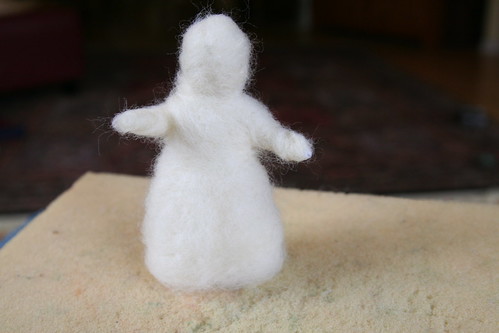
Leprechaun Woman in Progress

Below is a male Leprechaun in progress. For male figures (or female figures wearing trousers), you have a choice: You can fashion the legs together (just like you would for a skirt for a female form) and then create the impression of separate legs by needling a line down the front of the figure, or you can wrap each leg separately. The advantage to creating separate legs is that your Leprechaun will look more like he’s dancing. The disadvantage is that it’s much harder to get the Leprechaun to stand upright and not fall over. (More about that later.) If you intend for children to handle or play with your Leprechauns, you should create a sturdy base by keeping the legs together.
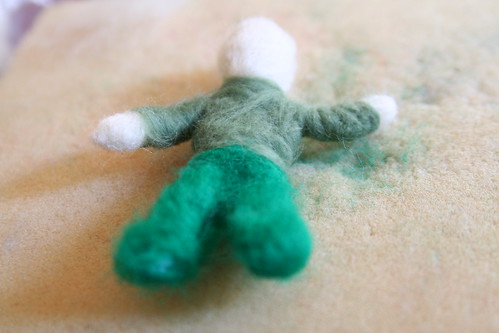
First Leprechaun in Progress

Step 5: Dress your Leprechaun with bits of colored wool, needled down into the white body. I decided my Leprechauns would all wear greens, but in my reading about Leprechauns, I’ve found a number of stories that refer to little men in scarlet caps or red vests, too. Obviously, if you are making gnomes or fairies rather than Leprechauns, your “clothing” can be in any colors you wish to reflect their characters.
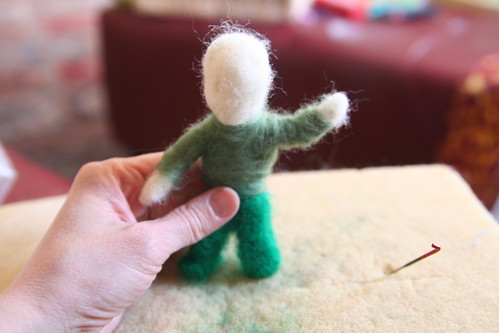
First Leprechaun in Progress

Step 6: Now give your figure some hair and/or a beard. My Leprechaun men didn’t look complete to me until I gave them caps for their heads also. It’s easy to create elaborate hairstyles for your lady Leprechauns, if you want. If you prefer your soft sculpture dolls to be in the Waldorf style, then leave their faces blank. Your child’s and your imaginations will fill in their features. If you’d rather give your Leprechauns faces, feel free to do so. Your needle can even sculpt delicate or bulbous noses, eyes, mouths, and eyebrows, if you like. Hmmm … I wonder what color eyes Leprechauns have.
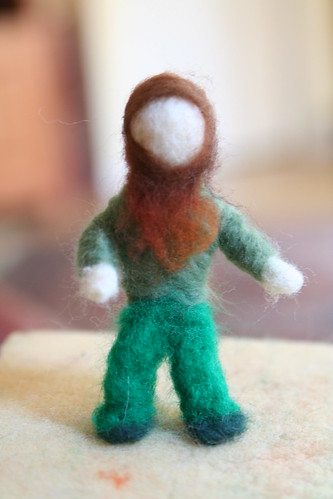
First Leprechaun in Progress

Step 7: Repeat steps 3 through 6 until you have as many Leprechauns as you want! I managed to make four, two men and two women. I think I’d like to craft two Leprechaun children to add to my group, but I ran out of time this year.
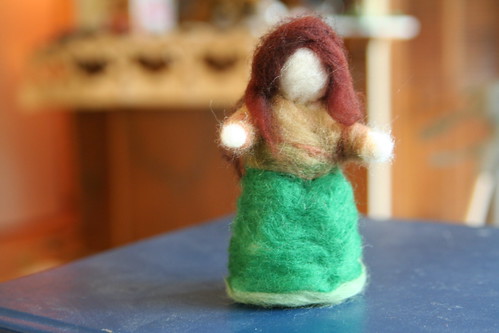
Finished Leprechaun Woman

Step 8: Now arrange your Leprechauns in a ring on your needle-felted mat, and begin needling their feet into the mat. You may have to do this a long time to get them to stand, especially if you made the male Leprechauns with separated legs. Mine wanted to fall over a lot (that’s the disadvantage I mentioned earlier). I opted to place “ribbons” or cords in their hands, to help complete the ring. My son Lucas enjoyed braiding bits of roving to create the cords for the figures to hold. If there were more than four figures, I don’t think the ribbons would be necessary. Once you get them balanced, you may want to leave them be! Will your Leprechauns face outward or face into the ring?
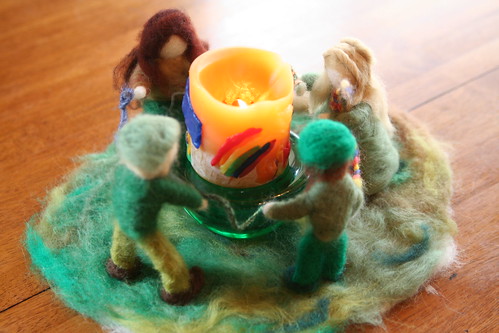
Leprechaun Ring

Here’s my finished Leprechaun ring. I also took a shot of them dancing around a pot of gold.
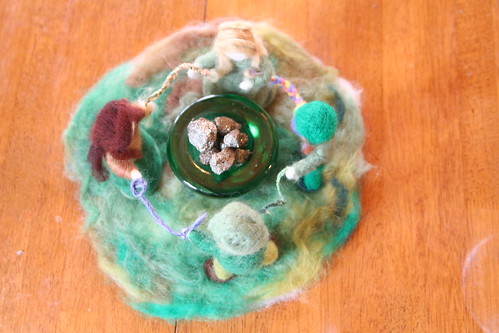
Leprechaun Ring with Pot of Gold

Now put on some Irish music and dance like your Leprechauns! Please let me know if this tutorial is helpful to you.

  • About Sara

    Thanks for visiting! I’m Sara, editor and writer, wife to Ian, and mother of two precious boys. I am living each day to the fullest and with as much grace, creativity, and patience as I can muster. This is where I write about living, loving, and engaging fully in family life and the world around me. I let my hair down here. I learn new skills here. I strive to be a better human being here. And I tell the truth.
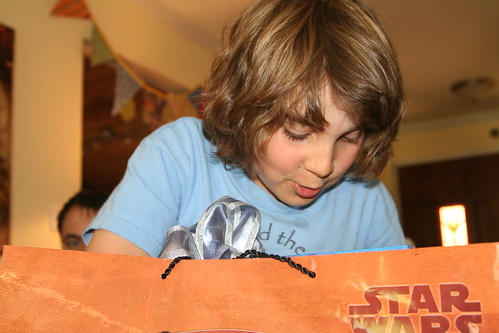
    Our children attend Waldorf school and we are enriching our home and family life with plenty of Waldorf-inspired festivals, crafts, and stories.

    © 2003–2018 Please do not use my photographs or text without my permission.

    “Love doesn’t just sit there like a stone; it has to be made, like bread, remade all the time, made new.” —Ursula K. LeGuinn

  • Buy Our Festivals E-Books


  • Archives

  • Tags

  • Categories

  •  

  • Meta