Our Easter

Get Ready!

Easter was a little different this year in that we celebrated on two different days: One Sunday at Grandma and Grandpa’s house with family and one Sunday at our home.

Egg Hunt at Grandma's House

We had a family meal and hunted for eggs on this glorious spring day.

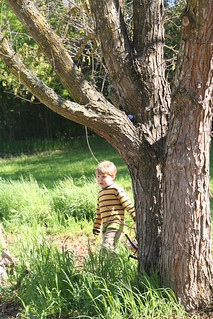
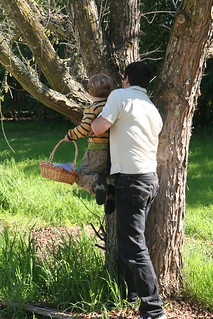
Asher Hunting Eggs Daddy Helps

It’s kind of tough to find eggs in Grandma’s big backyard. Sometimes little guys need some help. Thanks, Daddy!

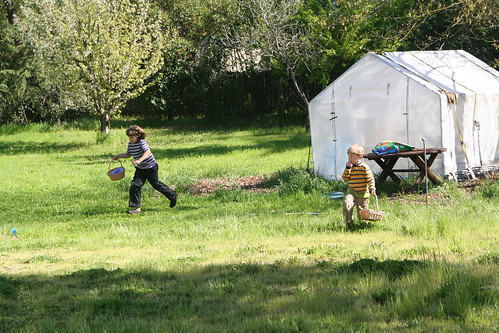
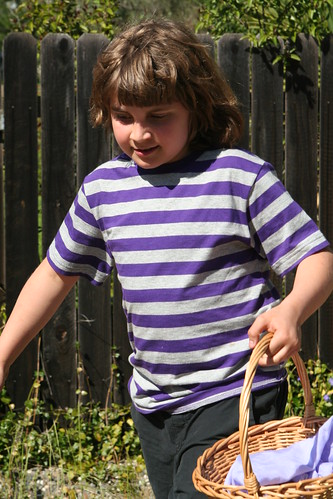
Lucas Hunting Eggs

Big guys can take this sort of thing pretty seriously. If they do, they find the lion’s share.

Found Eggs

It was a gorgeous day and my children enjoyed themselves. The older cousins seem to be doing well and that’s a pleasure to see. It was especially fun having three dogs there. Grandma and Grandpa have a dog, Tolly, and Ian’s sister and her husband have a dog name George. We brought Solstice along, too. This makes for a Big Dog Party.

Sunrise

A week later, on Easter morning, we enjoyed our own peaceful family ritual. As usual, the kids were up bright and early.

Ostara Gifts

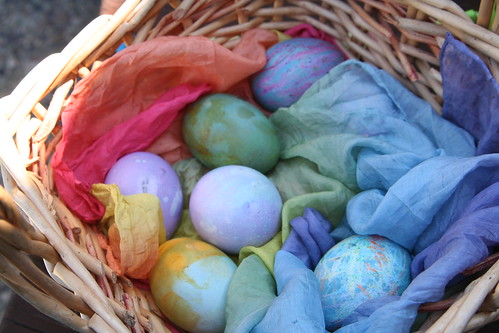
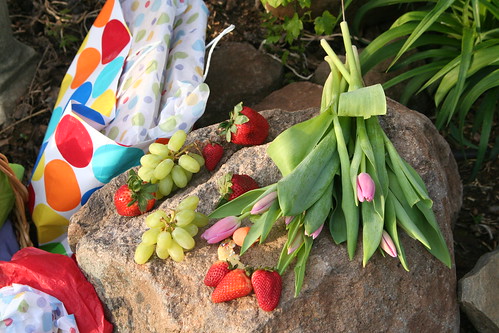
The Easter Bunny brought traditional goodies: fruits, flowers, eggs to find, and Easter baskets.

Asher Hunting

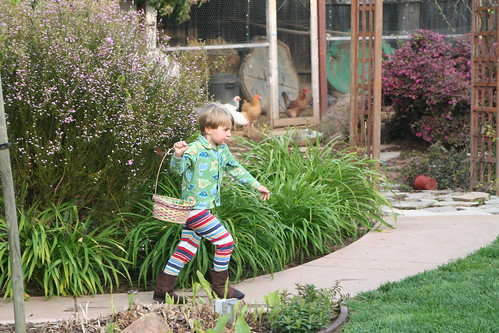
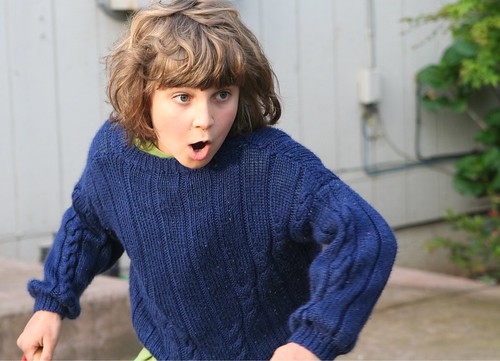
There was much cavorting, despite Asher being ill with flu. There are some things a boy simply must do, no matter how he feels, and hunting for goodies at 7 a.m. on Easter morning is one of them.

Lucas Spots Something

But this sort of thing isn’t just for little boys. No. Bigger boys still love it, too.

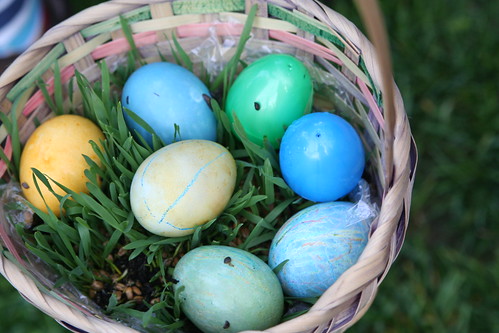
Found Eggs

(Our Easter basket grasses were just grown in enough.)

Gifts from the Bunny

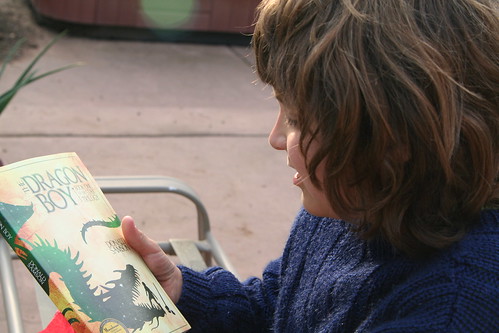
Dragon Boy

Easter Bunny brought a book for each of my sons,

Rainbow Bunny

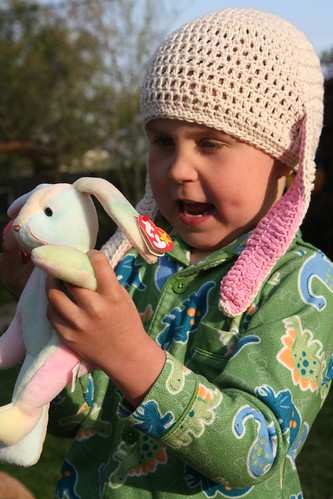
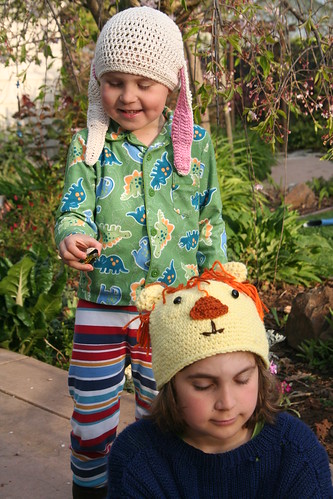
a sweet bunny (matchy-matchy rainbow bunnies!), and a special new hat.

Painting Jars and Painting Boards

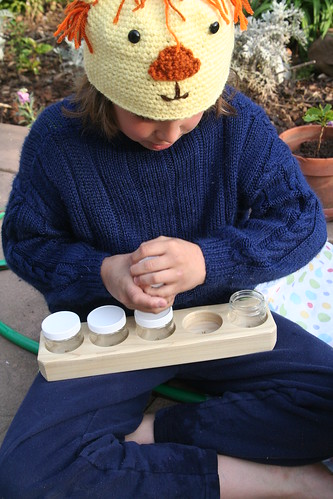
The boys were also given gorgeous new painting boards and painting jar holders for their watercolors. These are going to come in handy, I tell you!

My Sweet Boys

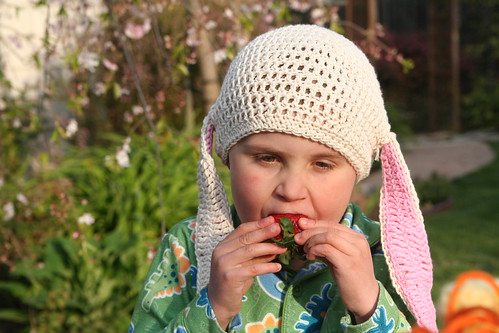
There’s nothing quite like early morning chocolate and strawberries to make for a special day.

Strawberry

And, while we probably shouldn’t have risked it, we hosted my parents and brother for a little Easter luncheon outside. (They were brave to come.) We enjoyed simple croissant sandwiches, fruit salad, and pie. Ian and Asher were really not feeling well, so we kept it short. Thank goodness none of our guests fell ill afterward. All things considered, it was pretty ideal to host since we got to have a low-key celebration and didn’t have to miss out on a party happening elsewhere. That would have been so disappointing.

I mentioned before that this flu ultimately wiped us all out for more than a week. Ian is finally back to work today, thanks to the antibiotics he’s taking to treat a bronchial infection. I’ve limped through a rush editing job all week with flu. Things got a little grim around here, but I think we’re on the mend. I’m glad I’m finally able to share our Easter.  I think I had to slog through the muck before I could think happy thoughts again.
Creating Your Easter Nature Table Tutorial

On Our Table

Easter is a holiday that fills me with hope and appreciation for the new life being born and blooming all around me. It is the premier Christian holiday, which recalls the suffering and dying of Jesus Christ on the cross, and his resurrection. It is celebrated the world over by Christians everywhere.

Easter is also a springtime celebration in nature religions, and is considered by scholars to be about three thousand years old. Closely associated with the spring equinox, the goddess Ostara (or Eostar or Eostre) was worshipped by Germanic peoples long before the religion of Jesus swept Europe. The symbols in Christian Easter celebrations are very similar to those symbols of the fertile spring goddesses, who can be found in many ancient cultures. For me, this synchronicity of symbolism among multiple faiths resonates. To me, it highlights the similarities among people everywhere and our universal admiration for the earth and its cycles.

Whatever your religious (or nonreligious) take on this springtime festival, you can create a nature table that calls to mind the bounty of the earth and celebrates abundance, new beginnings, and growth.

Spring Nature Table in Daylight

My spring maiden graces this spring nature table. Her companions are rabbits and lambs, both symbols of spring’s bounty in the birth of new animals. Rabbits are prolific breeders, so they have long served as a symbol of fertility and abundance, as well as the bringers of colored eggs at Easter. A beautiful meadow, painted by my son in second grade, serves as a backdrop. A green crystal frog at the far end holds a tea light for a nighttime glow. A needle-felted bird sits on a nest in a branch (not pictured).

Spring Nature Table Left Side in Daylight

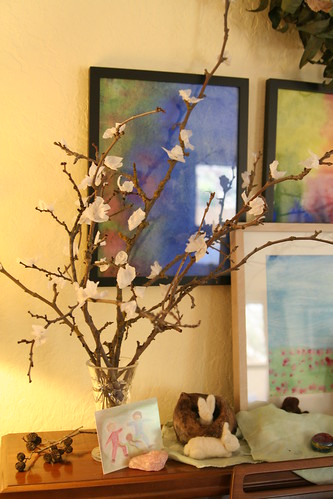
I love blooming branches, but as I don’t wish to cut any off my trees, I crafted these blooms by hot-gluing white tissue paper blossoms onto bare branches we gathered from the ground. The card showing dancing children is a drawing by my god-daughter. It reminds me of how happy we are to be outdoors again in spring.

Easter Nature Table (Mantel) with Felt Egg Ornaments

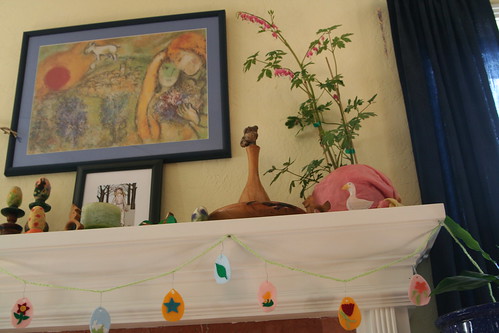
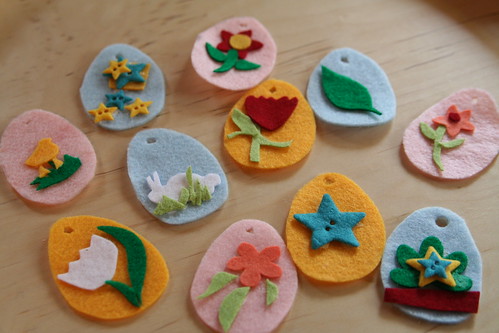
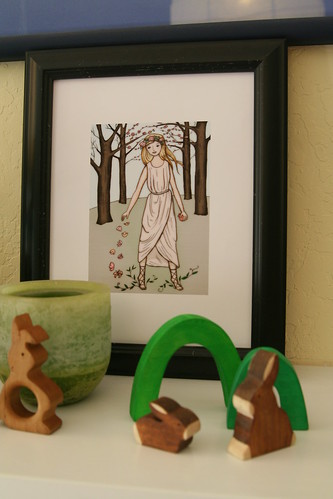
Here is a nature table created on our fireplace mantle. We displayed our many needle-felted eggs on upside-down cups and the tops of candle sticks. I framed a print of Persephone, the Greek goddess of the spring and added it. A plant of bleeding hearts provides a living symbol of life, flowers, and freshness. From a long, finger-knitted yarn rope (made by Lucas) and felt egg decorations we made, we created a simple garland. The felt eggs aren’t fancy: They are two-dimensional and made with “craft” acrylic felt and white glue.

Easter Felt Ornaments

Simple and charming. I use these year after year.

Easter Nature Table (Mantel)

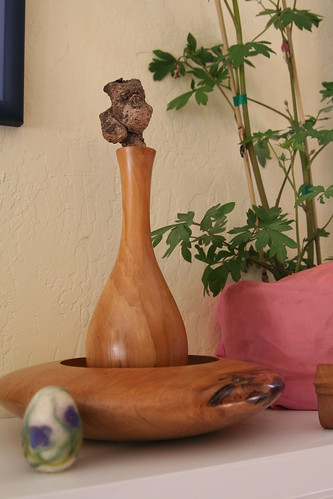
A friend of mine found a gnarled piece of wood one day and picked it up. It has the shape of a pregnant woman, with bulbous belly and breasts. My friend gave it to me when I was pregnant and I have kept it as a special object of love and fertility ever since. Perhaps you have some totem that represents the time when you were carrying your babies inside your body, or the time you were waiting eagerly for their arrival in your family. The spring nature table is a perfect place to put such honored objects.

Easter Nature Table (Mantel) with Persephone

We added some small wooden toys, too: frolicking rabbits and stately geese. These are for curious little hands to touch and enjoy.

For your own nature table, decorate and display Easter eggs of any kind. Blow eggs and hang them from branches to make an Easter tree. Or gather them together in an attractive bowl. Balance colored eggs atop tall candle holders so they may be seen from a distance.

Materials

You most likely won’t have to buy much to create your Easter nature table. Here are some items you probably already have:

  • pretty cloth in a spring color
  • flowers or grasses from your garden
  • fruits or seeds
  • decorated eggs (blown eggs will last longer)
  • candles or figurines
  • watercolor paintings (used as backgrounds or cut into Easter shapes: bunnies, eggs, birds, chicks, flowers)
  • any items that symbolize for you fertility, renewal, awakening, abundance, birth, and beauty
  • religious items that speak to your family’s traditions or faith
  • boxes or bowls

Tutorial

First, clean your nature table. Give the wood a nice polish, if appropriate.  Enlist the aid of your children. Be sure to listen to their suggestions about what to add. Now is a great time to sing springtime songs and recite a poem or two. Lay down your cloth on the table and set up any background cloth, picture, or painting you wish to include. This works well for a table that is backed by a wall, but it’s not necessary. I find it’s nice to have several levels if I have space. This can be achieved by using boxes or upside-down bowls underneath your cloth to make hills. Items place on high spots will draw people’s focus. Now arrange your special items however you like. Candlestick holders without candles are a great way to display beautifully decorated Easter eggs. Leave space for additions such as picked flowers that your little ones might contribute throughout the season.

If you have included fresh flowers or fruits or real eggs on your nature table, be sure to check them often and remove and replace them when they wilt or get too old. Your nature table will inspire you if it looks fresh—which is the whole nature of springtime. When it starts to feel old or boring to you, either rearrange it or choose new symbols to display. Keeping your nature table neat and seasonal is a fun, rhythmic way of helping children celebrate festivals and mark the passage of time.

Easter Bunny Was Here

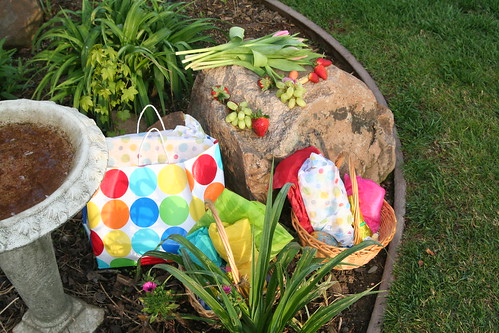
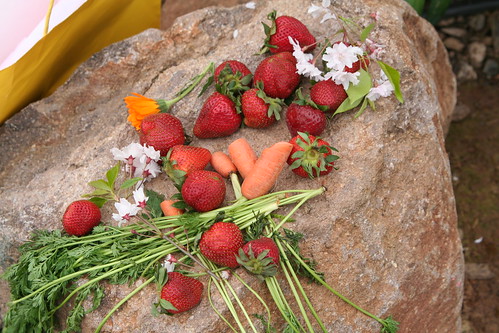
Finally, I wanted to share our family’s Easter tradition. We create an altar outside the night before Easter on a large rock in our backyard. We leave out carrots for the Easter bunny, who personifies for us an Earth spirit, Ostara, or goddess of the spring. In the morning, early on Easter Sunday, we return to our outdoor altar to find the carrots nibbled and fruits and flowers left in their place for us. A basket of small gifts is found there for each of our sons and colored eggs are hidden throughout our yard. As the sun rises over the trees, we greet the new day, hunt for eggs in the dewy grass, and give thanks for the bounty of spring.

* Portions of this article were originally published in the Little Acorn Learning April Enrichment Guide.

Sing, World, Sing!

It is spring, and this makes me very, very happy. (This post was started yesterday and not finished in time. And that’s OK.)

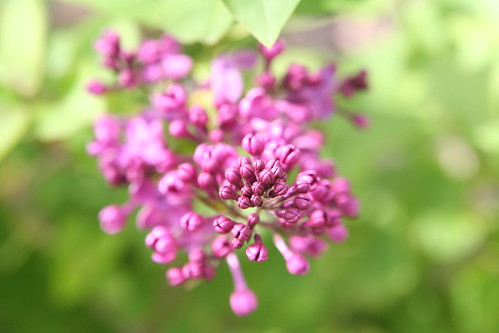
Lilac in Bloom

This is my first lilac flower of the season. My lilac bush doesn’t have many flowers on it this spring. I don’t know why.

Sing, World, Sing!

Now in chilly places
Where the snow had been,
Wood and field and hollow,
Easter flowers begin.

Now a bud is opened,
Now a leaf uncurled;
Spring is in the sweet wind
Walking down the world.

Snowdrops in the garden,
Violets on the hills,
Cowslips in the meadow,
Dancing daffodils

Seem to lift their faces,
Softly whispering,
“Easter’s nearly here, now—
Sing, world, sing!”

Chicks at 12 Days Old

Chicks at 12 Days Old

Chicks at 12 Days Old

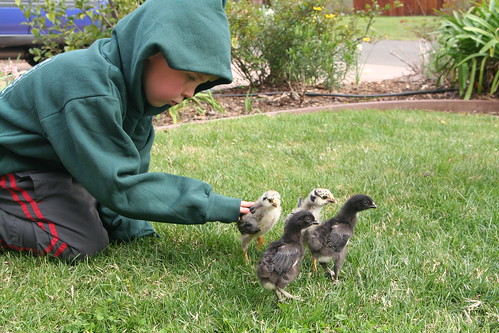
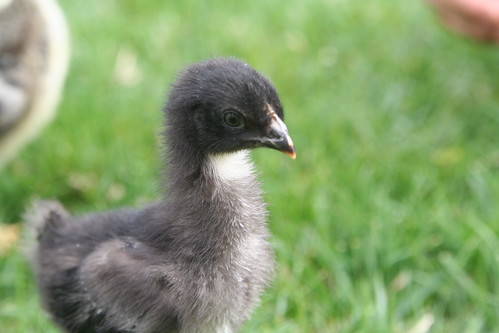
These are our 12-day-old chicks. We have yet to decide on names for them. Ian, Lucas, and Asher all insist that they have the right set of names. (I happen to like Asher’s names best.) They just insist on using their own names for the girls.

New Elm Leaves

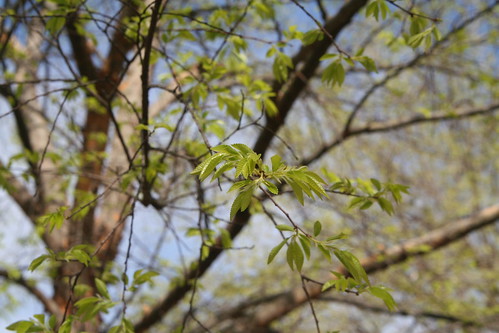
New leaves are unfurling all around us. This is my beautiful Chinese Elm tree. Right now its leaves are the most gorgeous new green.

Yellow Wood Sorrel Sour Grass (Oxalis europaea)

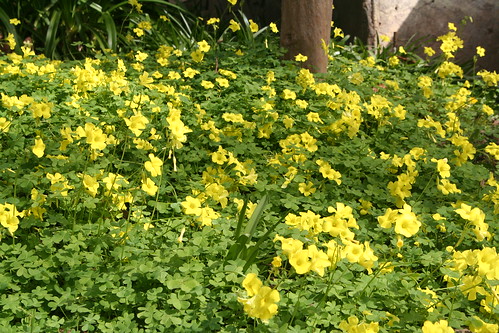
Here is the neighbor’s yellow wood sorrel (Oxalis europaea). This stuff glows! The kids eat it and call it sour grass.

Pink Sorrel (Oxalis articulata)

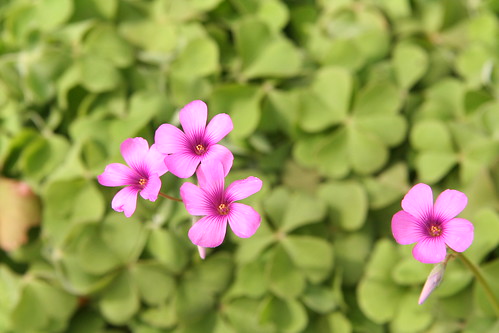
This is my own sorrel (Oxalis articulata), AKA shamrock, sleeping beauty, sour trefoil. The shamrock I bought at the nursery for St. Patrick’s Day is also an Oxalis with white flowers. So all these years that I’ve been refering to this plant as our “shamrocks,” I was right!

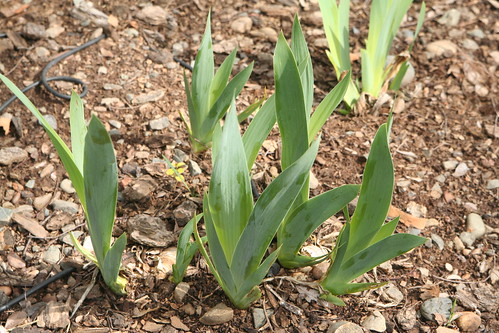
Irises

My irises have increased!

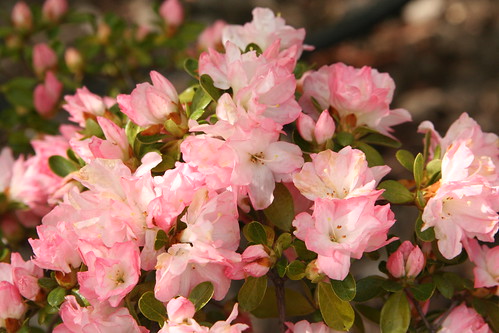
Azalea

This lovely azalea won’t be pretty for long. So I make sure to admire it every day that it blooms.

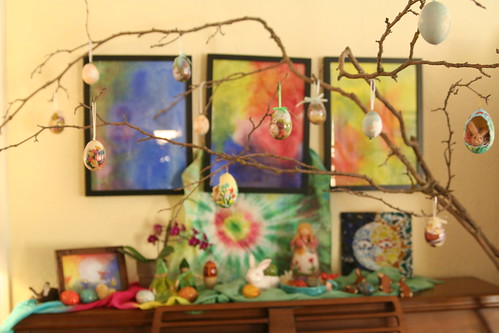
In honor of the equinox, I refreshed our nature table. With Easter just a couple of weeks away, I pulled out our bunnies and eggs.

New Spring Nature Table

I hung our blown eggs and egg ornaments on a huge branch that fell in a windstorm. This huge branch is frequently in Ian’s way. I feel he would like you to know that, and that he is patient with my weird hanging artworks all over our home.

New Spring Nature Table

New Spring Nature Table

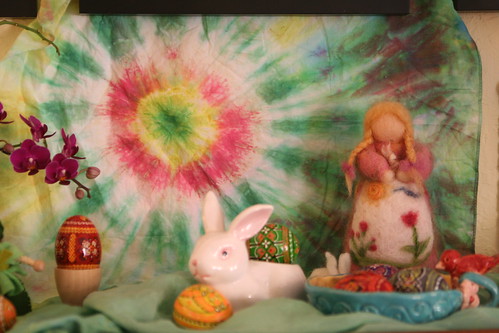
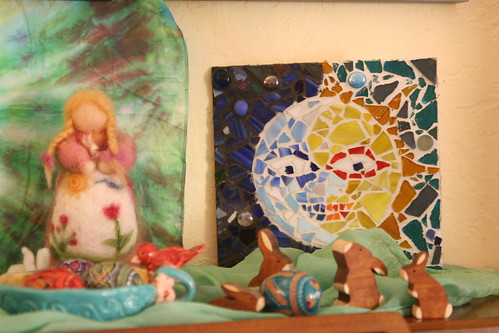
Lucas dyed this handkerchief—at school? at camp? I don’t remember. I didn’t realize how lovely it was until yesterday. The spring maiden was a gift made by my friend Parnassus.

New Spring Nature Table : Equinox

This is a mosaic Ian made: perfect balance between night and day, dark and light. I love it.

To me, our nature table conjures plenty, delight, joy, and light. It reminds me of carefree days and celebration. The spirit of the season of Ostara is enormous potential, growth, striving, peace, and fullness. I’m ready for it all.

I heard Asher singing a song: “It’s almost Easter. It’s almost Easter.” So I guess the nature table has done the trick. I think it’s lacking some spring tulips, though. I’d better get some.

St. Patrick’s Day Fun

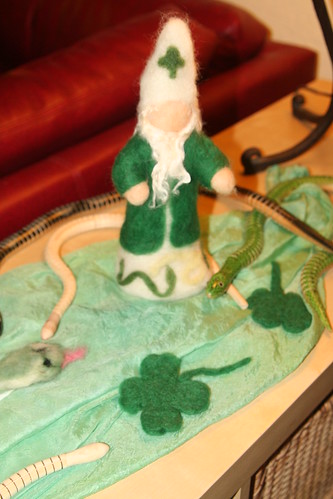
Needle-Felted St. Patrick and Snakes

It was a big time, of course. St. Patrick’s Day was fun for all of us, I think. We crafted. We decorated.

St. Patrick, Snakes, and Leprechauns

Leprechaun Party All Set

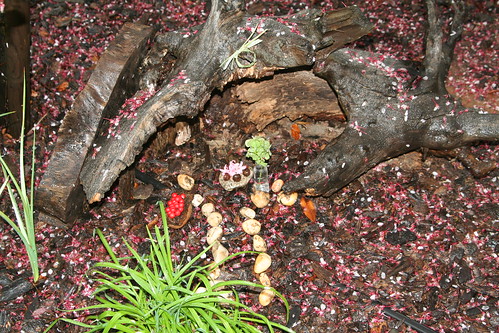
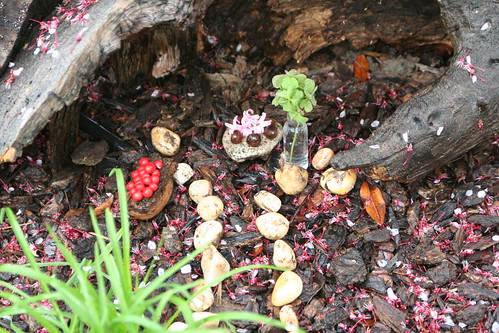
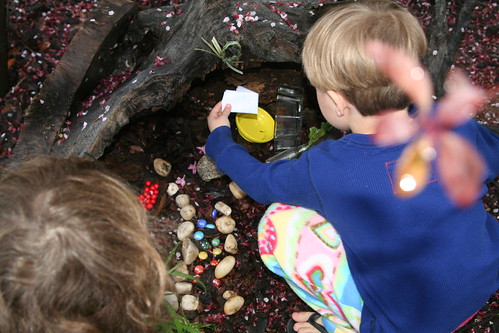
In between epic puddle splashing and a during jolly good time in the heavy rain, we set up a Leprechaun party complete with shamrocks in a vase of water, table with acorn cap cups, hyacinth flowers and bird berries.

Leprechaun Party All Set

The path we lined with white stones was very inviting to the wee folk.

Mama-Made Leprechauns for My Boys

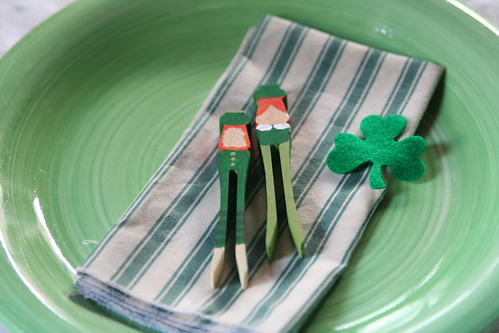
I had made some secret presents: wooden clothespin Leprechauns. A boy and girl for each of my sons.

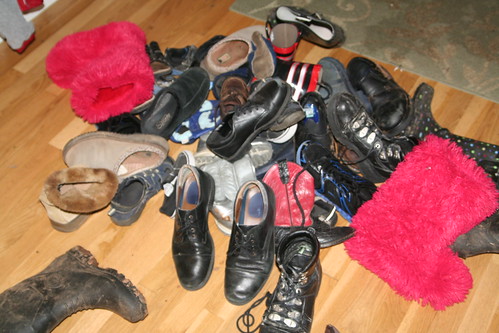
Leprechaun Trick: Huge Pile of Shoes!

Even though we made that lovely party space and put out brownie treats for them, the Leprechauns couldn’t help themselves. They pulled a small trick on us anyway and piled all of our shoes in the entry, blocking the front door. It’s in their nature, you know. They’re tricky!

Gifts from the Leprechauns

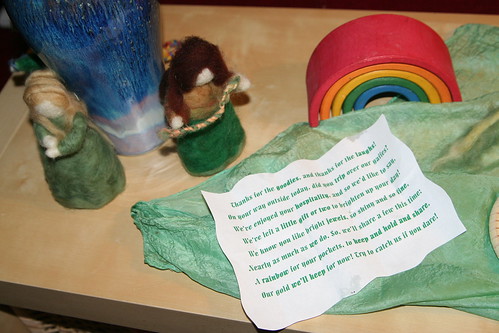
They did, however, leave the boys some treasures. A set of rainbow gems for each and a note.

St. Patrick's Day: Note from Leprechauns

“Thanks for the goodies, and thanks for the laughs!

On your way outside today, did you trip over our gaffes?

We’ve enjoyed your hospitality, and so we’d like to say,

We’ve left a little gift or two to brighten up your day!

We know you like bright jewels, so shiny and so fine,

Nearly as much as we do. So, we’ll share a few this time:

A rainbow for your pockets, to keep and hold and share.

Our gold we’ll keep for now! Try to catch us if you dare!”


Apparently, Leprechauns think they are very clever.

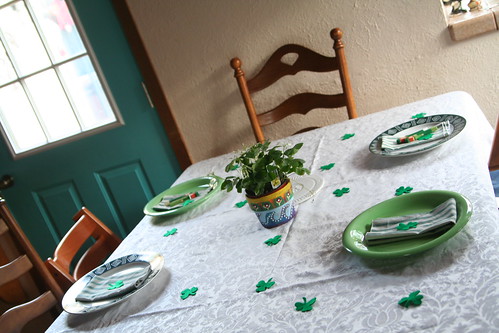
St. Patrick's Day Table

St. Patrick's Day Table

I didn’t snap any photos of our green shamrock pancakes or piles of golden eggs. I was too busy tucking in with and enjoying my fellas. It turns out that clothespin Leprechauns are great for homemade zip-lines. Then we readied our home for a  fun party with our friends. We enjoyed a yummy lamb stew, kale salad, and soda bread (from a mix). Today, Asher is talking about his Leprechaun friends.

Hope you had a festive holiday, too!

St. Patrick’s Day Leprechaun Mobile Tutorial

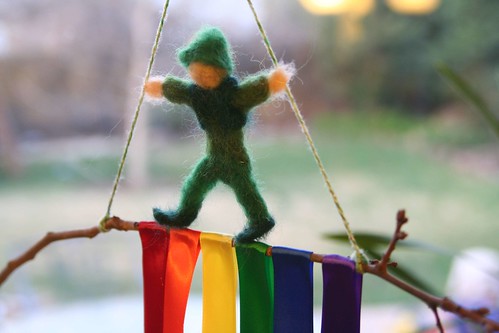
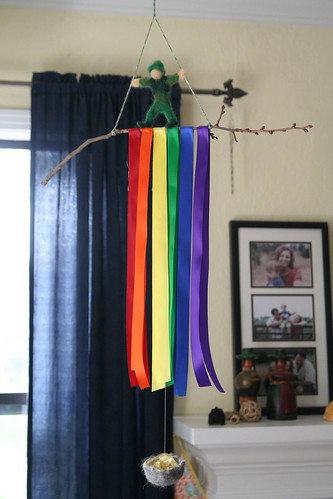
Leprechaun Mobile

I have a deep and abiding love for mobiles. Holiday decorations that hang can be very festive without taking up too much space or cluttering your nature table. Here’s a St. Patrick’s Day leprechaun mobile that is easy to make and quite whimsical.

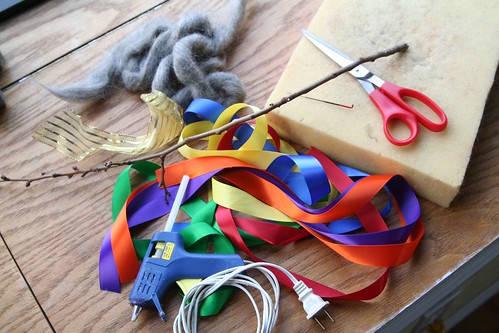
Materials

Materials

  • foam base and needle-felting needle
  • wool roving in gray or black, green(s), and skin colors
  • low-temperature glue gun and glue sticks
  • one twig approximately 18 inches long; ideally it will have a 6-inch straight section in the middle
  • gold ribbon, gold foil, or gold tissue paper
  • 1-inch ribbons in rainbow colors, approximately one yard of each color
  • yarn or string, approximately 2 yards
  • needle, thread, and scissors

Money-Saving Alternatives

  • Narrower ribbon in rainbow colors costs less. Although I used 1-inch ribbon, you could use several strips of the same color ribbon to create a 1-inch band of color for each color of the rainbow.
  • Instead of 1 yard of each color, you could use only a half yard. Your ribbons would be a single layer, not double as in the photos below.
  • Check your gift wrap stores. You may have some gold tissue paper or ribbon left over from a package.

Tutorial

To begin, tie two pieces of yarn or string (each about a yard long) to your twig, approximately 8 inches apart. Hang the twig from the two strings more or less horizontally (adjust the position of the two ties on the twig as needed). Then tie a knot in the two strings about 8 inches up from the twig. This will make a triangle of string above your twig. Tie your twig to something so that it hangs freely at shoulder level so that you can work on it comfortably.

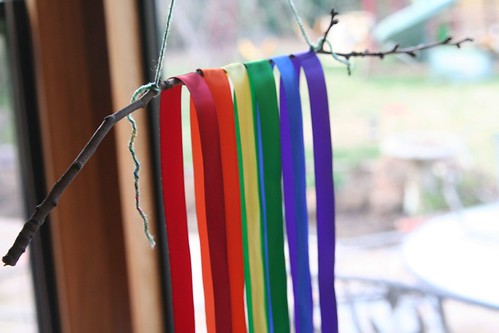
Rainbow Ribbons

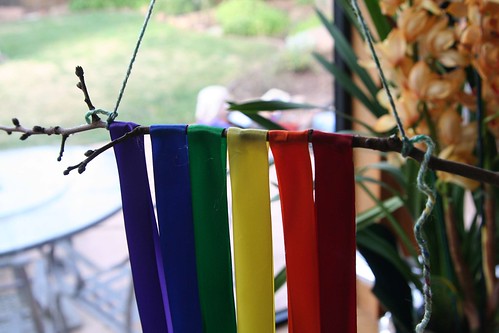
Lay your ribbons over the twig in rainbow order. Their two ends should be even at the bottom. Make sure you like the position of each ribbon before you affix any glue. (You can use clothes pins to hold them in place while you decide on their optimal positions.)

IMG_6426

With your glue gun, put a dab of glue on the inside of one layer of a ribbon and pinch the other layer over the top of the warm glue to fix the ribbon to itself. Repeat this for each color. See the photo above.

Pot

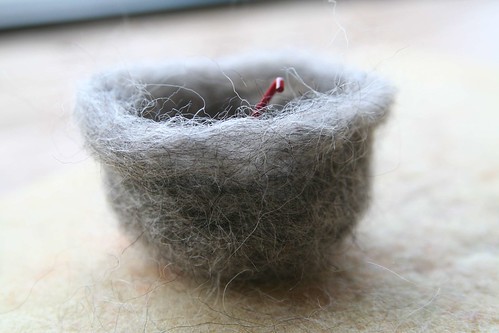
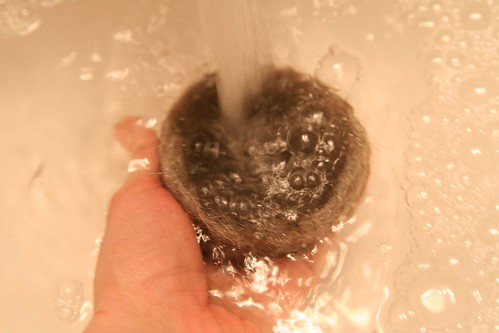
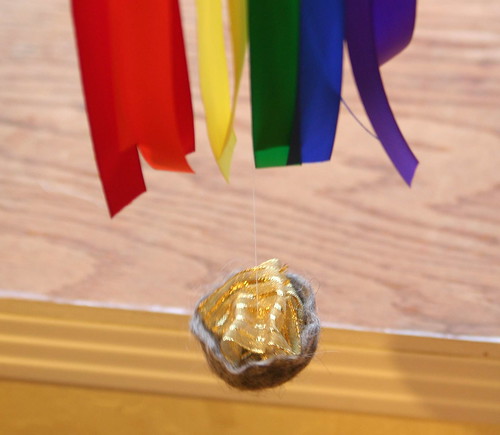
Now, take your gray or black wool roving, felting needle, and foam pad and needle-felt a pot. This will be your pot of gold. Mine was about 2 and ½ inches in diameter. If you wish to have a sleeker look for your wool pot, you can first shape it with your felting needle, then wet-felt the pot in hot water with soap. Gently rub your pot inside and out with soap until the fibers mat firmly together. Rinse it in both hot and cold water.) Shape it carefully into a pot and let it dry. You may still want to apply your needle again to perfect the pot’s shape.

Wet-Felting the Pot

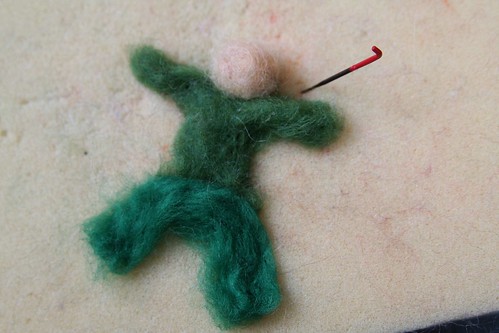
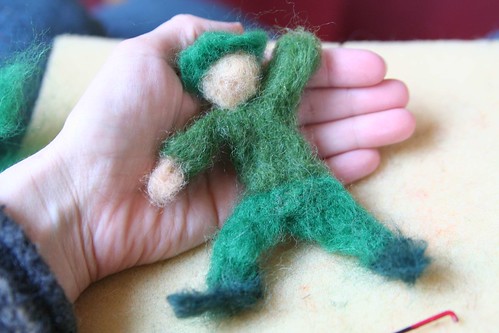
With your green and skin-colored wool roving, needle-felt a leprechaun. No wire skeleton is needed for this project and since this figure will not be played with, you can attach head, hands, legs, shoes, and hat by simply needling the fibers together. Start with a torso and arms. Add legs. Add a ball of skin-colored wool for a head.

Needle-Felted Leprechaun in Progress

Needle-Felted Leprechaun in Progress

Your leprechaun can be as traditional or as unique as you like. Mine was a kind of Waldorf-inspired figure dressed in several greens, with a jaunty hat and dark green vest.

Leprechaun on Top

Stand your leprechaun on top of your horizontal twig. With needle and thread, sew your leprechaun’s hands to the yarn or string hanger. (Feel free to adjust the knot above the leprechaun‘s head as needed to make it possible for the hands to hold both strings.) Finish off the two yarn/string knots on the twig by tying them securely and cutting off the excess.

Gold Suspended

When your pot is dry, crumple your gold ribbon, foil, or tissue paper into a mound of gold and place it into your pot. You might want it to heap above the edge of your pot. With a long thread, sew up from the bottom center of your wool pot, through your gold, and back down a couple of times. On the way up again, extend your long thread all the way up to your rainbow-covered twig and tie your thread securely to the center of the twig. You’ll probably want to tie it in between the yellow and green ribbons. Cut of the excess thread tail. Your pot of gold should hang a couple of inches below your twig, at the end of your rainbow.

Finished Mobile

Find a nice spot in your home to hang your St. Patrick’s Day mobile with leprechaun and pot of gold, perhaps in front of a window, where fresh spring breezes will make your rainbow ribbons flutter.

* This article was originally published in the Little Acorn Learning March Enrichment Guide.

Spreading the Love

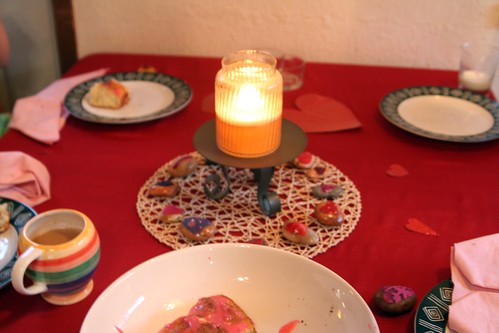
Valentine's Day Breakfast

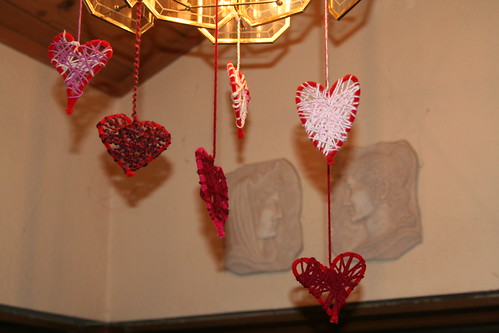
Decoration

Heart Composition Books

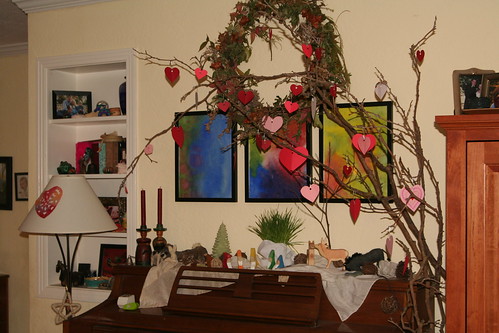
Valentine's Day Nature Table

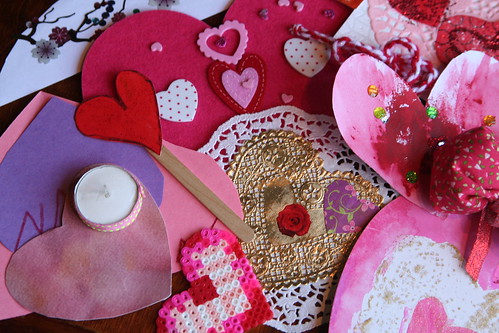
Valentines from Friends

Valentines from Friends

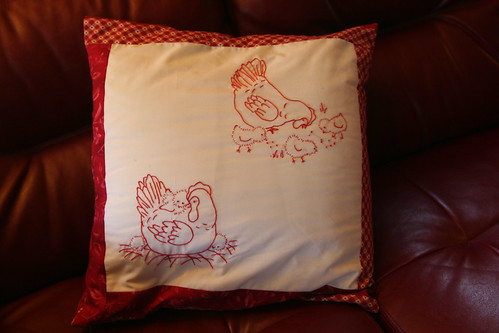
Redwork Pillow from Grandma

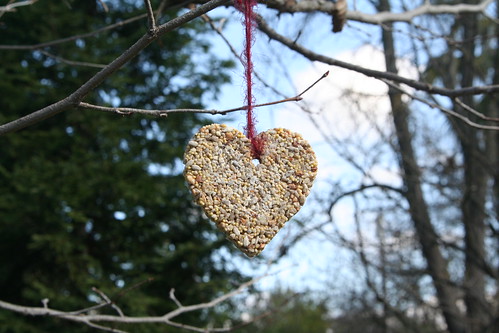
Valentine for the Birdies

Happy Valentine’s Day from our family to yours.

You can find this post also on Homespun Waldorf’s Winter Carnival
Homespun Grab Button

Valentine Window Transparencies Tutorial

Hello! [This post has been edited to remove a broken Pinterest link. 2-13-15]

10-Pointed Window Star

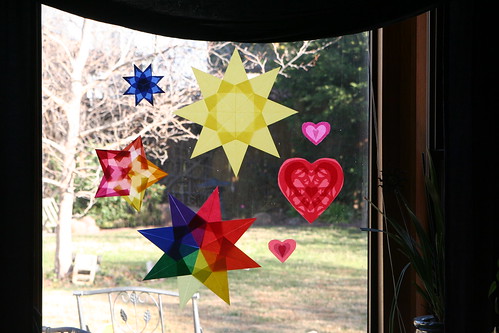
Anyway, I’m kind of obsessed with window stars lately. I got some new supplies for Christmas (kite paper and a new book and paper kit for making window stars). They are challenging for me and so rewarding when you get it right. I made a ten-pointed star the other day and I had to enlist Ian’s help to get the angles right when assembling the points. Then we had to buy a protractor!

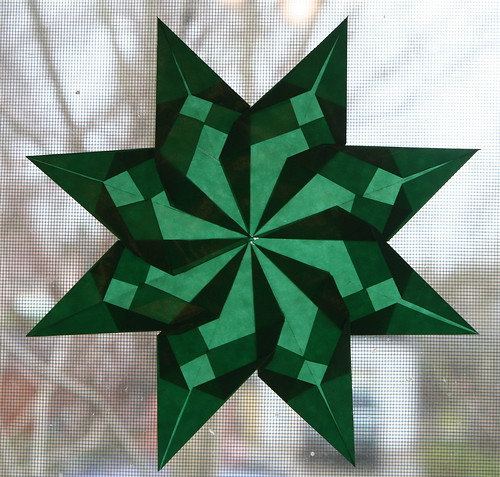
Green Window Star

This eight-pointed star I made is new.

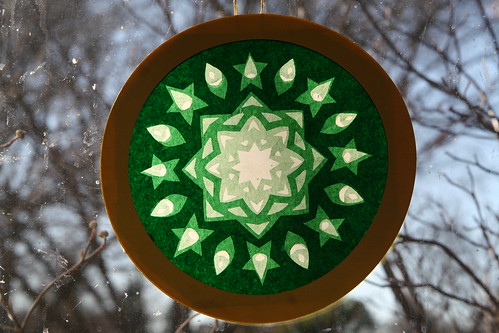
Rose Window, Not My Creation

And I accidentally-on-purpose bought this rose window transparency from an 11-year-old kid on Etsy, a shop named Knitting Momma. I couldn’t help myself. It’s so pretty and I like the gnome head shapes within it. See them? (Pay no attention to my dirty windows.)

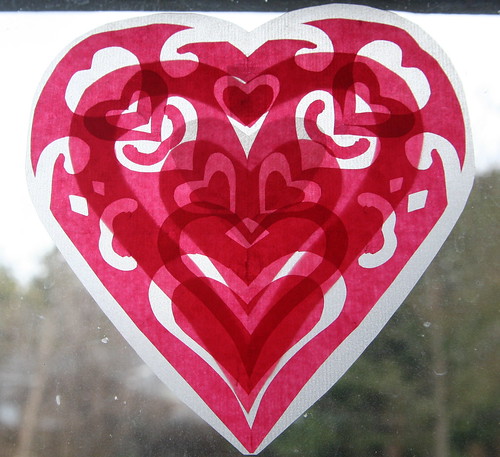
Heart Window Transparency Cropped

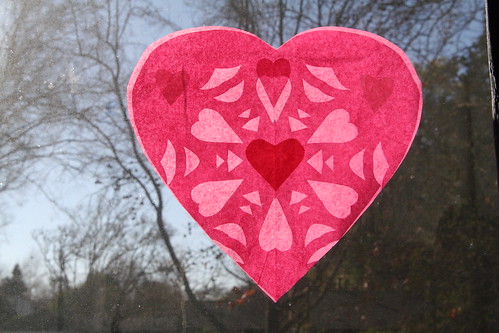
And that got me experimenting with my kite paper. I made this transparent window valentine using three pieces of square kite paper, two red and one white. I like this one a lot. The kite paper is only 6.25 by 6.25 inches, and I wondered if I could do something similar but bigger with tissue paper.

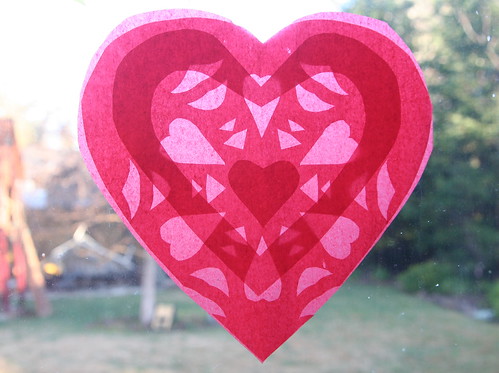
Red and Pink Heart Transparency

Now, I wouldn’t say my valentine window transparencies are perfect, but we learn in the doing, right? So here is what I did, and what I learned along the way, in case you would like to play along.

Materials

  • tissue paper or kite paper in valentine colors (red, pink, dark pink, white, purple)
  • scissors
  • iron on medium heat and ironing board
  • glue stick
  • tape

Tutorial

First, lay several pieces of tissue paper of different colors on top of each other. Iron them flat on your ironing board with the heat on medium. Any wrinkles should iron out nicely. Do not spray with water while ironing.

Cutting Hearts Tissue Paper Hearts
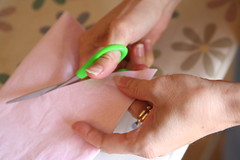
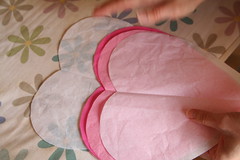
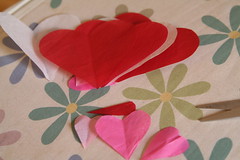
Then, with your papers still stacked, fold it once in half and then in half again. You should now have four stacks of tissue paper. Take one stack, fold it in half, and cut out a big heart shape. Iron out the center crease. Separate the hearts that you’ve just made. They are pretty much the same size, so they can be stacked up again in layers as you make your designs.
Cutting a Smaller Heart from a Bigger Heart  Assorted Sizes

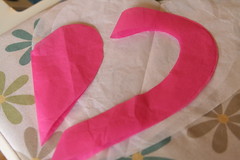
Try cutting one heart into smaller hearts by cutting along the heart’s edge. You’ll end up with two usable pieces: the smaller heart and the heart-shaped edge with an open center. Do this a few times and also cut additional hearts out of the scraps from the big hearts.

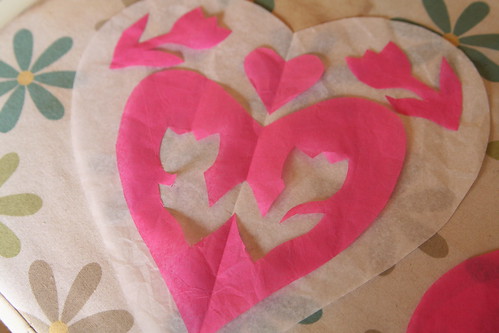
Take one large heart layer and fold it into quarters or eighths, like you would if you were going to cut a paper snowflake. Along the main fold line, cut a small half heart. When you unfold, you’ll have four or eight cut out hearts. Be careful about where you’re cutting, as it’s easy to cut beyond the border of your heart since it’s not a symmetrical shape. This heart transparency shows the four small cutouts. (While it’s folded, you can cut additional shapes such as diamonds or triangles if you wish, like you would for a snowflake.)

Pink Heart Transparency

Cut Out Designs

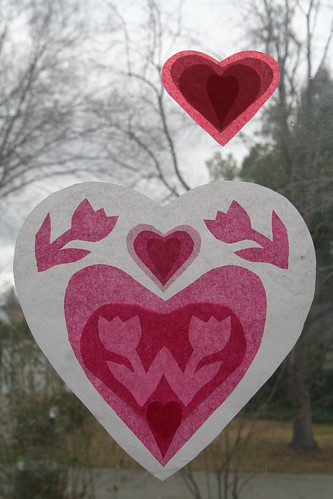
Try folding one layer in half and cutting a simple design. Here is one with tulips.

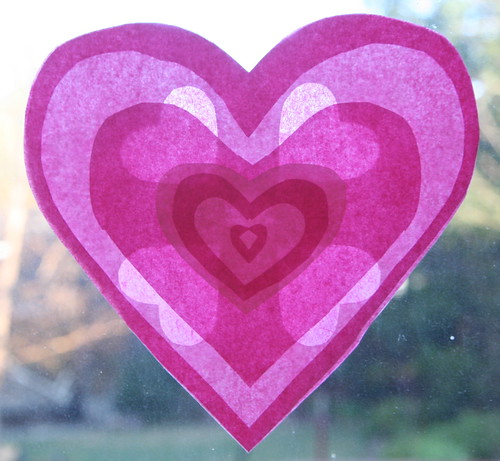
Now play with the layers you have made. Put a whole heart on the bottom and start stacking other layers. Arrange them in a pleasing way, mixing the colors as you like. Hold them up to the window or a lamp to see how the layers affect each other when the light shines through them. The more layers you have, the darker the shapes will seem. You can also put layers on the back of your heart.

Pink and Red Heart Transparency

Keep in mind that you want the valentine window transparency to look nice both when the sun shines through it during the daylight, but also when it’s dark outside, when the interior light of your home will shine on the front of the heart.

When you have the papers arranged the way you like them. Use a small amount of glue from your glue stick to stick the layers together—and be very gentle because the tissue paper rips easily. Try to keep the outer edges lined up precisely. Gently add dabs of glue until all the layers seem sandwiched together. Now iron the valentine window transparency flat again. You can use a small dab of glue stick glue to stick the transparency to the window, or use tape.
I Made These!

You most likely have small hearts leftover from making the big ones. You can make small transparencies as well. The smaller the valentine transparency, the simpler your design will probably be. Several sizes look great all together, I think.

Valentine Window Transparencies

This Magical Window Stars book is terrific. Many of the designs are very complicated, which is a thrill for me. Maybe I’ll work up to them. The book has many star designs that require rectangular papers. In the meantime, you can find a wonderful free tutorial on folding a simple window star here at GardenMama’s blog.

This Origami Suncatchers kit is the one I got for Christmas. It contains the kite paper, a book of 20 star designs, and a glue stick. I find the instructions and photos in this kit to be easy to follow.

A Toy Garden sells both square and rectangular kite paper. This shop is where I buy lots of gifts for my children. A Toy Garden also sells the Magical Window Stars book and a book about rose windows called Rose Windows and How to Make Them.

And finally, if you want to purchase window stars, I recommend peeking in the Etsy shop of Harvest Moon by Hand. Ann is the best at making window stars. Her work is stunning.

Happy Valentine’s Day to you and your loves!


Handmade Birthday Gifts for Asher

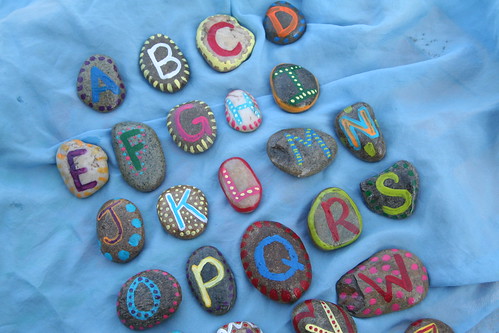
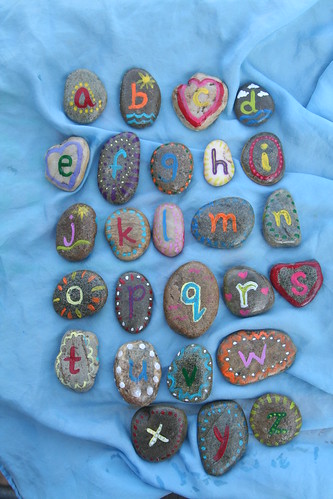
Mama-made Alphabet Stones

Today is my baby boy’s fifth birthday. I am over the moon with excitement for him. I live for this stuff, I think. Anyway, over the last several days, I’ve been scrambling to make some gifts for him.

Mama-made Alphabet Stones

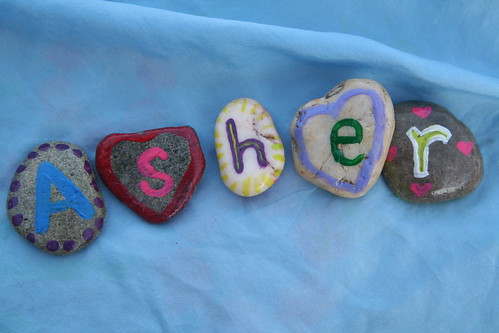
I made these alphabet stones for him using rocks from my yard and my paints. I got this idea from a photo I saw on Pinterest, which I believe is originally from this blog. I am grateful for the fun idea. Asher is five, so I don’t know how or if he will connect with these letters yet, but even if he doesn’t, they are still fun to hold and look at. I think manipulating them to make short words will be fun, and that’s all that matters at this age.

Mama-made Alphabet Stones

Each stone has its lowercase letter on the other side.

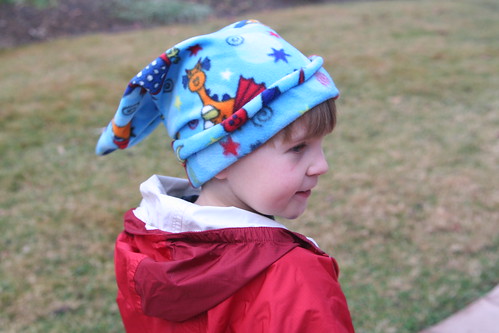
Mama-made Dragon Hat

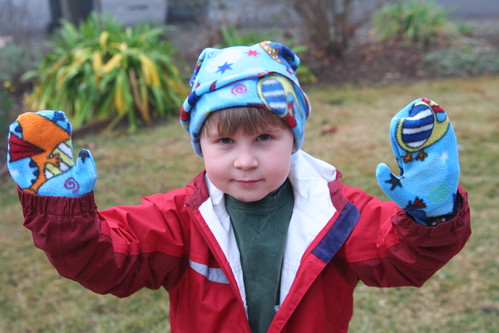
Thanks to a lot of help from my mother and her nifty, first-class serger, I made this fleece dragon hat and a matching pair of mittens. I’ve never done anything like this before and the mittens in particular were challenging for me. But a more accomplished sewist (“sewer” just doesn’t look that great even though it’s correct, does it?) would have an easy time of it, I think. I just traced Asher’s hands and made a paper pattern, adding a good 1/2 inch for the seem. I also made the wrist portion wider to ensure that he could get his hand into the mittens. Fortunately, fleece is slightly stretchy and it’s pretty dreamy to sew because it doesn’t fray, so you don’t have to be as nitpicky as with other fabrics. BUT—like I said, we serged these! And my goodness, what a dream of a machine that is! This was the very first time my mama let me touch her serger. (Machines and I don’t always see eye to eye.)

Mama-made Dragon Hat and Mittens

OK, the back of the mittens look best. Anyway, he went off to school this morning wearing them!

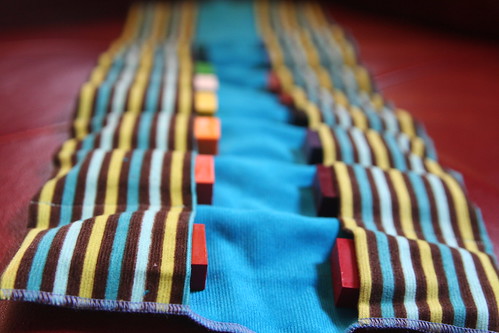
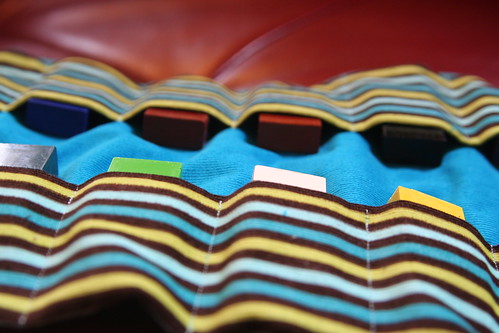
Crayon Holder for Asher's 5th Birthday

And finally, here is a crayon holder I made for his brand-new birthday block crayons. We have block crayons in this house, but technically they belong to Lucas. I thought Asher might like to have his own and a special place to keep them safe. (I don’t know if he WILL keep them safe, but with the crayon holder’s pockets he COULD.)

Crayon Holder for Asher's 5th Birthday

This item has 22 wee pockets, with six that are empty now so he could add to it later. And to be honest, I still have to sew a ribbon tie on one end of the crayon holder before I can wrap this up. So, I’d better go do that.

Today is for writing, wrapping, baking a cake, and baking a class set of muffins for tomorrow’s Kindergarten celebration. Tonight we’ll have a small family celebration with Asher’s choice of dinners—Daddy’s stir fry with Chinese noodles.

Chinese New Year Celebration

Paper Lanterns

Gung Hay Fat Choy! Last night we celebrated Chinese New Year or the Lunar New Year. It was the first time for us, and it was a bit last-minute, but we had enough red construction paper on hand to make it fun.

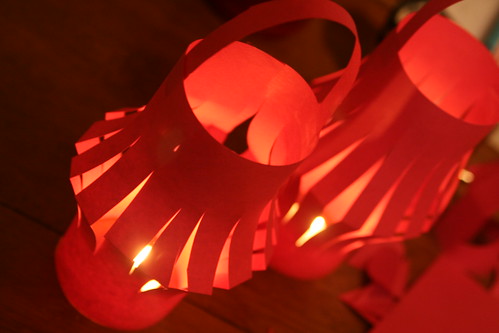
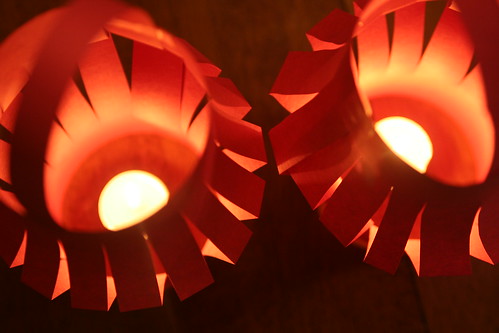
Paper Lanterns

We made these sweet and simple paper lanterns and lit candles. They were very festive. I did some reading about Chinese paper cutting arts and watched a couple of YouTube videos (like this simple tutorial). I didn’t know about this beautiful art form before. Go to Google and search for “Chinese paper cutting” and then click “Images.” The examples you’ll see there are amazing. I fell in love.

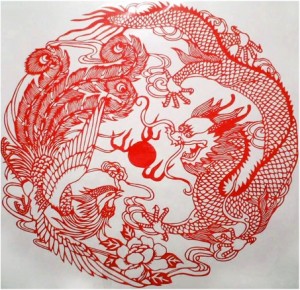
These are just two examples I found and I’m sorry I can’t credit the artists who made them. This year is the Year of the Dragon, but you already know that.

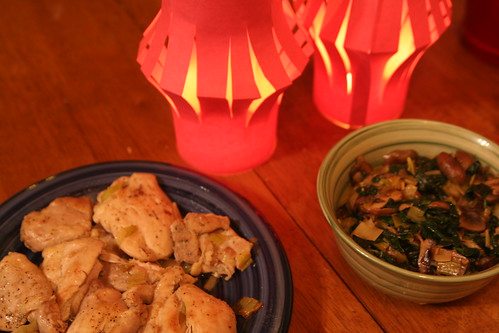
So while Daddy made us a gorgeous chicken and stir-fried vegetable dinner over brown rice, we started cutting. Our paper lanterns glowed merrily beside us.

Making

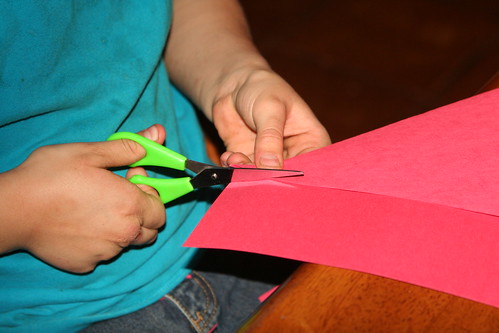
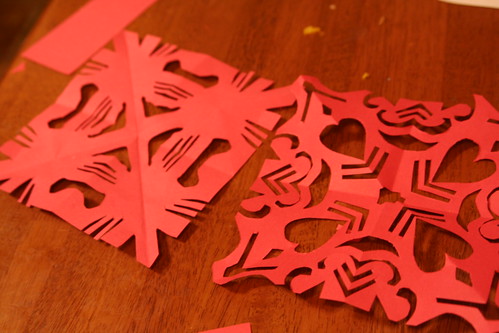
To make this yourself, simply trim your paper into a square, fold in half and fold in half again. Now fold it into a triangle, just like you would if you were making a paper snowflake. Now begin cutting. Chevrons, parallel lines, swirls, squares, triangles, hearts, diamonds, etc. are all good shapes to cut. When you are finished cutting, simply unfold your paper. Voila!
Red Paper Flags

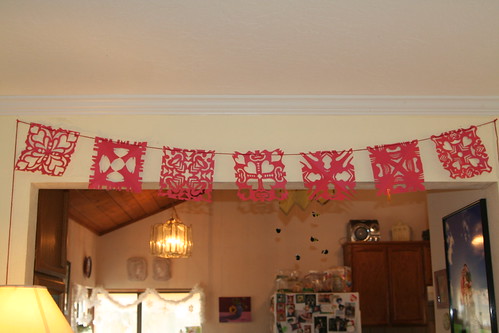
It is always such a delight when the children decide to go along with one of my harebrained crafting schemes. Lucas and I both enjoyed this “paper flower” making a lot and we decided to make enough  flags to create a banner. We made seven square flags.

Lucas's Luck Envelope

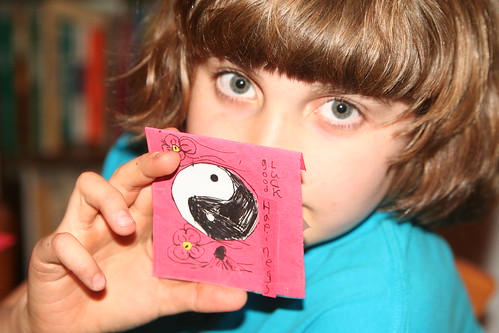
Lucas also made his own good luck envelope and filled it with an origami swan, some coins, and a blessing. He used his special fountain pen that he got from Santa. It seems he knows rather more about Chinese New Year than I realized, with some cultural mixing at play.

Dinner for Chinese New Year

Asher Showing Where He Helped

Asher helped a bit, too, but he doesn’t like to be told how to make things. Mostly he wants a chance to use the scissors. To make our banner, we just threaded a piece of red yarn through the holes along the top of each flag.

Red Paper Banner

And this is how our lucky banner looks this morning, hanging near our kitchen. I think it looks terrific and feel that it’s going to do great double duty for Valentine’s Day, too. I can’t help but cut hearts, I guess. (Now I see I’d better cut that extra long piece of yarn.)
Completed Red Paper Banner

I think I’m going to try making some “window flowers” out of translucent red kite paper. Maybe I can try making one that isn’t symmetrical, as most examples I see from this Chinese art form are not. I’ll let you know how that goes. Also, I found that you can buy pieces of Chinese paper art on Amazon.com if you want something authentic.

Celebrating the Winter Solstice

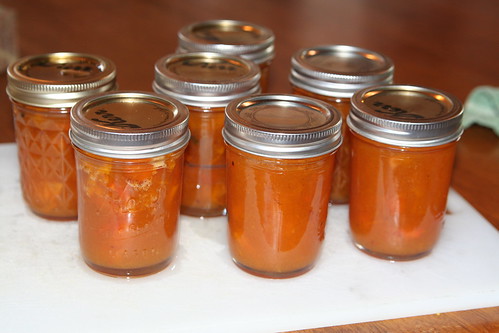
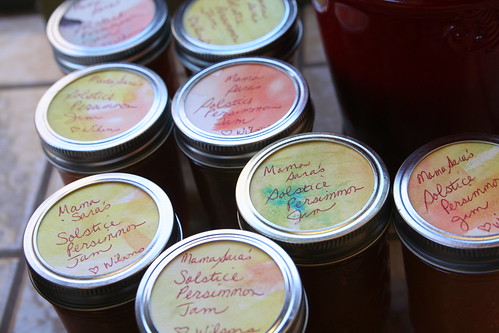
Mama Sara's Solstice Persimmon Jam

The Solstice either was yesterday or is today, depending on where you live and how you figure it. We decided to celebrate last night, at the end of the shortest day.

I spent some wonderful alone time yesterday morning making jam from persimmons that my friend G gave to me. They were so ripe and delicious, and made amazing cookies too a few days ago. The boys were in school and I had the house to myself.

Mama Sara's Solstice Persimmon Jam

I also got to have lunch out with my dear friend, NoNo, which was wonderful. As usual, I dreamed up a little Solstice celebration for our family at the last minute.

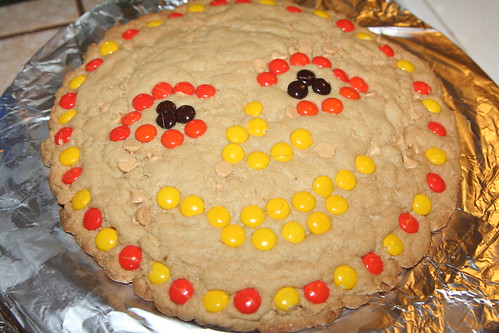
Sun Cookie

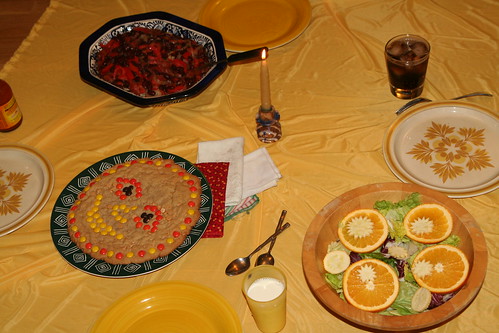
Best laid plans of mice and mommies. I was going to have the kids help me make this giant sun cookie for dessert, but I ended up doing it alone. While my children were outside enjoying the last hour of sunshine, they came across a cute little dog wandering on his own at the local school. None of the nearby people claimed him, and when my children walked home, he followed.

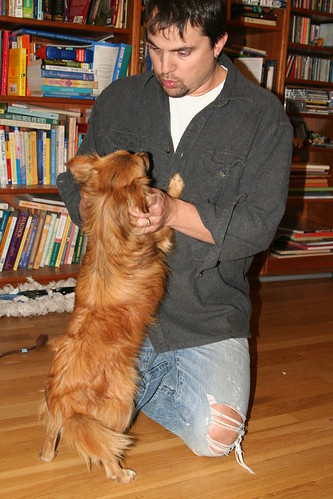
Sweet Found Dog

He is a handsome fellow.

Charming Fellow

Frankly, everyone is perfectly smitten with this dog. He seems young and spry, but doesn’t nip or crew or mouth. He is well behaved. I sent Ian and the boys right out to see if they could find the owners, but they came home without having any luck. This is why I made the sun cookie alone. (The recipe is from Mel’s Kitchen Cafe here, and I used Reese’s peanut butter chips and Reese’s pieces candies to mosaic a face. It came out perfectly.)

Solstice Night Dinner (Picnic by the Fire)

Solstice Night Dinner (Picnic by the Fire)

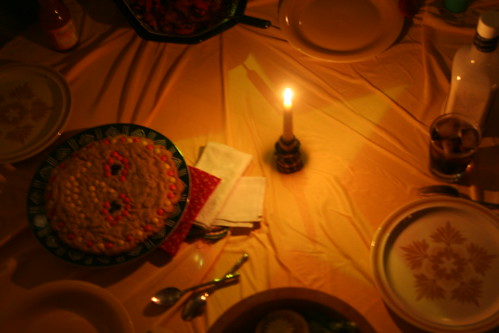
See the star? Neat, huh? Ian made red beans and rice for dinner and we had sunshiny oranges and sun-shaped squash with our salad. We ate by candlelight on the floor by the fire.

After dinner, Ian took the dog to the local vet to see if there was a microchip that would tell us where he belongs. No chip. Today we put up flyers around the area and have talked to a bunch of our neighbors. So far, we haven’t found his home. This little dog is so nice, I’m sure someone somewhere is missing him. In the meantime, the boys and Ian have fallen in love with him. It feels like everyone is hoping we will keep this dog. Lucas wants to name him Solstice, which is a big name for a little dog. And yes, I am allergic to him.

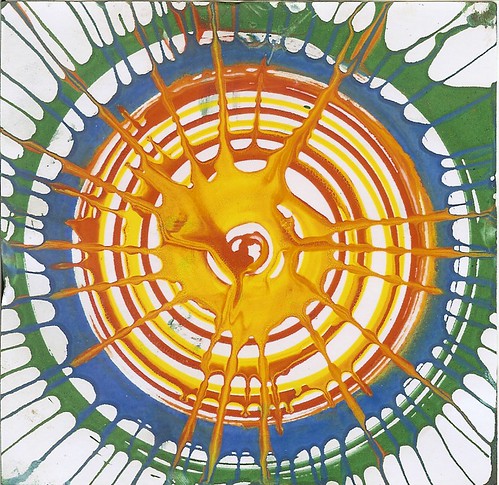
Spin Art Lucas Made


  • About Sara

    Thanks for visiting! I’m Sara, editor and writer, wife to Ian, and mother of two precious boys. I am living each day to the fullest and with as much grace, creativity, and patience as I can muster. This is where I write about living, loving, and engaging fully in family life and the world around me. I let my hair down here. I learn new skills here. I strive to be a better human being here. And I tell the truth.

    Our children attend Waldorf school and we are enriching our home and family life with plenty of Waldorf-inspired festivals, crafts, and stories.

    © 2003–2018 Please do not use my photographs or text without my permission.
    “Love doesn’t just sit there like a stone; it has to be made, like bread, remade all the time, made new.” —Ursula K. LeGuinn
  • Buy Our Festivals E-Books


  • Archives

  • Tags

  • Categories

  •  

  • Meta